
Intro to Enameling: Cloisonne Pendant
6 Minute Read
For the last couple years the W.W. Carpenter Enamel Foundation has held "Intro to Enameling" workshops that are designed to walk beginning enamel students through multiple procedures in a short amount of time. Three projects were developed where choice of color and design considerations were minimized so that the focus is on enamel procedures.
This cloisonné pendant is the third project in the series. Check out the August and December of 2009 issues of Glass on Metal to see the first two projects.
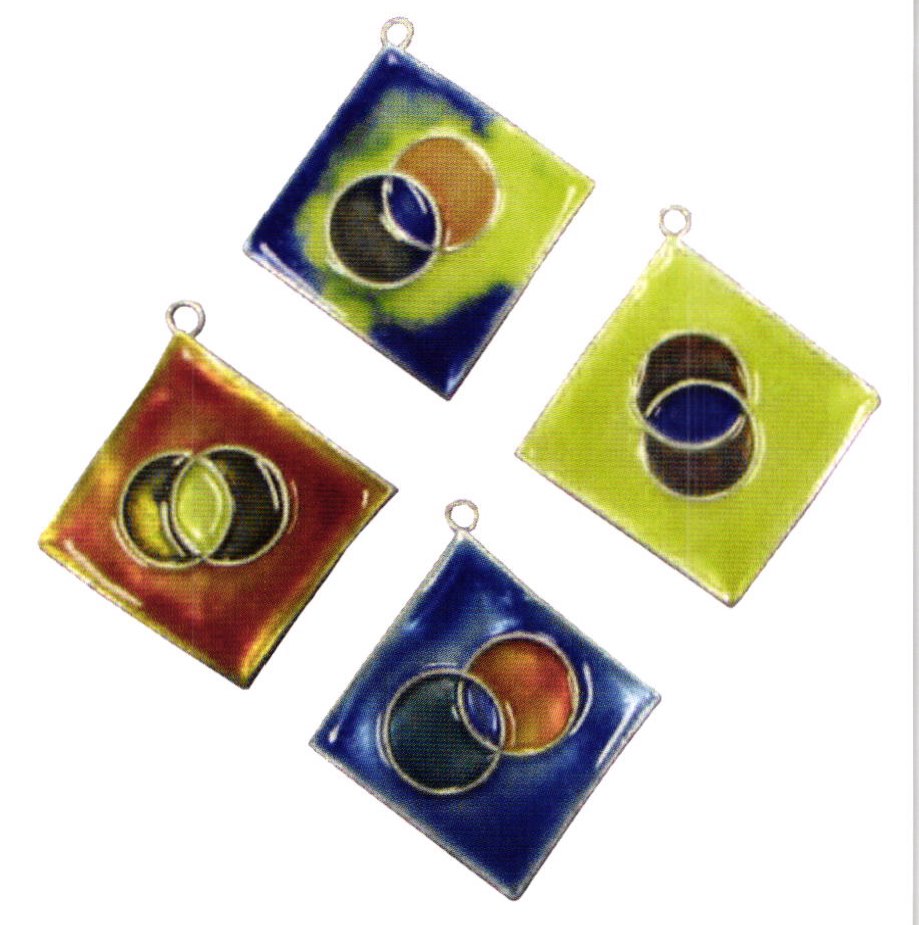
Introduction to Enameling Cloisonne Pendant
What You Will Learn
- Simple cloisonné technique
- Working on fine silver
- Reinforcing strength of silver tooling foil by bend-over frame thereby minimizing warping of metal
- Making a hanging mechanism with wire embedded in bend-over frame
- "Annealing" silver to remove grease or oil
- Using A- I3 as an adhesive for backing enamel
- Applying enamel to both sides in the first firing
- Application and firing of cloisonn6 wire
- Wet packing procedure
- Wet mixing two colors to make a different color or to lighten a color
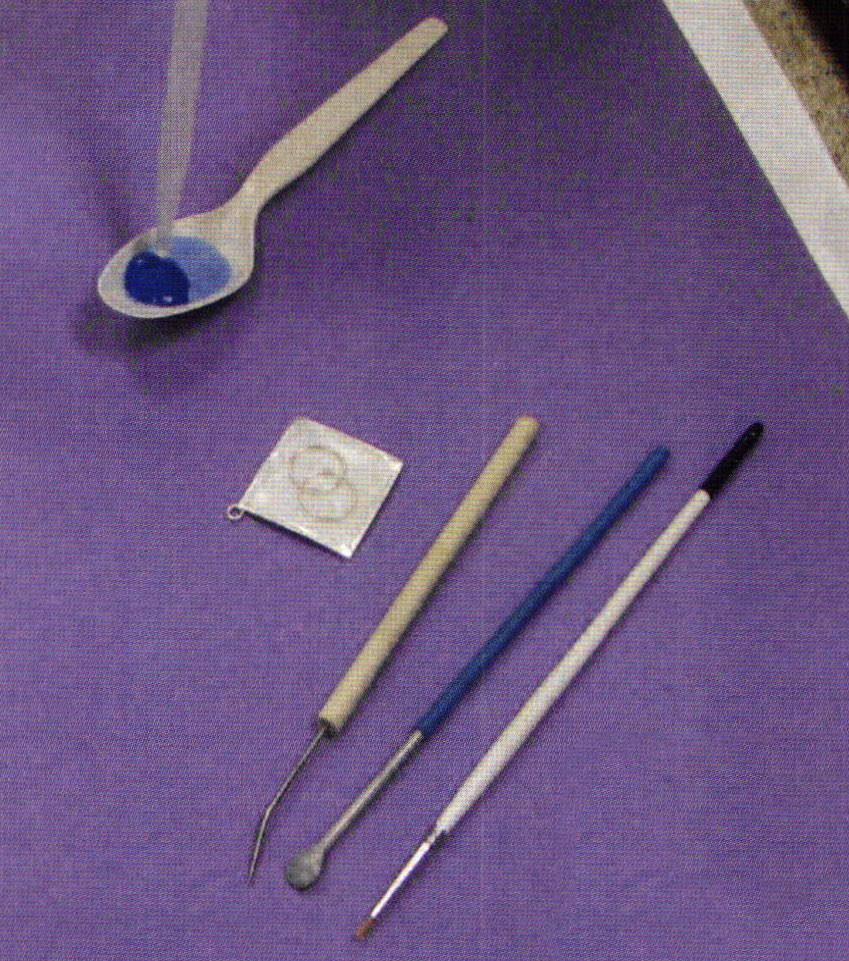
Tools
| Materials
|
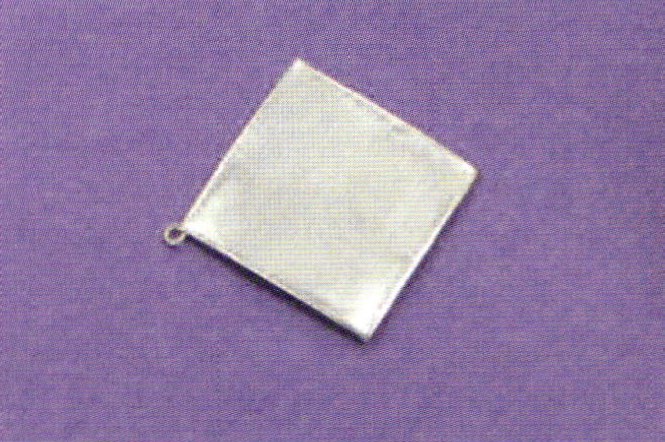
Forming Pendant Shape and Hanging Mechanism Assembly
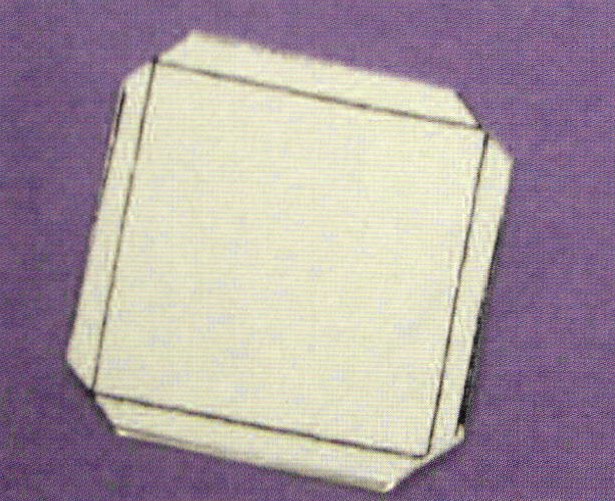 |  |  |
Paper template with shape shown above has been glued to back of silver. Place silver square on phone book paper side up. Take a straight edge and emboss pre-drawn lines or-t paper into silver tooling foil with ballpoint pen. The embossed lines should create a smaller square within the silver piece. Peel off paper. If needed, rinse under water until paper can be removed.
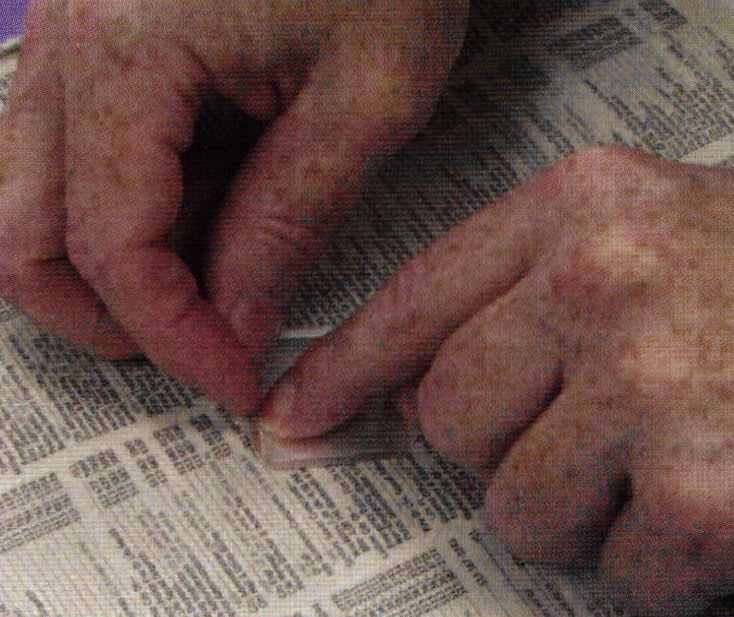 | 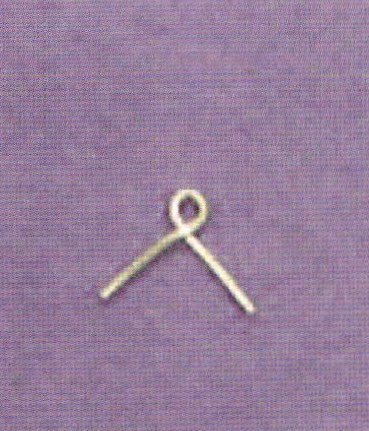 |  |
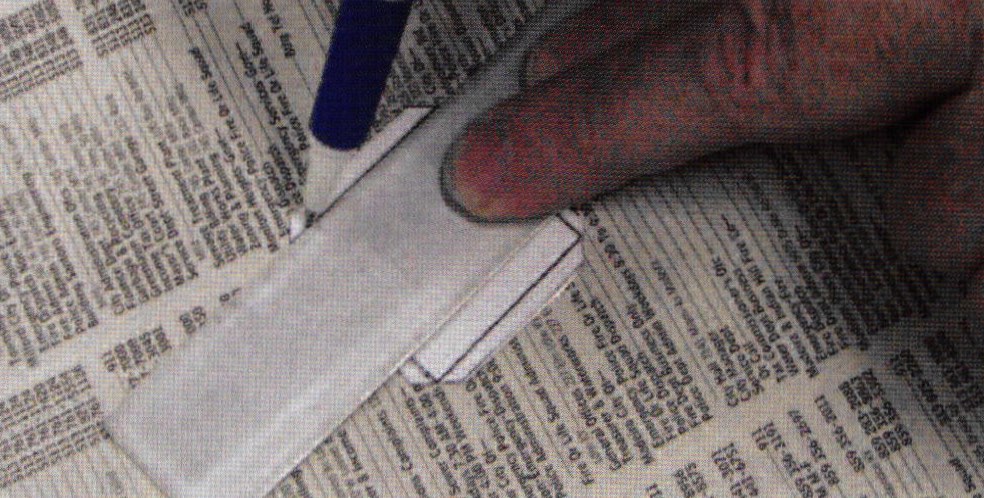
Place your finger on embossed line of one side of square on back side of silver. Use your fingernail as a stop so you can bend up the silver tab. Bend tab straight up and repeat on an adjacent side of square. Place 1/2 inch round wire loop in one corner of the square with loop extending out of corner. Position lead wires on both sides of the loop so that tabs created by embossed lines can be folded over lead wires.
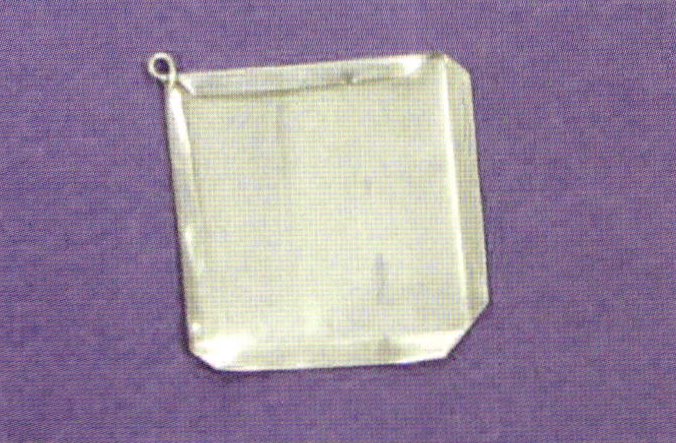 |  |  |
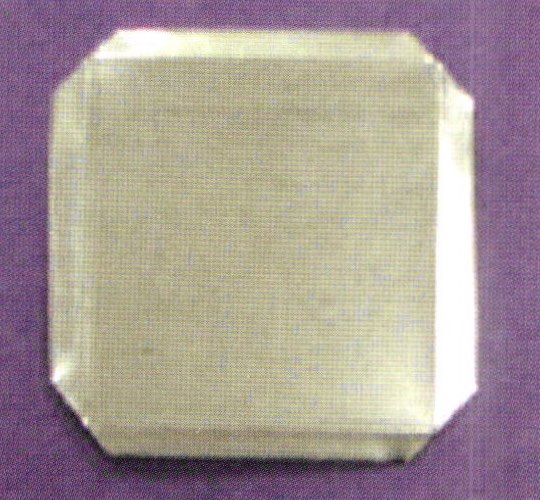
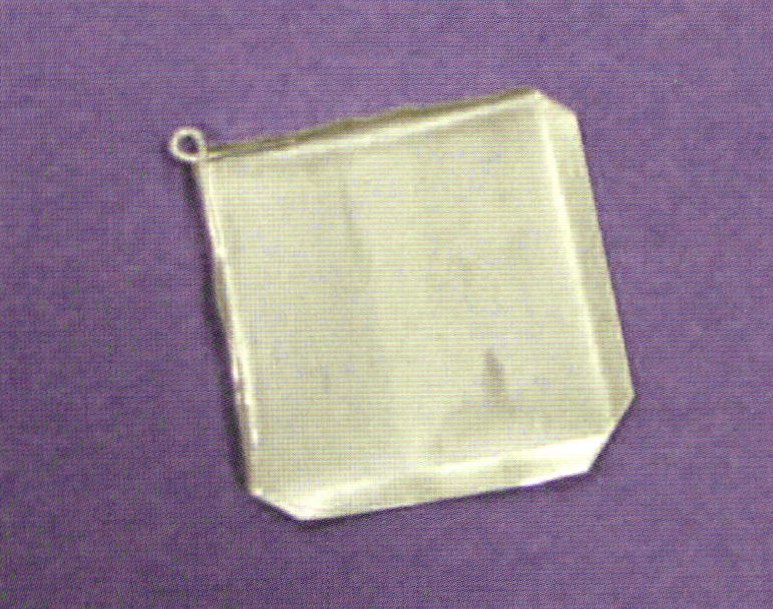
Continue folding over all tabs creating a "frame." Burnish edges smooth with plastic casing of ballpoint pen. The result should be a square with a round silver wire loop extending from one of the corners.
Removing Grease and/or Oil
Place silver piece on firing rack and "anneal" in furnace at 1450 degrees F. for 1/4 minute. This procedure will burn off any oil or grease on the silver surface. When cool, handle only by the silver wire loop to prevent skin oil from being transferred onto the silver surface.
Applying Enamel to Both Sides for the First Firing
Place silver piece on pedestal, back side up. Prepare sifter with 2020 clear for silver. Brush generous amount of one part A-I3 acrylic medium, three parts water, solution onto silver surface. Sift 2020 onto silver piece. Dry. Place piece front side up on pedestal. Brush on one part Klyr-fire, three parts water solution and sift 2020 over front. Dry. Fire at 1450 degrees F. for 1 1/2 minutes.
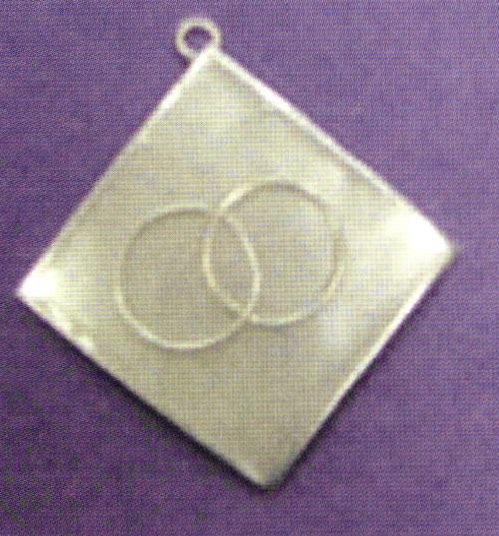
Above Image: Silver rings placed on prefired 2020 clear. 100% Klyr-fire is applied with a brush around fings and dried to hold them in place during firing.
Applying and Attaching (by firing) Cloisonné Wire
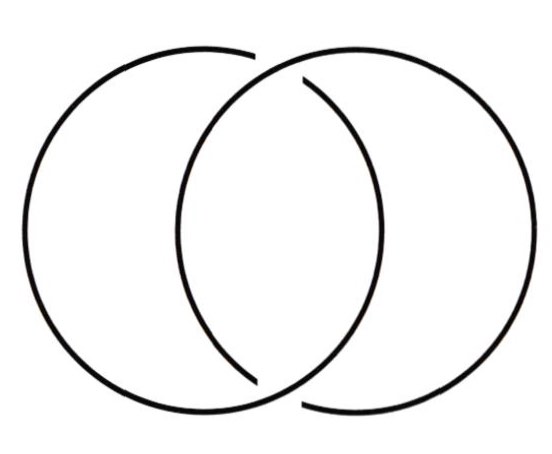
When cool, place two silver round wire rings onto front side. Rings should be positioned so that a solid area of one ring should be positioned into cut in second ring and vice versa. See diagram at right. Ring wires should all be laying flat on fired 2020 surface.
With a brush, place drops of full strength Klyr-fire around wires. Dry. Fire at 1450 degrees F. for 1 1/2 minutes. When removing from furnace, if any wire is sticking up, quickly touch wire with metal spatula. Hardly any pressure should be applied as wire is very soft and will easily go down with just a light touch. If after cooling it is evident that the wire has not attached) repeat the firing.
Preparing Enamel for Wet Packing
Place a small amount (1/4 teaspoon) of 2660, 2230 and 2836 into plastic spoons. Add water so that enamel is completely wet.
Mixing Colors
In another spoon a small amount of two colors can be placed into the same spoon, such as 2230 and 2660 which will make a green color. Add water and stir powders together. 2660 and 2836 would make a purple color. 2020 can be added to any color to lighten the color.
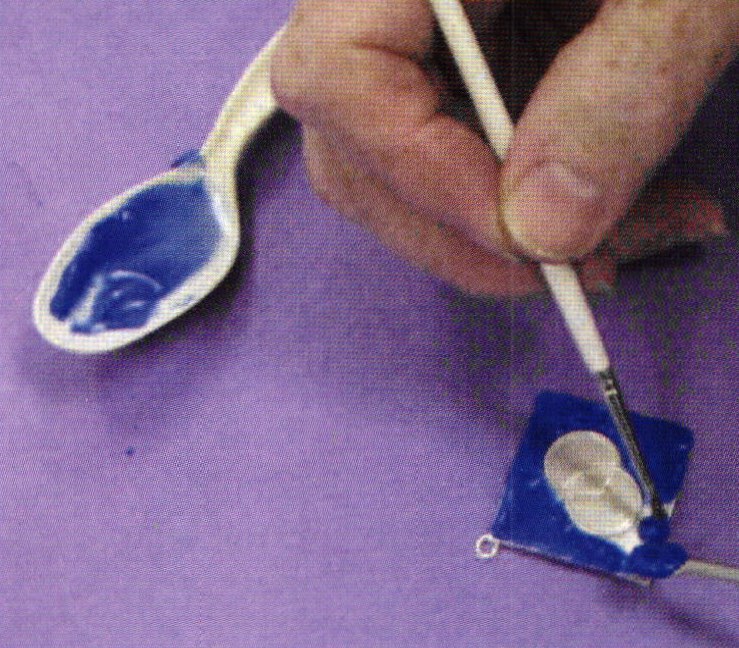
Colors may also be mixed right on the piece. Apply a color to an area i.e. blue , place another color i.e. yellow with space left in between the two colors. Use ample water and mix the two colors in the space in between. With blue and yellow a green will result. Clear may also be used in this way to lighten any color.
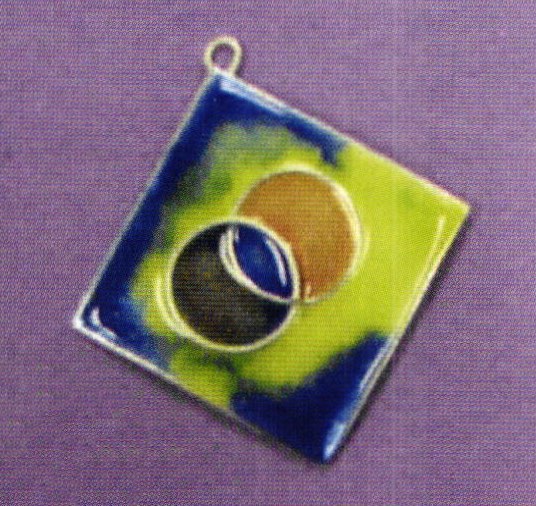
Example of blue and yellow enamel mixed on the piece to make green.
Wet Pocking Procedure
Place piece on pedestal, and using inlay spatula or small brush, lift out some of the wet enamel and place onto piece in the appropriate area. Continue until the entire piece is coated with wet enamel.
Using the spreader's bent over end (not the point) smooth out the enamel with an up and down motion. This enables the enamel to settle. Make sure adequate water is present in enamel, too little water and enamel becomes too dry to manipulate - too much water and enamel will flood one color into the next. Keep water at saturation point by adding water with a wet brush or removing water with paper towel.
Brush vs. Spreader
Many prefer using a brush for the wet packing procedure. The brush does have the advantage of being used as a tool for adjusting the water amount in the enamel. Water can be removed or added to the enamel with a brush.
The application with a brush is easy, providing it is used as a carrier of enamel and an agitator, rather than a brush. The process is not painting, the bristles are not flexed. Only the tip is used. The brush agitates the mixture so the particles of enamel fall out of suspension. If the bristles move the enamel, rather than the liquid, the pattern of that movement is seen.
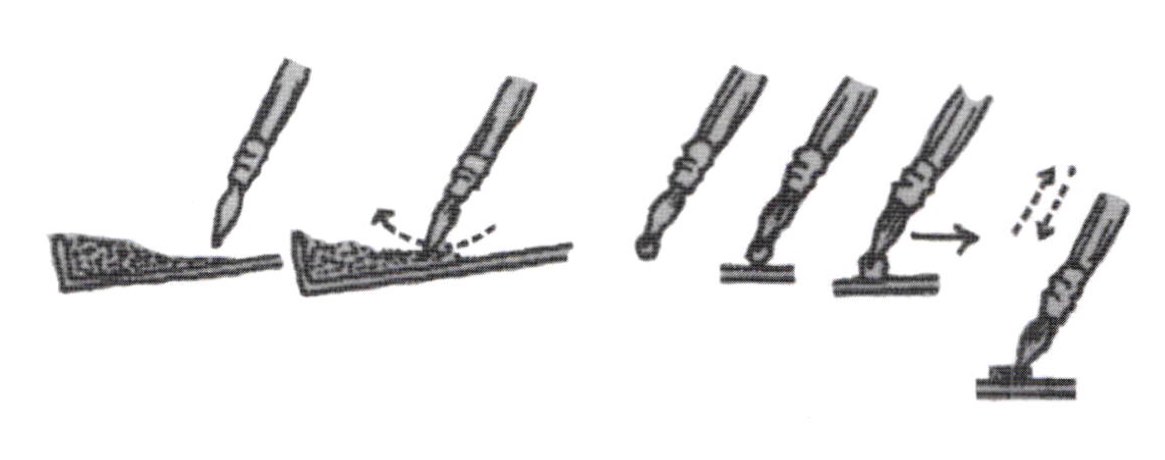
It must be remembered that when applying the enamel to cover an area that the successive gathers of enamel are placed into each other, then moved across the surface. They are not set side by side and then moved together. Thin lines are achieved with a thicker mixture.Larger areas are achieved with a thinner mixture.
Continue the wet packing procedure until all areas are covered. Dry thoroughly. Fire at 1450 degrees F. for 1 1/2 minutes. After cooling, file any sharp points. A jump ring and cord may then be attached to make a cloisonné pendant.
Related Links:
Intro to Enameling Project 1 - Double-Sided Pendant
Intro to Enameling Project 2 - Double-Sided Pendant
W.W. Carpenter Enamel Foundation
650 Colfax Ave., Building 2, Bellevue, KY 41073
Phone: 859-291-3800
Email: info@glass-on-metal.com
Related Articles

The Enamelwork of Jamie Bennett

The Enamelware of Tibor Kopocs

Cloisonné Beads of Fine Silver

Teaching Enameling at the International Enamel Studio


The All-In-One Jewelry Making Solution At Your Fingertips
When you join the Ganoksin community, you get the tools you need to take your work to the next level.
