
Electric Kiln Fired Mokume Gane Part 3
6 Minute Read
This last installment of this series on Mokume Gane will focus on the different Mokume Gane pattern techniques and the different tools used to achieve these patterns. Links of previous articles are provided below.
Mokume Gane Pattern Techniques
Developing patterns in Mokume is done by cutting into the different sheets and either rolling it through the mill or by forging it so that we are bringing the metal at the bottom of the cut to the top. Another method is to use chasing punches to push a shape into the metal and then grind off the backside to reveal the pattern of the punch used. This latter technique is used mainly in patterning of larger sheets that can later be formed into jewelry bowls or any other object. Sheets of Mokume can also be used for deep drawing in a hydraulic press to create bowls, boxes or even tubing. Your mind is the only limitation as to what can be made. Remember, now that your billet is forged, it will virtually work the same as any other sheet of metal, albeit with slightly more care.
A Note On Safety
I know you're saying, "Man I've been doing this for years and I know how to use a flex shaft", but you are going to do a lot of cutting and your hands are going to get fatigued and your mind is going to say go quicker. Just be careful and you may want to wear some leather gloves. I have had burs slip and cut across my knuckles and grab my wedding band and dig in under it. I've been a jeweler for 29 years and this stuff still happens so all I'm saying is be aware of the risks involved.
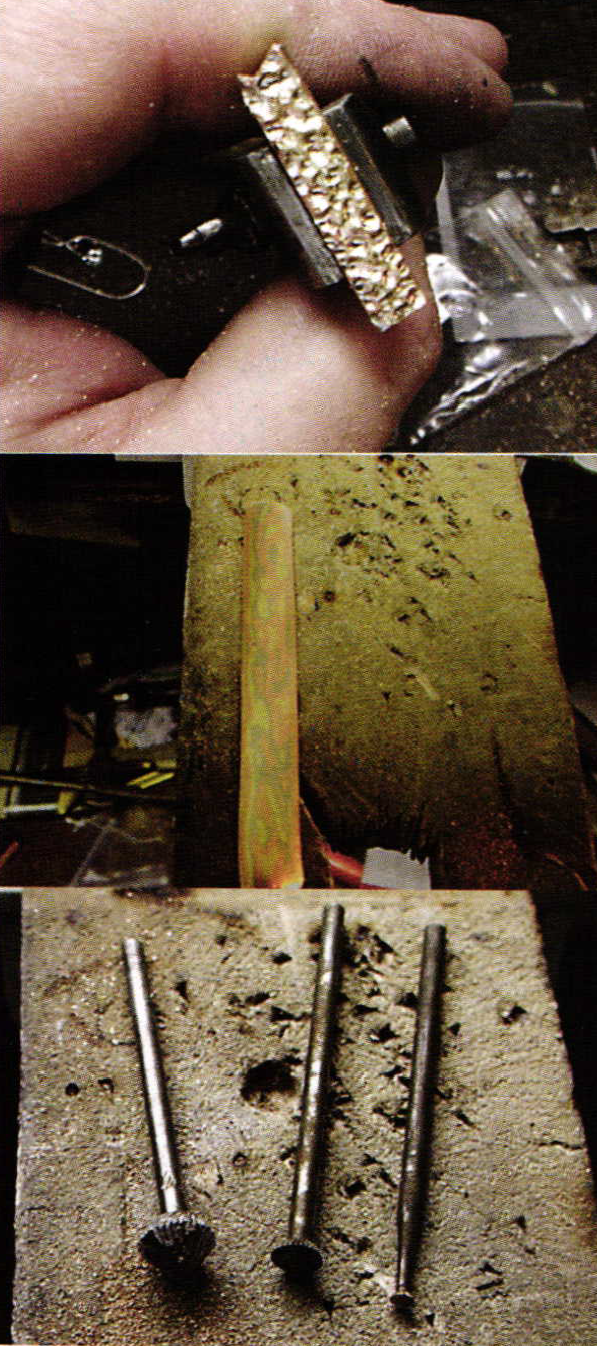
We are going to make stock for bands, stock that can be inlaid, and stock that can be incorporated into other jewelry you may manufacture. Let's cut a strip off the billet and get it in the rolling mill to square it up. The strip that you see in the photo has been rolled to 6mm square as in the previous article. I'm going to split this into 3 so that I can do three different patterns.
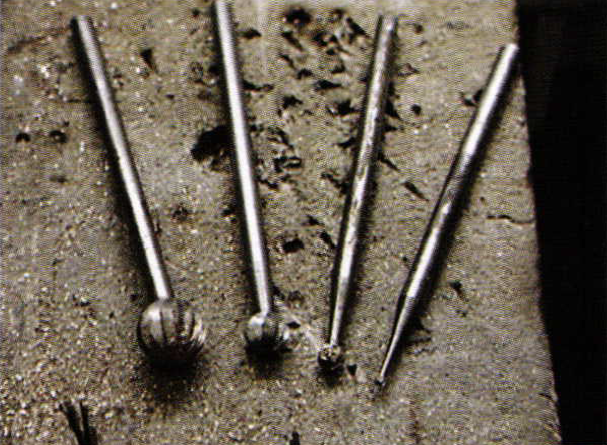
This time we aren't going to twist this stock as I did previously. As you can see I'm going to use a few different sizes ofball burs. Experiment yourself; make some inexpensive brass, copper and nickel billets to play with before doing this in precious metals. Cut into the metal at different depths and be sure to take your loupe and look closely at how many layers you have gone through. Don't cut into more than one third of the thickness of your metal.
In this picture you'll see that I have cut virtually every surface area. Roll this through the mill and look at it as you roll. There is no need at this point to completely remove your cuts. Stop and go to the bench and cut a bit more.
In this next photograph is the finished product. I have cut and rolled this piece 3 times, annealing in between. There is no magic number but generally you will want to cut through the layers more than once.
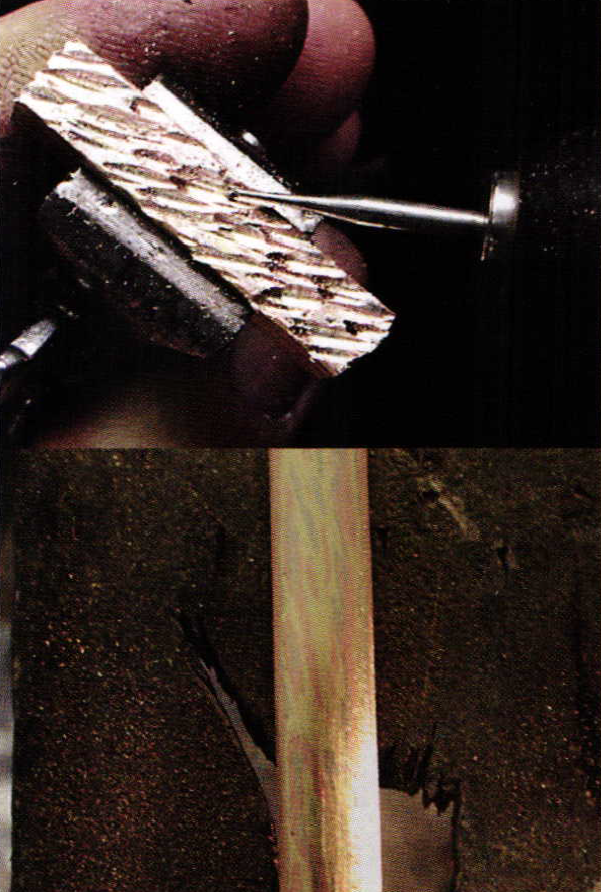
On the next piece I'm going to use some 90 and 45 degree setting burs as pictured. I'm cutting at a slight angle and again I'm cutting the entire surface of the stock so as not to have large areas of one single color. Now before I roll the metal out I will take a small ball bur and run it at the point of where the hart burs have cut. This is to round it out, because if left as is,the metal may have a tendency to keep shearing.
Follow the same procedure as before and always remember to anneal your metal. Quench it only after it has cooled considerably so as not to shock it that much. In this next photograph you can see the finished pattern.
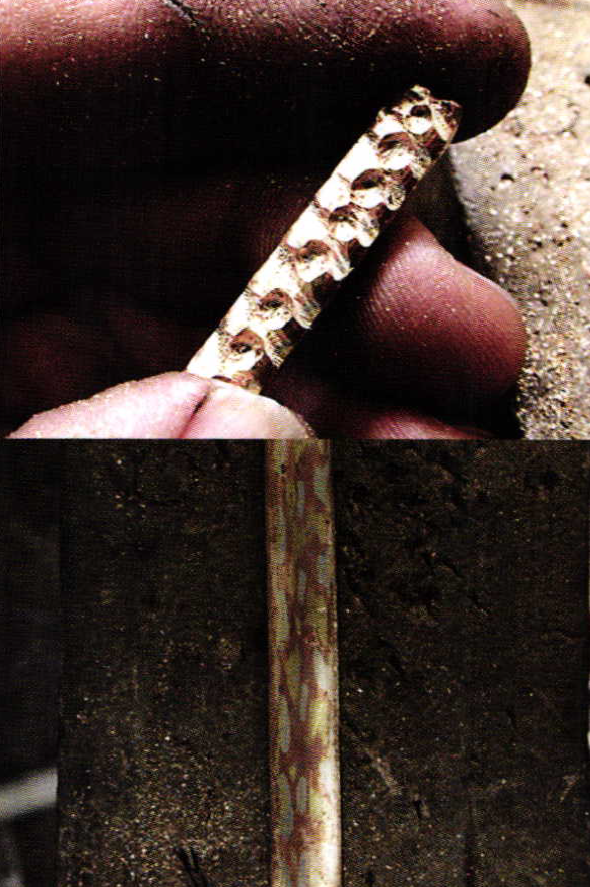
The last one I'll do is using a cylinder bur and a ball bur. I cut with the cylinder bur at a slight angle and removed more from the edges leaving the center much higher than the rest. Then l took a 4mm ball bur and made successive dimples down the middle of the stock. I rolled this out normally and annealed and there it is, a very unattractive pattern. Why? I didn't do anymore cutting into the metal. I only removed metal the first time and stopped. As you can see it has very little design to it and large areas of splotchy color.
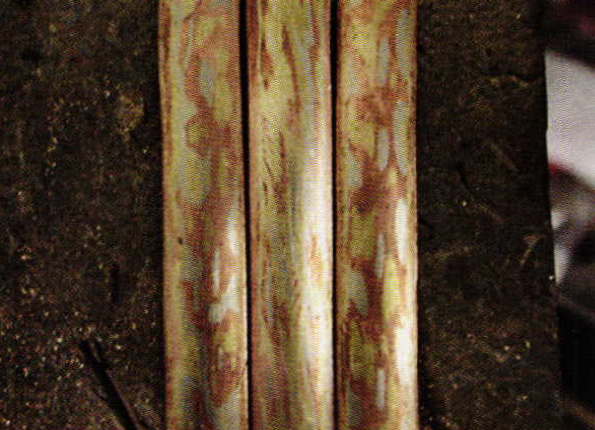
The next photograph shows all three pieces of stock lined up and you can compare the different designs that were produced. These patterns are by no means the only ones that can be done. Remember to constantly look at the stock with a loupe to see how the pattern is progressing. It's very similar to a canvas and a painter adding color. Don't be afraid of removing the metal. I know in the back of your mind you are thinking, my God look at all this waste. Get over it and move on. Oh, and you may want to develop a good relationship with your refiner. He's going to be your best friend.
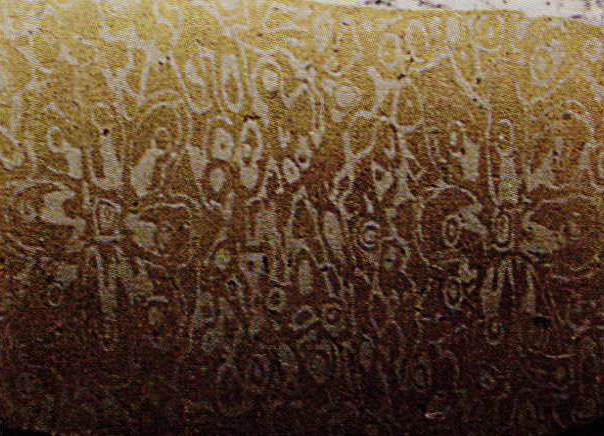
This next photograph is a sheet that I patterned using some small ball burs and hart see a floral design. Not all Mokume has to have a wood grain pattern. Many different designs can be achieved. In this sheet I cut the floral pattern and then simply took a ball bur and dimpled the entire area. This same idea can be done with chasing and stamping tools or even engraving deeply into a surface. Since getting into 3d CAD designing I have thought of taking a bitmap image converting the design to a 3dm file and sending to a CNC mill to cut a pattern and then rolling it out. Ideas are only limited to your mind and thinking outside the box.
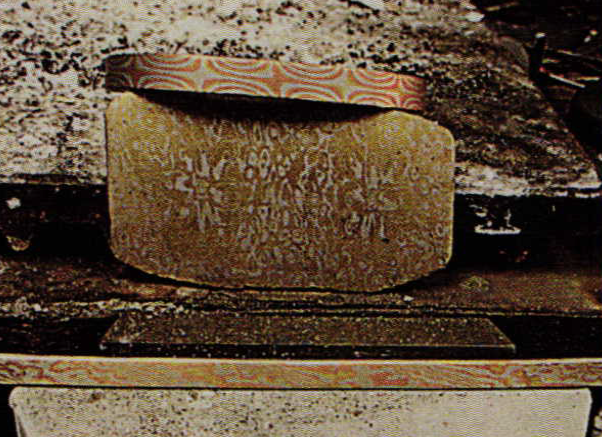
For a tighter wood grain look I recommend twisting your stock and then cutting into it. As you can see in this photograph you can achieve that wood grain effect much easier. Also in the photo is a bangle bracelet made in the star pattern that we did in part 2. Adding to all of this is the ability to add different finishes and textures by etching the metal also. Don't forget about using other metals such as Shakudo or Shibuichi for contrast in colors. And doesn't it just sound cool to say Shakudo?
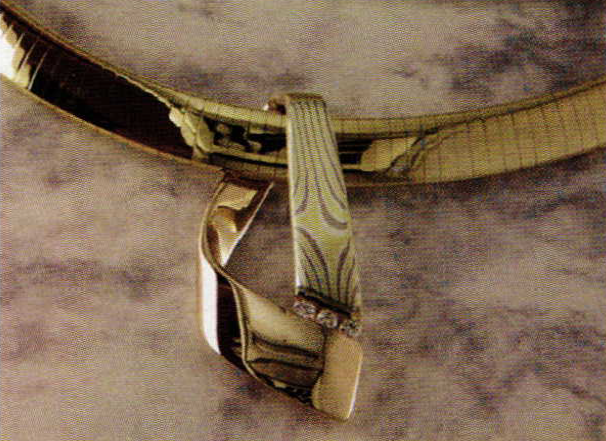
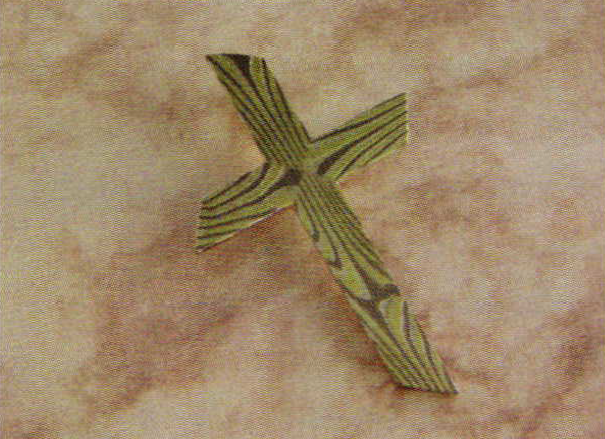
One other thing, is don't just think of Mokume as an end in and of itself. It's expensive and some clients can't afford it but would like to own some. In lay it in rings, or pendants as shown in this photograph. Use your scrap wisely. I have many times used a small piece cut off from a larger one to create a nice accent. And then there arc the ones that you waste a lot of metal to create a beautiful piece that makes it all worth while.
See related articles:
Related Articles

Creating Colorful Jewelry Designs

Platinum – Sterling Alloy

Alexandra Hart – Crowning Achievement

The Secret Life of Solder


The All-In-One Jewelry Making Solution At Your Fingertips
When you join the Ganoksin community, you get the tools you need to take your work to the next level.
