
Jenny Reeves’ Layered Ring
3 Minute Read
Although a Philadelphia native, designer Jenny Reeves loves her adopted city of San Francisco. When a local jewelry organization held a San Francisco-themed design challenge, Reeves joined in, eager to create a piece that would pay tribute to her city.
"It's a city of contrasts, with architecture that's very modern, very Victorian, and very high-tech, but there's also a lot of open green space, and we're surrounded by water," she says. "I wanted to capture all of this in a ring, without being too literal."
Jenny Reeve's Layered Ring Pays Homage to San Francisco
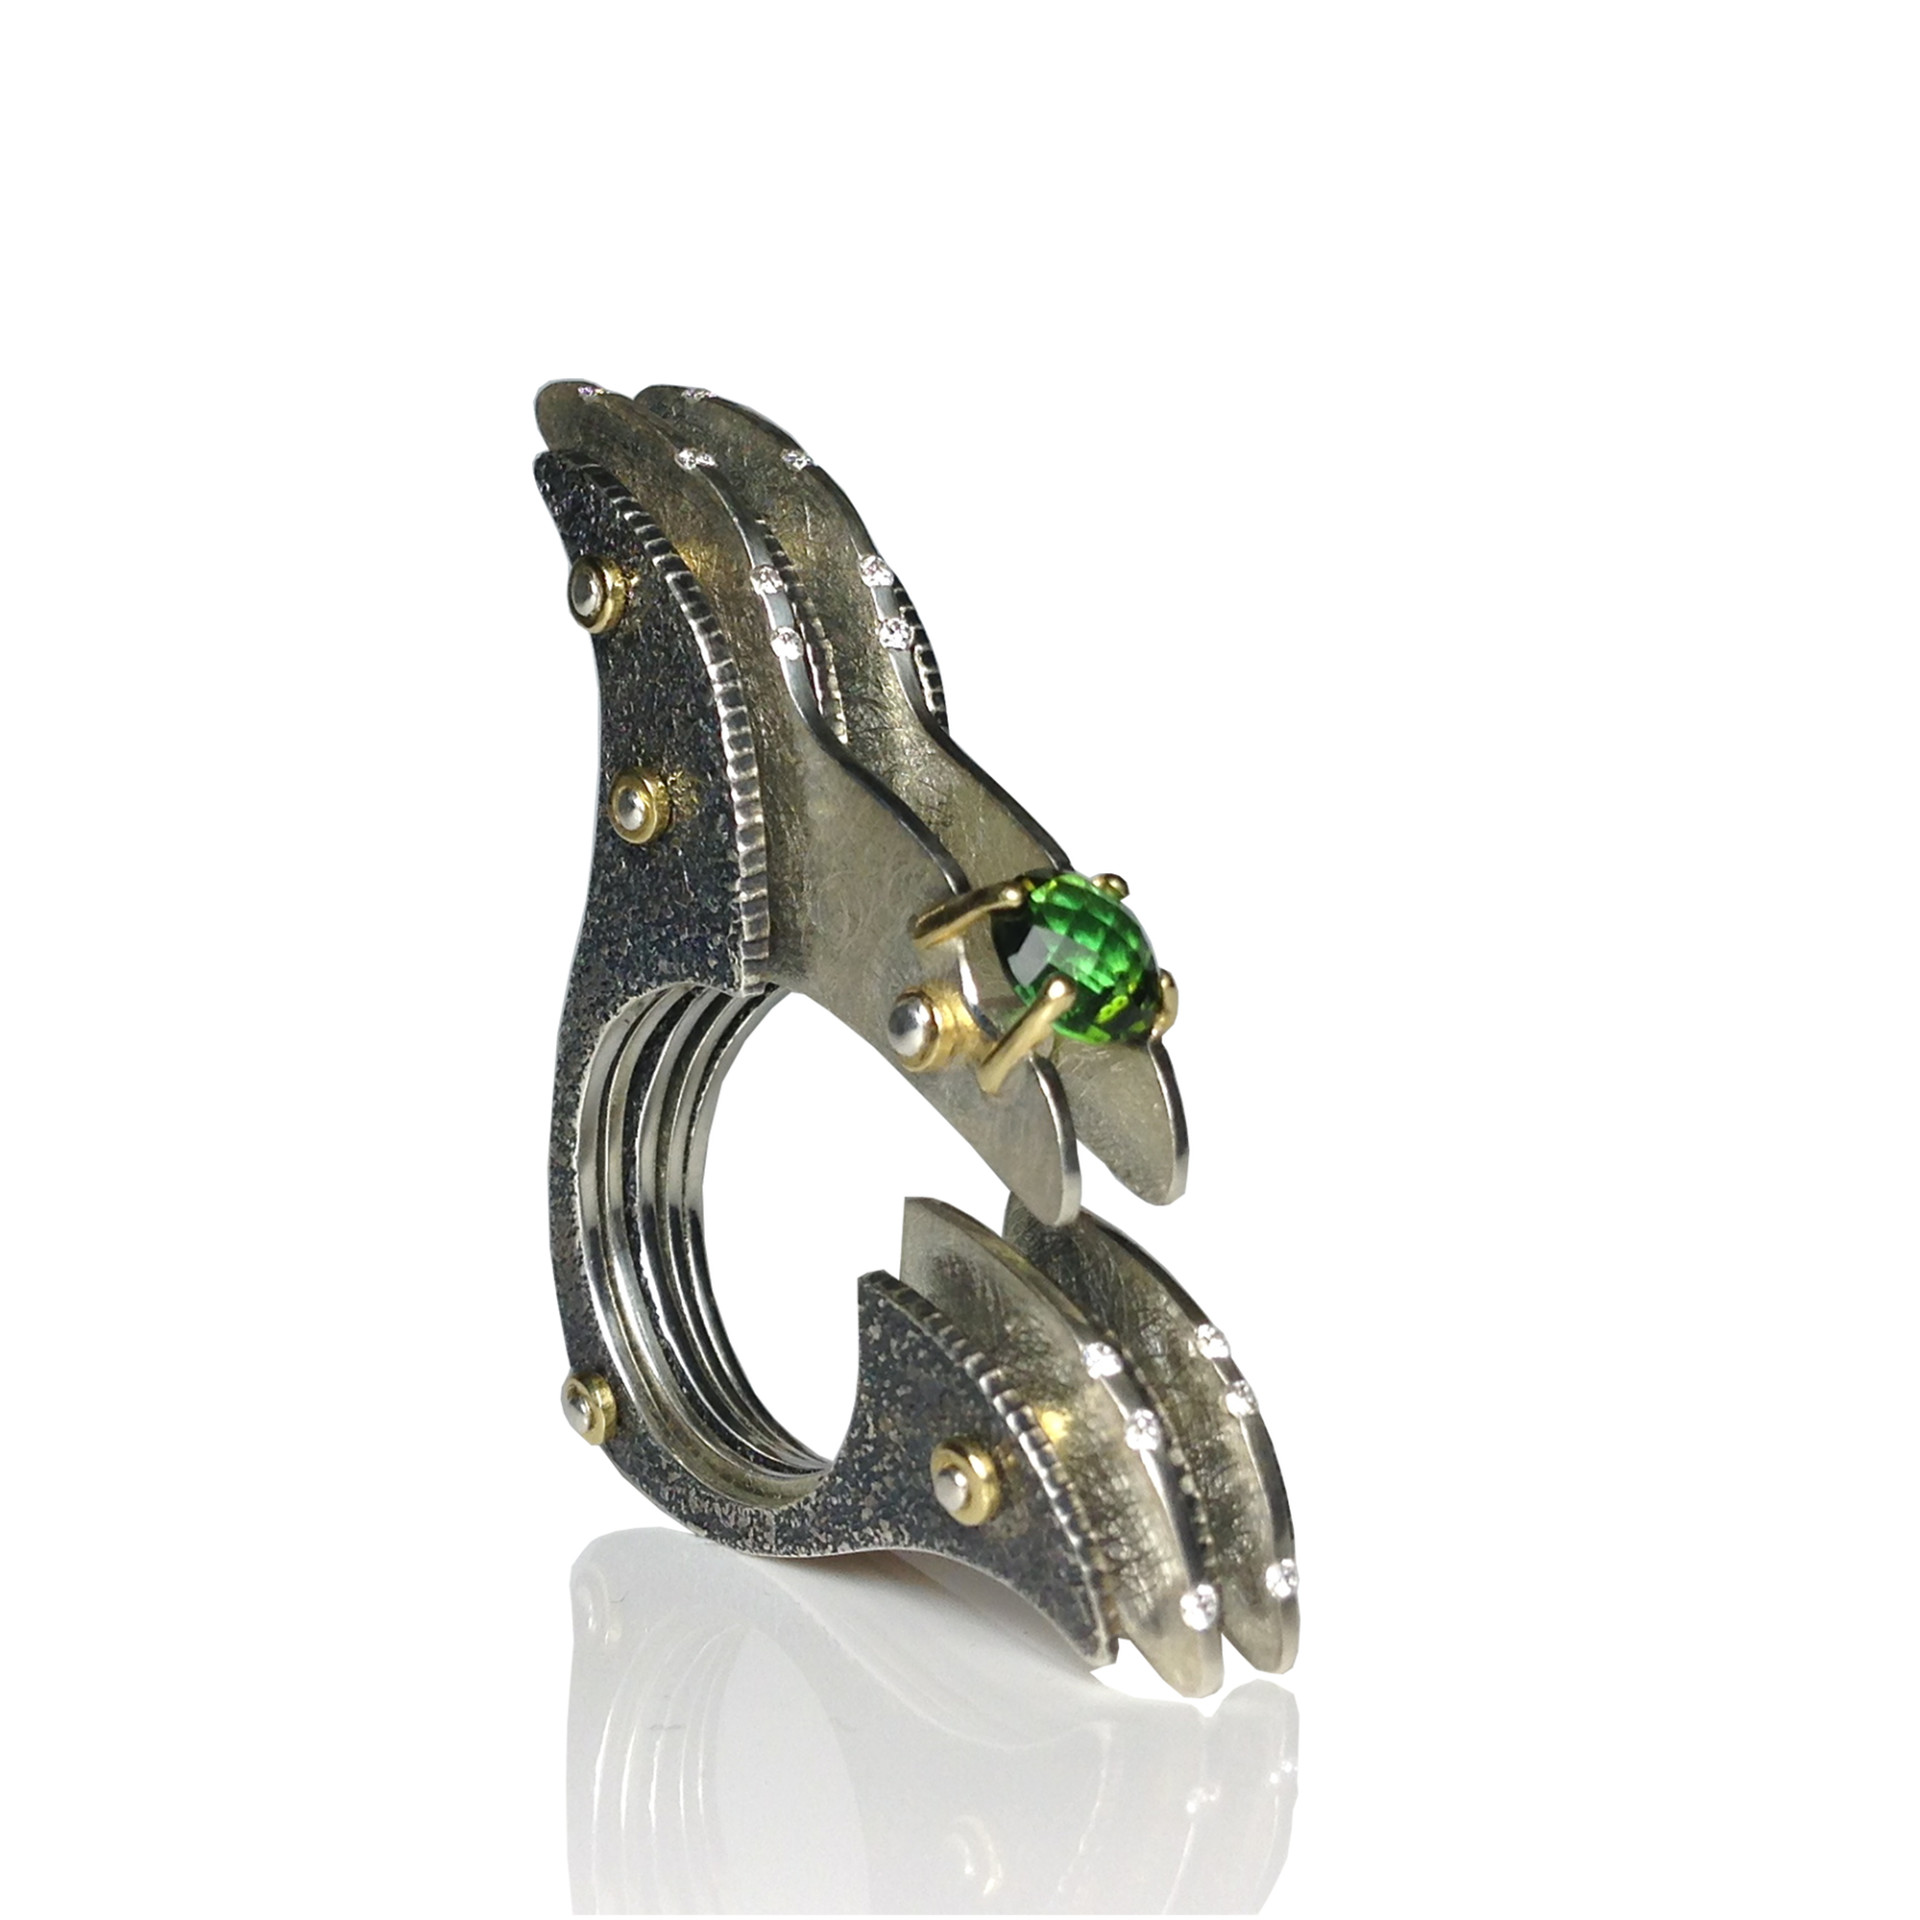
Reeves began the project by sketching out designs. "I went through several pages of sketches before this idea sprang out of them," she says, referring to the ring's series of stylized metal layers. "I liked how the layers bridge the finger without actually connecting, and the contrast between the top and side views. When viewed from the top, the design looks mechanical, whereas the side view reveals a floral shape." Once she had the general shape of the ring set, she made brass templates to help her refine the layers so they looked good from all angles.
Reeves went through a series of templates before settling on two—one for the three shorter layers on the outsides and in the center of the ring, and one for the alternating layers with blade-like extensions, which would hold a 6 mm, double-sided checkerboard green tourmaline. Tracing the templates onto 18 gauge Argentium sterling sheet, she cut out the five layers she needed, then added textures. To the surfaces of the shorter layers, she fused Argentium filings. For the long-er layers, Reeves used a scribe to create a "scribble" texture.
She also marked the locations for the rivets that would hold the piece together. Drilling pilot holes, she first inserted temporary rivets to hold all five layers together while she finished the inside of the ring. She then separated the layers into their two groups and temporarily riveted each group together so she could make the inside and outer edges of the layers identical.
With the layers finished and aligned, she separated them so she could sand and polish all the edges. For the three shorter layers, Reeves used a gray silicone floppy disc to carve a texture along the top edge. She oxidized the pieces and, with a burnisher, highlighted all the textures on the flat surfaces and edges. She then bright finished the two longer layers and set 14 diamonds along their edges.
To assemble the ring, she used 1.2 mm silver wire for the rivets. She also used
1 mm 18k gold wire to create jump rings that would act both as decorative accents around the rivets and as spacers between the layers. She riveted the layers together at the base of the ring and then flared out the layers using identical pieces of scrap metal as shims. "If I drilled through them while they were flush, the [rivet] holes wouldn't be in perfect alignment," says Reeves.
After drilling the remaining rivet holes, Reeves fed the silver wires through the layers, with the 18k gold spacers between them. She used a goldsmithing hammer to rivet the wires in place, and finished the ends with a beading tool before polishing the rivets and decorative jump rings.
She then created the setting for the tourmaline using 1 mm 18k gold wire.Because the three shorter layers don't extend out to the tourmaline setting, Reeves had a 3 mm gap between the two blade-like extensions. She contemplated running three jump rings along the wire rivet that would link them together, but ultimately decided to insert silver tubing between the layers and the wire through that. "I settled on the tubing because it added an extra layer of reflection under the stone," she says.
With the final rivet in place, Reeves cut seats in the gold prongs and set the tourmaline to complete her ode to her second hometown.
![]()
In association with
![]()
The award-winning Journal is published monthly by MJSA, the trade association for professional jewelry makers, designers, and related suppliers. It offers design ideas, fabrication and production techniques, bench tips, business and marketing insights, and trend and technology updates—the information crucial for business success. “More than other publications, MJSA Journal is oriented toward people like me: those trying to earn a living by designing and making jewelry,” says Jim Binnion of James Binnion Metal Arts.
Click here to read our latest articles
Click here to get a FREE four-month trial subscription.
Related Articles

Cross-Sectional Critique

Production Jewelers: Marketing Production

Production Jewelers: How They Survive

Jim Dailing Crafts Sentimental “Story Rings”


The All-In-One Jewelry Making Solution At Your Fingertips
When you join the Ganoksin community, you get the tools you need to take your work to the next level.

