
Customized Steamer Bucket Enclosure
6 Minute Read
The purpose of this steamer bucket enclosure is to prevent stones from being blown out by the steamer and flying across the room. To minimize the exposure to employees to a steamer accident, I mounted our steamer on wood blocks just above the floor and ran 3/8 in. flexible copper tubing up through the ultrasonic counter.
This also saves counter space and makes filling the steamer easier. It also acts as a safety matter in the event of a steamer accident from a vessel failure due to rust corrosion, or pressure sensor failure that might make the pressure safety valve blow. Both of these result in steam and scalding water being released in an uncontrolled manner at counter height. If I had a choice I would prefer to have my lower legs burnt then my face and upper torso.
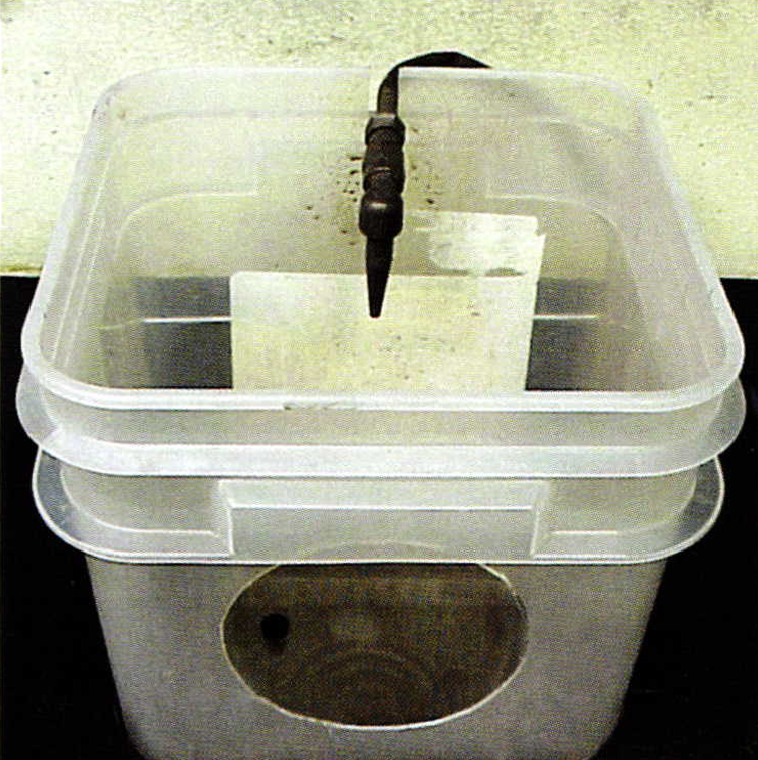
After running the steamer outlet tube through the counter leave extra material to finish the end offafter positioning the steamer bucket. I made a steamer bucket from a clear l0-pound size Deli-Cat cat food container. The clear container makes spotting stones blown out by the steamer easier. Pick your employee with the largest hands and have them make a fist. Measure the diameter of their fist and cut a hole at least l/4 in. wider. Then smooth the edge of the plastic with sand paper to remove sharp edges.
This gives you enough space to reach in with steamer tongs to steam items. I suggest placing the hand holes where pictured. I counter sunk the bucket into the counter to give a 1″ clearance for the hand hole above the counter.The sides of the bucket taper. Cut the hole carefully to achieve a tight friction fit. Cut a notch as pictured in the back of the bucket low enough to allow you to snap the lid on and still clear the steamer nozzle. Now bend and fit the 3/8″ copper tubing and cut and attach it to the steamer nozzle.
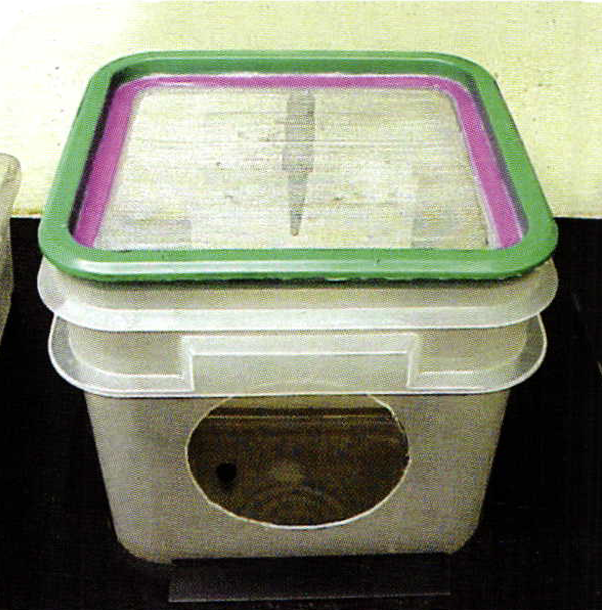
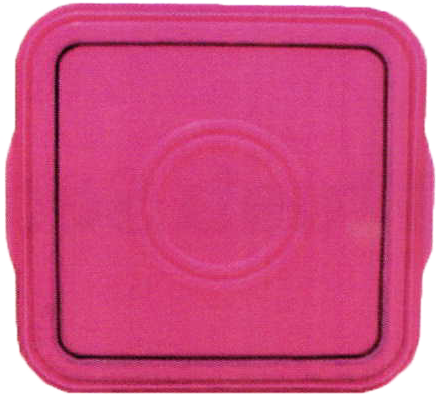
You need 2 lids to finish this next step. Draw lines like those pictured around the lid and carefully cut them out; this will be a frame that when attached to the other lid will hold the screen in place.

On your 2nd lid draw a line as shown and carefully cut out the center section. Use the square frame from the previous lid as a template to cut a piece of black (black color is important) screen material for the lid top. If you use silver screen it is hard to see what you are steaming underneath, as there is not enough contrast. After cutting your screen apply a small bead of silicon caulk on your lid frame. Lay your screen on top of the lid frame and place the frame template on top of that. Drill through both and rivet or screw into place with non-rusting rivets or screws (aluminum, brass, or stainless). Give the caulk 24 hours to dry before using. Buy a small rubber cork and drill the bottom of the bucket to fit the cork. This will be used for draining the bucket of condensed steamer water.
We placed a small 6″ clip-on fan above the steamer bucket but out of the line of sight to keep the air moving so that your view of what you are steaming is clear of steam that accumulates in the bucket.
So far after months of use no stone has been blown out of a piece of jewelry and not been caught in the bucket thereby saving many hours of search time or the prospect of having to replace a lost stone.
Ultrasonic Concentrate Refill Bucket
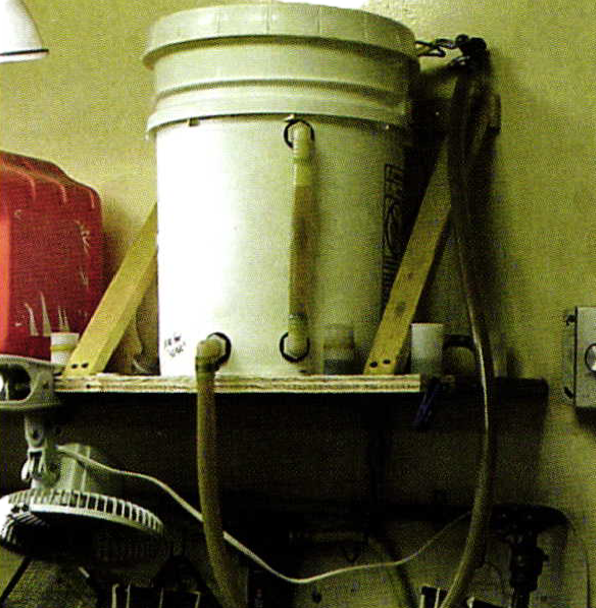
If you buy your ultrasonic concentrate in 5 gallons pails you know how heavy they are and how hard it is to pourjust the right amount is without spilling some. I made a wall shelf that holds this bucket right above our ultrasonic bench. This bucket only has to be lifted once when it is refilled. The filler tube puts the concentrate into the ultrasonic when it is time to change the solution. This allows anyone to clean the ultrasonic without having to lift that heavy 5 gallon bucket and also eliminates spills. It is a standard 5-gallon pail with a fluid level and a bottom drain tube built into the side.
You will need 3 nylon noncorrosive 1/2″ elbow thread on the one side and barbed end on the other, 6 of 1/2″ vinyl tubing, 3 rubber gaskets that fit the threaded side of the elbows, 1/2″ ball valve, a 1/2″ barbed end that fits into the ball valve and a 5 gal bucket.

Drill your bucket and install your elbows as pictured. Do not forget your gaskets. Measure and cut your vinyl tubing for the liquid level view tube. Install the view tube. Attach the end of the rest of the tubing to the barbed end of the drain hole elbow. Measure tubing to your application and cut the tubing. Assemble barbed end to ball valve and attach to cut end of vinyl tubing.
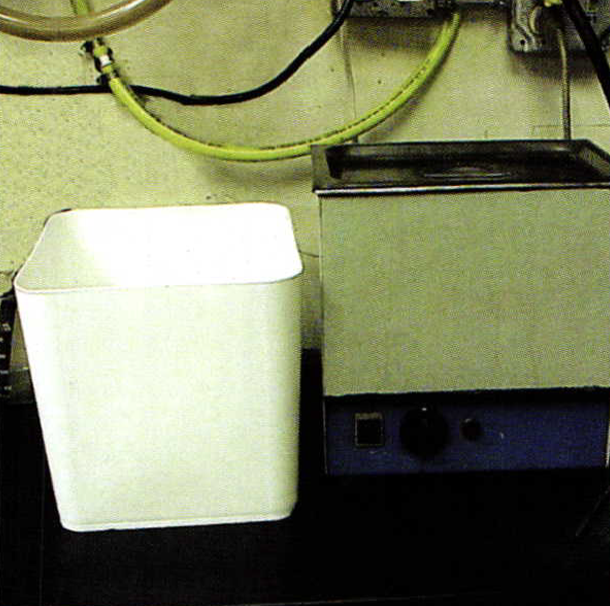
Ultrasonic Slurry Bucket
Ever tried to empty an ultrasonic with square edges into a round bucket? I usually spill a good amount each time. Try cutting down an empty kitty litter container. With its square edges it works great for an ultrasonic bucket. We have plugged all our ultrasonic drains to keep melee and small parts from getting lost in the drain tubes. The tiny screens they supply clog so quickly they seemed more bother than they were worth.
A piece of vinyl tubing that is a tight fit for the hole and a large stainless steel screw that expands it like a hollow wall anchor works well and has never vibrated loose like the rubber corks.
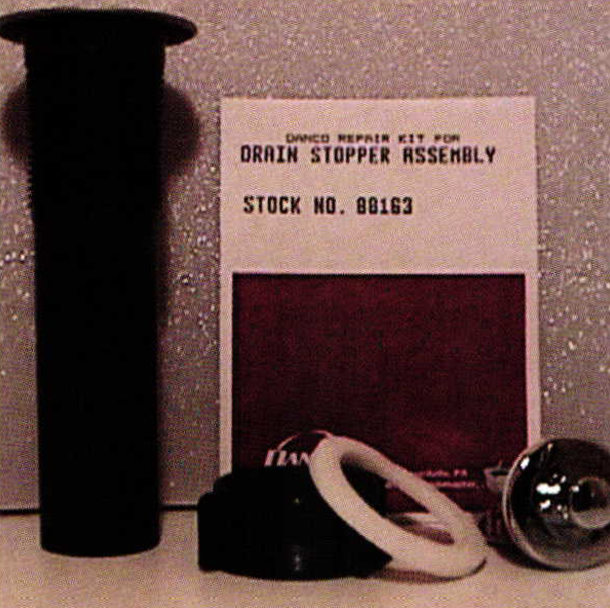
We all know from experience how much precious metal is in the bottom of the ultrasonic when it is time to clean it. This slurry bucket allows the heavy material to settle to the bottom and the water to drain off the top, trapping all the precious metal at the bottom. All you need to make it is the above pictured drain stopper assembly, the elbow shown in the picture on the right, and an empty kitty litter container.
Drill the bucket as pictured approximately 9″ from the bottom to fit the drain stopper assembly. Make sure you do not put it on the side where the handle is. Cut the drain stopper assembly and leave ½" of smooth tubing after the threaded portion. Install the assembly in the side of the bucket and don't forget the gasket or you will have a big leak. Now attach the elbow with the compression fitting and cut to length. We mounted ours to automatically empty into the sink.
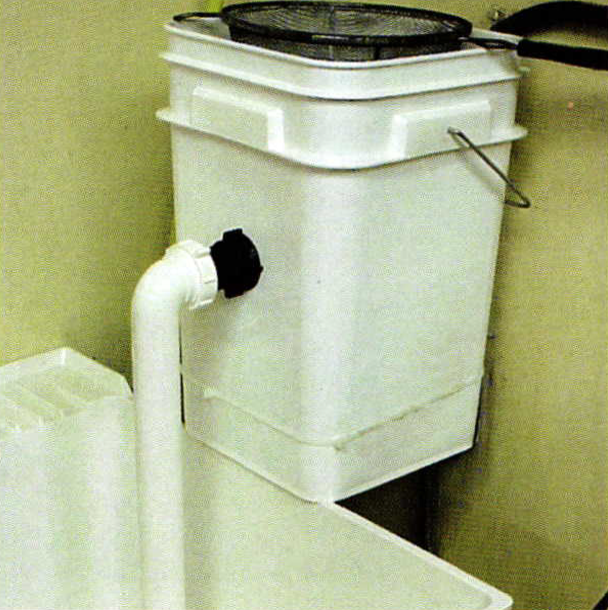
Now we empty our ultrasonic into the slurry bucket and poor the slurry bucket through the fine screen sieve sitting on top of the ultra slurry drain bucket. The screen sieve is an added precaution to catch any loose stones or items in the bottom of the slurry bucket that were not noticed.
Once a year, or as necessary.after letting the bucket sit over night, we pour out the excess water on top trying not to disturb the mud at the bottom. We then pour the mud into an appropriate sized container, allow it to dry into a solid brick and send it off to the refiner.
Related Articles

How to Make Prong Notching Pliers

Homemade Soldering Station Venting System

Customized Turntable Tool Rack

Tool Alterations


The All-In-One Jewelry Making Solution At Your Fingertips
When you join the Ganoksin community, you get the tools you need to take your work to the next level.
