
Creating Basse-taille Artwork
7 Minute Read
Although Amsterdam is the capital of the Netherlands, our government has its scar in Den Haag (The Hague). Therefore all Embassies are based in Den Haag as well. As there are also many large international companies stationed in the town, it will be clear that there is a large contingent of foreigners living here.
Creating Basse-taille Artwork Combining polymer etching and enamelling
Confronted with living in a strange country and a new way of life, the expatriates often flock together, meeting at their own social clubs and international gatherings.
One of these expatriates, Margaret Kafka, a well-known British artist, realized - while meeting a large number of other expatriates at the social functions - she seldom met anyone who shared her main interest, art. This made her decide to take an active part in altering this situation and in 1974, she created a meeting place for professional and non-professional artists and art lovers open for people of all nations. This club, the International Art Club of Den Haag, immediately flourished. Now, 40 years later, the IAC is still very much alive and kicking.
Naturally, there were many changes over the years, mainly caused by the fact that expatriates are usually stationed in our country for a limited number of years, and new members and new generations bring new ideas. This is what makes this club interesting, for there are always 'fresh winds blowing'- I have been a member from the beginning and I have never felt bored or disappointed.
When a small group of members decided to form an etching group, I joined. I had learned the etching technique many years before, but never owned my own etching press so I made good use of the club's press. You may understand, however, that after some time I returned to my favorite technique, enameling.
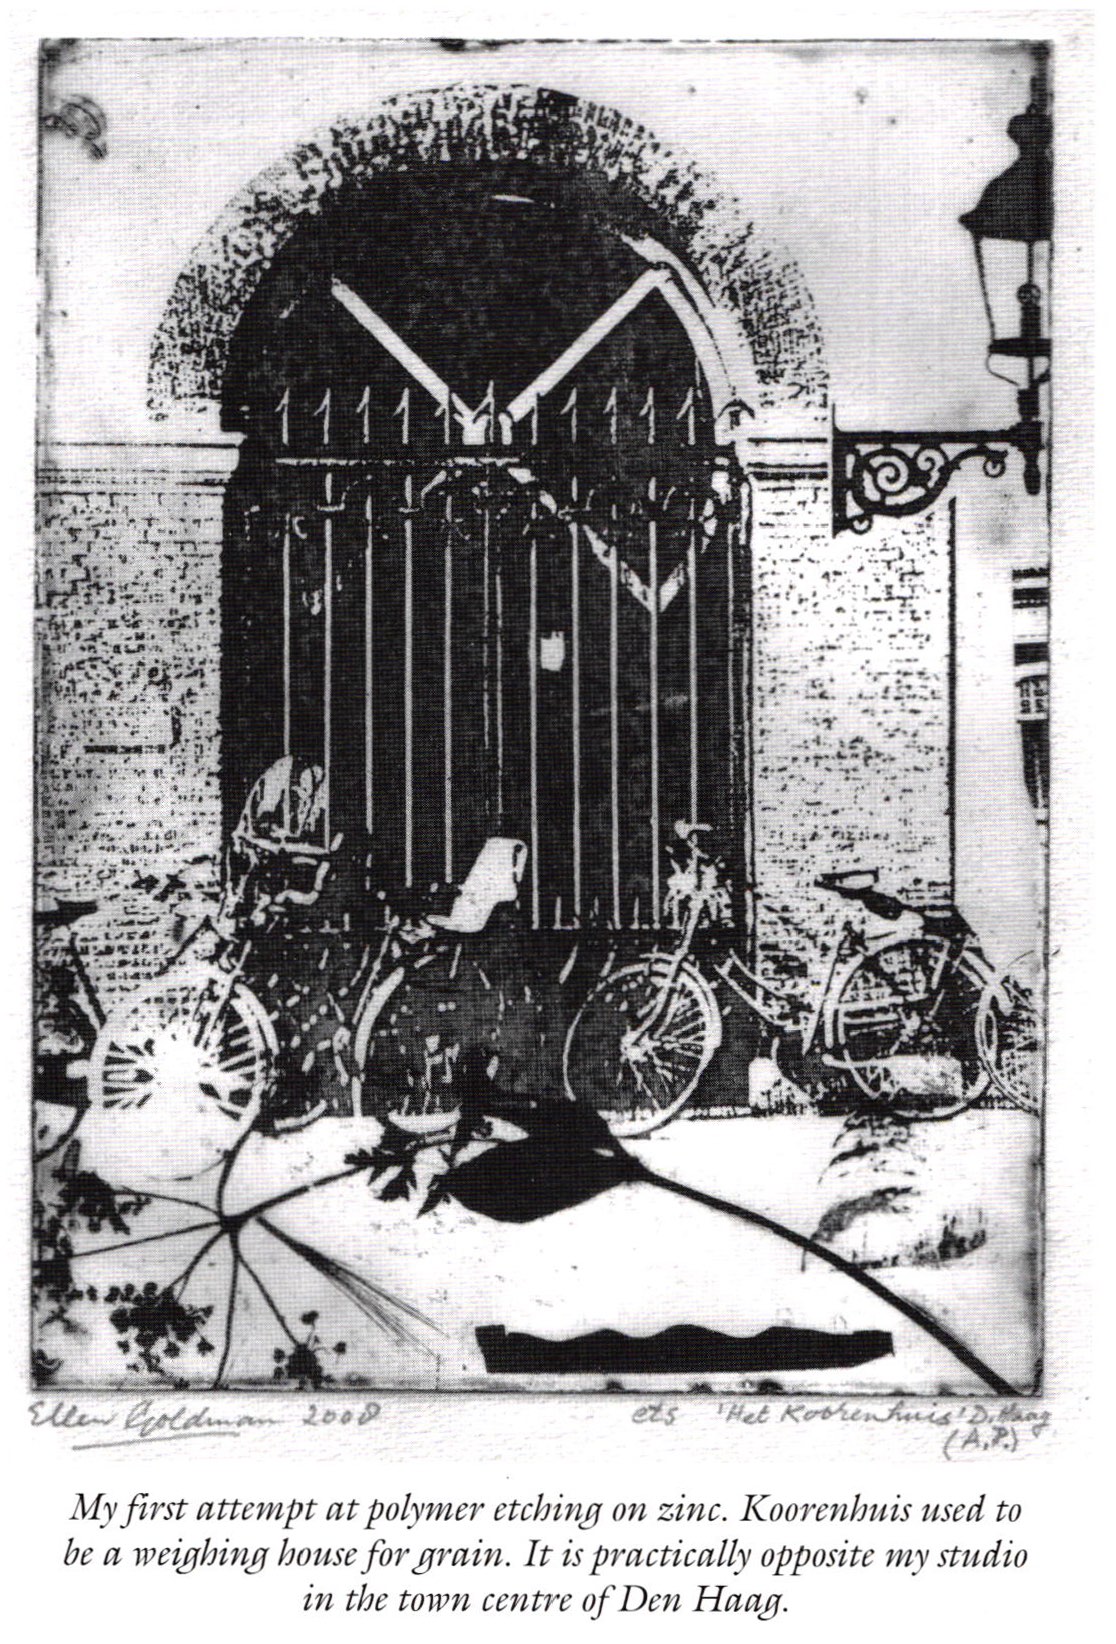
I am rather fickle in choosing the techniques I like to use, and last year I suddenly felt the urge to start etching again. As it had been several years since I had stopped etching, I decided to follow a 'refresher course' which was given at our local Graphic Studio which has the best equipment possible and is open to all professional artists. It is at walking distance from my own studio in the centre of Den Haag. The program mentioned polymer etching, a technique I had ever used so far. The course was to be tutored by a well known Dutch graphic artist, Paula van den Elshout.
Paula taught us the principles of polymer etching, using Imagon Ultra Rapid, an intaglio printmaking film brought on the market by the Graphic Chemical & Ink Company.

During this weekend we worked on zinc but I soon realized that the polymer etching technique could also be used on copper. This would give me the opportunity to enamel the plates when the etching had been done' I could cover the copper with clear transparent enamels, to end up with unique art works.
When I mentioned this to Paula, she remarked that she had always wanted to learn how to enamel, but had never been able to find anyone to teach her. It was then that we decided to trade knowledge and experience. Paula would help me with the modern etching techniques, and I would teach her how to enamel. This turned out to be an exchange which opened new possibilities for both of us, as we began to look at our work in new ways.
We started out dividing our work area between the Graphic Studio and my studio, but found it worked better if we did not have to walk up and down all the time.
The artist group to which I belong (Kunstgreepgs) offered us the use of a large etching press, I owned an enameling kiln, Paula brought in her enthusiasm and experience and provided the necessary films. There was only one hitch: the Imagon film had to be exposed and I had no equipment for this. Paula, however, had a golden idea, she showed me how to make my own 'exposure cabinet' from a card-board box. This box worked wonderfully well. (Naturally, it might also have been made of wood.)
Exposure Cabinet
We bought a builder's 500 watt lamp, and fitted this in a square opening cut in one of the sides of a large, cardboard box (mine was 60×60 cm). Placing the box on its opposite side, the opening flaps of the box could serve as simple doors to keep out any direct day light. The height from the side of the box (which was now functioning as a bottom) to the lamp was 50 cm.
The work in hand could be placed directly under the lamp. The only other things needed were: a sheet of window glass, a piece of black paper and two weights (I used paper weights but pebbles will work as well).
Test Run
- Once the box was ready, we ran a test. This is how we worked:
- Make a grey-scale laser print on a transparent sheet.
- File off the burrs of a strip of copper plate and clean, remove one peel-back layer of the Imagon film, and place the film on the copper plate which has been moistened with a little bit of alcohol. Press the film to the surface without using your hands, then used a rubber squeegee to remove any remaining moisture or air. When the Imagon film comes off the roll it is sandwiched between two layers of mylar. One of these is removed before the coating is done, the other after exposure.
- Place the copper covered plate with the film on the bottom of the box and put the plastic sheet with the image printed on top.
- A glass plate was put on top, using the weights to press the glass down.
- Turn on the lamp, close the flaps of the box and keep the light on for 3 minutes. Afterwards, take the black paper and cover most of the strip, leaving only a small part uncovered. Turn the light on again for 2 minutes. Continue this process until the entire strip is exposed.
- When this is done, remove the top peel-back layer of the film and develop in a soda ash solution.
- To create the soda ash solution, mix 10 grams of soda ash powder (l level tablespoon) with a little water, and add enough room temperature water until you have I liter. The working temperature of the solution should be 65 - 70″ F or 20″C.
- The plate should be left in the solution without stirring for I minute, then for another minute while the surface of the plate is being sponged. Clean under running water and dry.
- To stabilize the developed image rinse with white table vinegar. Do a final rinse in cold water and then dry the plate with a paper towel or a soft cloth. Harden the image in a warm place for a few minutes.
- For etching, we used Edinburgh Etchant, made by adding citric acid to a saturated (40%) solution of ferric chloride.
Printing and Enameling
I like to see the results of my work in every stage of the proceedings, so I always make a so-called 'blind print' (no use of ink) as well as one or more prints made with ink. When this has been done, the enameling begins.
Clean the plate of grease and ink. Then rub black underglaze (p-3) or any other finely ground enamel (liquid form enamel colors work well, I also had good results using the GPP-enamels) into the grooves on the plate. Clean the surface and sift a clear transparent flux (or light color) over the entire plate. Fire at about 780″ C for approximately 2 minutes.
The 'test run' I made, showing bamboo, was made with p-3 and #2110.I was really pleased that I had made the test run, for it clearly showed the exposure rimes needed to get the results I was after.
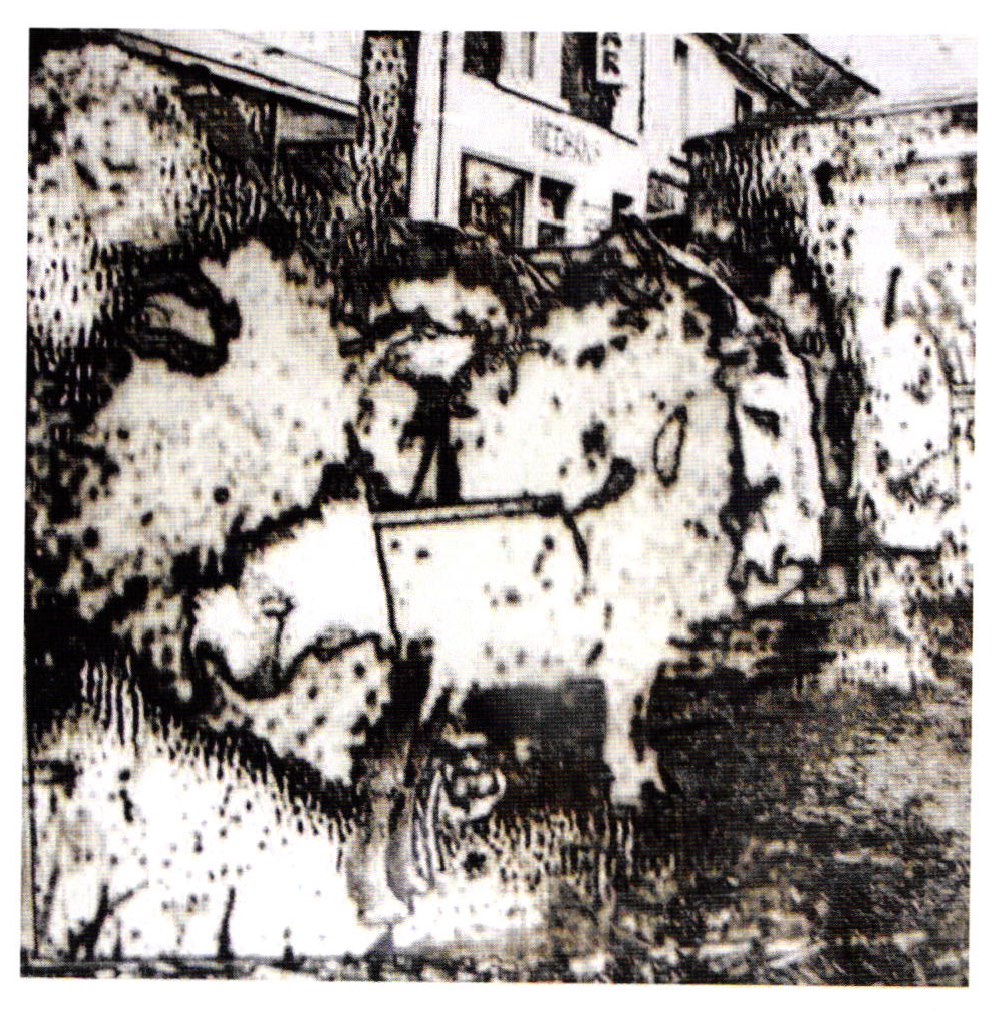
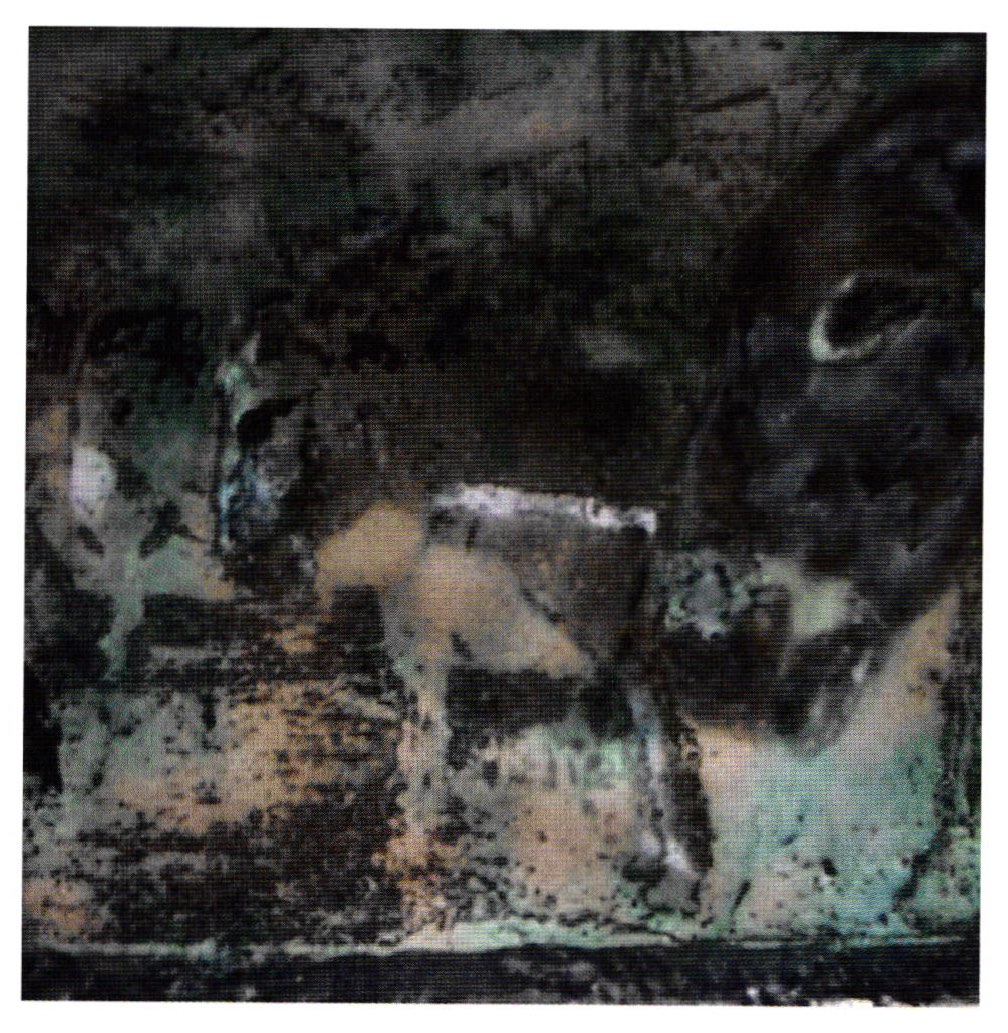
I went on etching a plate with the image of donkeys, waiting for their bosses behind a pub. Here, I added some transparent grey tones (#29I0 and #2915), sparingly, just to set the tone of the endless, patient waiting. The flux I used was #2007 (soft fusing), hence the greenish oxidation colors. Following layers of flux were #2020 and #2015, as needed in the image.
This basse-taille etching was the first-ever enameled artwork to be entered and accepted in a group exhibition of the Graphic studio, at the well-known gallery of the Haagse Kunstkring (The Hague Art Circle), together with the original inked print.
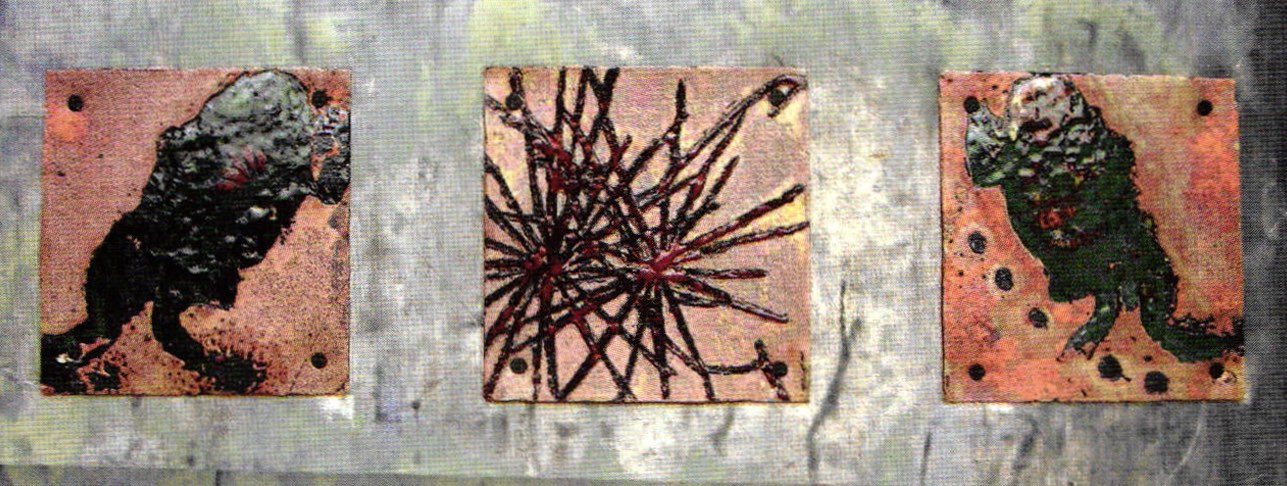
I add some of the enameled polymer etchings made by Paula van den Elshout to this article as a celebration of cooperation between two artists working in such different techniques as Paula and I do. Her works were shown in my latest studio exhibition where they were greatly admired by many of the visitors.
Related Articles

Liquid Flux as Etching Resist for Basse-Taille

W.W. Carpenter Enamel Foundation Workshops

Enameling Care and Considerations

Wire Wrapping Enamel Pieces


The All-In-One Jewelry Making Solution At Your Fingertips
When you join the Ganoksin community, you get the tools you need to take your work to the next level.
