
How to Make a Bas Relief Bowl
6 Minute Read
This article, written by Dottie Wood, shares photos and step by step procedure on how to make a bas relief bowl. Read on for more details.
I borrowed a kiln which had a controller that I could not figure out how to change the settings, which was for a burnout at 1350″F, so I winged it and went by the color of the coils in the kiln. The Bas Relief attachments came out perfectly the way I wanted with lots of oxides, however, the bowl required 4 firings (front and back - 2 times each), and I burned out my oxides which were beautiful in the first firing, but went away in the second firing of the bowl front.
I then realized when I attached the Bas Relief, I would need to crank up the heat and burn out the oxides on those, which subsequently left my edges burned black. I personally don't mind that, but for the purpose of publication or selling, I will file it down in the future.
I also wet packed too much around foldover tabs. This is sure a learning process. And, as before, the LCE-2 pushed down onto the bowl from underneath the tabs. May have to change my thinking on LCE-2, or not use as much. However, I can use it only when I want the shadow effect. Options - This is fun.
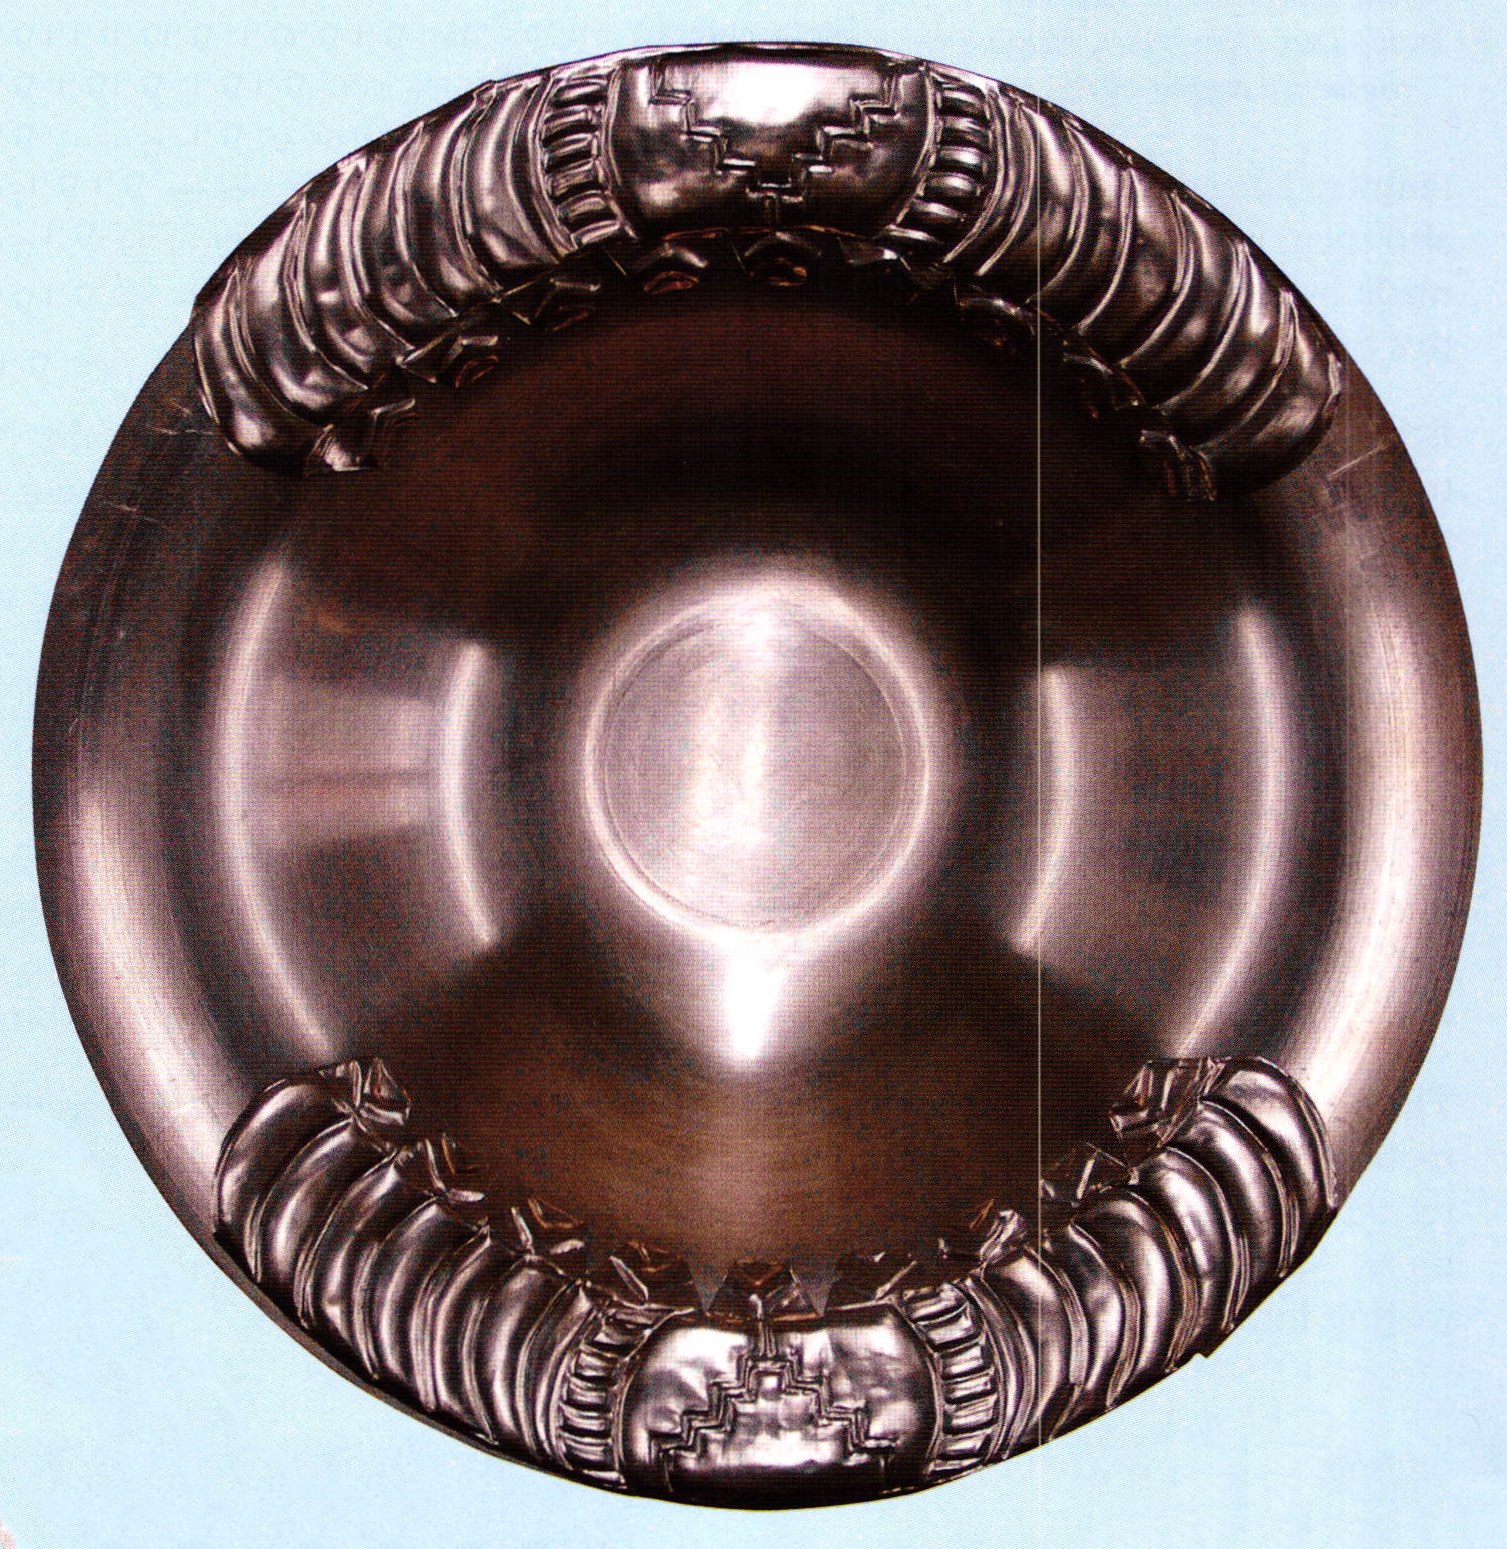
This is actually the second bowl I started, because I put too much LCE-2 on the back of the first bowl and got hills and valleys, white and clear, plus the front side was the wrong color for this project. I will stone the backside down and decide what I want to do with it after that. I love the color of the top (2430), but too green. I'll finish it next, but thinking about Bas Relief area color right now. The finished bowl I am submitting to you as Bowl #2 is too monotone.
Fourth bowl, I may leave kiln on 1350 degrees F as programmed and see how well I get my oxides I love.
Fifth bowl, I will use raspberries and aquas or something. Mix it up.
Having done chasing and reposse for a semester in school, and exposed to Maria Perez's workshop, I didn't really think I would work this way again. Having taken the Bill Helwig Workshop on Basse Taille and the Wet Out techniques two years before, I was looking to learn bench tricks, however, these last two larger scale workshops have really turned me on to working large, rather than with jewelry all the time.
I can't tell Bill enough about how much I appreciate his talent or willingness to teach with patience I know and patience in the same breath is an oxymoron. Or at least, I used to think that. Now I realize that he has a great deal of patience considering his talent.
It is at his request that these notes and photos are presented.
How to make a Bas Relief Bowl | |
| Step 1: Lay bowl upside down on tracing paper and outline bowl rim with pencil. | 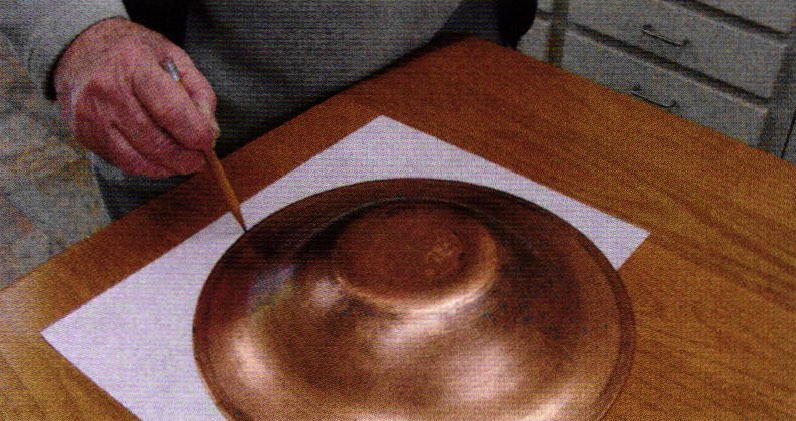 |
| Step 2: Measure depth of rim (decoration area). | |
| Step 3: Draw line inside rim where design will terminate. | 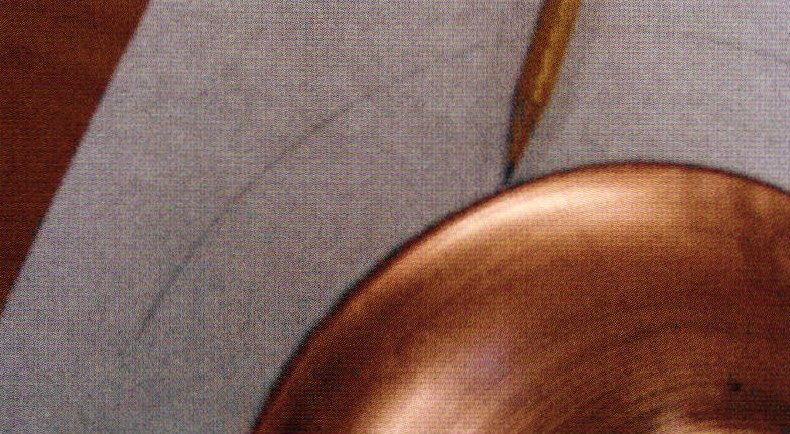 |
| Step 4: Draw design on tracing paper - keeping in mind the raised and recessed areas. Step 5: Make a copy (for actual use). Step 6: Cut 36-ga. copper foil to approximate size of design. | |
| Step 7: Anneal foil (if necessary) and clean in vinegar/salt bath and then Pennybright or similar soft scrub paste. Rinse and dry. | 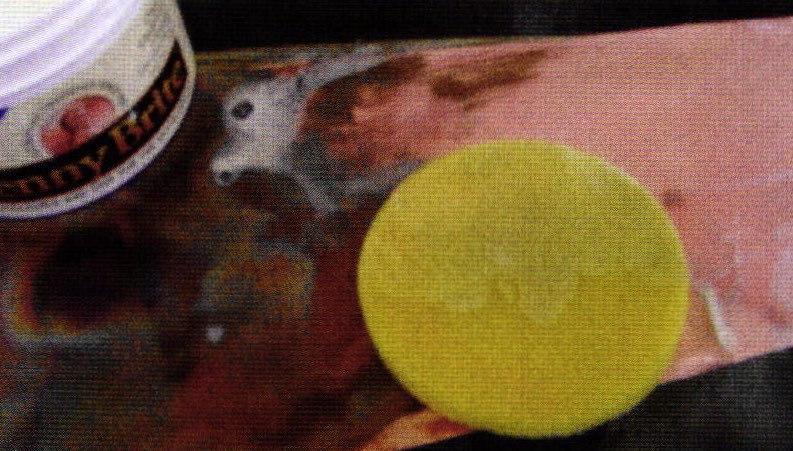 |
| Step 8: Tear off 1 ½ thickness of telephone book pages to use as pad for chasing and reposseing foil. | |
| Step 9: Lay clean foil on telephone book pages and lay pattern copy of pattern over foil. | 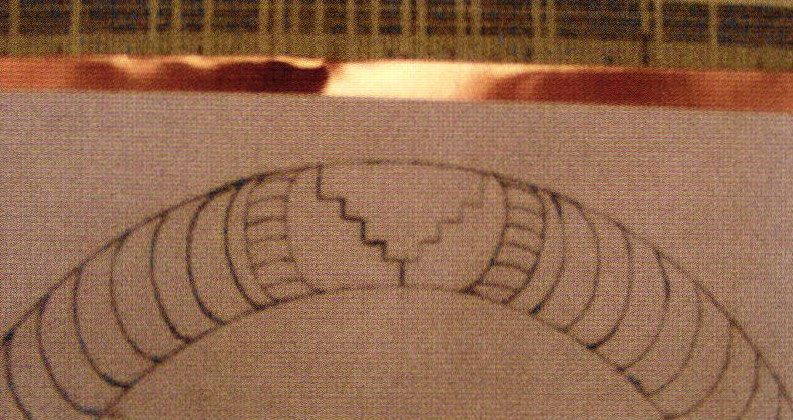 |
| Step 10: Using chasing tools, start imprinting pattern onto foil. | 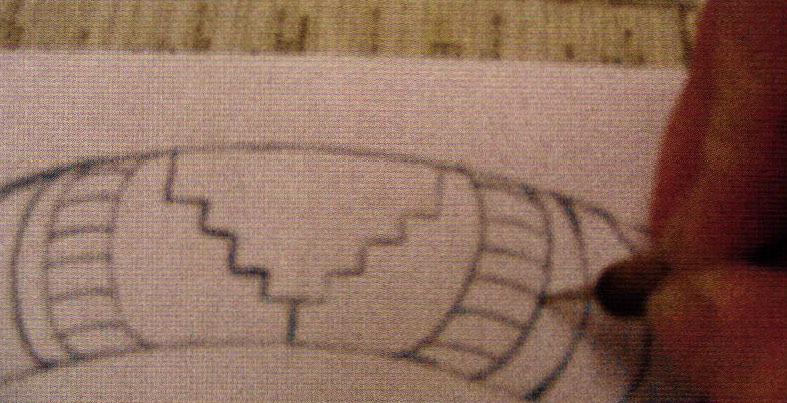 |
| Step 11: Remove pattern and work directly on foil reinforcing lines. | 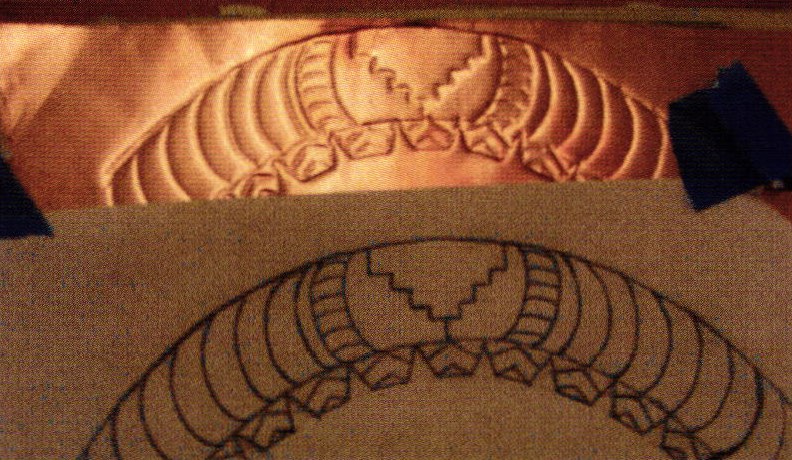  |
| Step 12: Flip foil over and start pushing from the back - working back and forth until desired results. | 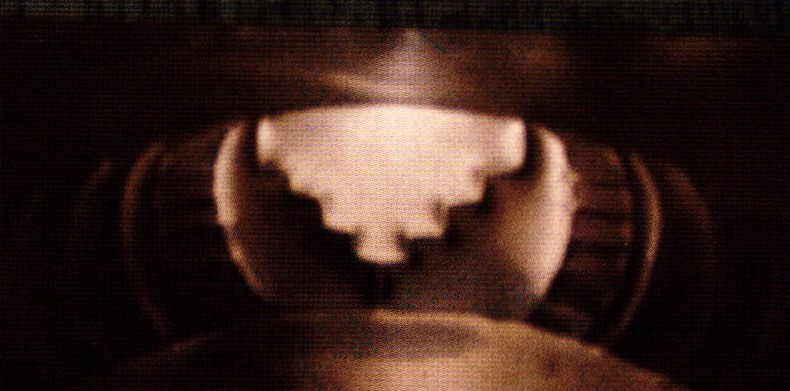 |
| Step 13: Cut out foil to fit bowl edge. | 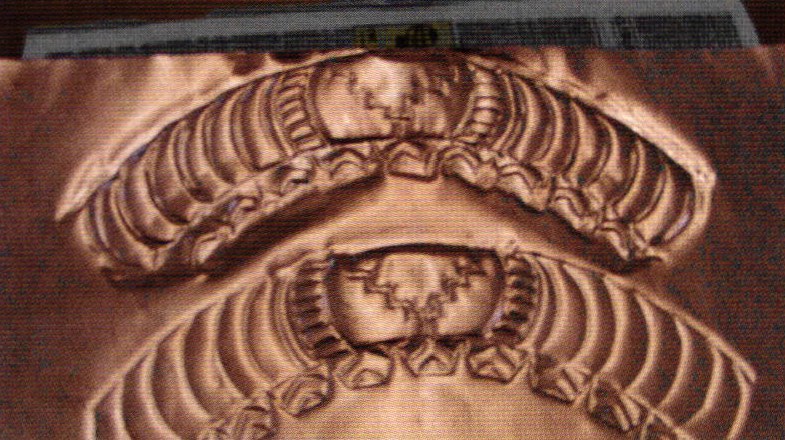 |
| Step 14: File/sand foil edges. Set aside. | |
| Step 15: Choose transparent enamels for bowl and the bas relief foil. Grade sift to 200 mesh. IJse large coin in sifter to help process the grains through the screen. Do this until fine powder is no longer drifting down from screen. Hold sifter up to light and shake to confirm powder no longer dropping. | 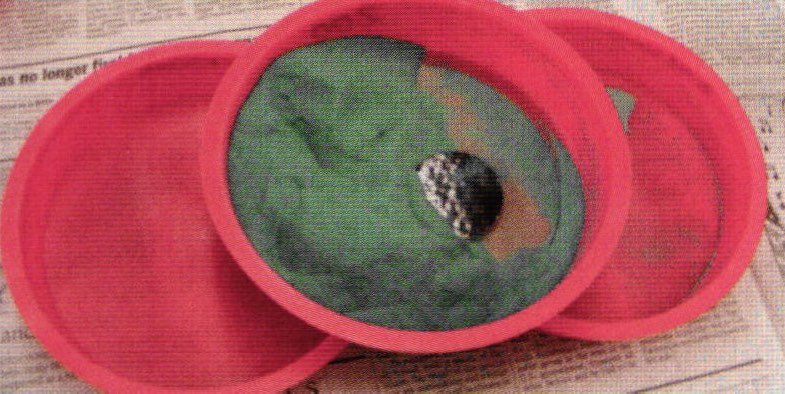 |
Step 16: Clean bowl in vinegar/salt bath. Rinse. Scrub with Scrub with Pennybright. Rinse. Glass brush with Joy liquid soap and water to polish. Step 17: Lay newspaper or brown paper on work surface. Place bowl upside down on jar or object that will allow bowl to be off the table surface in order to pick up with fingers later. | |
| Step 18: If you are going to enamel the back with only a transparent, brush back of bowl with Scalex. Otherwise, use LCE-2 and sift transparent or for opaque sift LCE-I or 3 on back and let dry. |  |
Step 19: Turn bowl up on trivets. Spray 3:1 Klyr-fire fine mist over bowl. Start your spray away from bowl and move across the bowl with fine mist. Step 20: Using 80 mesh sifter - sift last coat of transparent enamel. Dry. | 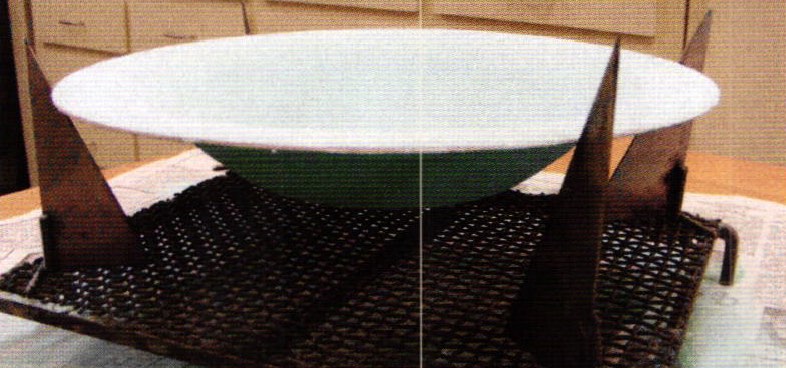 |
Step 21: Fire at 1450″F 4 X minutes or until smooth. Remove from kiln and cool. | |
| Step 28: Clean Scalex off back once again. If using transparent on back, make sure back is very clean. | 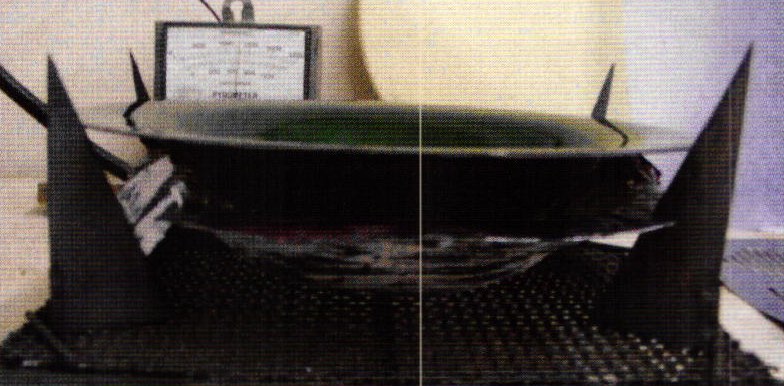 |
Step 29: Turn bowl upside down on jar. Spray fine mist of 3:1 Klyr-fire | |
Foil Steps | |
| Step 36: Using large soft brush, apply LCE-1 to back of foil pieces. |  |
| Step 37: Using 80 mesh sifter, sift 80-325 transparent enamel to back of chased and repoussed foil pieces. Dry. |  |
Step 38: Turn foil over, spray 3:1 Kly-fire to front and sift 1st coat 80-200 mesh transparent on foil top surface. Dry. | |
| Step 42: Place enameled Bas Relief foil pieces on enameled bowl. Adjust design to fit (this may require some cracking of the enamel). | 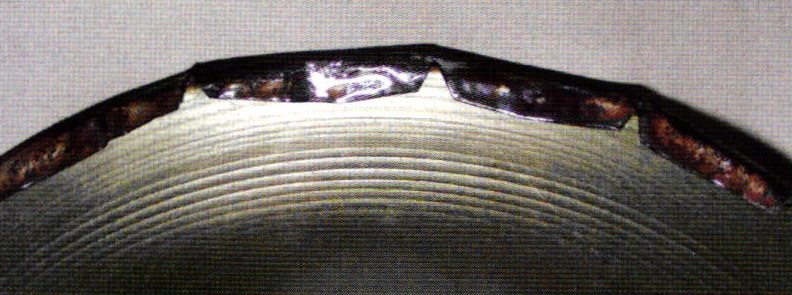 |
| Step 43: Wet pack enamel around edges and let dry. | 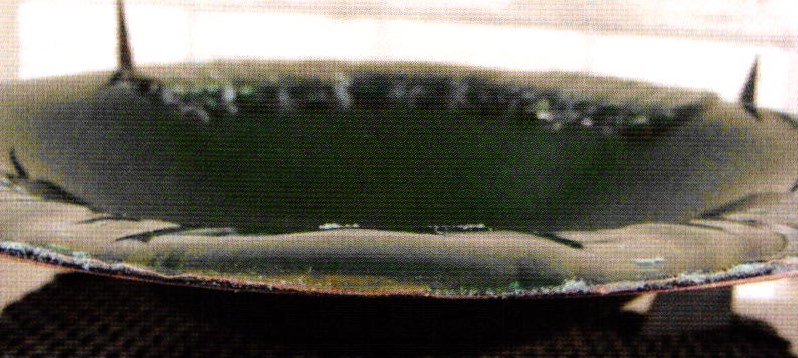 |
| Step 44: Fire at 1450 degrees F - 3-4 minutes or until smooth. Remove from kiln and instantly press down (using small spatula) any edges that require it. Cool. | 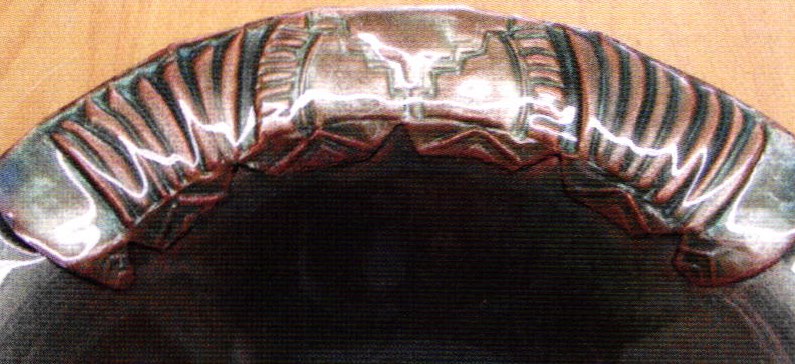 |
| Step 45: Clean up edges of bowl with file or diamond file as needed. Refire at 1450 degrees for I ½ - 2 minutes. Cool. | 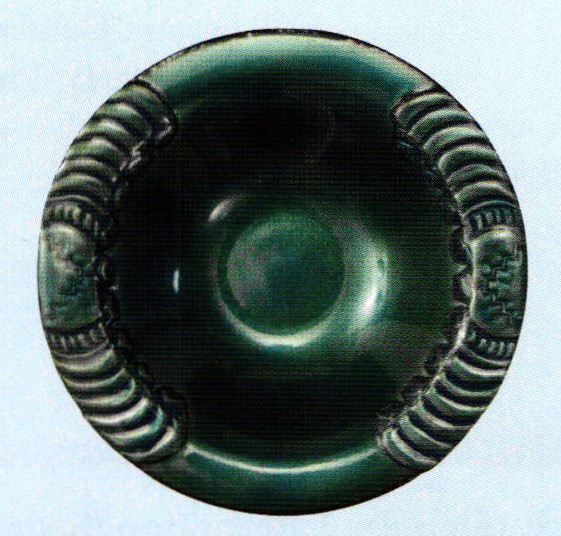 |

Related Articles

Liquid Flux as Etching Resist for Basse-Taille

Goldsmithing: Repoussé and Chasing

Pitch Bowls and Alternatives for Jewelers

The Goldsmiths: Studio & Shop


The All-In-One Jewelry Making Solution At Your Fingertips
When you join the Ganoksin community, you get the tools you need to take your work to the next level.
