
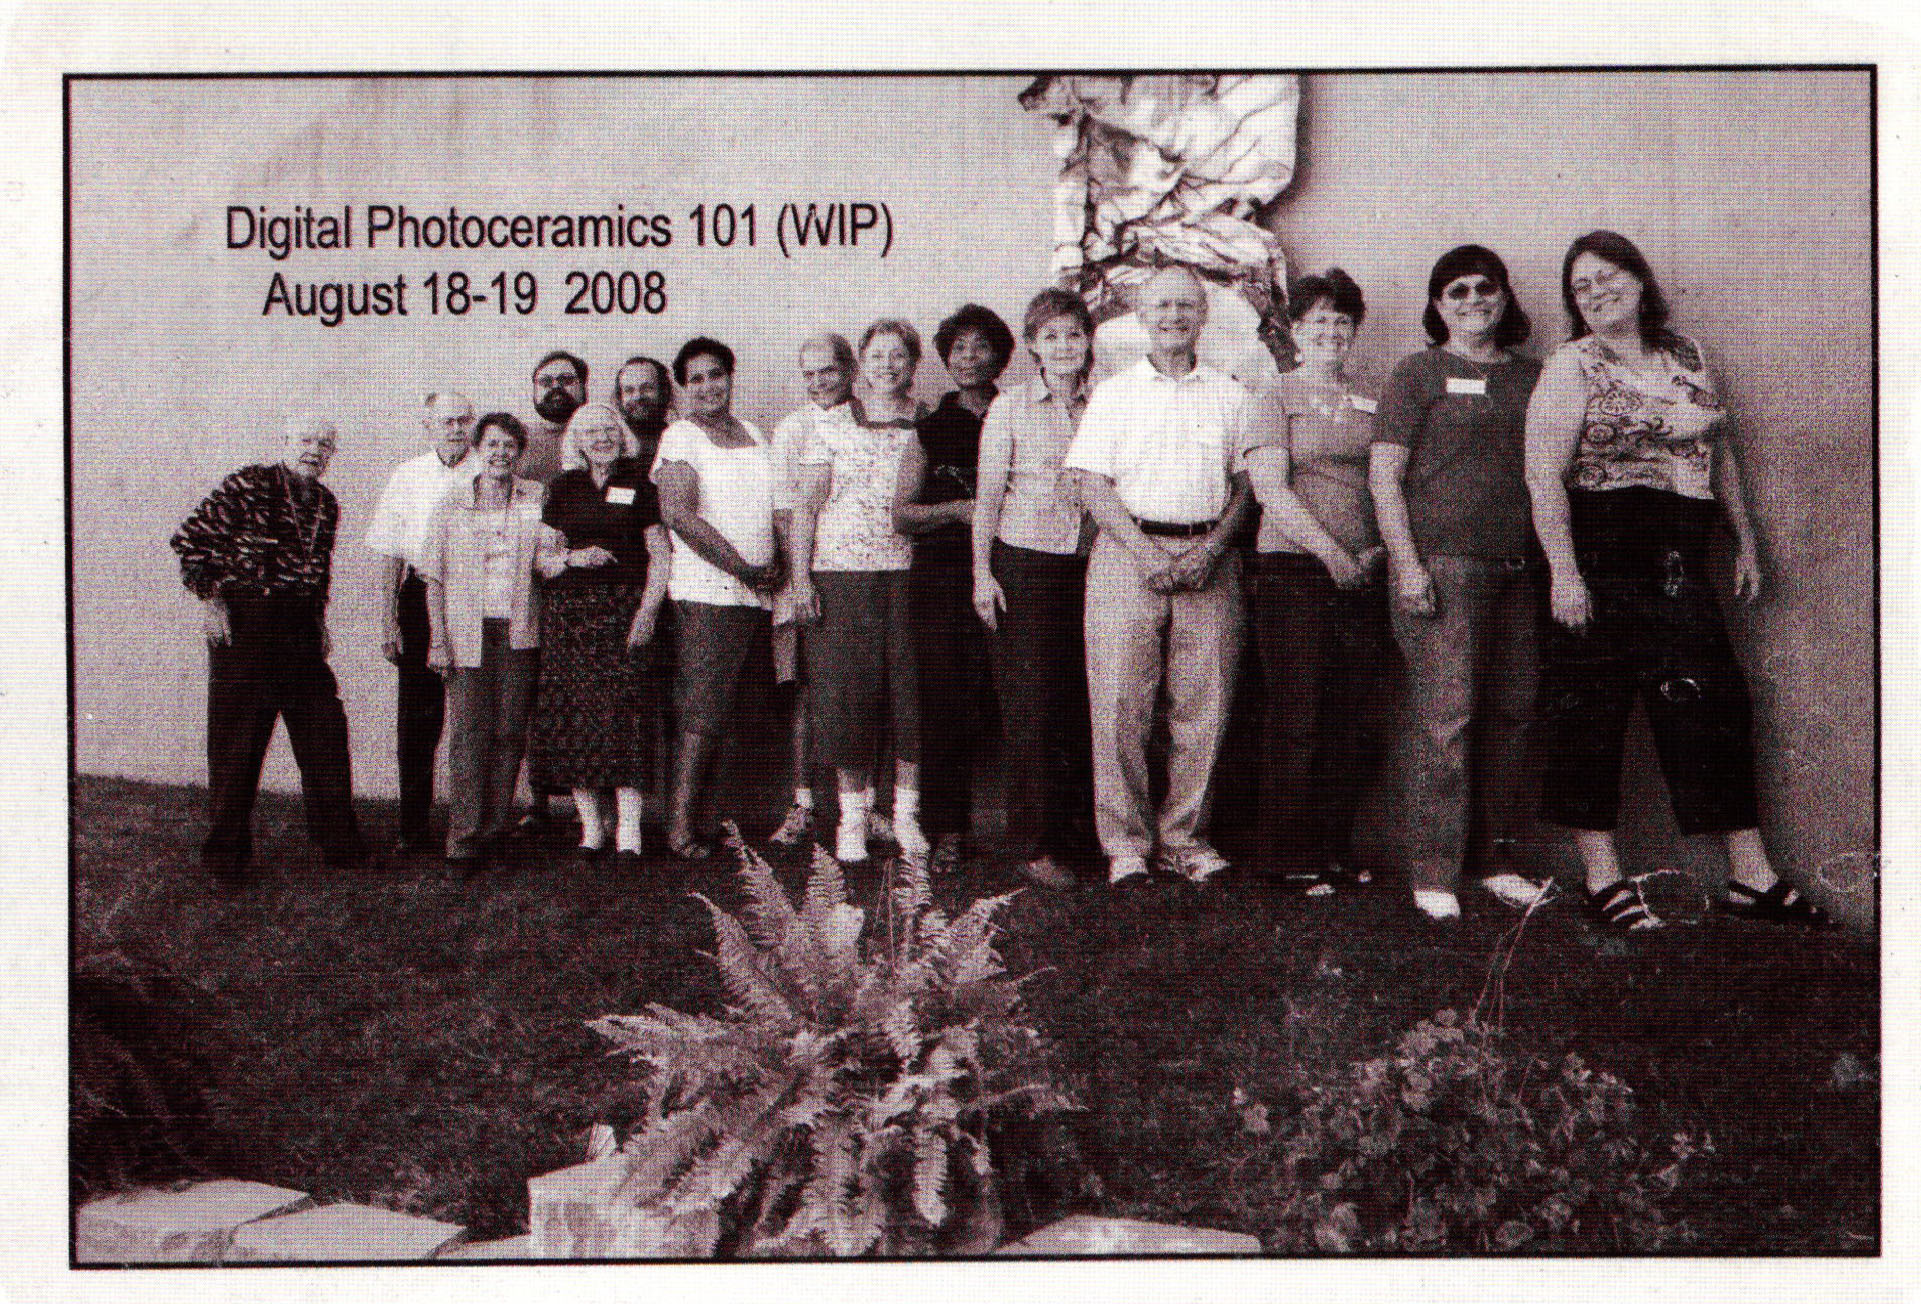
2008 Enamel Foundation Conference
5 Minute Read
Our second conference was a success! The conference started promptly at 9 a.m., August 18 - a beautiful sunny day. Ben Caldwell's demonstration of his double-torch, large-scale enameling was first up. He setup on the Thompson's loading dock thus providing a birds-eye view on three sides.
Large-scale Enameling - Ben Coldwell Style
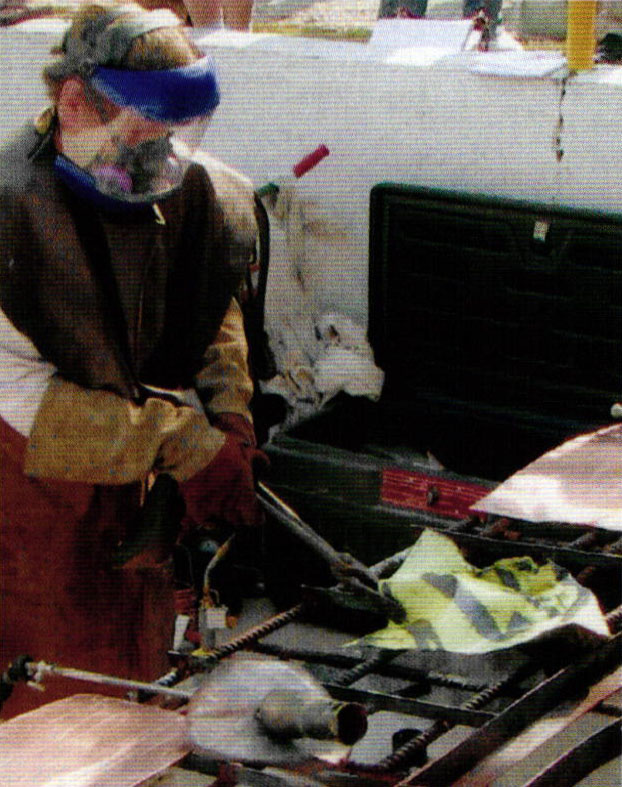
Ben utilized safety first. He wore a face shield with chin guard, respirator, leather apron, welder's gloves, long pants, turtle neck, boots and ear plugs.
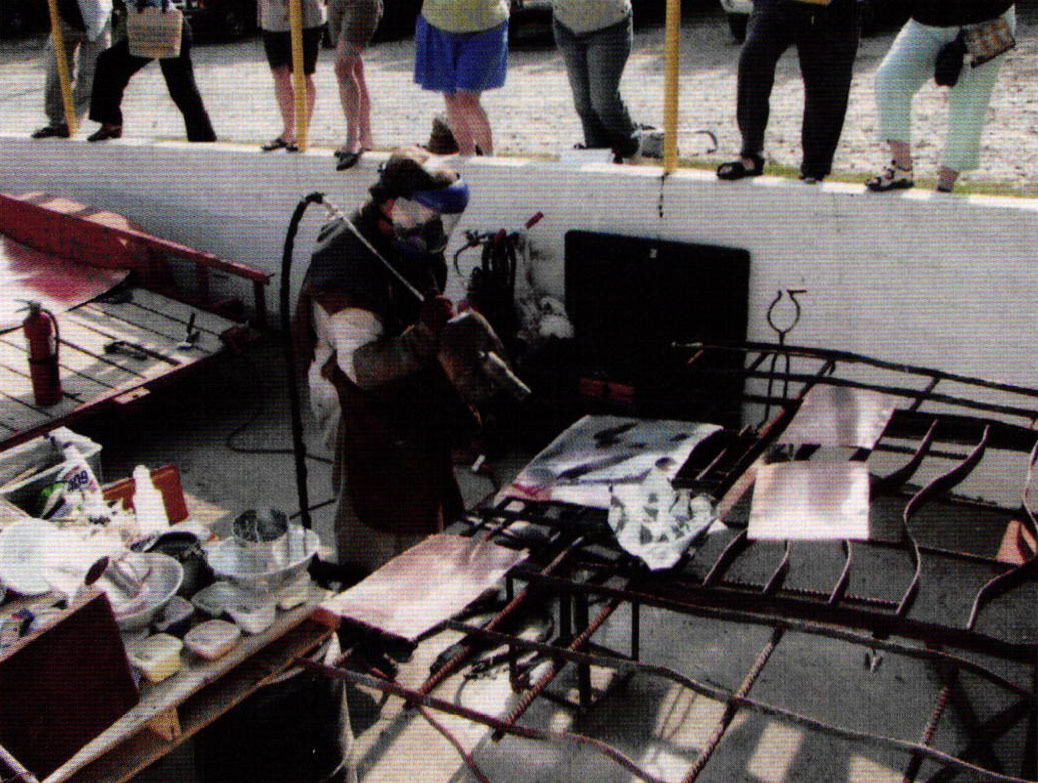
The work table (Figure 1) was an iron grid with a steel pipe about 3 inch diameter and about a 30 inch length serving as a center leg. One end of the pipe was welded to the bottom center of the work table. One end of a second piece of pipe, slightly smaller in diameter, was welded to an angle iron base. With the angle iron base setting on the ground this second pipe stood vertically and the larger pipe was encased over it thus making a large lazy susan. The work table could be rotated so all parts would be reached with two torches. Torch "A" was hand- held above the work table. Torch "B" was mounted, in a vertical position, on a small iron table with casters. A pair of long-handled tongs were used to move the table with Torch "B" from place-to-place under the work table.
Each torch was connected to a separate 100 lb. propane tank. The hose was a double-lined hose with welders spark shield. Torches appeared to be weed burners from Harbor Freight. 24-ounce (20 B&S gauge) copper sheet was placed onto the iron grid table . The top side (no counter enamel) was cleaned with 409 Cleaner using a Scotch-Brite pad. DRY POWDER form of Thompson's 'Liquid Form Enamel - Water Base' was sifted using either a flour sifter or a sieve pan (about 10 inch diameter), both are normal kitchen utensils. The enamel was fused one area at a time moving both torches in a more or less synchronized manner.
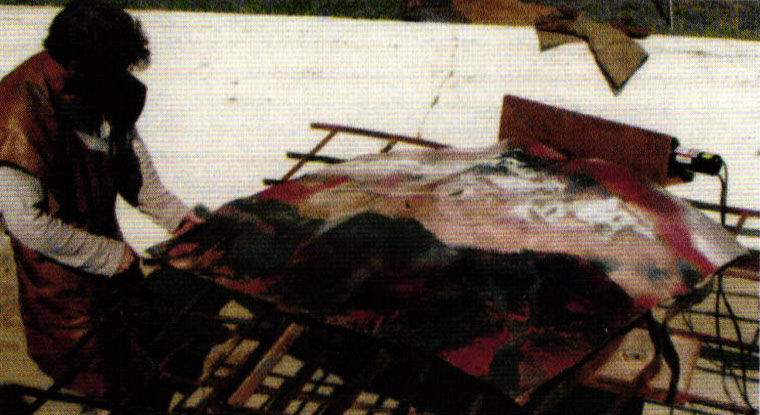
An enameled piece which was picked up while hot with the tongs (Figure 2), and held in such a manner to allow it to sag and bend into a free form shape from its own weight.
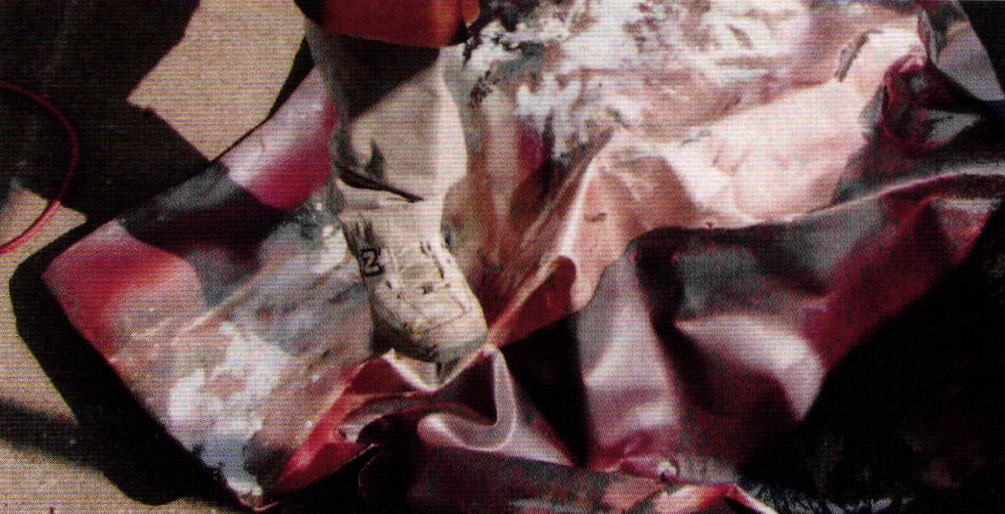
Ben shows how to flatten a hot piece that had bent too far (Figure 3). It is laying on a fire proof panel such as transite or marinate board. We neglected to examine the shoe.
Ben uses a modified electric wire cable winch (Figure 4) to help form the enamel. With the enamel laying on the wire cable, Ben loops the wire cable around two front corners of the enamel and his assistant threw the switch for an instant and the enamel was pulled against the back stop forming more crinkles.
We had five of his larger enamels on display. They ranged from 55×85 inches to 4.2×13 feet.
Enameling Photos Presented by Harry Barnett
A photo was taken of students in Harry Barnett's Ceramic Decal workshop (Figure 5). The picture was taken with a digital camera, down loaded to a computer, grayscale adjusted and printed on decal paper using an Epson 1280 printer with a special fluid rather than the usual ink.
The decal paper from the printer was dusted with a black ceramic pigment using a pad of cotton to bring up the image. A clear lacquer was brushed over the image thus completing the decal. The decal was transferred to the 8×10 inch white enameled plate in the usual manner) dried at 125° F for 30 minutes and fired at 1425° F for three minutes. The procedure is some what temperamental but with care works like a charm.
There are some stumbling blocks. The Epson 1280 is no longer made. Harry has purchased a couple used ones and one of the students found one on Craigs List a few weeks ago. Harry also uses a clear fluid in the ink cartridges. He supplied an address where new empty cartridges for many printers can be purchased. He also supplied a formula for making your own fluid.
Some preliminary work was done using an ink jet printer with its normal ink. A picture was scanned and printed on decal paper. It was immediately dusted as above, coated with clear lacquer, transferred to an enamel surface and fired. If the original scanned picture was black and white the fired results were fairly good. If a color original was scanned, the results were far from acceptable. Perhaps a computer expert could correct this.
Harry makes very high quality fired photos on vitreous enamel and glazes with this process. Others can also with an equal amount of determination.
Demonstrations, Workshops and Presentations
There were three hands on demonstrations. Jaime Frechette demonstrated her Eutectic Process and every one had an opportunity to experiment. Tom Ellis demonstrated a free-hand painting procedure which took every ones fancy. Some worked far into the evening with it. The writer demonstrated how to make an enamel cabochon using scrap enamel and firing it as the furnace cools after turning it off at the end of the enameling day. Every one was successful.
As a change in pace there were several presentations. Ellen Goldman gave a Power Point presentation relating to her career in enameling. Bill Helwig gave a Power Point presentation about his enameling career. Ben Caldwell shared his thoughts about art and his mission with large-scale enameling. He answered the many questions about his demonstration. Michael Dorsa told us what we would see later in the day when we visited his studio. The writer showed a 1988 home movie of Go De Kroon's unique method of torch firing with a hand-held propane bottle and a hardware store torch.
The workshops taught by Susan Hunt, Bill Helwig and Tom Ellis were filled with enthusiasm. Most students worked late both evenings. As with most get-togethers, the conference and workshops were a great time to catch up with old friends, meet new ones while brushing up on all the latest in the enameling world.
Our conferences were originated in 2006 as a biennial affair to be held in alternate years of The Enamelist Society's conferences. We look forward to holding our 3rd Biennial Conference in 2010. We welcome your suggestions and will try to plan another interesting conference.
Field Trip to Dorsa Studios
A last minute change in our schedule was a field trip to Dorsa Studios in Cincinatti. Here we saw demonstrations with three engine-turning lathes. It is very unusual to find a studio artist using all three lathes, rose lathe, straight-line engine and brocade engines. Engine turning became an increasingly important method of preparing metal for enamel in the 1770s. Faberge popularized it a hundred years later. Read more about Michael Dorsa and his studio on page 109.
Related Articles

Metalwork: A National Invitational Exhibition

The Enamelware of John Smith

10th Brazil Gem Show: Back to the Source

Full eBook: Practical Jewelry Rendering


The All-In-One Jewelry Making Solution At Your Fingertips
When you join the Ganoksin community, you get the tools you need to take your work to the next level.
