
Making a Metal Brooch Frame
7 Minute Read
This is a metal frame for a brooch which can be made without any soldering. Findings can be glued or riveted to the back of the frame.
You can enamel directly onto the frame or you can use it to glue an enameled plate in. If you want to enamel directly to the frame, do not rivet the findings as the enamel may crack or pop off on or around the rivets.
Making a Metal Brooch Frame without Soldering
Make a sketch of your shape and transfer it twice to a 5-6 mm thick plastic sheet. Try to find a tough elastic material. You can find such plastic sheets in businesses which make lighted advertising or other outdoor advertising. Acrylic is not suitable since it is very hard and can splinter in the course of working. Using a jigsaw, cut two identical pieces (Fig. 2).
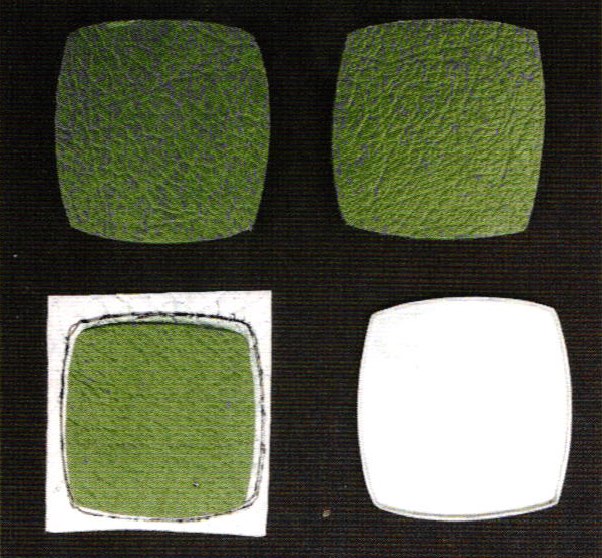
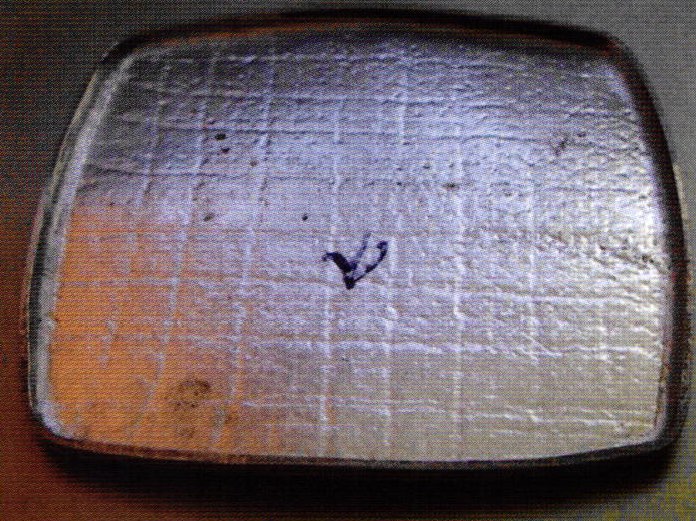
Transfer the outline of one of the plastic shapes to a 0.7 - 0.8 mm fine silver sheet. Enlarge the size of the shape by adding an extra 2 - 3 mm to the outline or perimeter of the shape as this will become the bent over "frame" of the shape. (Fig. 2). If you want to enamel directly on the frame, you need only a rim height of about 1 mm. However, you will still need at a minimum 2 mm excess or you will not be able to bend it over. All types of shapes are possible with this technique, not only round or square (Fig. 3).
Make a 'sandwich' with one plastic sheet on either side of the silver sheet. Make sure the excess sticks out uniformly on all sides of the 'sandwich.' Clamp the 'sandwich' in a vice (Fig. 4).
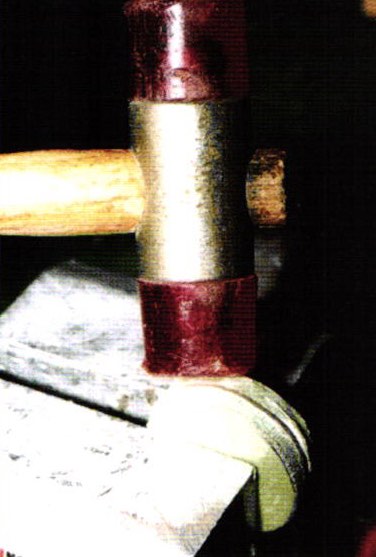
Hammer the silver rim excess over with a mallet or other 'soft' hammer to one side of the plastic sheet. Try not to bend the rim over in one step, do this in about three steps so the rim doesn't build up folds (Fig. 5).
Remove the silver sheet from the plastic. File away the little folds, other roughness and the top of the rim as needed. If you are going to enamel directly on the silver frame, file down the rim to a height of about 0.8 to 0.9 mm.
If you want to make a pendant, drill a hole in the silver sheet. If the work piece is to be stoned after enameling, it is best to dome the metal frame a bit. Do not dome on a dapping block, but on a stake.
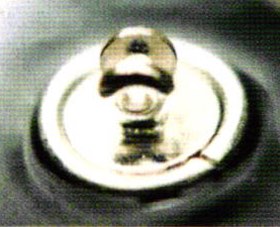
If you want to make a brooch, now is the time to solder the findings on the back. If you are not comfortable soldering, do the following: If you want to glue round 'footed' findings (Fig. 6), lay two round, formed silver rings made from one mm fine or sterling silver wire to the back of the work piece frame.

Apply wet enamel to the back. The enamel must fasten the rings from the outside, keeping the inside of the rings free from enamel (Fig. 6). After drying, fire the enamel. Now you can enamel the front side. After all enameling is done, glue the findings into the rings (Fig. 7).
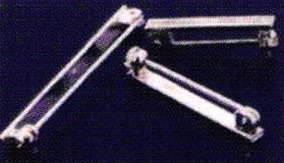
Because the rings are very small, it would be easier to use a commercially manufactured bar pin (Fig. 8). For these, make a little rectangular box shape from silver wire and secure with enamel as explained above, again, keeping the inside of the box free of enamel. These wire rings and boxes have no technical function, their function is to make a more finished look to the back.
If you don't want to glue findings onto the frame, you can make rivet findings. Most of the commercially made bar pins have two holes in the base plate. If they do not, you will have to drill them yourself. Transfer the hole placement on the bar pin to match them to the metal frame. For brooches, the findings (bar pins) should always be fastened in the upper third of the brooch, otherwise the brooch will fall in front when it is worn.

Both the holes of the bar pin and the frame plate must have the same diameter as the wire you make the rivets from. To give the rivets more bearing surface, drill holes conical with a ball drill bit. (Fig. 9). Drill out half of the frame metal sheet and the bar pin finding plate thickness.
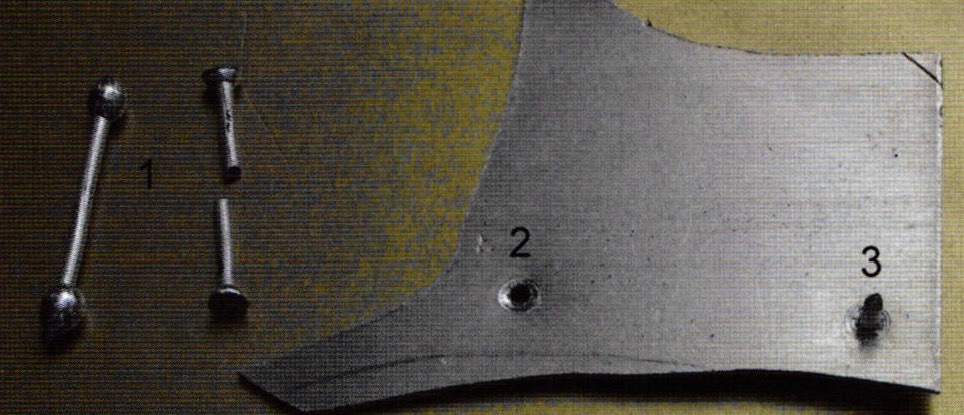
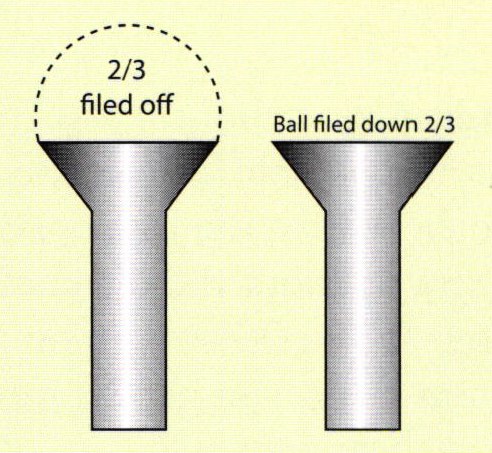
Cut a 3 cm long round fine silver wire. The wire must have the same diameter as the drill holes in both the metal plates (bar pin finding and frame metal plate). Melt both wire ends to a small ball and divide the wire in the center (Fig. 10). File the top 2/3 off of both balls (Fig.11).
Align the bar pin finding holes to the holes on the metal frame.
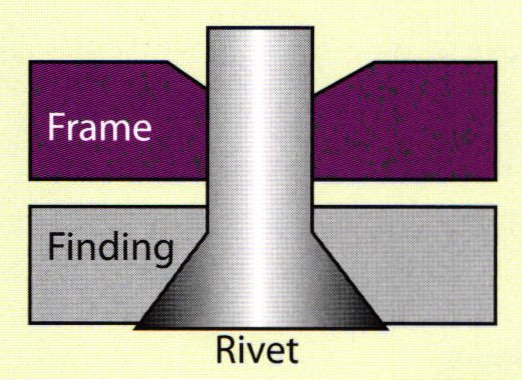
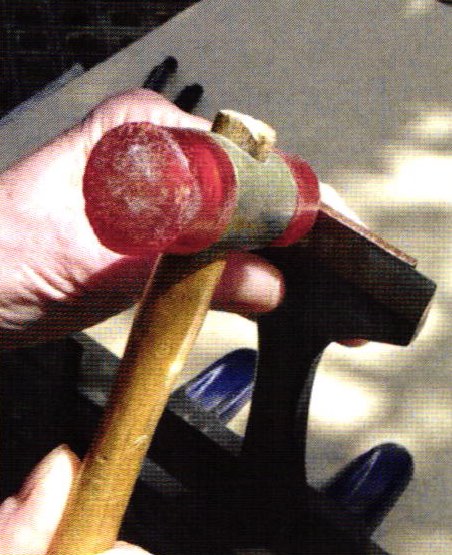
Thread the rivet(s) through the bar pin holes so that the rivet head is needle side of the bar pin finding and the wire is protruding through the hole(s) in the silver metal frame. Cut the wire so that only about 0.5 mm is protruding above the silver metal frame. Place the rivet head onto a hard base. Rivet the wire first with the hammer fin, then with the flat side of the hammer.
Hammer the rivet until the finding and silver frame are absolutely tight together. Now you can glue in the enamel work into the bent over frame.
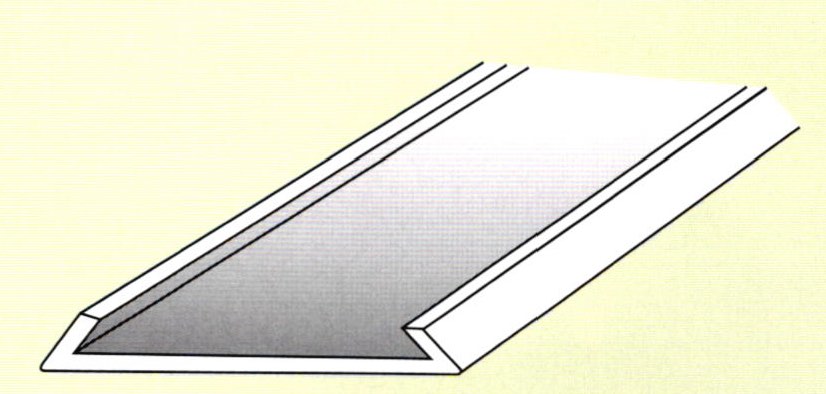
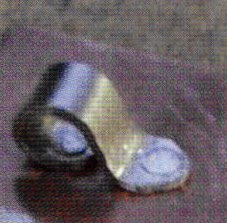
Another Simple "Bend Over Frame"
Note: This frame is bent over only on two straight sides, much like a sleeve.
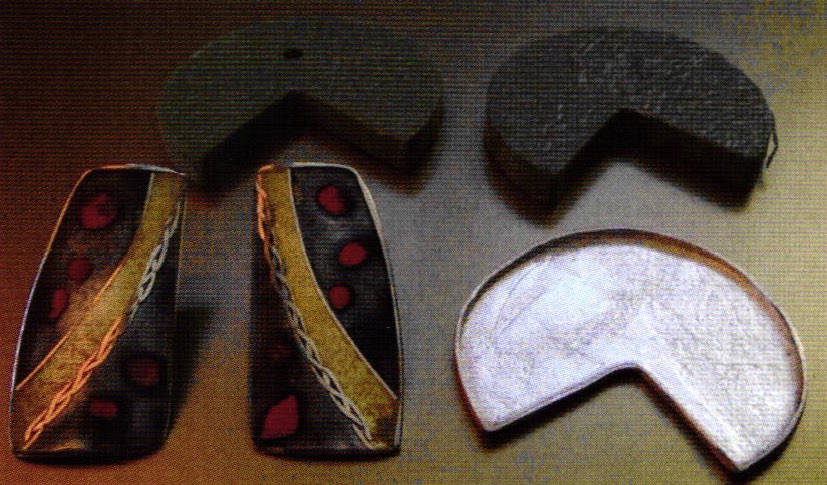
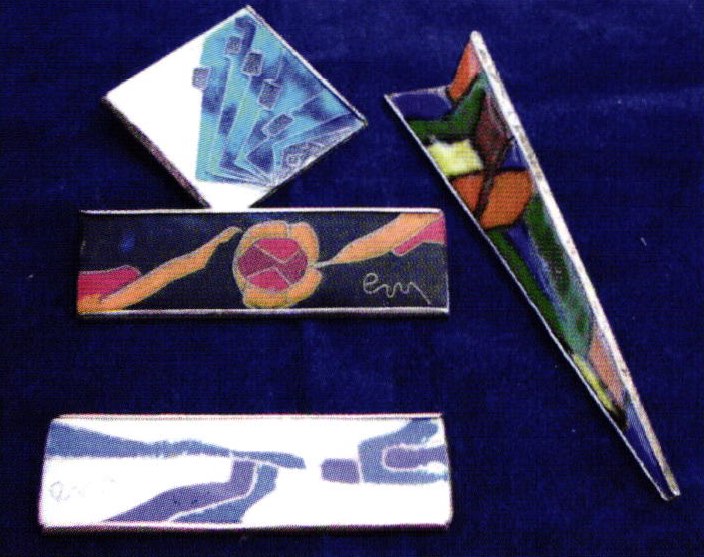
For this frame your enameled piece must have two straight sides. The examples shown here were made from copper (Fig. 14).
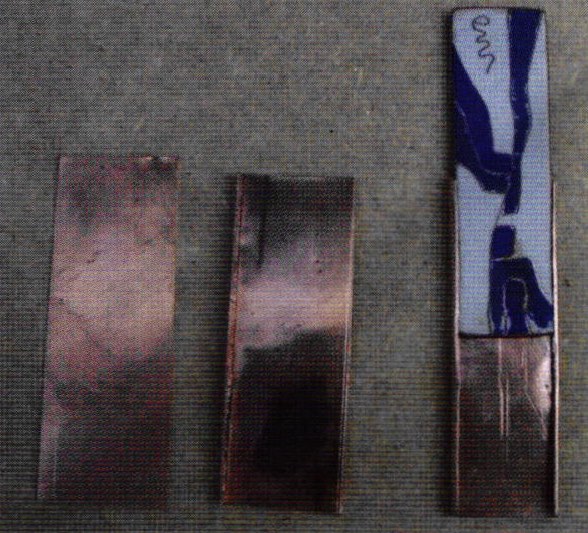
You can use fine silver or a silver alloy about 0.5-0.7 mm thick for the frame. Transfer the outside lines of the finished enamel to the silver sheet. On the two opposite straight sides you need an extra of about the thickness of the finished enamel plus about 0.5 to 0.7 mm. For example: if the enamel is 2 mm thick, you need2 mm + 0.7 mm :2.7 mm extra on each straight side.
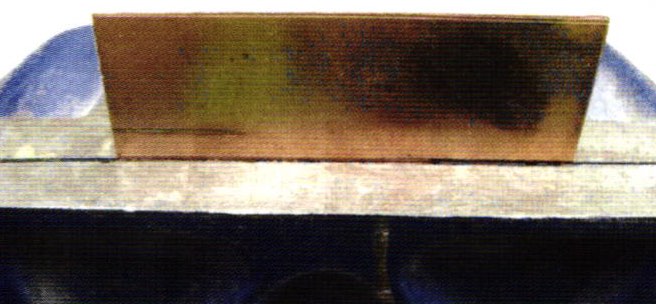
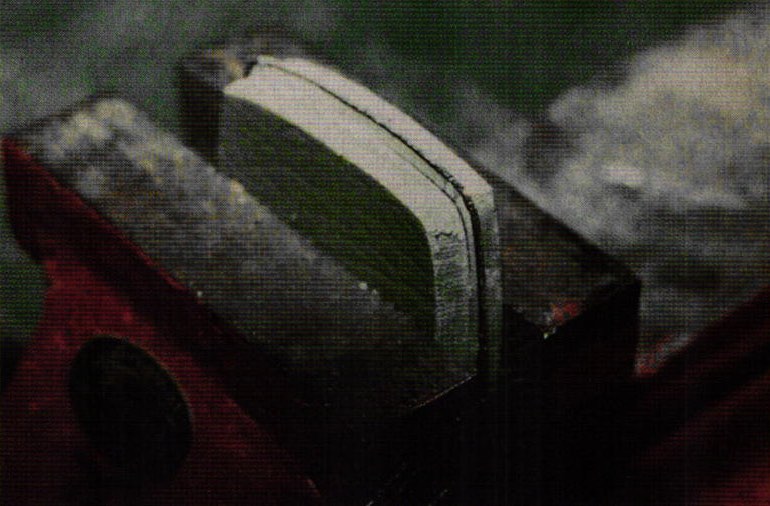
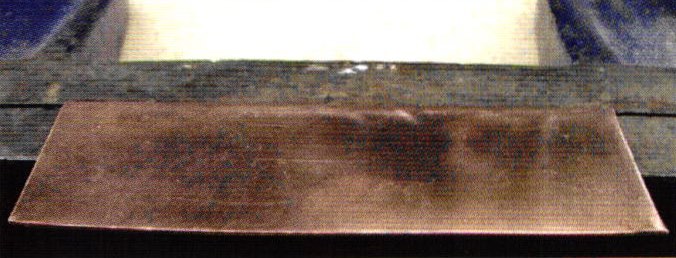
Clamp the silver sheet in a bench vice so that the line of the silver sheet is close to the top line of the vice shoe. Bend the sheet over to a right angle. Use a mallet or soft hammer (Fig. 15).
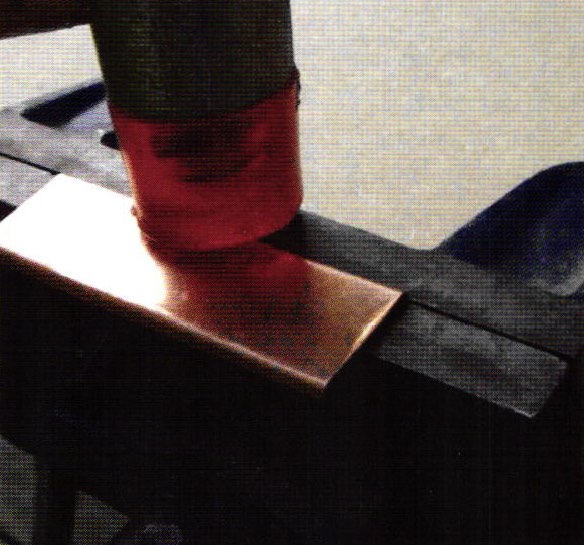
To make the second bend-overlay the enameled piece close to the side of the bent corner. Set both together in such a way on the vice that one side of the enameled piece rests firmly against the bent edge of the framework. The other side of the enamel piece should rest at the front upper edge of the vice shoe (Fig. 16).

Tighten the metal frame plate in the vice, remove the enamel piece and turn the frame work over to the right angle (Fig. 17).
After bending both sides, examine whether the enamel piece fits. It should fit loosely but without play. If it is too large, grind away a bit from one side of the enamel piece. Now you can bend the two small sides to a 120 degree angle - a straight line folding stake (Fig. 18) is ideal for this.
If you don't have one you can make one from a piece of band hoop or you can use the bit of a chisel. After bending, check out whether you can insert the enamel piece from one end of the metal frame. The enamel should slip in easy. If not, grind away a little part of one side of the enamel piece. Make sure the bent parts of the frame are only 0.5 mm higher than the enamel surface (Fig. 19).
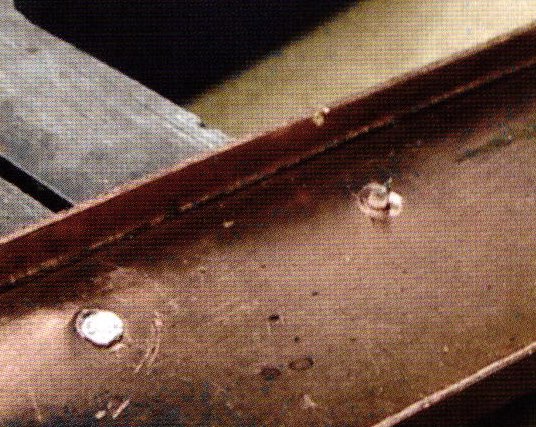
Rivet the findings to the back as shown before. Instead of a needle bar pin you can rivet a loop to the back if you want to wear the enamel as a pendant (Fig. 20).
After riveting, go and polish the silver as usual. Round up all sharp corners. Put a bit of epoxy resin on the back of the enamel piece and push the enamel from the side into the frame. Remove excess epoxy and let the glue set up.
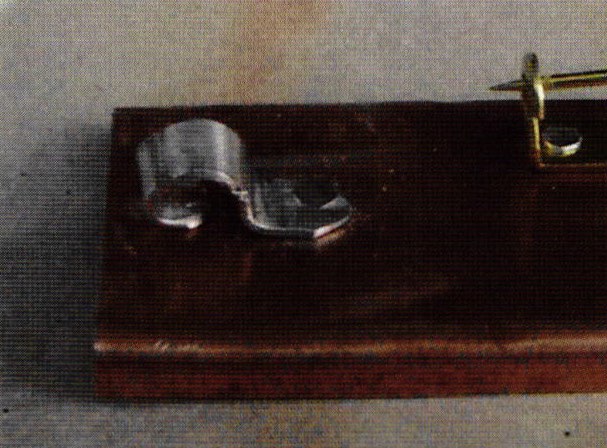
Demonstration on how to make a loop
Make a metal strip of 0.5 mm thick x 5 mm wide and 25-30 mm long and rivet it to the frame (Fig. 21). Bend the strip near the rivet to a right angle
Lay a 5 mm diameter iron, drill or the handle of a file tight to the right angle and press down the strip with a flat tool like a flat nosed pliers (Fig. 21 upper right side of photo and Fig. 22). If the strip is too long, shorten it a bit.
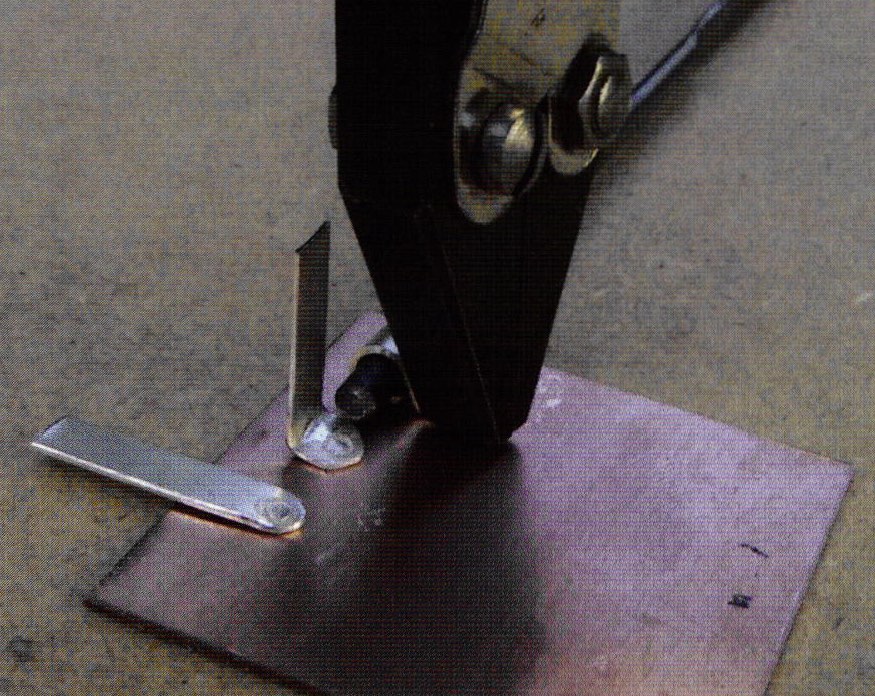
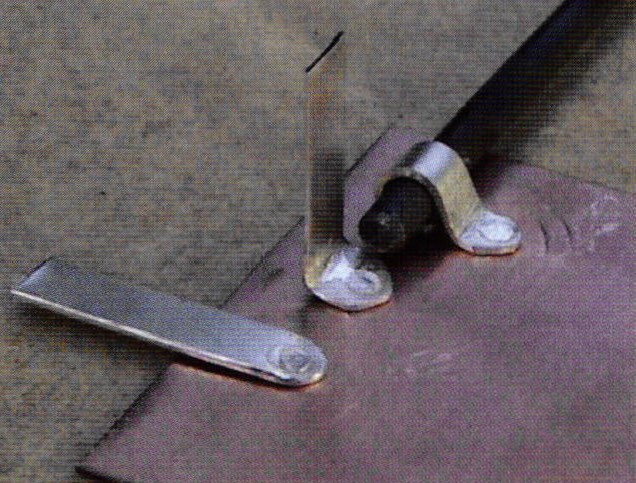
Drill a hole through strip and frame, widen the hole conical and rivet the loop and frame together (Fig. 23).
Related Articles

Setting Stones in Wax

Gold Cloisonne Wire on Fine Silver
Proper Studio Light
Repairing Broken Chains


The All-In-One Jewelry Making Solution At Your Fingertips
When you join the Ganoksin community, you get the tools you need to take your work to the next level.
