
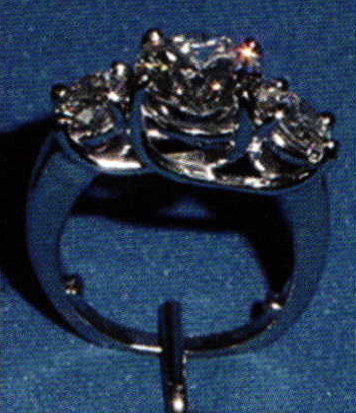
Forged Ring Shank
5 Minute Read
This article describes step by step instructions how forged ring shank is done as described by Bradney W. Simon.
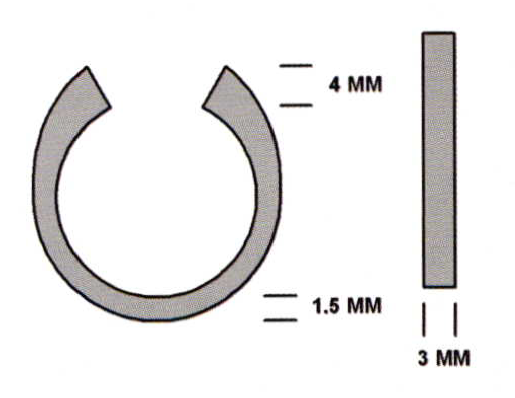
For this solid shank we're going to forge the shape out of a solid piece of platinum. The bottom of the ring across the finger needs to be 1.5 mm thick and the top where it will be attached to the ring top needs to be 4 mm tall. The ring shank is 3 mm wide.
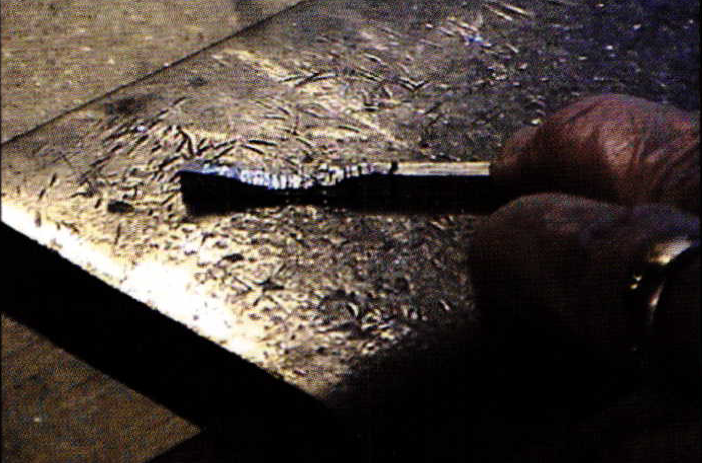
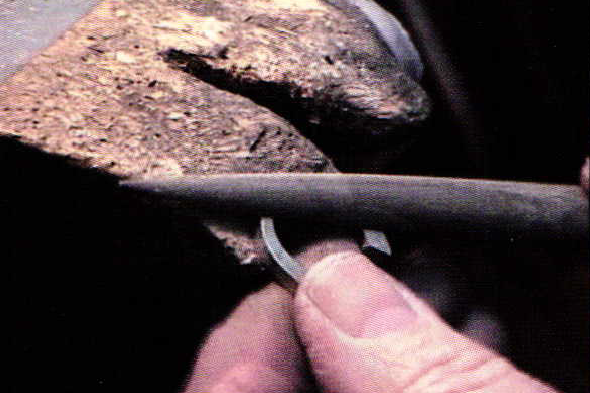
We start with a piece of rectangular platinum stock 4 mm by 3 mm. Across the top of the stock we mark a line for the length of the shank and lines 5 millimeters in from each end. This area will not be forged as it needs to stay 4 mm tall. The section in the middle is the area we will forge. Using a felt-tipped marker to draw the lines will make it easier to see them as we're forging. Don't cut the stock to length at this time. The extra metal will give us a handle to hold while forging.

Begin forging using the cross peen end of a goldsmith's hammer. This face of the hammer will forge the metal longer in one direction only, which allows us to forge the shank thinner and longer without increasing the width. When forging there should be a straight line from your elbow through your wrist through the handle of the hammer out to the head of the hammer. If this is all in a straight line when the head of the hammer strikes the metal, then the anvil's face is at the correct height for forging. Hold the hammer at the end of the handle, pivot from your elbow, and swing the hammer. Let the hammer bounce up naturally from the blow, and then add force as the hammer starts downward. A nice even rhythm will result and the forging will not take a lot of effort on your part.
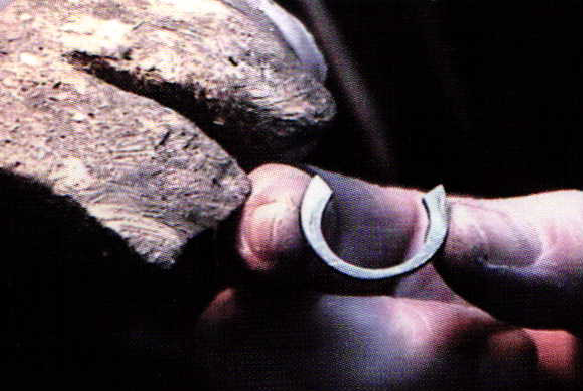
As we begin to forge the top surface, some of the metal will mushroom out on the side and we need to turn the stock on its side and use the flat face ofthe hammerto flatten this back down. We don't want the metal to become excessively wider as we are forging it thinner.
Stop and measure periodically to make sure we're getting the correct thickness. We want the final piece to be 1.5 mm and so we want to get this down a little under two millimeters thick.
Once the center section is thinned down, start to work up the ends and taper them into the center section. We don'twantto hammer anymetal on the very end of the piece as that needs to remain 4 mm tall.
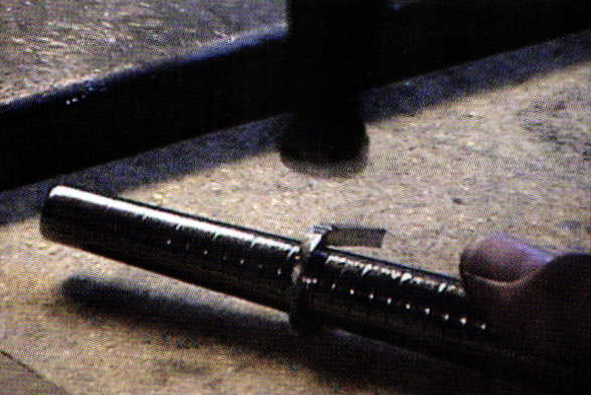
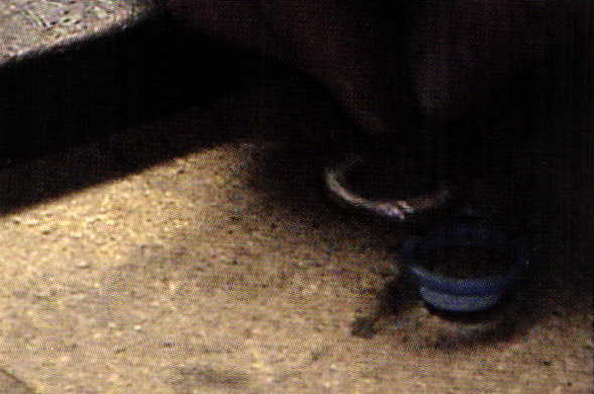
When the correct size is achieved, change to a ball peen hammer. The ball shape will allow us to get into the area that we forged and smooth it out. We are actually using the ball peen as a planishing hammer to smooth it out. Then turn to the sides and again using the ball just tap lightly to smooth it out. Then turn the metal over and hammer down from the opposite side that we forged and bend the curve in reverse. For me this makes it easier to bend it in order to shape the ring shank. Then measure the length to make certain we have the correct length that we need to form our ring shank, and anneal the metal before proceeding.
The next step is to take the piece that we forged to a bench mounted ring bender to begin to shape our ring shank to the size that we need.
Work the piece of stock back and forth bending a little bit at a time beginning with the biggest groove and then progressing down to the smaller size. You don't want to try and bend the shank all at once. Do it a little bit at a time, bending each section of the ring shank.

Once we have it bent to shape, place it over a ring mandrel and using a goldsmith's hammer tap the shank to shape it to the mandrel and also begin planishing the metal on the outside. The ring bender will leave some deep marks that need to be hammered out.

Then go back to our flat surface and using the flat face of the hammer even the shank out and planish the metal. We want to remove any hammer marks and begin smoothing the metal on the sides. Once the metal is smooth on the side, place it on the ring mandrel to finish planishing the outside surface.
To get up near the top of the ring, hold it against the bench top and then planish the surface of each end.
To get across the back ofthe shank go to the edge of the bench and leave the top ends extending down past the bench, and planish across the back of the shank. Once the outside is done just lightly go back over the sides of the ring to make certain they are even and smooth.
Here's a little tip to get the correct size of the ring shank. We took a plastic ring sizer and held the ring top up against it and marked with a felt tipped marker where the top of the ring overlapped the ring sizer. Then hold the shank up against the markings on the ring sizer and mark where we need to saw the length of the ring shank.
Next begin to file the shank to shape. Begin with a half-round file and file the inside of the shank. As we're smoothing out the inside of the shank I always like to tip the shank a little bit and file a bevel on the edge, rounding off the inside edge ofthe shank so the ring will be more comfortable for the customer to wear.
Then place the top ends in a ring clamp and cleanup the backside of the shank removing any hammer marks. Smooth and even out the sides and the back ofthe ring shank. Then reverse the shank in the ring clamp and work on the top two sections to smooth and shape them and to remove anyhammermarks. Once we get the ring fairly well filed, take it out ofthe clamp so we can file the full length of the shank and blend everything in. Then examine the shank for the correct proportions and taper and the shank is ready to attach to our ring top.
Related Articles

The Jewelry of Manfred Bischoff

Hans Appenzeller’s Elegant Designs

Robert Lee Morris: Rebel with a Cause

Hermann Junger: Goldsmith Art is with Global Charisma


The All-In-One Jewelry Making Solution At Your Fingertips
When you join the Ganoksin community, you get the tools you need to take your work to the next level.
