
Enameling Tips: Ritual Over Knowledge
7 Minute Read
This article is a part of a series offering enameling tips and what is most occurring that enamelists encounter. This part talks about the ritual over knowledge.
*******************************************
There is a whole lot of fiction out there. Mostly such is based on not knowing any better; the taking of short cuts; the omission of history; and deliberate disparity. For years participants of the application of glass to metal have been taught ritual over knowledge. The attitude of 'look how hard I've had to work and at how much time it takes to have produced an enamel,' still prevails.Ritual
Having heard for over forty years, that it is the struggle and endurance that makes an object have value brings up the question: Does anyone ever know enough about the basics to teach, let alone create something more than the usual?
This is the fourth installment and obviously just the surface of what should be common knowledge has been approached. Hundreds of phone calls and e-mail constantly accuse the material for failure while dismissing that they could bear some, if not all, of the responsibility for that failure. For most, the world is still flat and there is a cutting edge that they must fall over in order to discover life in the round. Facts are dimensional and related.
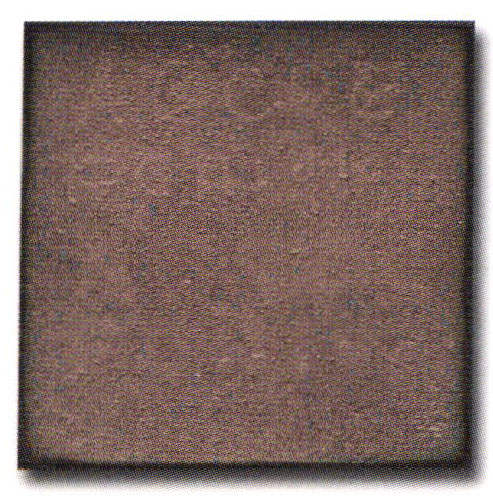
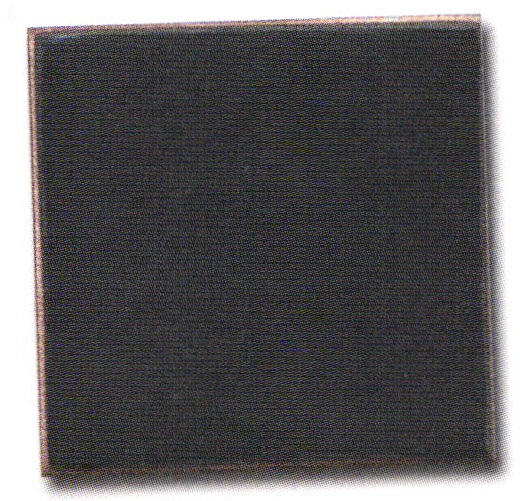
19-A The example is of 914-E acrylic on a previously fired black enamel on 18 gauge, 1-and-a-half inch copper square. The enamel checked in all of the thicker areas of application. The reasons are that the metal was too thick; the enamel was too thick; there was no counter enamel; and/or that the age of the fired black enamel was not recent.
19-B In order to duplicate the above example, 914-E acrylic was applied to freshly fired black enamel on the same size and thickness of copper. The time/temperature relationships were the same. There was the same checking in the thicker areas. The checking is not as evident, but definitely there. Note the other factors.
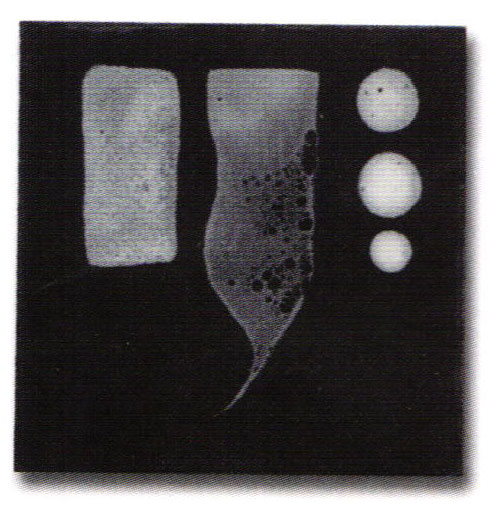
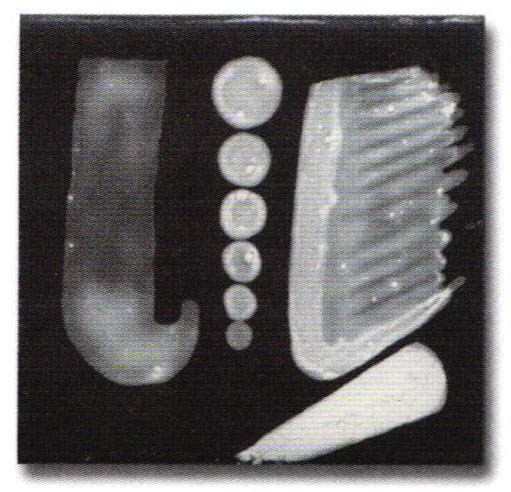
19-C The same sequence of applications and firings occurred with 913-E acrylic. There was no checking. However there are other characteristics to be noted. The opacity of the white is not as bold. The dilution with water allowed the applied material to dry quicker, thus there is a whiter edge to the larger form where shading by using a thinner application occurred. Between B and C subtle, but important differences can be noted. 914-E is a titanium white. 913-E is an antinomy white with an opacifier added.
19-D 1030, 325 mesh was used. The three overlapping circles on the right illustrate the variations of creating gray with three applications and three firings. The center form was where three applications occurred with in the original defined area of white. The upper left form is where the three applications of enamel expanded the form of the first. The circle on the left is a single application applied before the first firing. No enamel was added to that form in the subsequent firings. It is important to note the quality of variation between B, C, and D.
20-A 913-E was used. On a second firing it was deliberately over fired by fifteen seconds. Note the braking down of coverage. This would happen with any finely ground enamel and of course 80 mesh material too, if attention is not paid. The notation here would be that the 325 mesh material is not as fine as the 913 and 914-E series.
I do believe that there is no such thing as advanced enameling. One either knows the basics or they don't. Techniques may vary, but the principles are the same. All enamels are not equal.

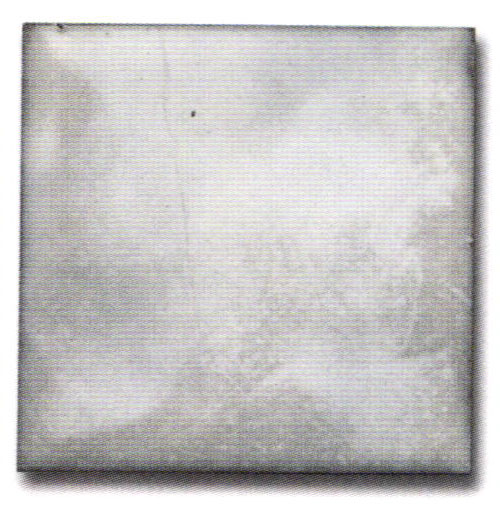
20-B This orphan example of white enamel was refired. What it had been exposed to is unknown. The surface is completely discolored. Do not assume the unknown.
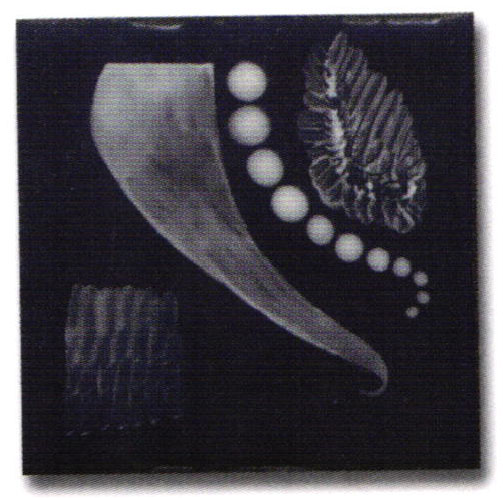
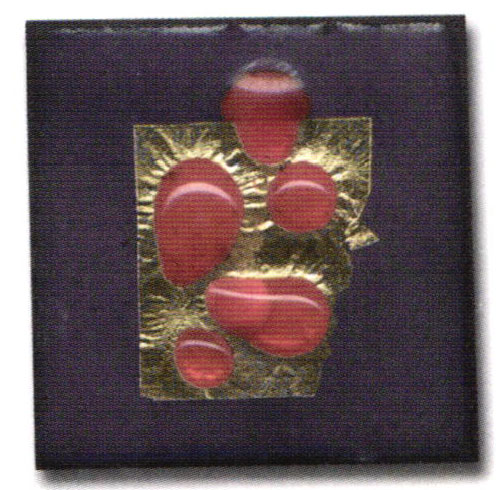
20-C Lumps of 2850 were fired as a test for transparency. Those that showed transparency before firing remained transparent. Those without transparency remained the same. However there is more information presented. The top lump was half on and half off the gold foil. Note how the lump reacted on enamel and on the gold foil. Also note that the weight of the lump caused the foil to wrinkle in radiation the gold foil. Could this be usable information? Obviously.
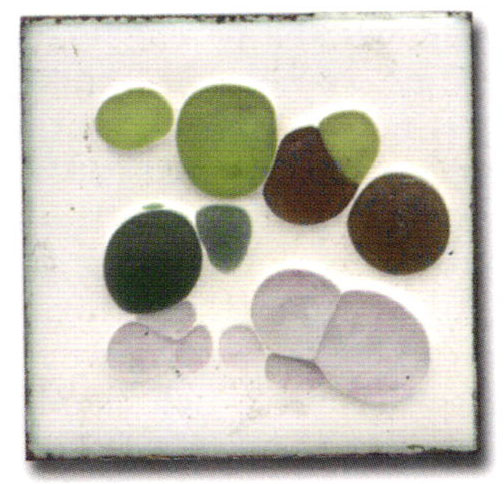
20-D Various lumps were fired on an opaque white, 1450 degrees with three minutes of fire. Note the spread. Note how the spread differs when contacting another lump of enamel. Could this be a useful design tool? The piece was dipped in Etchallo Dip 'n Etch for the time period instructed on the bottle. Note the frost, etch, and then note that the opaque white and the transparent lumps are different. Could this information have importance to the creative mind?
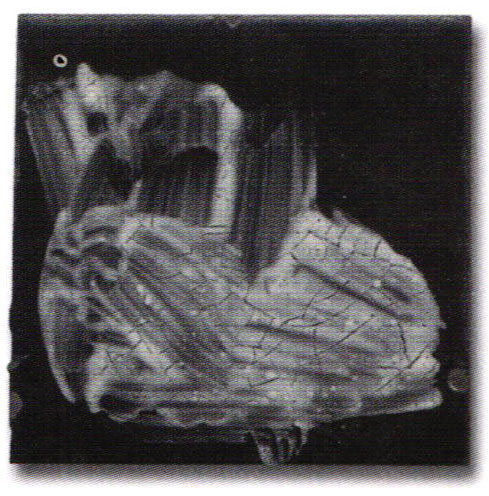
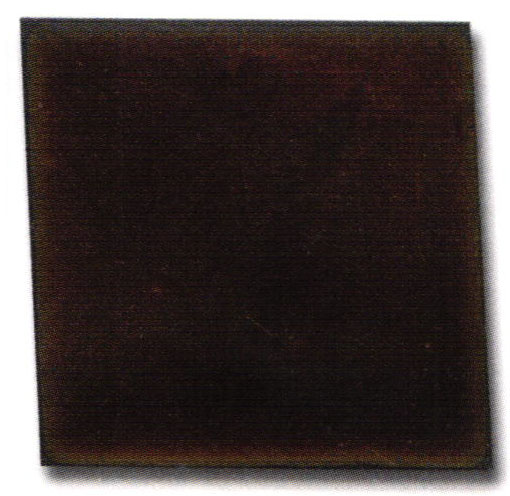
21-A There wag e pinpoint blow. The cracks radiated. With time the copper surface began to oxidize. This beauty is a natural over which one has no control. In time it will no longer have such a quality.
21-B These cracks here are random, the oxidation is random. While the discoloration doesn't illustrate well, it does give evidence of damage that cannot be repaired.
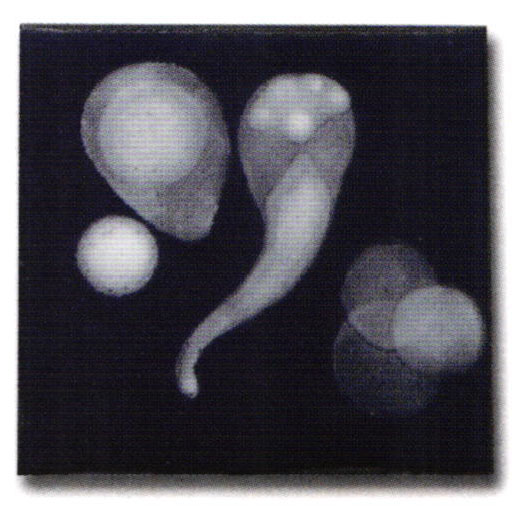
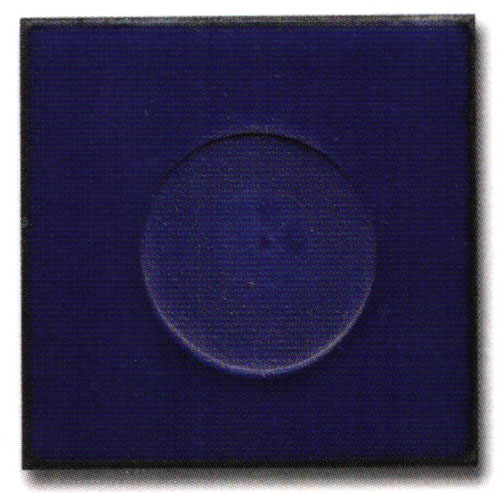
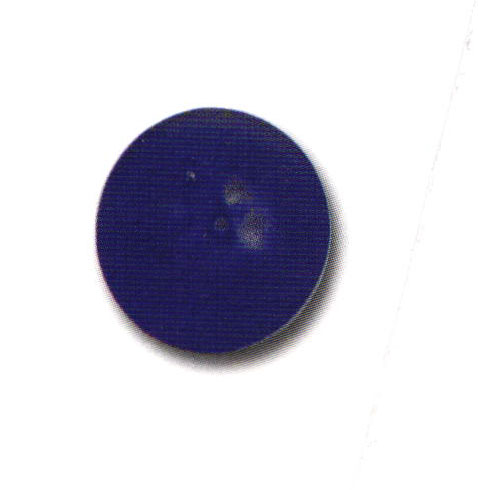
21-C A clear lump of enamel was fired on an opaque blue enamel. The thickness allowed it to crack off leaving a beautiful scar worthy of consideration.
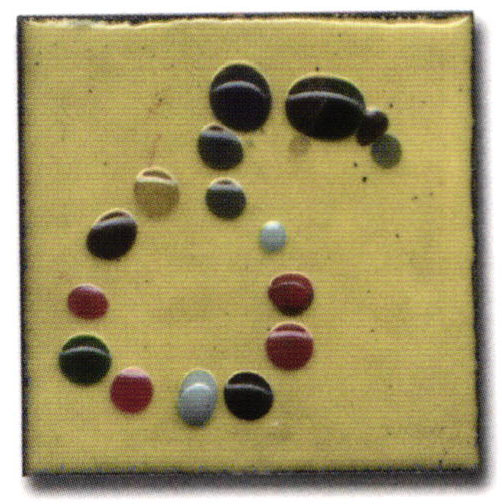
21-D A variety of lumps were fired on an opaque enamel as in child's play. Not all lumps are uniform enough to round out. Thus there is a control to be considered in accord to fusion flow and temperature. One should not dismiss simplicity without considering the potential inherent informational information made available.
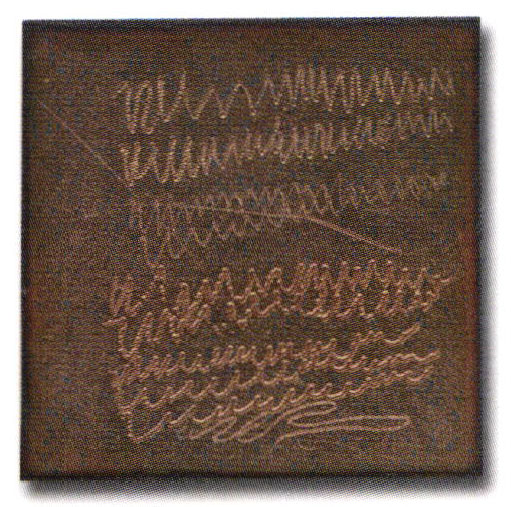
22-A A Sharpie® Ultra Finer Point marker was used on the top section with the ABC's. A Sharpie® Fine Point marker was used the same way on the lower half. After being covered with 2030 clear enamel it was fired at 1450 degrees for three minutes. That organic leaves bubbles that can be seen. Please do not trust hearsay. Had the markers been water soluble the results would have been different.

22-B Two different vibra-tools were used at two different speeds to mar the copper surface. This is a form of metal manipulation for the technique known as Basse Taille usually involves engraving. With control, it could elevate nothing into a masterpiece if used with less simplicity of that other than 'art marks".
22-C This is the enamel 'button' from 21-C. Please consider the potential of making your own disc-enamels for application. Working with enamel is not out of your own hands.
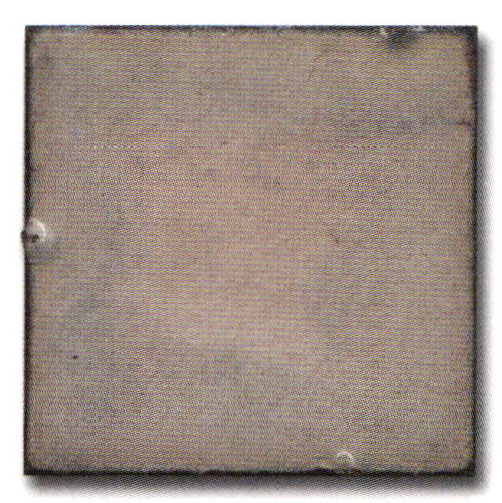
22-D This is the example of a properly prepared enamel to serve the application of more enamel and another firing. Note that the enamel portion has been trued back to that of the metal form by stoning or filing.
23-A The example here is that for a first coat of enamel having been against a stilt on a second firing. The fired enamel was down, the new surface was up. Dependent of circumstance without enamel on both sides of the metal, the piece must be considered as in a fragile state. Under the pressure of stoning or filing the single surface of enamel could become cracked. The metal is dead soft and the enamel is rigid.

23-B The example here is one where both sides were enameled in the same firing. The thorns from touching the stilt are obvious, and should be filed back to the example 22-D, before advancing the project.
23-C Here the edges were not filed back between firings. There were two applications of enamel that rested on the stilt, and opaque and a transparent cover coat. To true the edge has become problematic, as well as easy.

23-D This example is the backside of a piece that has had the enamel trued before refiring. Note no thorns of attachment.
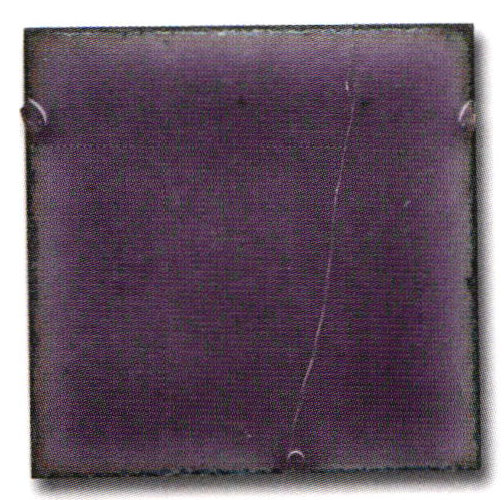
24-A Even though this piece was counter enameled cracks appeared in the transparent enamel over the base coat of white. When re-fired face up the cracked enamel pulled to itself and rolled back and took the undercoat of enamel with it.
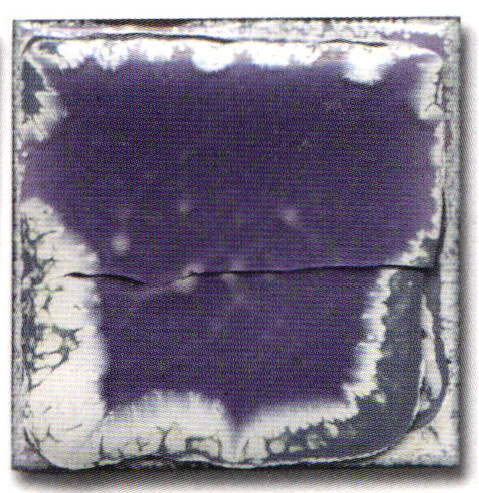
24-B This is an extreme example. The first firing was to test an opaque enamel on copper as a color check. As instructed the piece was pickled and white enamel was to be applied so that the transparent enamel could be color checked. The directions were misunderstood. White enamel was applied to the already enameled surface and fired. Then the transparent enamel was applied to the white and fired. The piece had no counter enamel. The white released itself from the opaque and was pulled to the transparent. Of course the enamel cracked off, but was glued back for the scan.
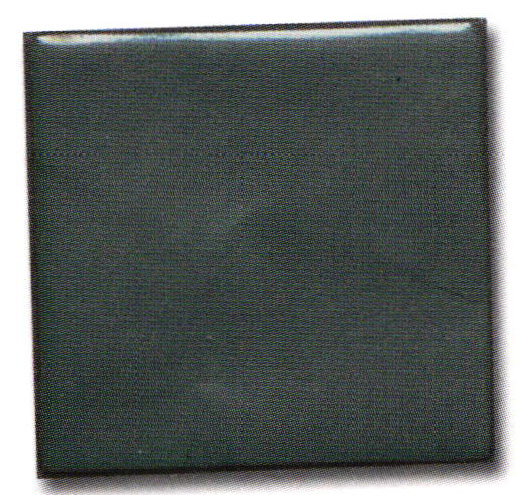
24-C It took only ten days for this coat of a transparent on copper to fail without being counter enameled. Had it been an opaque it might not have been seen and it could have altered a coat of enamel had it been applied and fired. So do not let pieces set around and expect them to not be exposed to change. Work should always be expedient especially in times of temperature change.
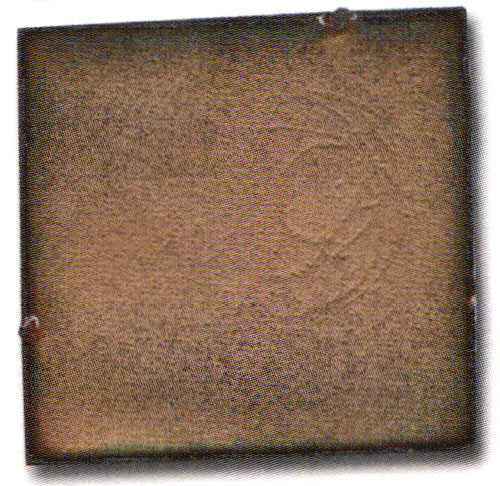
24-D A quality test was run on copper. It was not counter enameled. Days later, the piece was used for an opaque color check on the exposed copper side. The 2030 had crazed over the time period. On refire, the craze pattern became permanantly locked into view as a row of bubbles. Counter enameling should occur with a minimum of time lapse.
Related articles:
Related Articles

How to Mix Industrial Liquid Enamels

The Enamelware of Sarah Perkins

The Jewelry of Tamara Sergijenko

Enamels in Medieval Galleries


The All-In-One Jewelry Making Solution At Your Fingertips
When you join the Ganoksin community, you get the tools you need to take your work to the next level.
