
Customized Ultrasonic Sediment Bucket
1 Minute Read
This article by Steve Satow shares a step by step procedure on how t o make a customized ultrasonic sediment bucket.
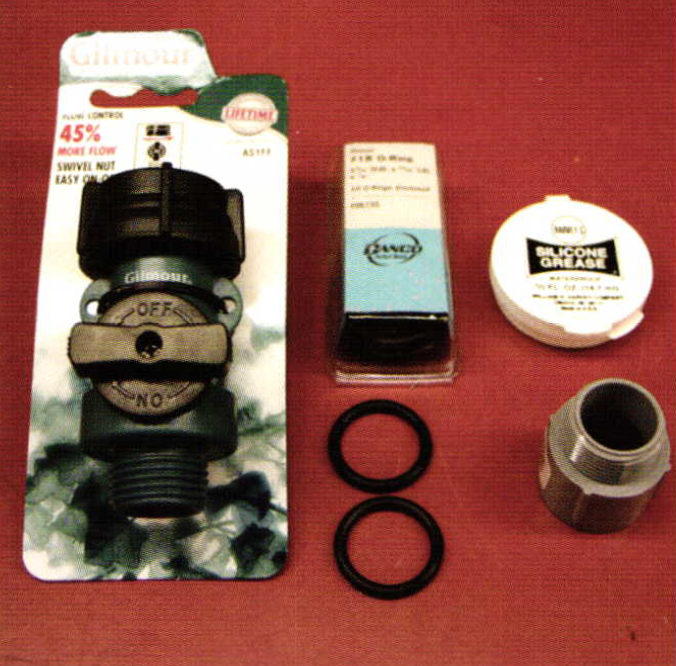
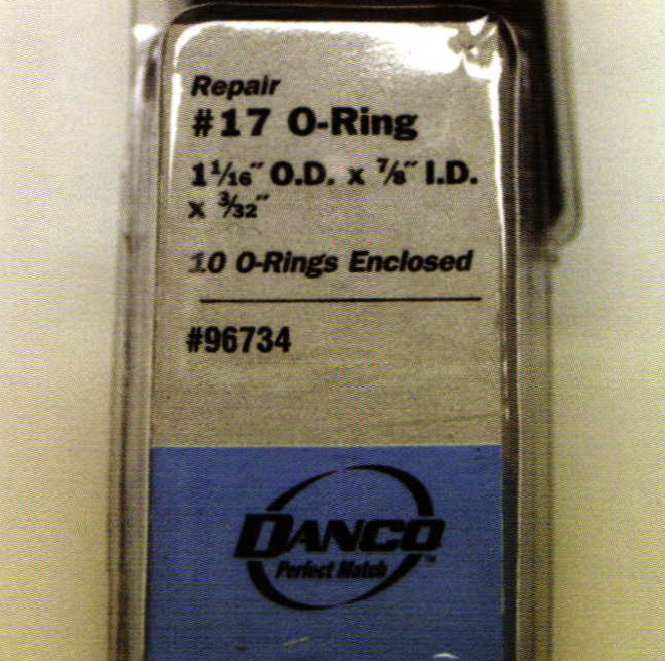
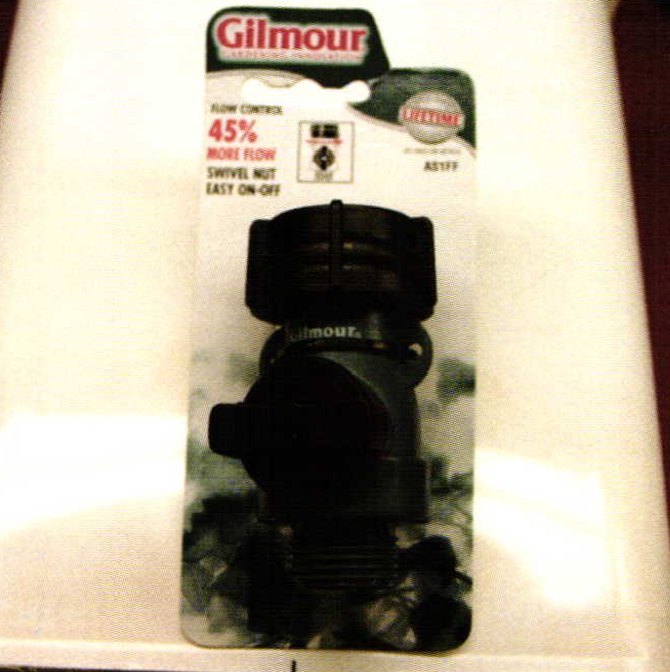
These are the parts you need for this project: A Gilmore plastic ball valve (that unlike regularball valves doesn't choke down at the valve as it stays a full 1/2 inch wide for faster gravity fed drainage), O-rings, silicone grease, and a 1/2 inch PVC fitting for a threaded outdoor electrical box and a piece of scrap black vinyl screen door material.
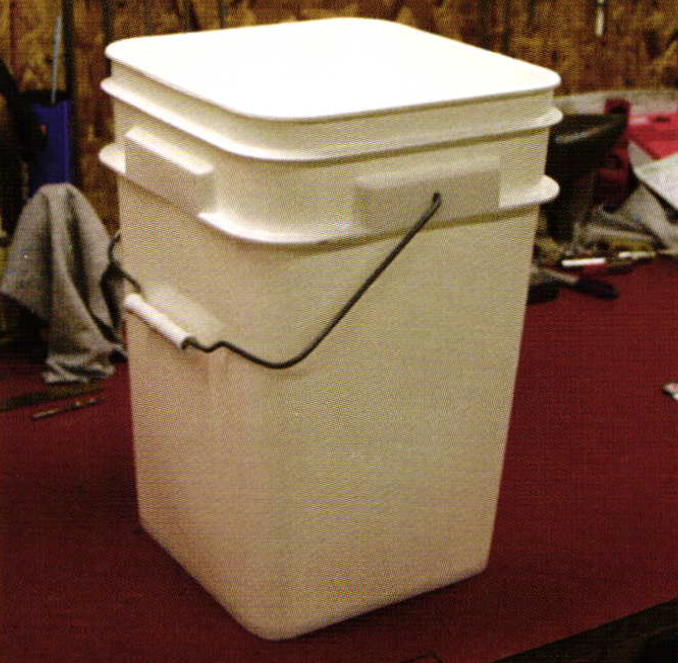
An old empty kitty litter pail as square pails waste less space and the gasket seals better with flat sides.
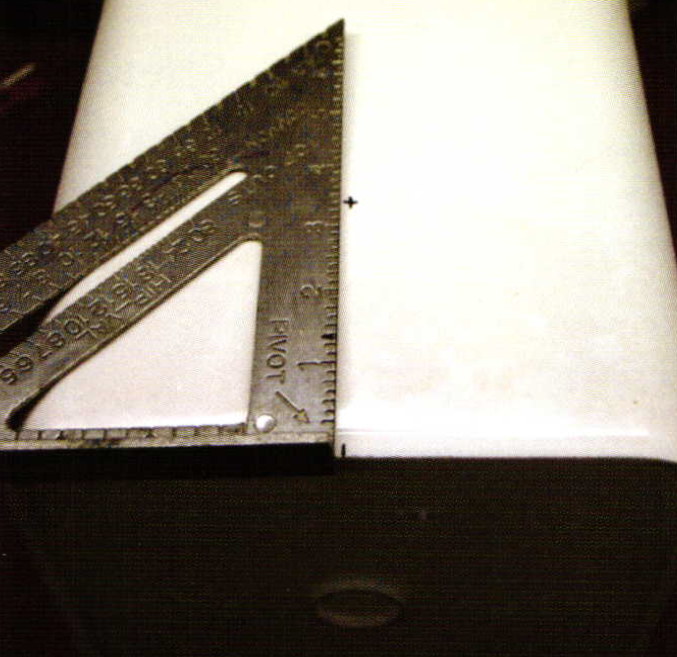
Measure to the center of the bucket, then up 3Vz inches up from the bottom. Then make a mark for drilling.
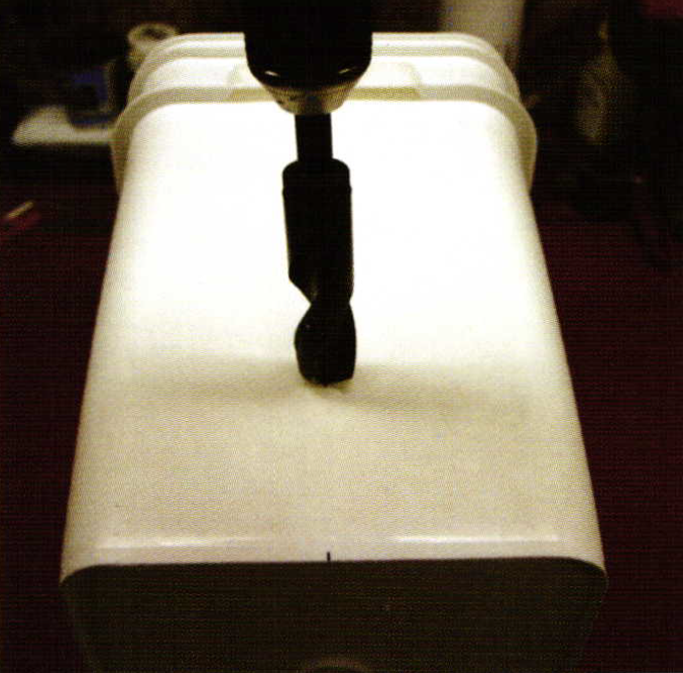
Measure the PVC electrical fitting and drill out a hole to fit the OD of the threaded end.
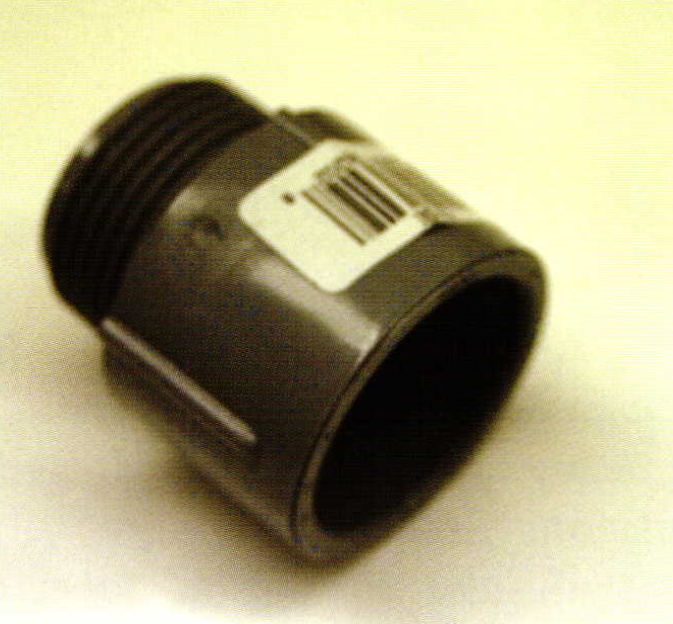
Take the PVC fitting and make sure the hole is the right size and has no rough edges.
Take out one of the gaskets and roll it over the threaded portion of the PVC fitting. It should fit tightly against the fittings shoulder.
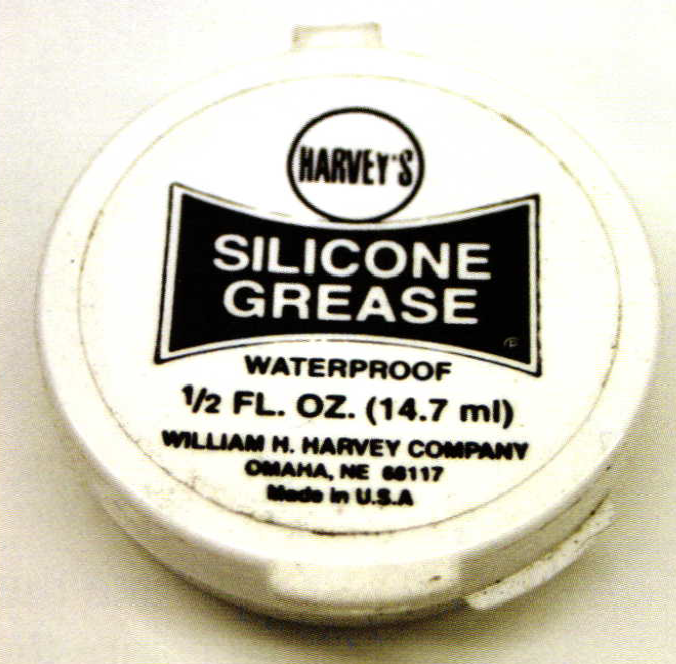
After fitting the gasket, apply a heavy layer of silicone grease on both sides.
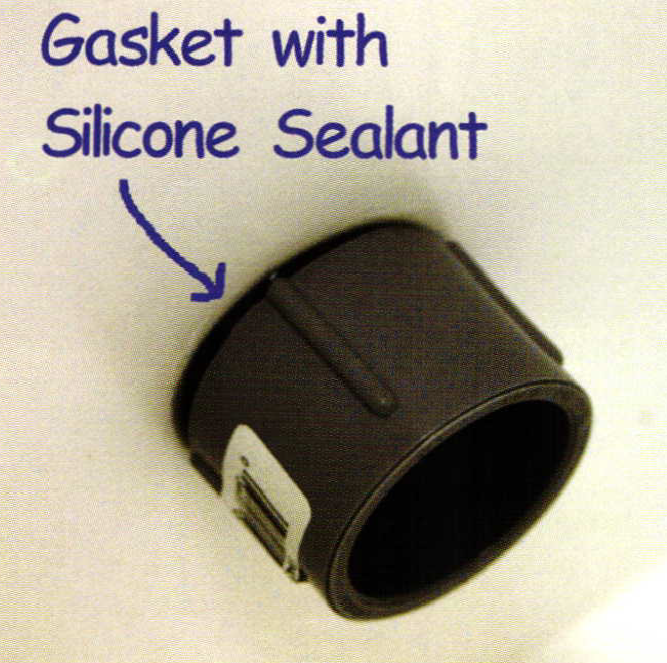
Screw the PVC fitting through the side of the bucket until its snug. Then screw the ball valve on to the other side until it's very tight.
Screw the ball valve onto the other side until it's very tight.
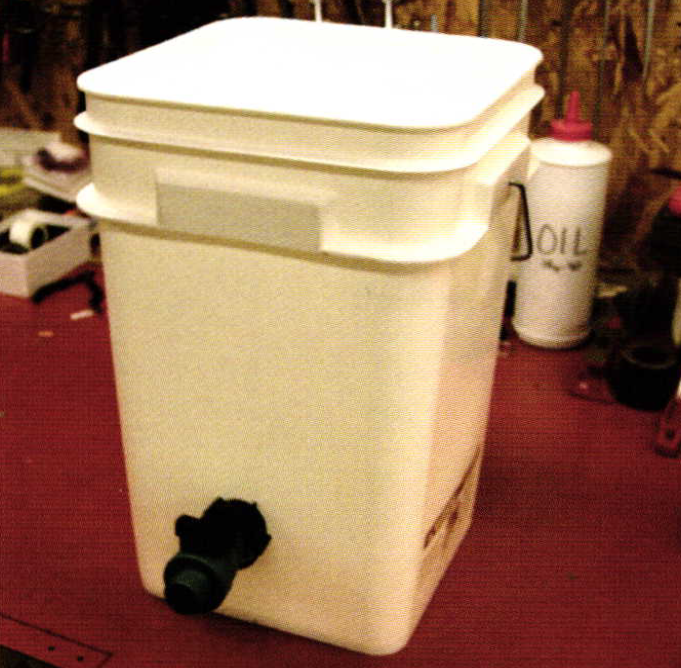
The ball valve is now ready to quickly drain the ultra bucket after all the precious metals dust has settled to the bottom.
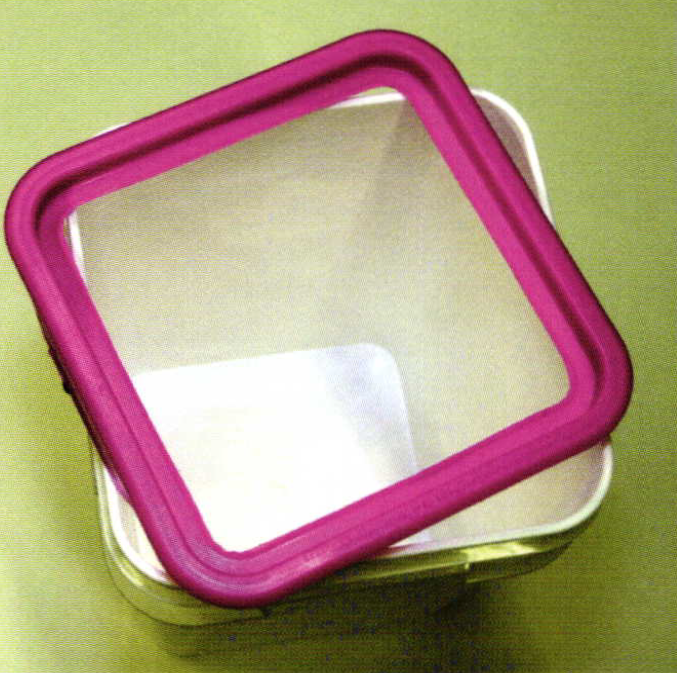
Cut out the inside of the bucket lid.
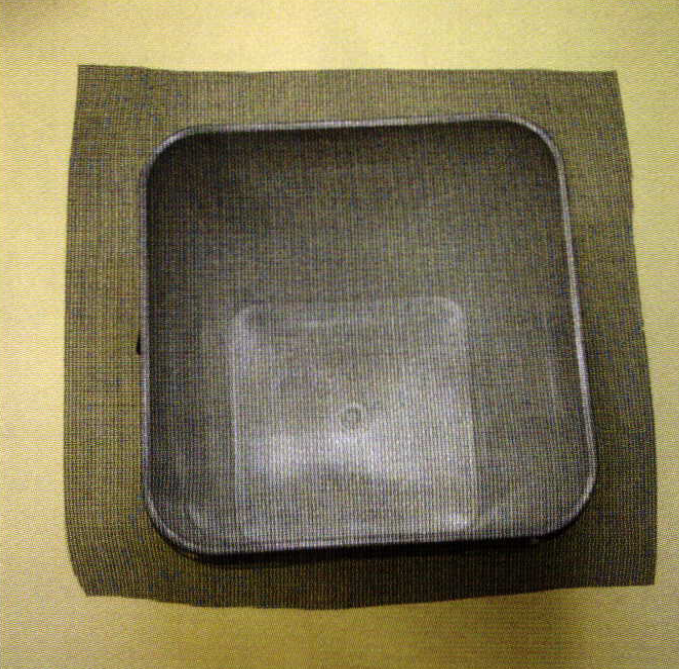
Cut a piece ofthe vinyl screen to fit the bucket like this.
Snap the lid over the screen material so you have a replaceable filter to catch melee and other small parts that fall to the bottom of the ultrasonic. Trim the vinyl back to the edge of the lid with household shears as in the picture.
Related Articles

Accessories for Small Part Pickling

Customized Loose Head Holder

Customized 3 Jaw Chuck & Earring Holder

How to Make a Riffle File


The All-In-One Jewelry Making Solution At Your Fingertips
When you join the Ganoksin community, you get the tools you need to take your work to the next level.

