
Customized Turntable Tool Rack
3 Minute Read
Find a turntable that is size appropriate for your bench. In this case mine is 18 inches wide. If possible find one with ball bearings to make it work smoother. Buy a 1/4 sheet of sanded on one side 1/2 inch plywood and a 3 foot piece of 5/8 inch wooden dowel. (Other supports can be used for risers. I have used 1/4 in threaded rod. )
Lay the turntable on the plywood base you purchased. Trace around the base and use a saw to cut it out. Sand the edges to remove all burs.

Cut your risers to whatever height you can reach comfortably while seated at your bench or whatever height you need for what you will be storing on your bottom shelf. Decide what distance works best for you with what you're storing on the bottom of the unit and for how far from the edges you want it spaced.
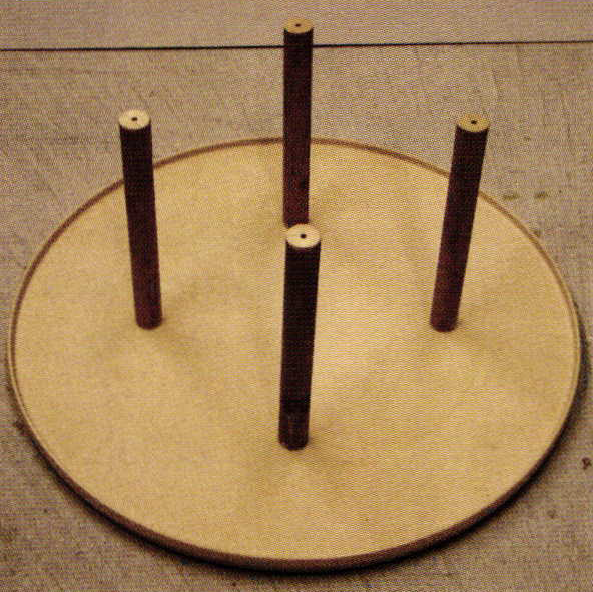
Lay the base on top of the plywood piece you cut out and drill through both at once so they line up. Pre-drill the risers so the riser won't split when you put in the screws. Use 1 5/8 inch dry wall screws. I set mine in about 4 inches from the edge and made them about 9 inches tall. I went 9 inches tall because I have some long plier handles and I didn't want them to block the lower shelf.
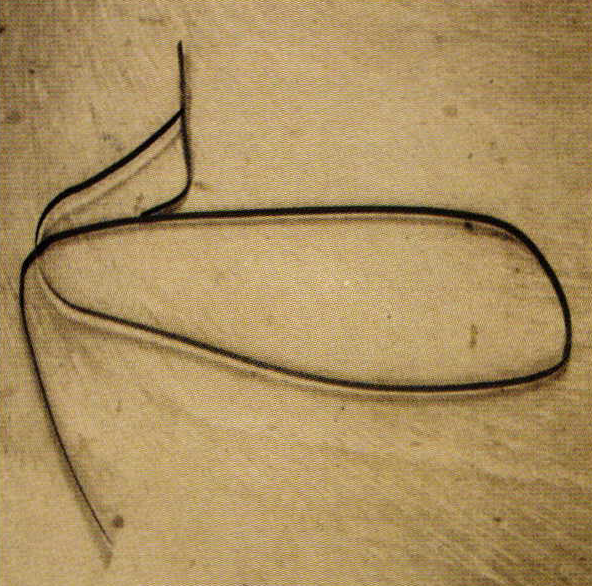
The flexible steel track for the edge is scrap strapping that Home Depot uses to hold bundles of wood together. You can usually find some for free at lumber suppliers. Purchase at the hard- ware store 2 packs of 1 inch corner braces a package of l0 - 1/2 inch sheet metal screws, a package of 10 -11/2 inch 10-32 machine screws and a 100 pack of washers to fit the 10-32 screws.
I flipped my plywood top here and put in two screws to hold it until I finished installing the plier holding steel band. Depending on the size of your turntable lay out how many braces you think you will need. I used eight of them. Lay the corner braces as pictured to the edge of the plywood and mark the place to pre-drill the screw holes. Install the 10-32 screws with 15 washers as pictured to space it out I inch. Then drill a hole to fit the 10-32 screw in the end of the steel strapping and install one end.
Now trying to keep your spacing even, wrap the strapping around to each corner bracket with the 1 inch of washers already installed. Mark with a magic marker where the screw head hits and drill them one at a time as you work your way around. This is the easiest way to make them even.

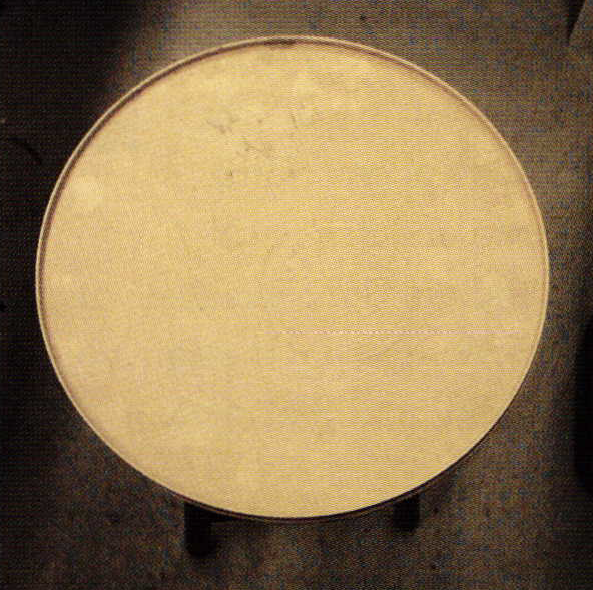
Here you see the finished top ready to be unscrewed from the risers and ready to be flipped over.
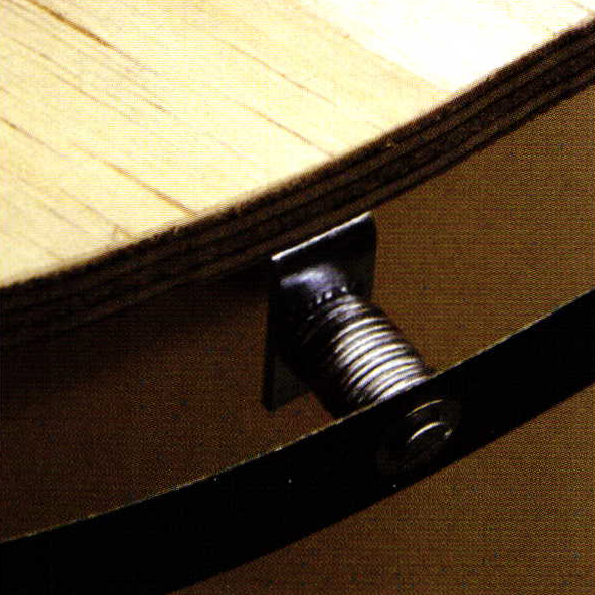
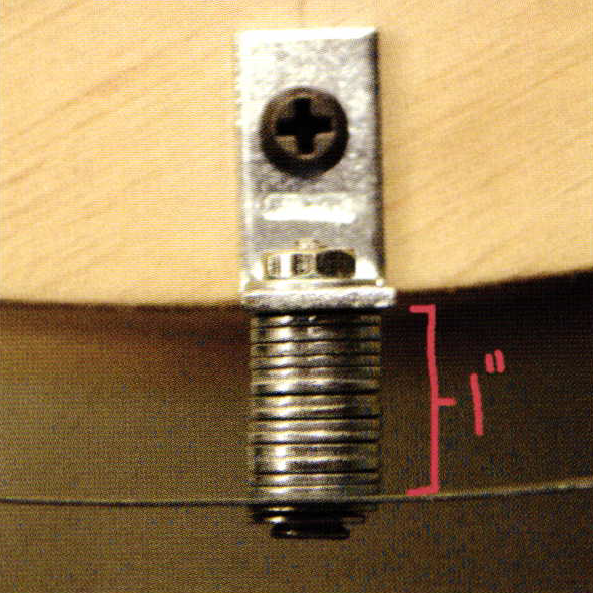
This is a close up of how far the steel strip should be placed from the top after it is flipped. This spacing works with most pliers. If it needs to be lower, take the top off again and place an even amount of wide fender washers under the corner braces to lower them from the wood once it is flipped over again.

This is the rack all ready to paint. I also put carpet on top of mine so heavy bench mate products would not chip the paint. I hope you enjoy your new tool rack. For a quick reference on the pliers you use all the time add plastic clothes hangers of different colors and put the pliers that you use for different jobs between them. As you spin the unit around they all blend together but with clips of different colors they stand out.
Related Articles

Customized Light Box & Bench Shelf

Modified Setting Bur with Safe Edge Tool

Welding Technology Tool Modifications Part 2

Creating Beading Pliers Accessory Bezel Settings


The All-In-One Jewelry Making Solution At Your Fingertips
When you join the Ganoksin community, you get the tools you need to take your work to the next level.
