
Sand Casting
3 Minute Read
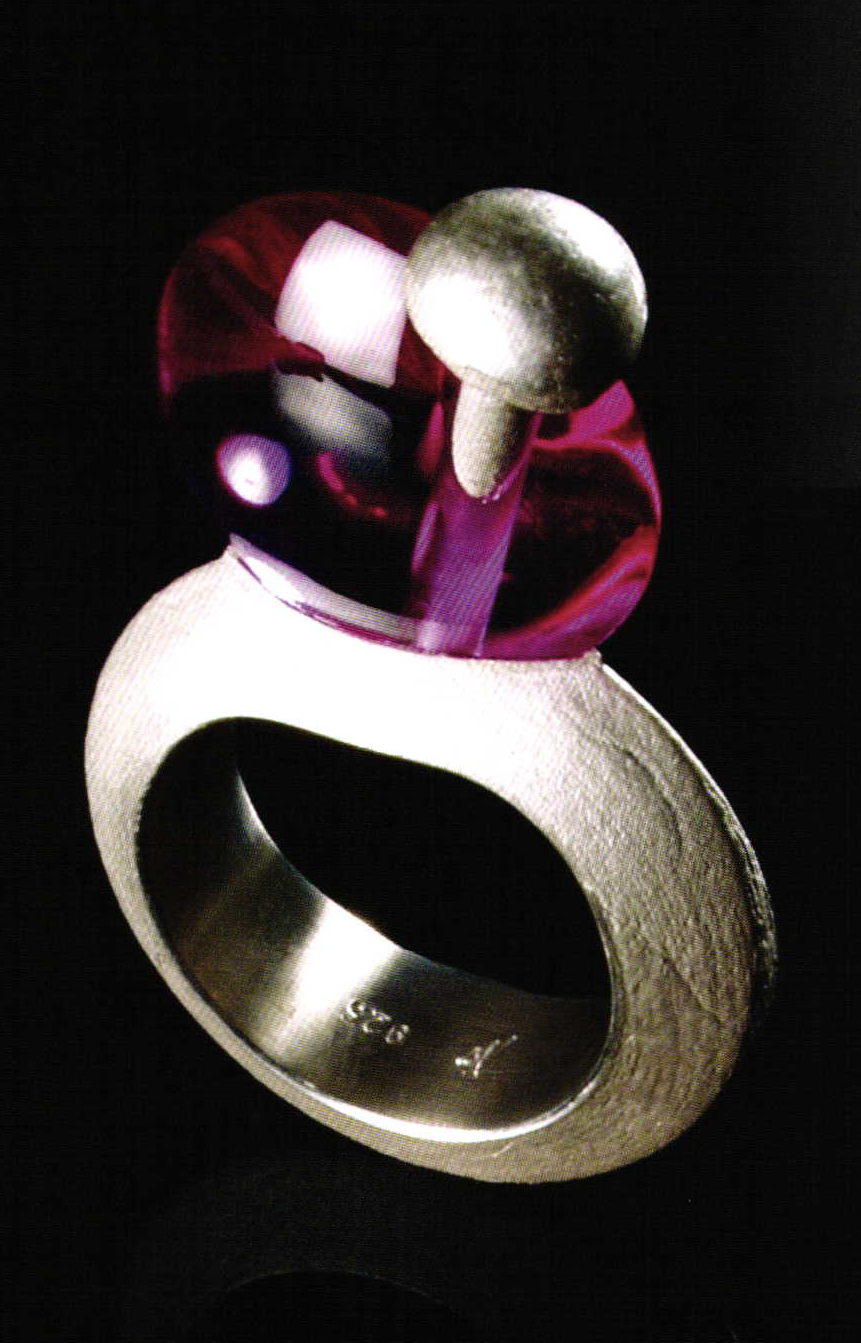
Sand casting is among the oldest techniques of duplicating items of jewelry. It is simple in terms of equipment, but casting requires practice. "In my first attempts at casting, I perhaps got one useful piece of jewelry from ten specimens, but now it is nine out of ten," reports Hagen Gamisch, goldsmith and jewelry designer from Pforzheim. But it is well worth practicing, as the sand lends the metal a unique surface structure.
1
2
3
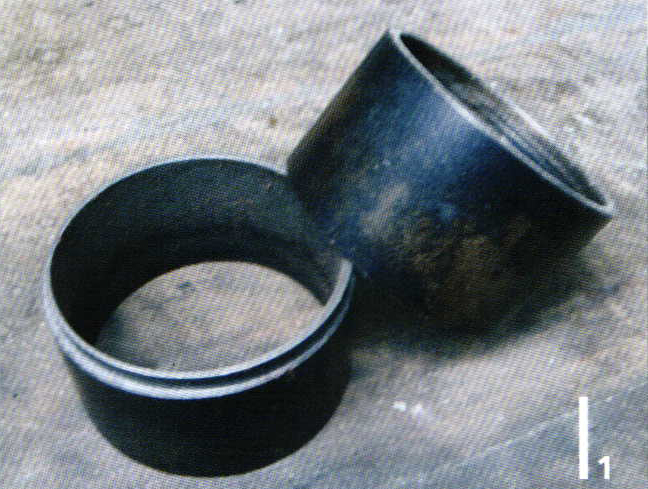
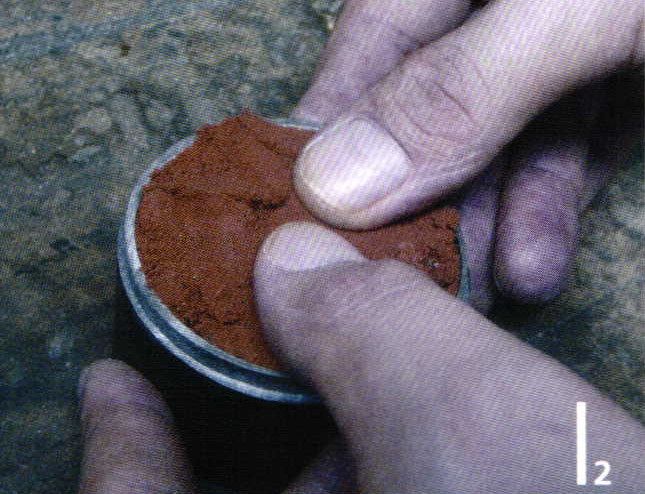
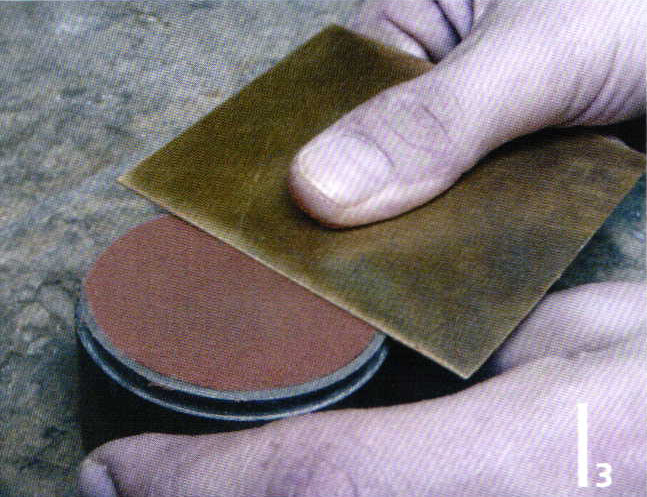
Preparation of the mould
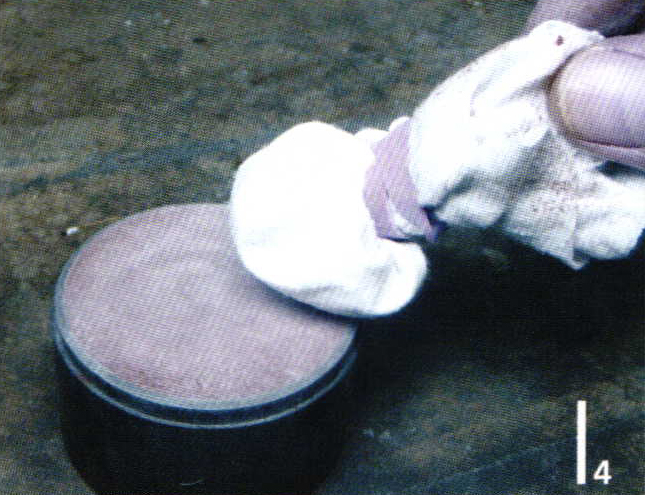
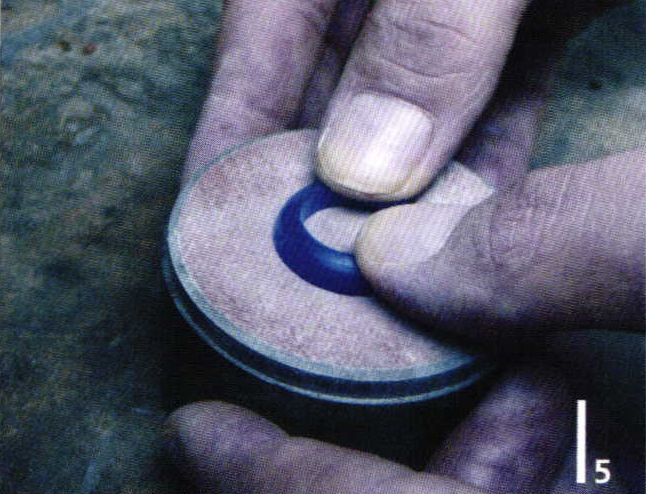
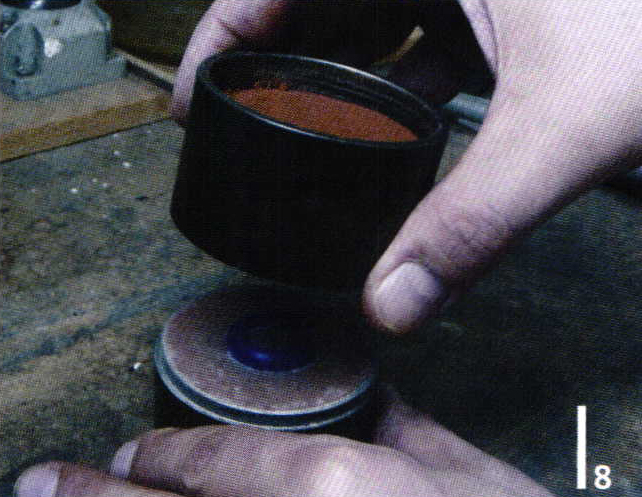
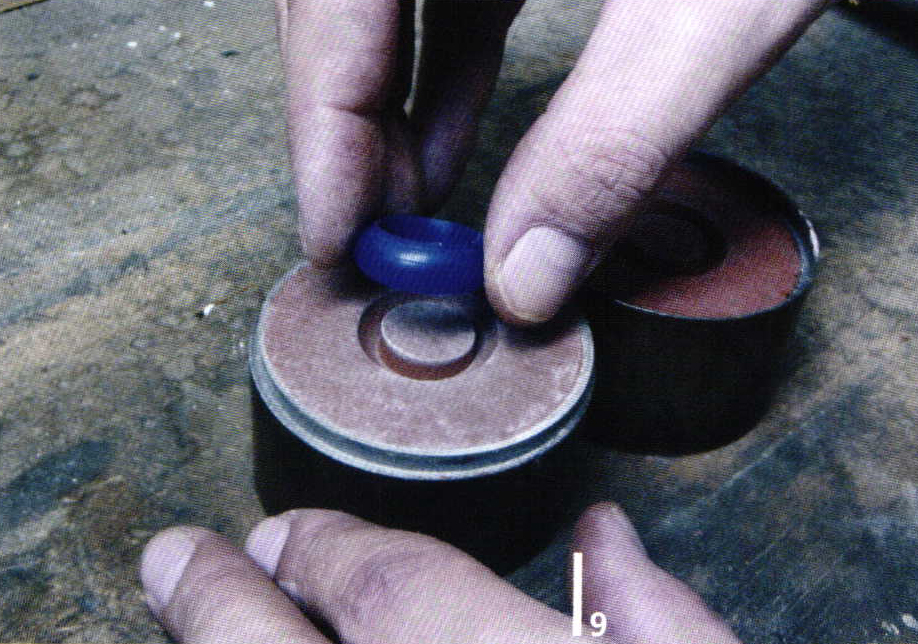
The model for casting can be manufactured by choice using wax, wood, plastic or metal. However, only objects without undercutting can be duplicated. This means that the side walls must not have any indentations or protruding elements that destroy the negative form when taking the original out of the sand. The sand moulds made of steel or aluminum are available from specialist retailers, but can also be produced in-house (1). Oil-bound sand is filled into the lower half of the sand mould and pressed tight or hammered down (2). The excess sand is then removed using a spatula or smooth piece of metal and the surface is evened (3). This and the object for casting are then dusted with talcum, which serves as a separating agent (4). The object for casting is then pressed half into the sand (5). Both halves of the sand mould are inserted on each other in such a way that the markings on the side match (6). This is important, as it guarantees the exact fit when an asymmetric object is subsequently cast. After this, the upper half of the sand mould is filled with sand (7). After it has been compressed firmly, the two halves are carefully separated from each other (8). The model is removed from the mould, thus producing the negative form (9).
4
5

6

7
8
9
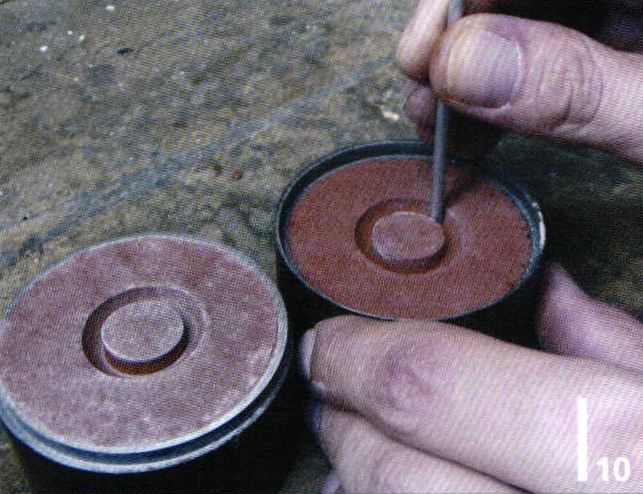
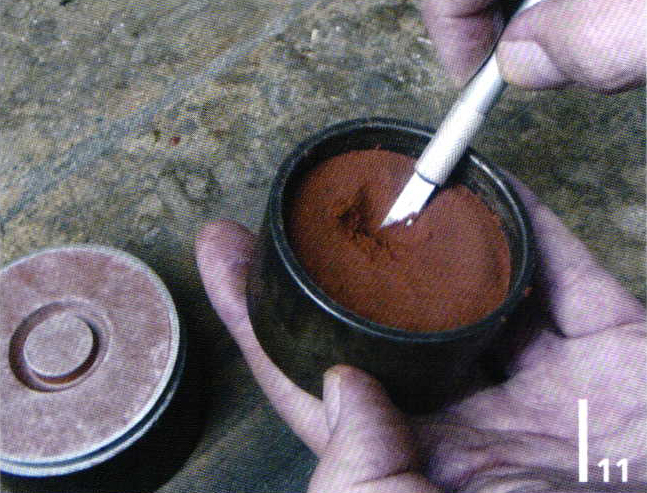
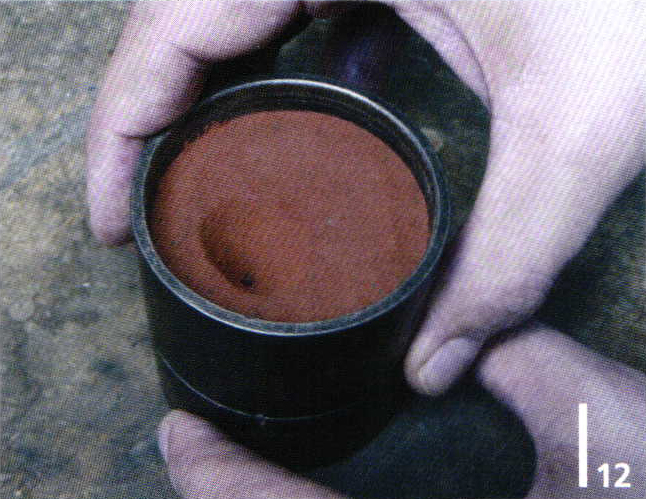
A casting channel is dug carefully in the sand on the upper half using a thin pipe, starting from the mould (10). A funnel is then cut on the outside using a scalpel (11), thus facilitating an improved flow of the metal. Furthermore, air channels can also be dug. However, in principle, the air escapes through the sand, which means that the additional work of cleaning the air channels is no longer necessary. The two halves of the mould are inserted on each other to match the markings (12).
10
11
12
13
Casting procedure
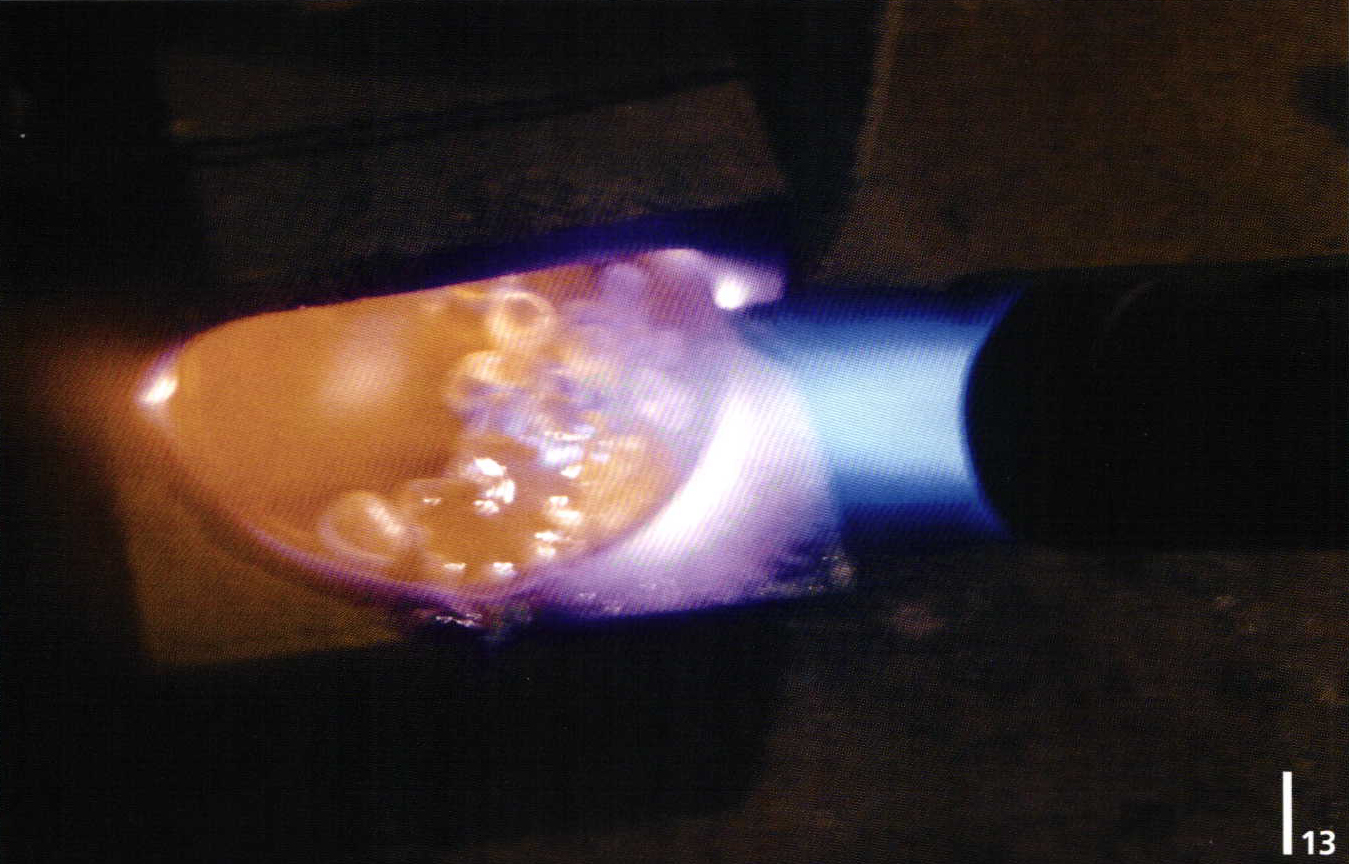
The crucible is heated slowly in preparation for the alloy to melt, in order to ensure that it does not crack. After this, any given alloy is introduced to the crucible and the granulate is melted (13). To do this, a melting powder must on all accounts be added so that no oxides form. The alloy is not free of contaminants and ready for casting until the skin on the surface has dissolved completely and a 'mirror' has formed. The sand mould is placed in the direct proximity of the melting procedure so that the distance between the crucible and the mould is kept as small as possible. This is followed by the most difficult stage of work: The crucible with the molten alloy must be brought close to the mould without the alloy coming into contact with oxygen, thus cooling down. For this purpose, the flame must always be applied directly to the molten metal. The alloy must be poured rapidly into the mould (14). One then either waits until the mould has cooled down or one uses pliers to separate the two halves (15). Due to the casting head, the cast object remains suspended in the upper part of the mould. It is then pressed out and the burnt casting sand is removed (16). The remaining sand can be used again. The casting channel is then sawn off and the piece is cleaned as desired (17).
14
15
16
17
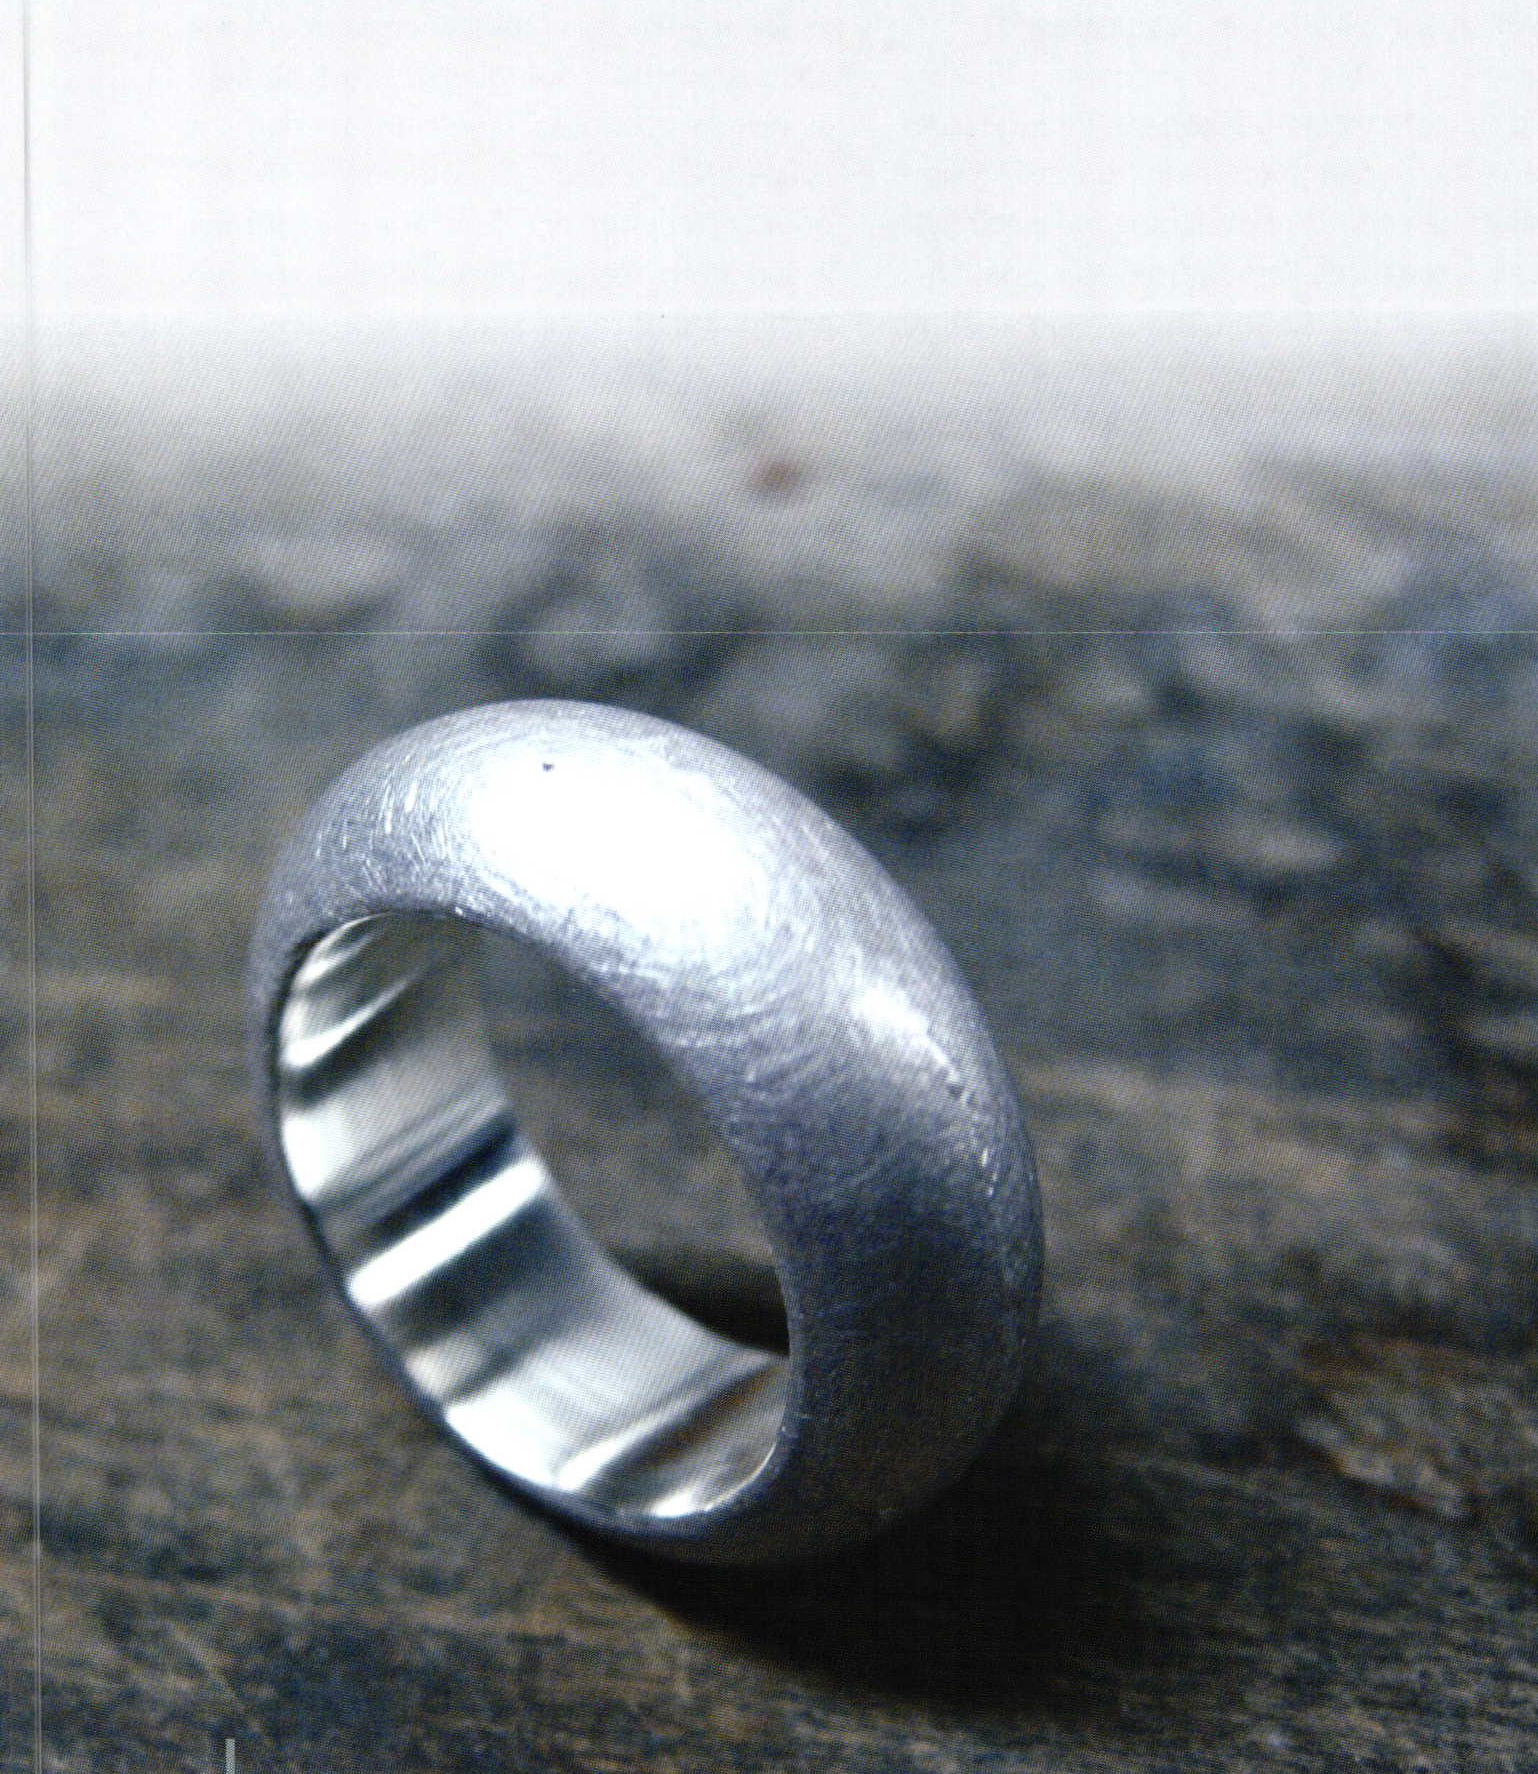
Hagen Gamisch plays with the archaic surface structure of sand casting
by Johanna Eberl
Related Articles

The Work of Ivy Solomon

Poul Beckmann: Crawling Jewels

Temple of the Sacred Heart

The Work of Tom Muir


The All-In-One Jewelry Making Solution At Your Fingertips
When you join the Ganoksin community, you get the tools you need to take your work to the next level.
