
Ossa-Sepia Casting
2 Minute Read
Ossa-Sepia casting is a 'lost form of casting' as the moulds can only be used one time. This makes each cast unique. The moulds are made from the bones of the cuttlefish. The smaller bones are cheaply available from animal dealers; larger bones are available from goldsmithing stores. A fine texture is required as this is transferred onto the surface of the object being cast.
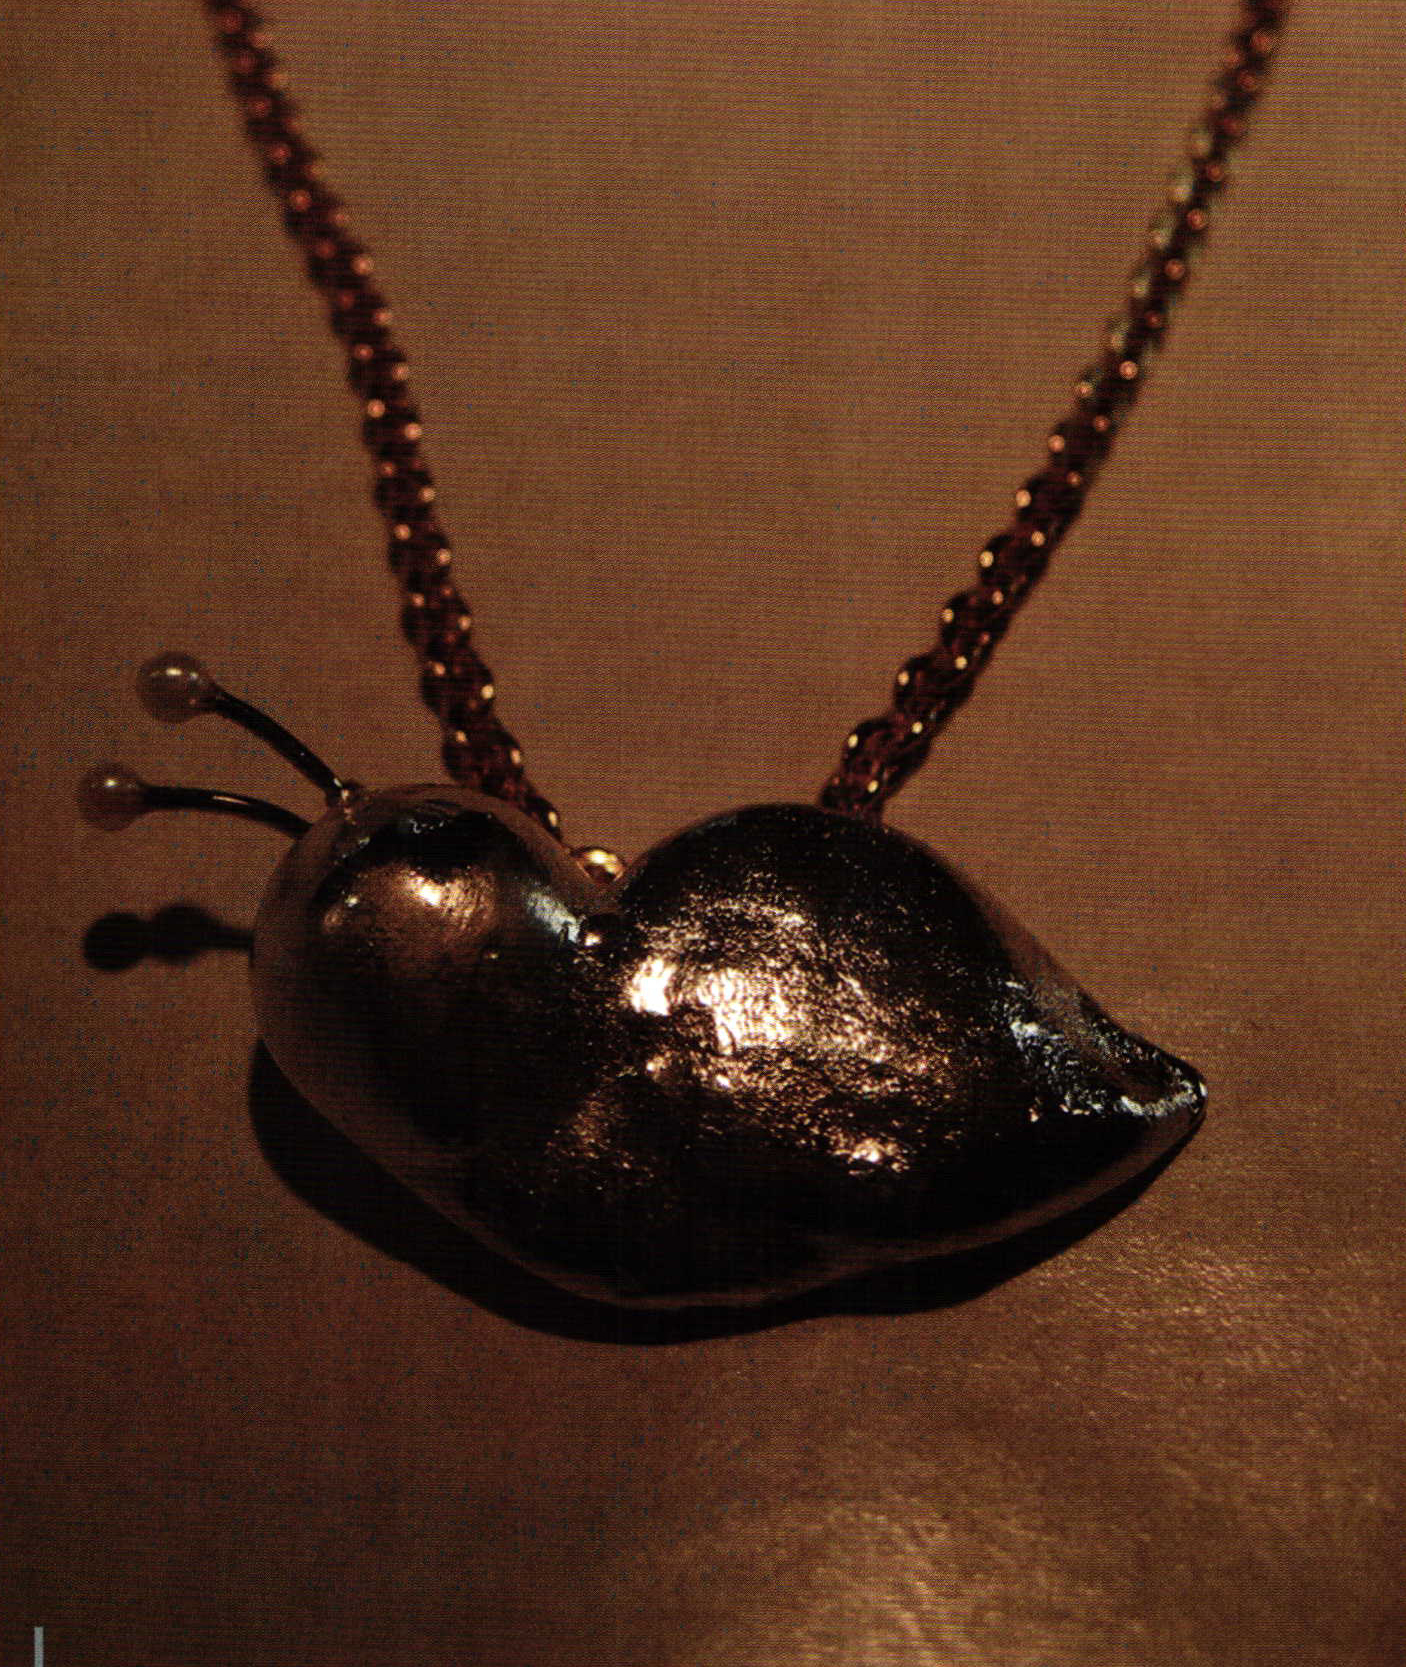
Katrin Erben's spiral pendant has been created by making an impression of a pearl using the Ossa-Sepia casting technique
1
2
3
The different layers of calcium in the bones burn away at different rates when the alloy is poured in, creating a unique surface structure. Ossa-Sepia casting enables casts to be made quickly with few equipment. However, the technique requires a great deal of practice to combine experience with safety.
4
5
6
7
8
9
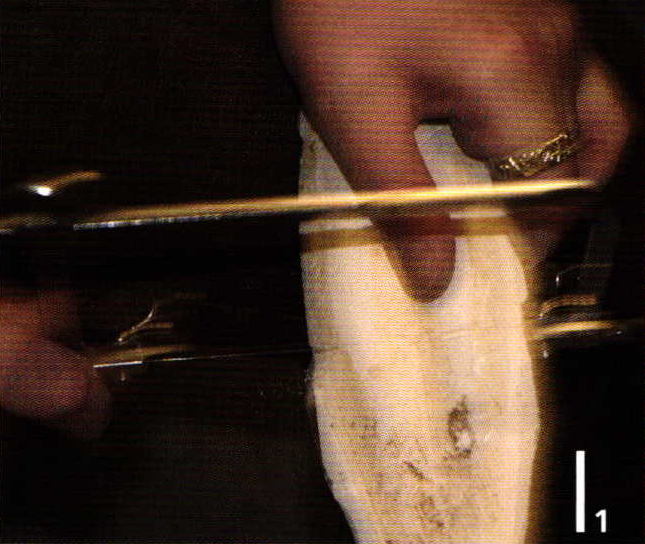
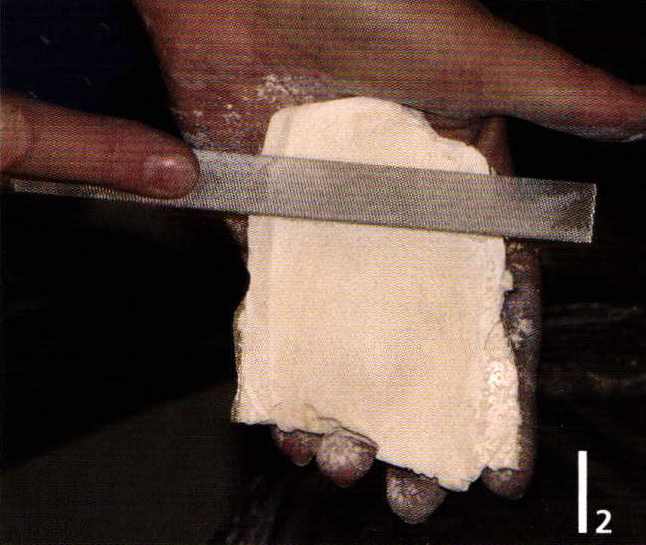
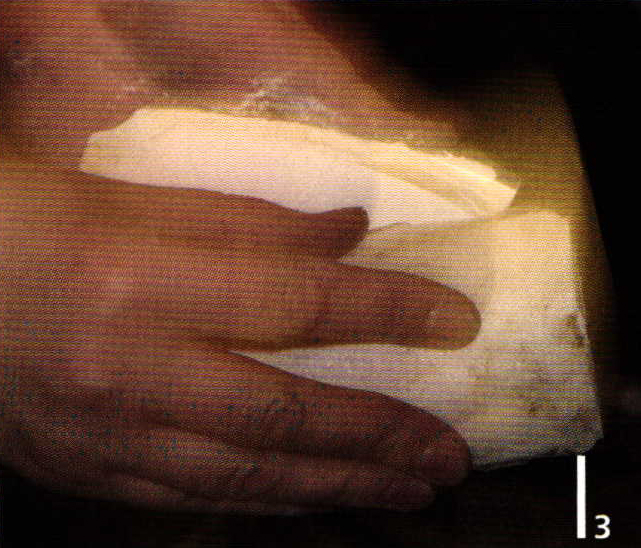
Preparing the moulds
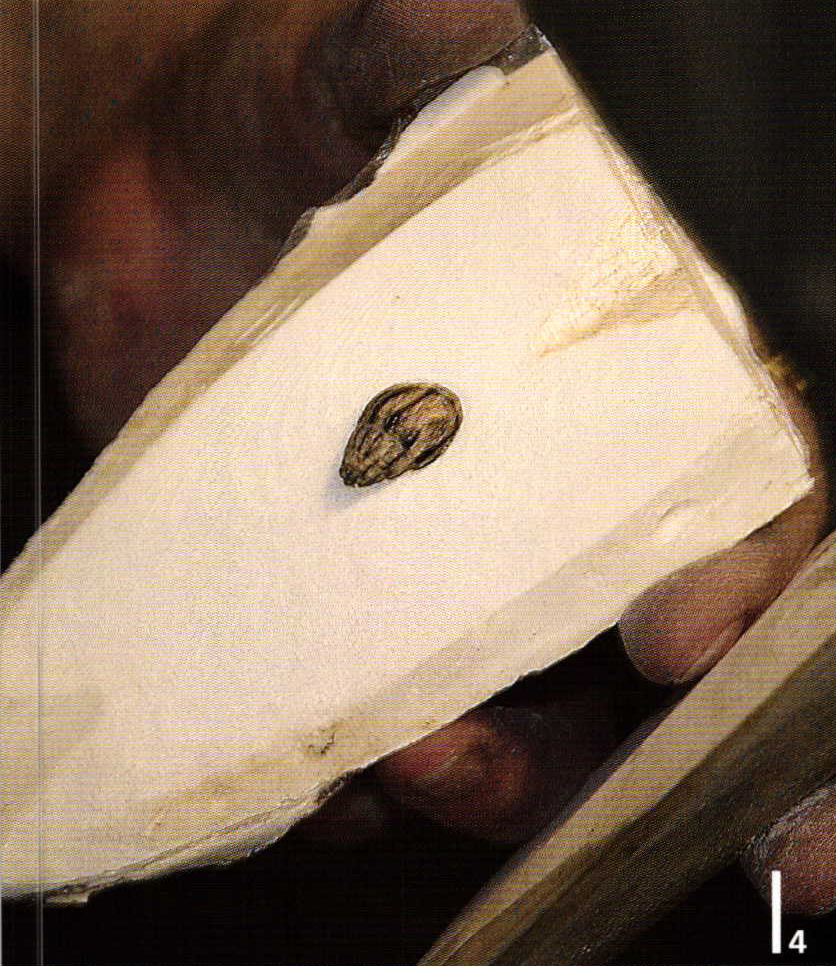
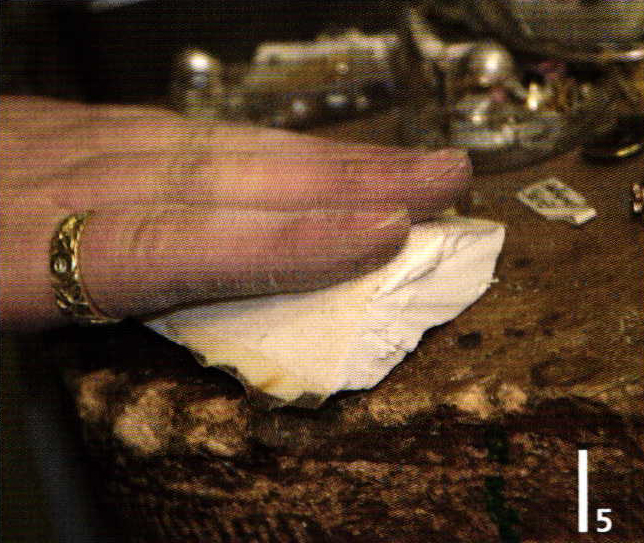
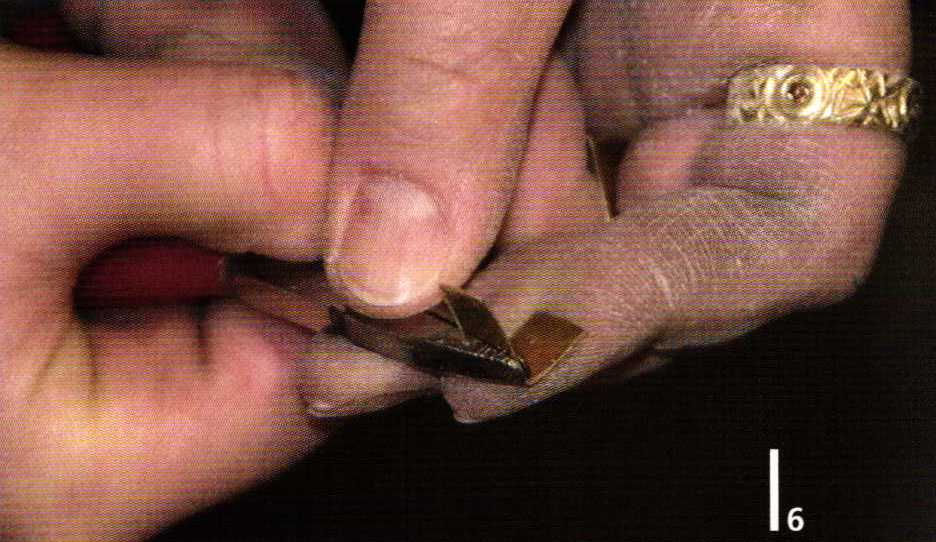
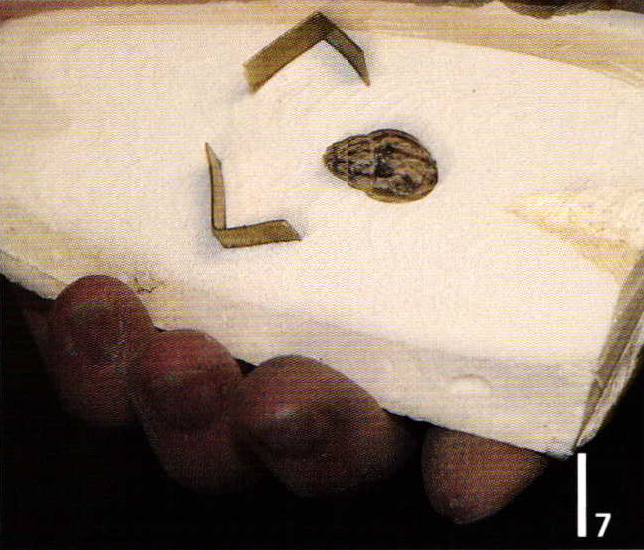
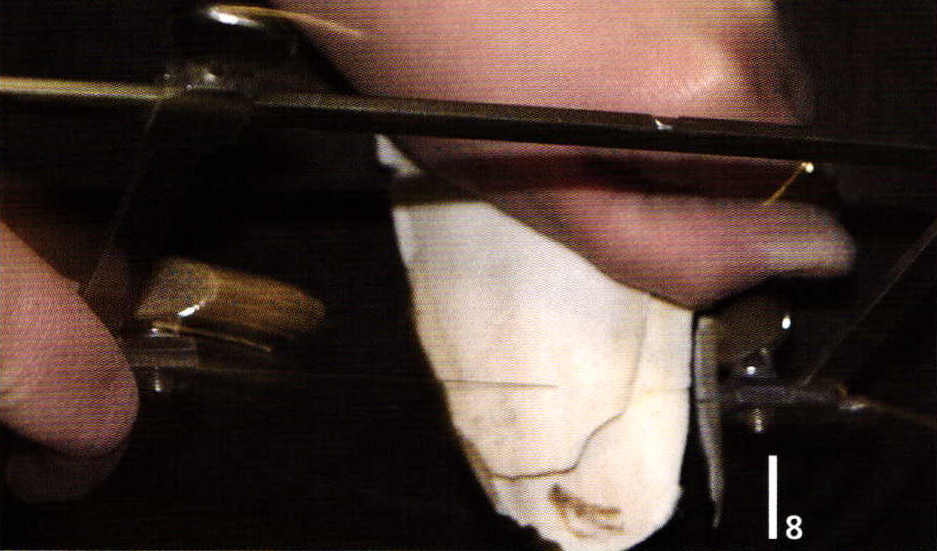
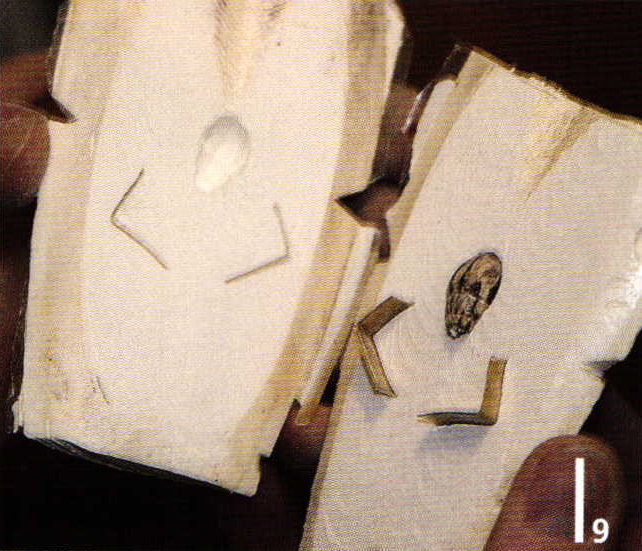
The bone mould must be well dried otherwise it will become brittle or porous. It is then cut in the middle (1). The soft inner sides of both halves of the mould are then filed down flat using a coarse file or sandpaper (2). The two halves must fit together well to create a clean cast with a seam as small as possible (3). The object from which the cast will be taken is gently pushed into the flat inner side of one half (4). The object is then pushed half-way into the mould (5). Two small brass plates are used as brackets (6). They are also pressed into the mould to ensure that the two sides of the mould fit perfectly (7). The two halves are pressed together so that the model and brass plates are completely molded together. Notches are then cut into the side of the moulds. The curvature of the moulds is sawn down to ensure a secure base during casting (8). Both halves are then released from one another and the casting model is removed (9).
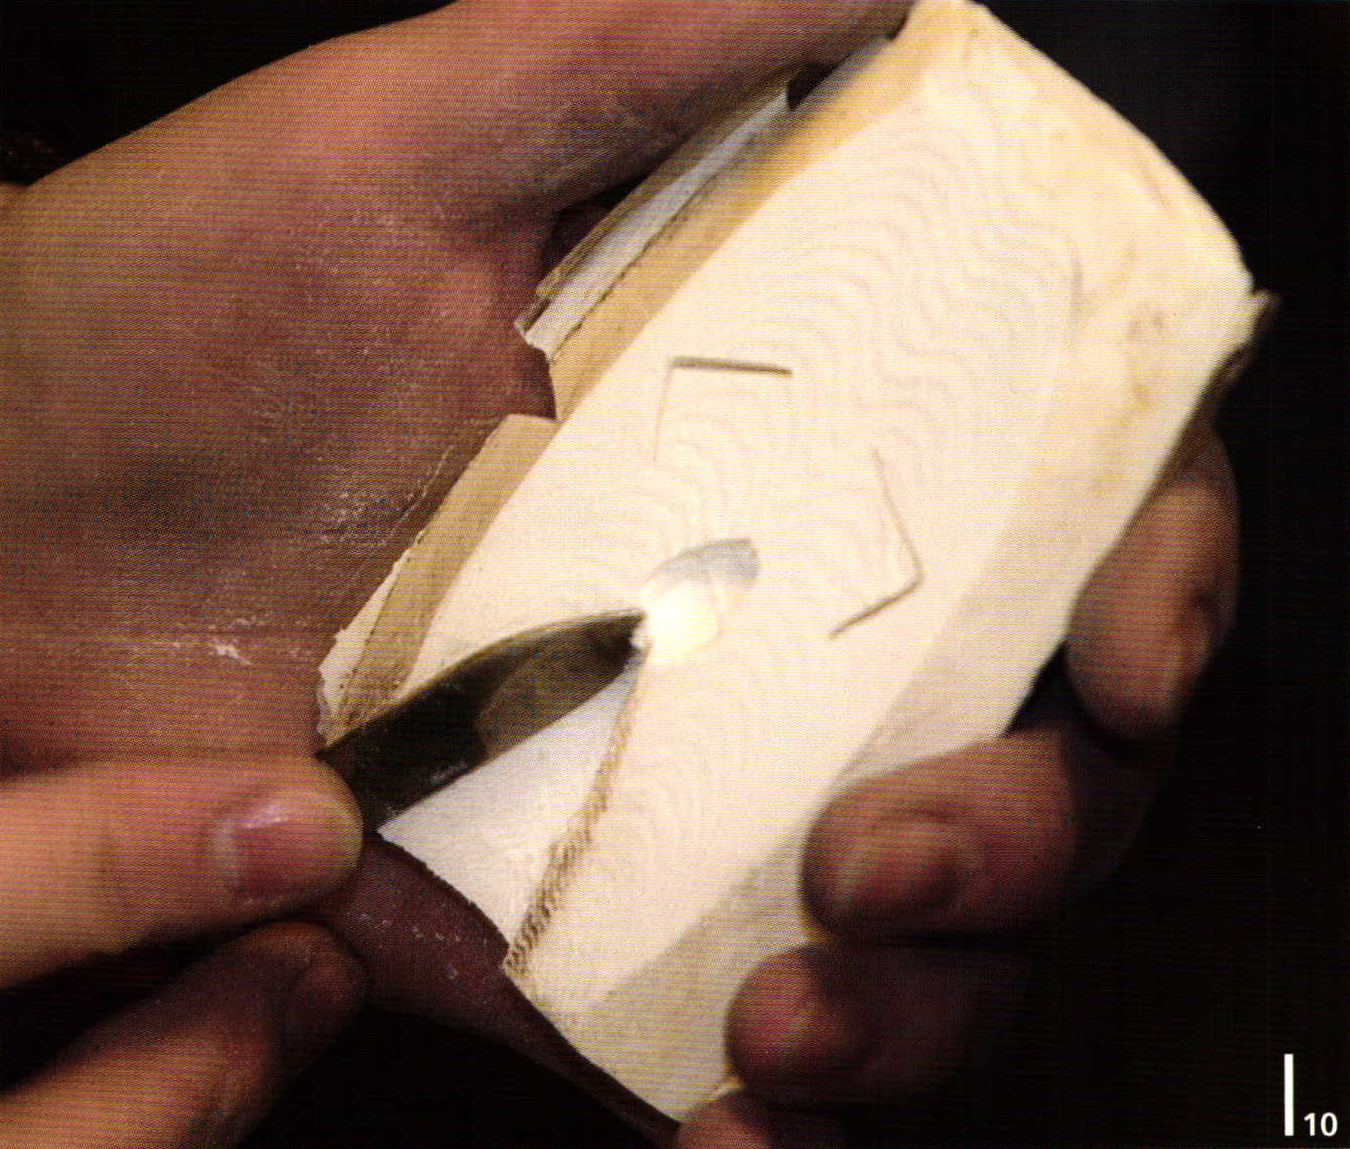
A funnel-shaped casting channel is carefully cut into the two sides of the mould using a knife (10). They are then secured using binding wire. This is wound round the moulds at the level of the notches to prevent the two halves from slipping (11).
10

11
12
13
Casting process
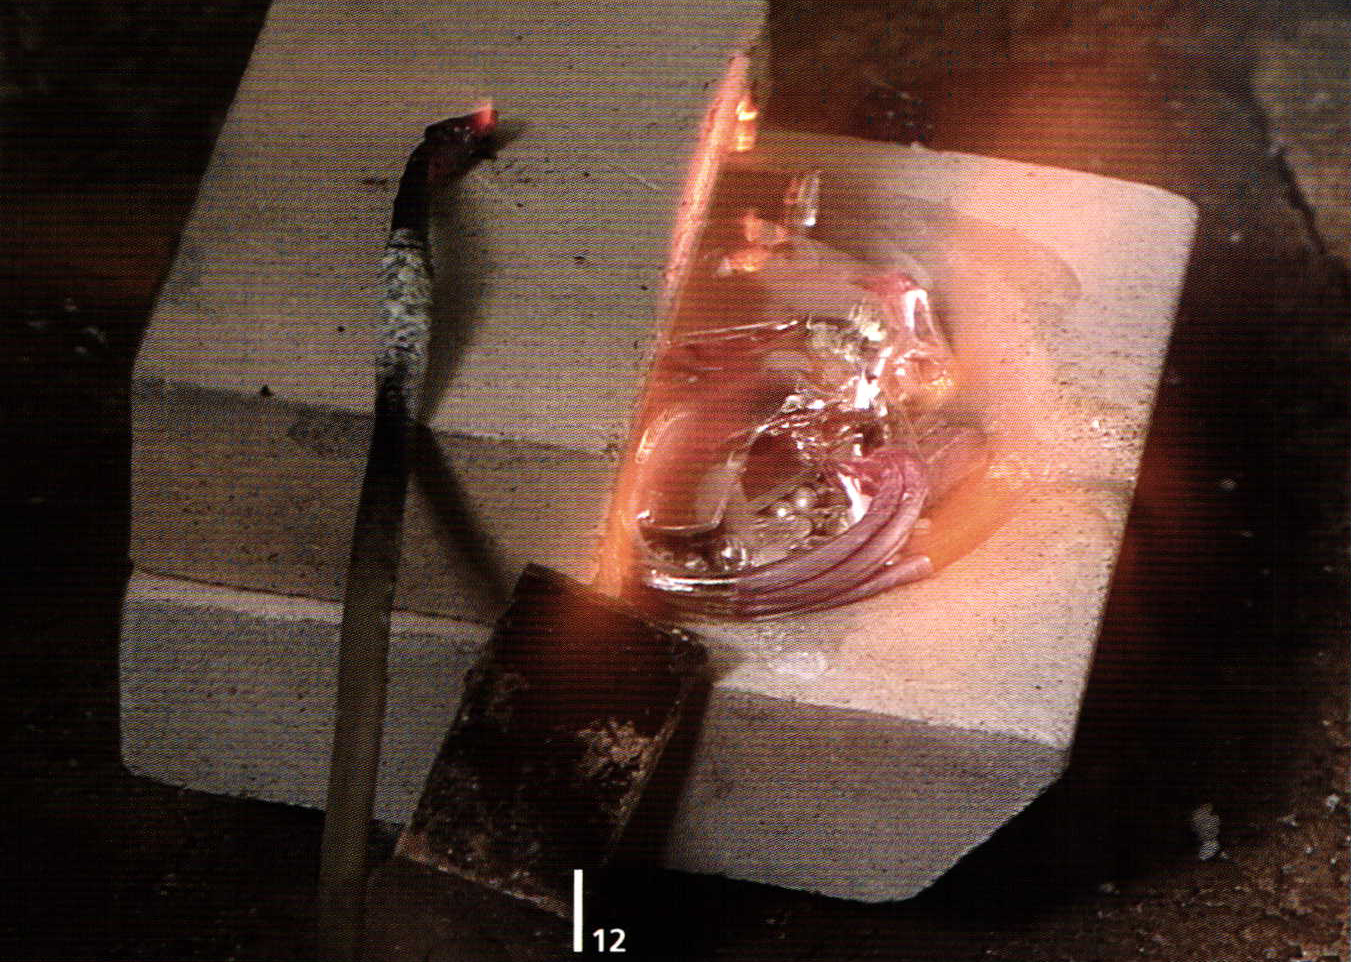
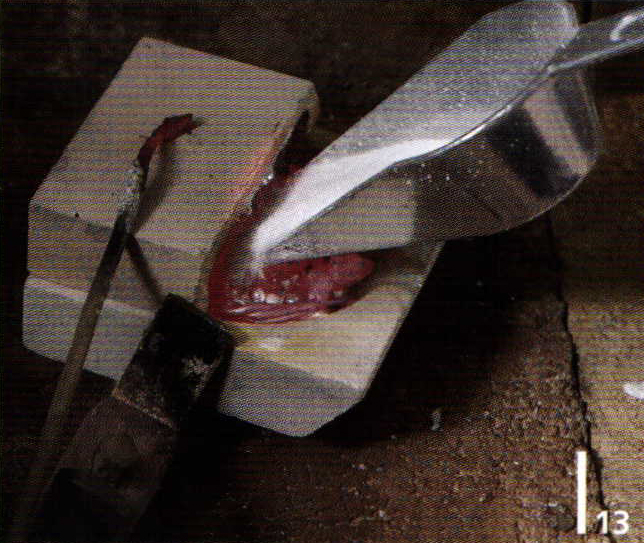
The alloy to be used in the cast is heated slowly in a melting pot to ensure that the pot does not crack (12). Soldering flux is added to the liquid material to avoid the formation of oxides. Once the skin on the surface has completely dissolved and a 'mirror' has formed, the alloy is free from impurities and is ready for use in the cast (13). The two halves of the mould, tied together, are positioned close to the melting pot before casting begins. Forming blocks hold the mould upright and in place.
14
15
16
17
18
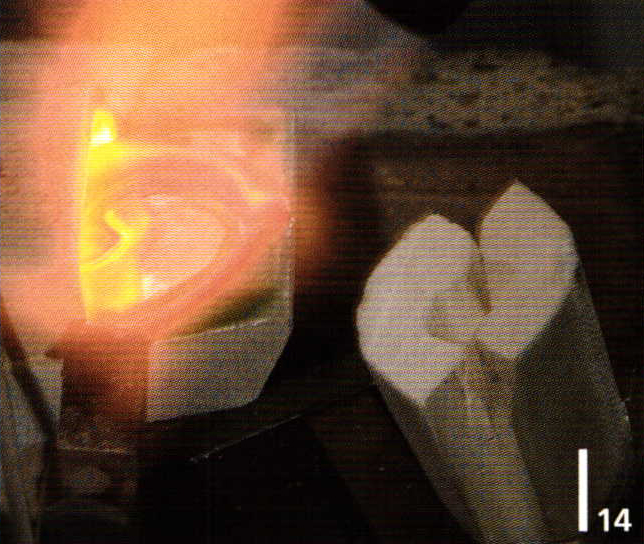
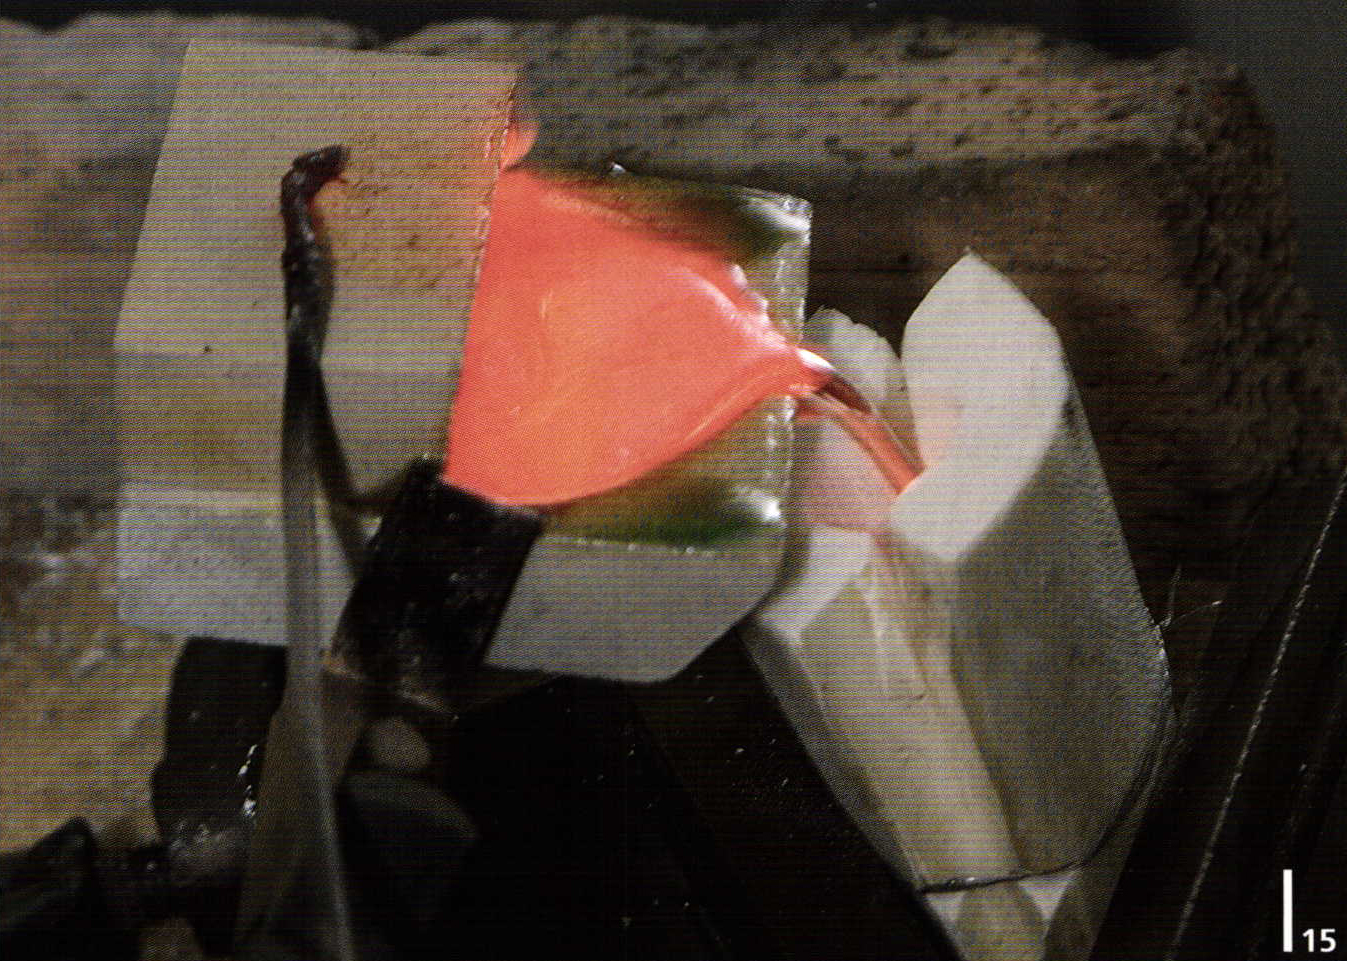
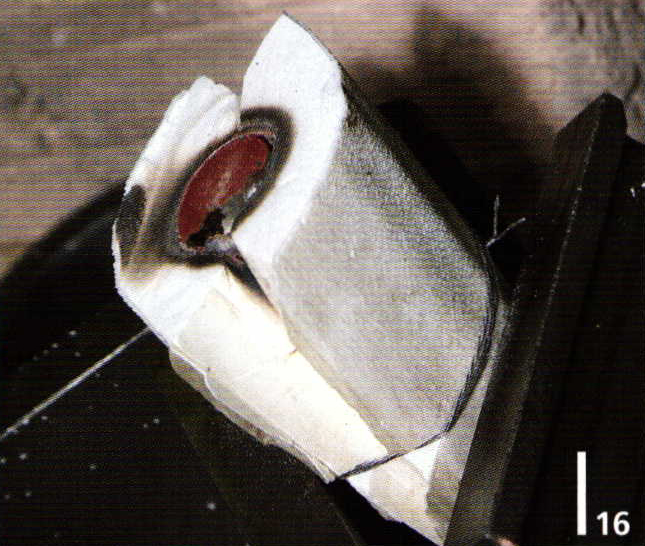
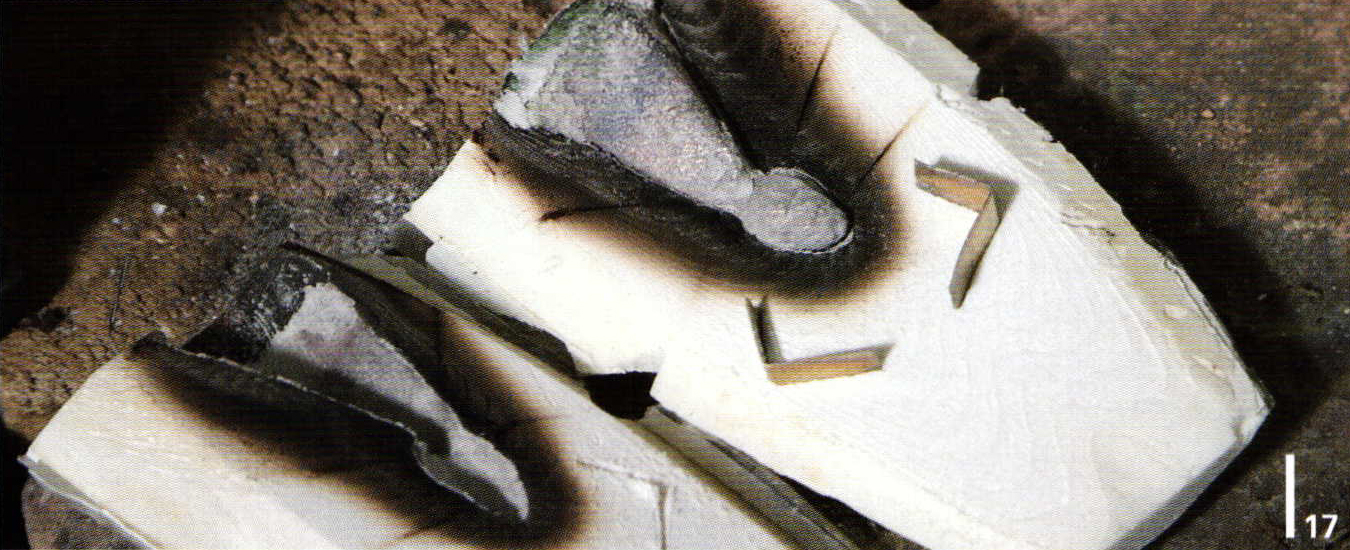
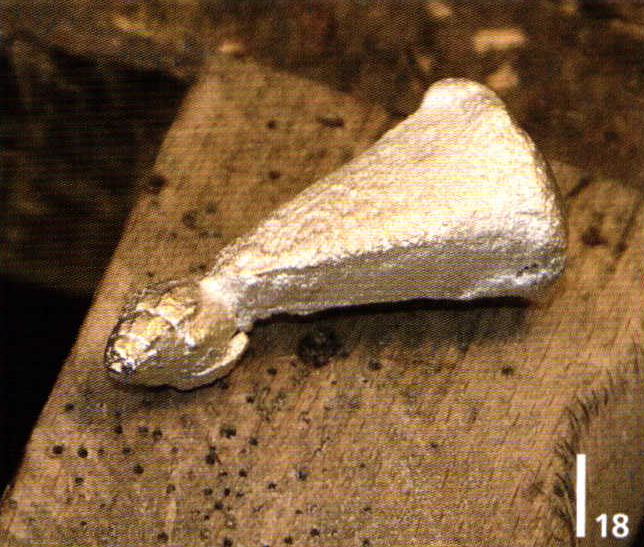
The melting pot containing the fluid alloy must be brought closer to the moulds without oxygen entering and cooling the alloy. The flame must therefore be kept directly above the liquid material (14). The alloy must then be poured quickly into the mould (15). As soon as the alloy has cooled down, the binding wires can be cut (16). The fibers of the bone and the different rates of burning are evident from the burnt-out section (17). The casting channel must then be cut away from the cast object which can be neatened up if required (18).
by Johanna Eberl
Related Articles

950 Palladium: Superior White Color

Ashante Casting
The Art of Mold Cutting

950 Palladium: Manufacturing Tips and Techniques


The All-In-One Jewelry Making Solution At Your Fingertips
When you join the Ganoksin community, you get the tools you need to take your work to the next level.
