
Making Silver Whistles
Okay, so this is a bit esoteric. I mean, how many people do you know that make silver whistles. It all started with a commission from a captain of a racing yacht. He had lost his whistle and he wanted me to make one that also had the shape of a Christian Cross. He uses it to whistle to his crew when they racing, because the wind and sea drown out his voice. (no pun).
4 Minute Read
Okay, so this is a bit esoteric. I mean, how many people do you know that make silver whistles. It all started with a commission from a captain of a racing yacht. He had lost his whistle and he wanted me to make one that also had the shape of a Christian Cross. He uses it to whistle to his crew when they racing, because the wind and sea drown out his voice. (no pun)
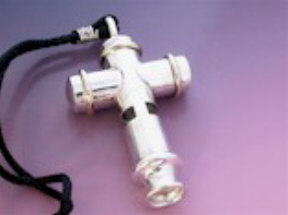 |
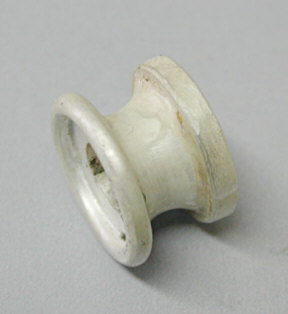
| This was the captains whistle. |
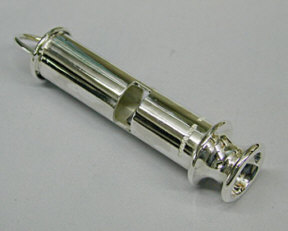 |
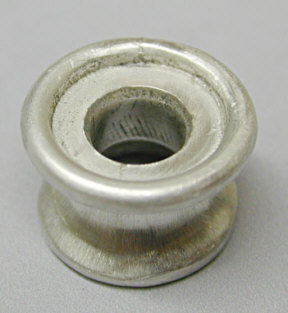
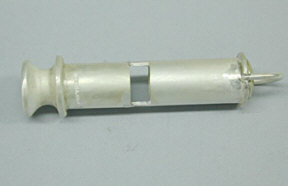
| This is the whistle that will be made in this Hidi. |
So a year or so goes by, and one day I wake up and I realize that I can't actually remember, how I had made the captains whistle. Luckily I had, in my research, made four or five test samples, firstly out of copper tubing and then out of silver, and I still had these attempts in my silver junk box. So I decided to make this Hidi , quickly, before I forget even more! I am sure that my loss of memory is to do with the fact that my eyebrows and hairline are at war…..
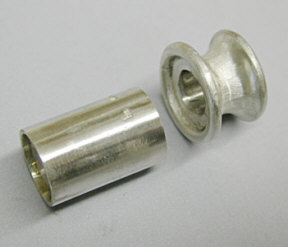
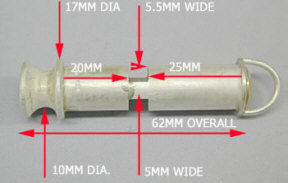
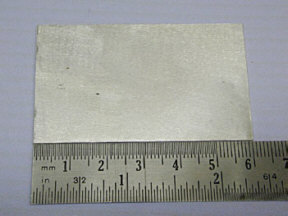 | We start with a piece of flat, annealed silver, the size shown. I rolled this down to 0.8mm thick, but I am sure other thicknesses will be good too, like 1mm or 1.2mm. |
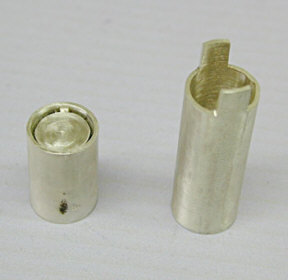
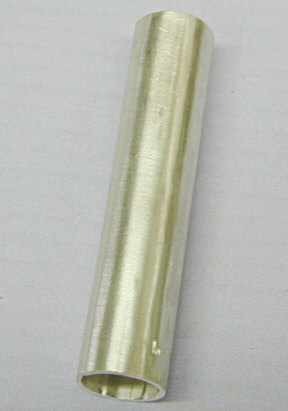 | I bend it round and solder it up into a tube that has a diameter of 11mm on the inside. |
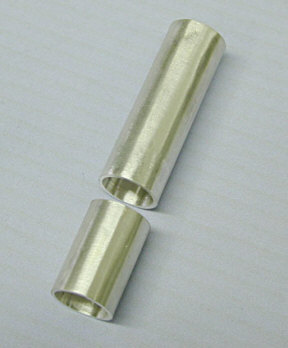 | Then I saw it about a third of the way up. The first picture shows the whistle to be 60mm long. In actual fact it turned out to be 50mm long. The reason is that the longer the front of the whistle is the lower the pitch. And the shorter, the higher the pitch. I decided on the pitch by suddenly and unexpectedly blowing the whistle behind my wife, and then seeing how high she jumped. I settled in a six inch jump which made the whistle 50mm. ( semi kidding 🙂 |
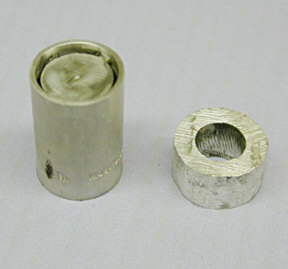
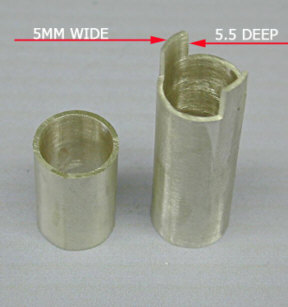 | The front section of the whistle is cut out as shown. The depth of the cut is 5.5mm. The thickness of the 'posts' is 5mm. Those measurement are not finite. There is, within reason quite a variable. |
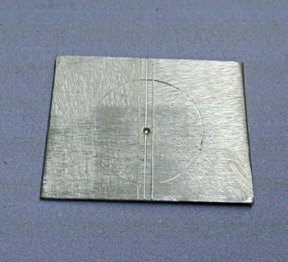 | Now comes the critical part. This plate is .5mm thick. I pierce it out carefully. |
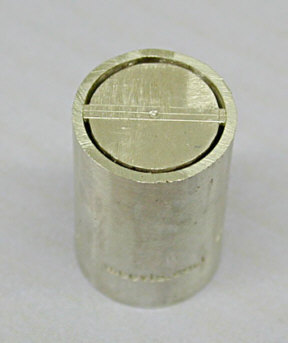 | Then I file the lips just so that the plate fits very snugly into the bottom section. |
 | Then I solder in the plate so that it is a millimeter or so recessed from the top. Also, I have run a .7mm barrel bur so that the plate and the inner walls have an equal gap. This is all rough still. I will take sandpaper strips and smooth the .7mm gap out and use bristle brushes and brush finish the inside later. |
 | At this stage I can hold the two pieces together and make the thing whistle. It's a bit finicky, but at least I know it will work. |
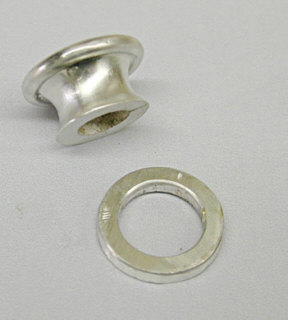
 | Now I need to make the mouth piece. I roughly shape a 'washer' of silver. |
 | Which is filed to about the same diameter as the whistle section. It is about 9mm wide, but in retrospect I could have made it 11mm wide. It would fit my teeth and lips better when blowing the whistle. |
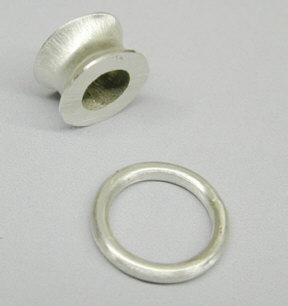 | Then I file it with a 6mm rattail file (a round file that is not tapered) and make a circle of silver. The wire is 2mm thick. |
 | This circle I solder on just so that the bottom part of the whistle will fit in snugly. This looks good and hides the joint. |
 | Then I make a flat washer 2mm thick and solder that onto the other side of the mouth piece. |
 | Like this. |
 | Here I am about to solder the two components together. |
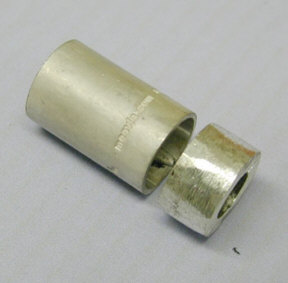
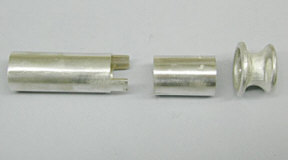 | These are the three sections of the body of the whistle. |
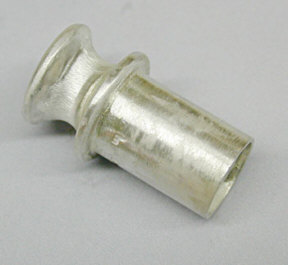 | The bottom piece soldered to the mouth piece. |
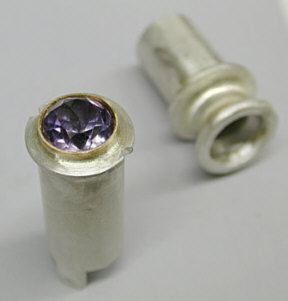 | Then Hans decided to become clever. This is always dangerous. So instead of just putting a nice gold cap on the end of the whistle, why not put a amethyst there instead. Bad idea. The whistle simply ceased to whistle. I assume the pavilion of the stone upset the air flow. If I were to solder at the top tube closed and then mount the stone on top of that, it would work. But I was too far advanced to start messing around with something that was certain to end in tears so… |
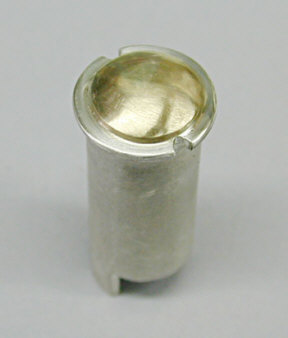 | I soldered a gold cap on instead.. The two grooves are there to accept the bail of the whistle |
 | When the whistle is soldered together, it is essential that the posts and the whistle plate align. The whistle will not work if they are at 90 degrees to the posts. |
 | Here the whistle is soldered together, ready to be finished off. |
 | Another view. |
| Finished off. |
Related Articles
Special Repair Work

Fabricated Reversible Pearl Pendant

Magnesia Blocks Myth Debunked

Richard Reinhardt: Discontinuous Continuity


The All-In-One Jewelry Making Solution At Your Fingertips
When you join the Ganoksin community, you get the tools you need to take your work to the next level.
