
Jewelry Designs: Raindrops Pendant
6 Minute Read
Welcome to Stacey Rhodes Jewelry Designs, where we will detail all of the steps involved in adding a new piece of jewelry to our line. In this issue we will be working with our latest design. I'll take you through every phase of production, from the idea to the showcase.
The Idea
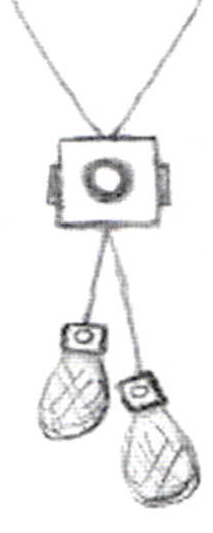
As usual, we start all of our pieces with a rough sketch. Stacey was envisioning some type of lariat necklace. The sketch shows the original drawing of her idea. As a bench jeweler I see several elements to consider. How to make a lariat slide is the first thing to figure out. I've never attempted this before. Also, there are three square elements with stones. It looks like a lot of work, so let's start with the slide.
The Original Model
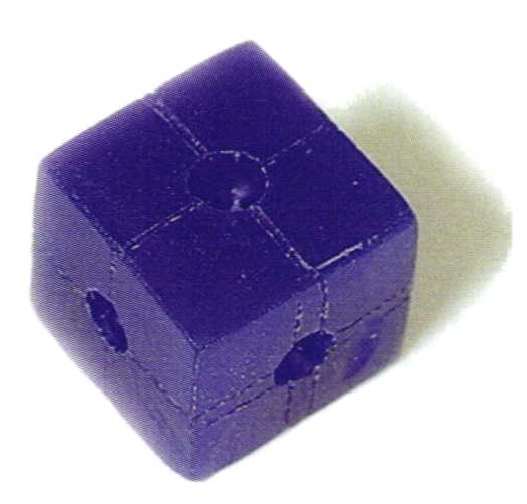
As of right now, I don't have a clue how I'm going to make this pendant work, but I know I have to carve a square block. Stacey decides on a 9mm square. You can see that the wax carving came out pretty square. Ispent about 4 hours carving the wax and trying to keep a good center line on all 6 sides. Once finished with thecarving, I use a round bur and put some indentations in the center of all 6 sides so I could erase my centering lines yet still find center once the piece is cast.
Once cast, I sanded everything smooth. I then took a pair of dividers and once again, very lightly, marked mycentering lines. With these lines in place, I could solder on some gold tubing for the bezels. The lines and the indentations are a big help in centering your bezels.
The First Design Change
We begin to realize that having three cubes, with stones on all four sides, and two briolettes was starting to make the design become too busy, and very labor intensive to create. We decide to make just one cube for the center slide, and then use simple caps on the briolettes instead of cubes. It streamlined the design, and cut down the labor and material cost significantly. Anyone that knows me knows I'll never be accused of being a workaholic. Less is more.
The Second Design Change
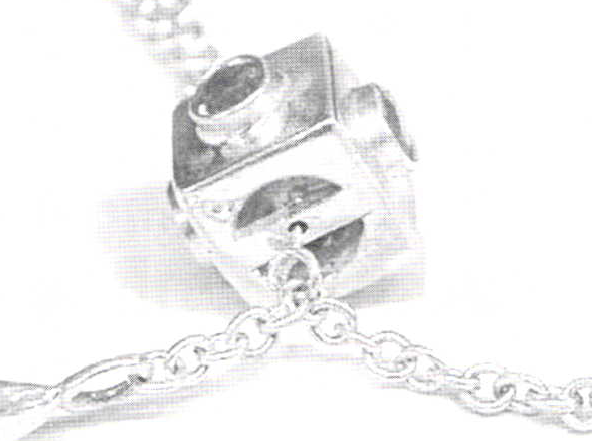
After spending hours of contemplation and endless conversations about how to make a lariat slide, I came up with the solution. It's going to be an "Illusion Slide". It is not going to slide at all. it's just going to look like it does. The photo shows how I soldered a jump ring to the top and bottom of the cube. The next photo shows how the chain slips over the jump rings and appears as if it's passing through the pendant. When, in fact, the upper chain and the lower chain are not connected at all. Pretty clever, huh?
Making the First Rubber Mold
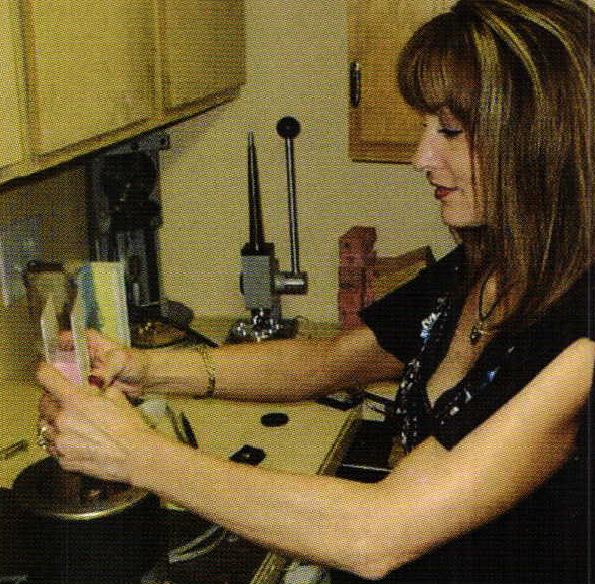
With the piece polished and the bezels in place, I add a sprue and I am now ready to make a rubber mold. My biggest reservation, at this stage, is that the backs of the stones are not accessible. I prefer to have access to the back of all of my pieces, solely for cleaning purposes. If you cannot access the under side of a gemstone, you'll never be able to clean it properly. But, since I hadn't come up with a solution just yet, I decided to tackle that problem later. I go ahead and make the first rubber mold, and have Stacey do the ceremonial first injection. The wax comes out just fine, so I inject 4 more for the first production run.

The First Production Run
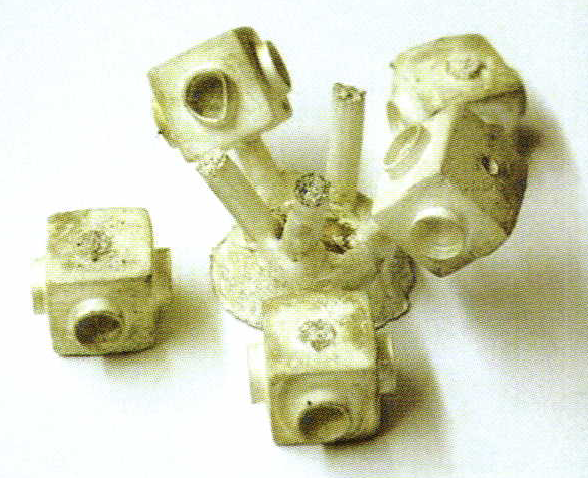
The first production casting did not do as well as I hoped. This photo shows how three of the five had extensive porosity where the sprue and the main body were joined. This caused them to break off from the sprue and button. The reason was I had put on too small of a sprue for such a heavy piece. Two of the pieces were fine, so I went ahead and set the stones for practice, and to see what other problems arise.
The Next Change
I had a very difficult time trying to figure out a way to hold the piece while setting the stones. Bezel setting requires that a lot of pressure be applied to the bezel. Since there were delicate jump rings on the top and bottom, and stones on all four sides, I couldn't clamp it into a jewelers hand vise. I ended up just holding it in my hands while setting, for a less than perfect setting job.
The First One is Finished
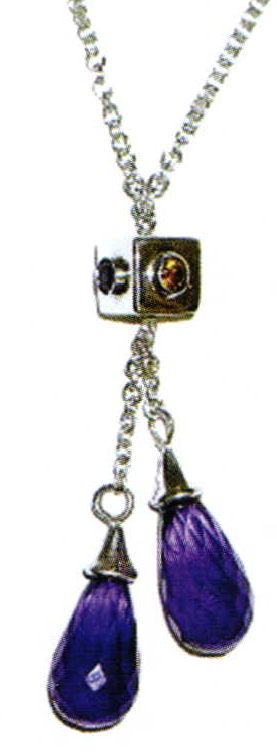
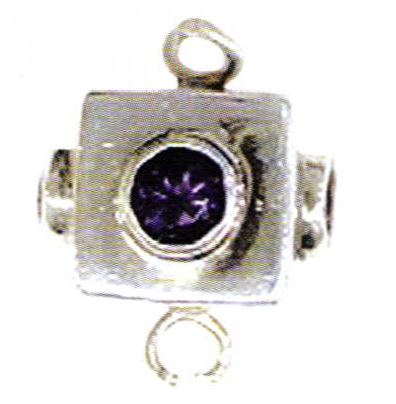
The photo shows the finished pendant with the purple amethyst briolettes. I bought some simple briolette caps, added a very short section of chain, and glued the stones in the cap. Then I soldered the jump rings, and I was finished. The only problem is I hate the piece. For photographic purposes, the piece looks fine, but it doesn't work. After final polishing, I could never get the rouge and tripoli from behind the stones. I wasn't happy with the stone setting, and I wasn't really happy with the casting procedure either. So, what next?
I've Got It!
After a few tweaks and adjustments and a little lost sleep, I came up with the final solution to all of the above problems. First, I drilled a hole in the bottom of the piece. Then, I gradually increased the size of the hole until I had hollowed out the center. I then drilled out the center of the bezels as well. Now, I've solved one problem by having access to the backside of the stones.
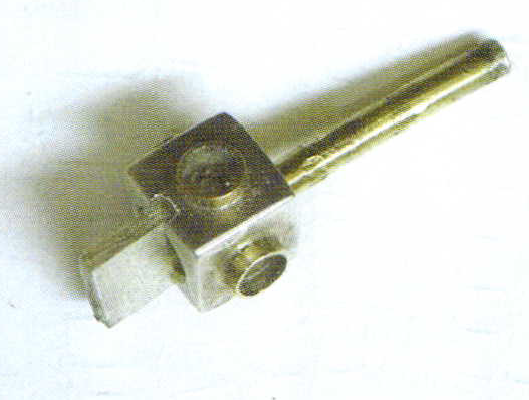
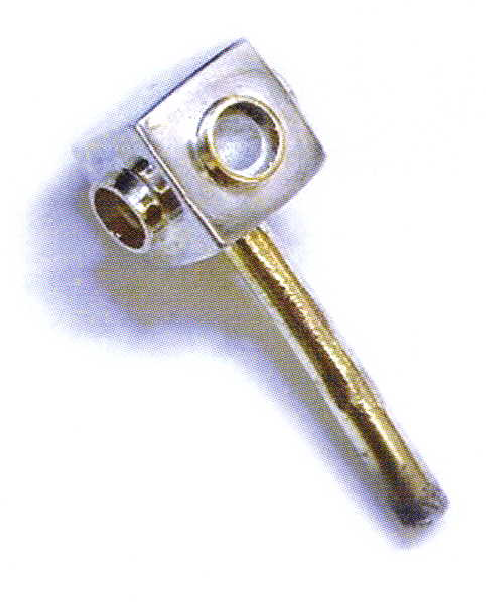
Now, to hold the piece during stone setting, I developed a type of tongue and groove, or keyway system. First, I cut two grooves into the bottom of the pendant to receive a key. Then I make a rectangular piece of stock, the key, to fit the groove. Notice how the key inserts about 2mm into the bottom of the pendant, with about 10mm left exposed below the pendant. I now have a nice heavy holder cast into the pendant that I can clamp into a hand vise, making stone setting a breeze.
The Final Rubber Mold
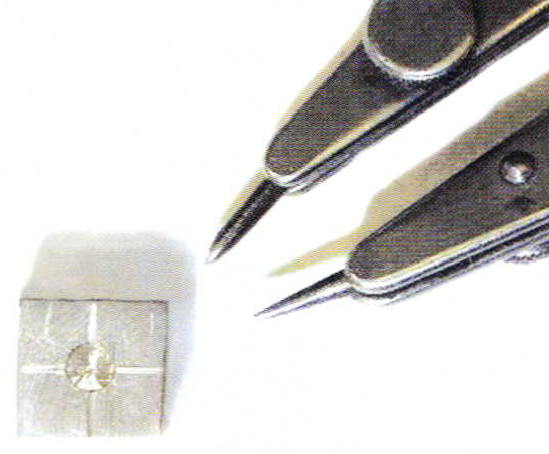
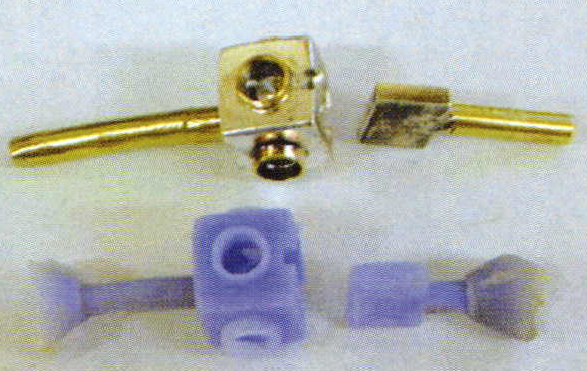
I have to mold my new idea in two pieces, yet I can cast it as one. I can marry the two elements in the wax. The reasoning is that there is big difference between removing a wax from a rubber mold, and removing a metal casting from investment. With a metal casting encased in investment, you can break the mold open and dissolve the material away from the casting. With a rubber mold and wax pieces, the parts are far too delicate. The photo shows the two elements in the original metal model, and then also in their wax counterparts. I can now join the two elements together in wax and cast them as one unit.
The First Two
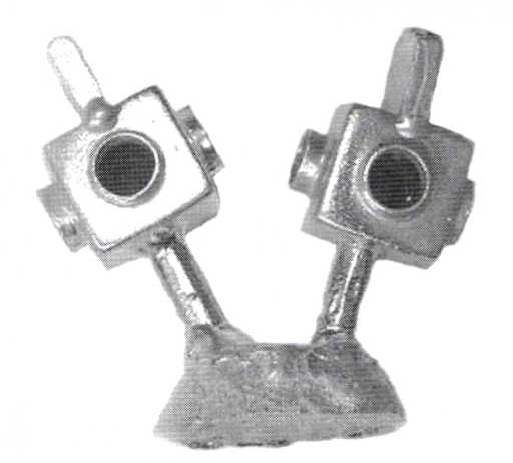
You can see in the photo of the casting how the two elements were joined together. I just inserted the holder into the keyway and put a dollop of wax on the joint. I elect to leave it rough in the wax and finish it off in the metal.
Once the stones are set. I use a cut-off disk to remove the exposed section of the holder. This leaves a bar across the bottom that I can drill a small hole into. I then fashion a jump ring through the hole to hold the lower chain and I'm finished.
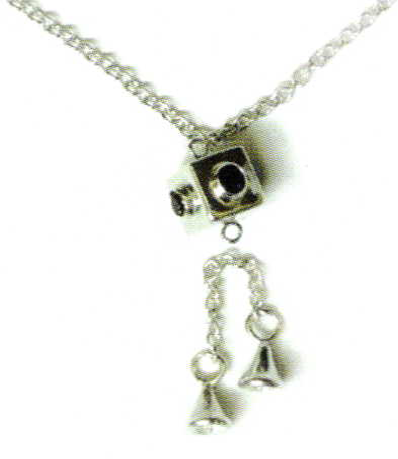
The Finished Product
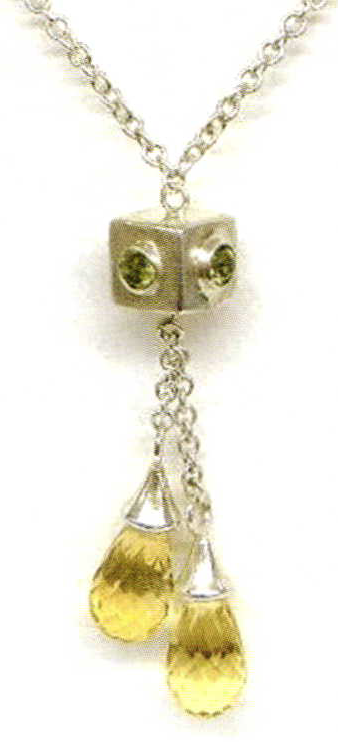
The photo shows the final result, set with peridot and citrine briolettes. This piece changed more than any original design I've worked on in the last 25 years. I always like to emphasis to all new bench jewelers that this is not uncommon. You need to keep an open mind, and don't get too stressed when your first idea doesn't work as well as you had hoped. Be flexible and think it through. Sometimes you just have to get creative to find a solution. Good luck on your next design!
Related Articles

Temple of the Sacred Heart

Galleries: Galerie RA

Carrie Adell: Energies of Transformation

The Jewelry of Michael Zobel


The All-In-One Jewelry Making Solution At Your Fingertips
When you join the Ganoksin community, you get the tools you need to take your work to the next level.
