
Jewelry Designs: Grace Pendant
5 Minute Read
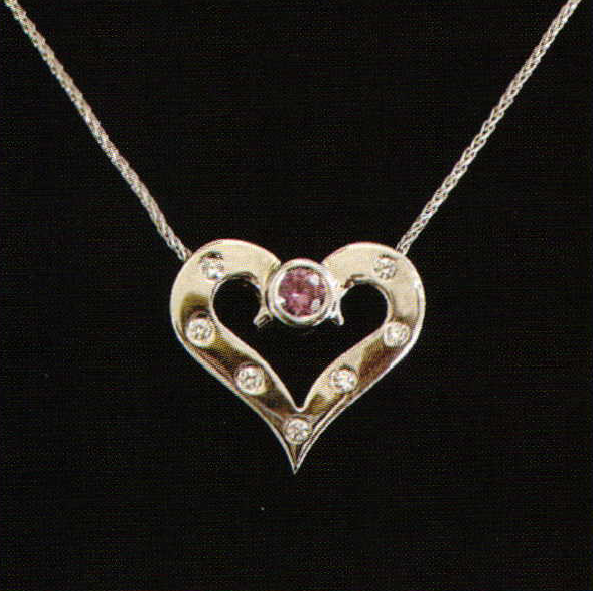
The Grace Pendant was designed specially for the Heart Gala, a benefit for the American Heart Association that Stacey and I strongly support. The graceful curves of this white gold heart pendant embrace a pink sapphire that is accented with seven diamonds.
This piece was handmade to represent the love, caring and compassion of the heart. It was designed to be worn in this spirit for a lifetime.
Welcome to Stacey Rhodes Jewelry Designs, where we will detail all of the steps involved in adding a new piece of jewelry to our line. In this issue we will be working with our latest design. I'll take you through every phase of production, from the idea to the showcase.
The Idea
As with most of our pieces, this one begins with a Post-It-Note sketch that Stacey sticks on my bench. My first thought is "Easy one". What a change from "Raindrop" in the last issue with
the cubes, the bezels, briolettes, and sliding chain. About the only dilemma at this point is how to do the bezel at the top of the heart. Do I want to do it in the wax or add it later? I decide to just wing it and let the piece tell me what it wants. Also, what am I going to do with the chain?
Let's Carve a Wax
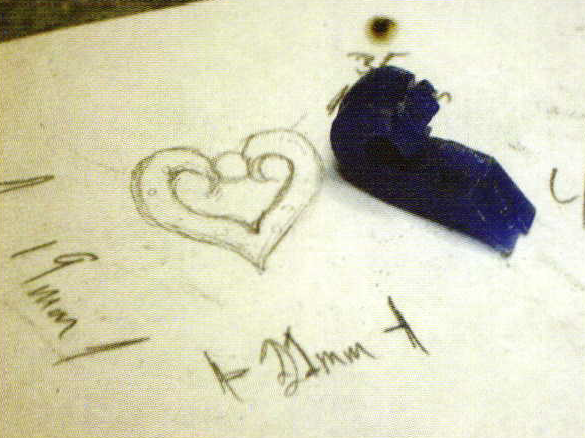
If possible, I always try to have Stacey sketch the design on to the wax I'm carving. We do a little measuring and marking on our paper sketch to determine the size, and decide it should be 21mm wide by 19mm tall. I file the wax smooth to remove the milling lines, and use lighter fluid on a paper towel to polish the wax smooth. Then, I mark the dimensions as a guide for Stacey to draw the pendant. The photo shows the finished wax sketch.
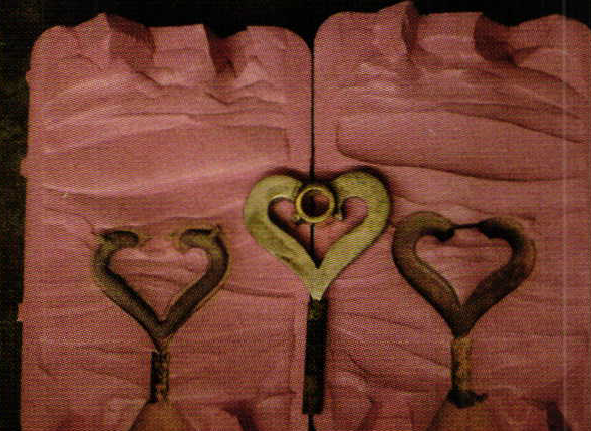
A Broken Heart
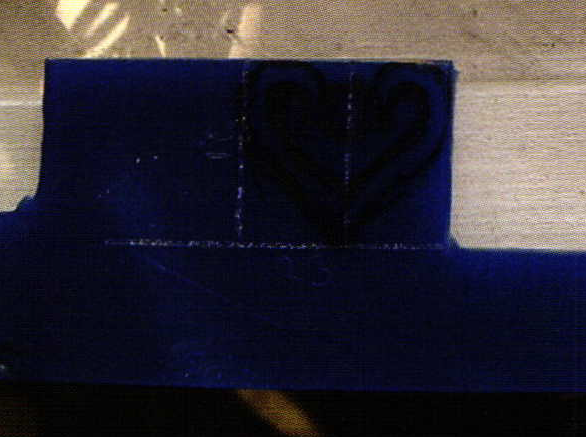
The first setback is almost immediate. I broke the wax in two. Oh well, I had a feeling it was going to happen. I elected to add the bezel at a later stage, so I pretty much knew it was going to break. As it turns out however, it was a good thing. Trying to free hand a wax with matching halves is pretty tough. Once it was in two pieces, I joined them together and carved them as one piece. The photo shows how I married the two halves for carving. Once I was pretty close, I separated the two pieces and put them back in their original location and fit the bezel into place.
I chose to use a stock bezel that would accommodate anywhere from a 4.5mm to 5.0mm stone. I recheck that the wax heart and gold bezel fit together snugly. Notice the areas where the wax is almost black. Those are called mistakes. The beauty of wax is the very forgiving nature of the medium. If you screw up, just add more wax and try again. Also note that most of the wax is blue, not black. Those are the areas I got right the first time. We spend the better part of two days tweaking the design before we are both happy with it.
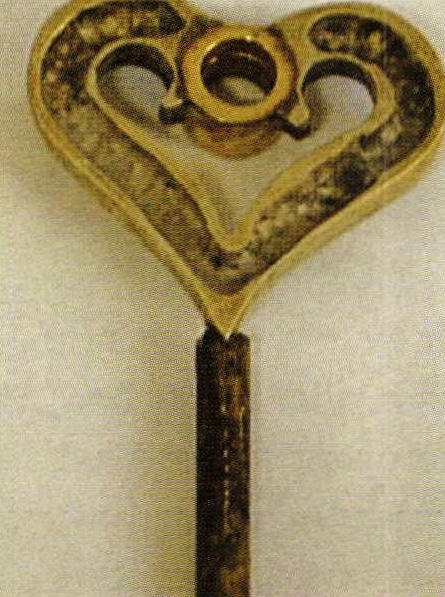
Casting the First Part
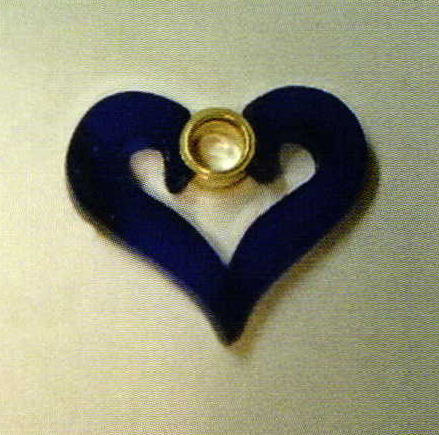
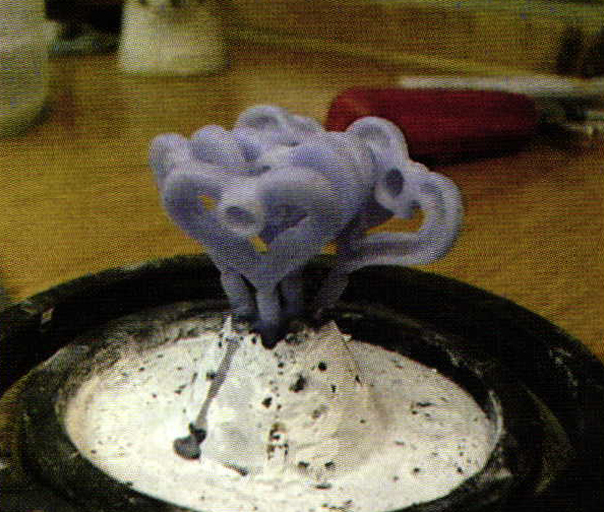
I slip the gold bezel out of the wax and get ready to invest. Because the top of the wax is not joined together for a smooth metal flow, I need to really think about where to place the sprues. Anytime you cast a piece where the metal doesn't have a circular flow (like a wedding band), you are risking porosity or an incomplete casting. Since I've just spent two days getting to this point, neither of those options are overly appealing. I add some extra sprues to fill the top of the pendant. I was really worried about the small tabs that protrude out from under the bezel. The photo shows a successful casting.
Making a Rubber Mold
I solder the bezel into place the first time. It fits like a glove, so I'm ready to make the rubber mold. I attach a new sprue on the bottom of the pendant. Since the piece is now one continuous piece, a single sprue should be more than sufficient. Look at the photo of the back of the pendant with the single sprue.
I made sure to leave the original point at the bottom of the pendant exposed on the back. This was done so I have a guide as to where the original point was. This speeds up the production process and provides a more consistent result. I make a no shrink pink mold, and we're ready for our first injection.
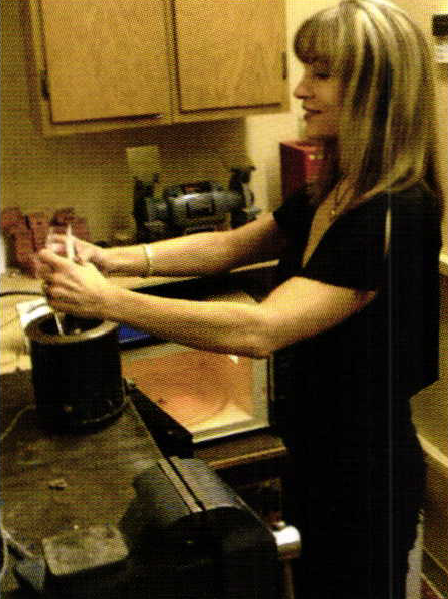
As we usually do, I let Stacey shoot the first one (The first one never comes out so I don't want to do it). A couple of mold and wax temperature adjustments and we're in business.
The Chain
A year ago we designed a pendant that we couldn't get to hang properly from a chain. So after several different attempts to correct the problem we developed a system of terminating each end of the chain behind the pendant.
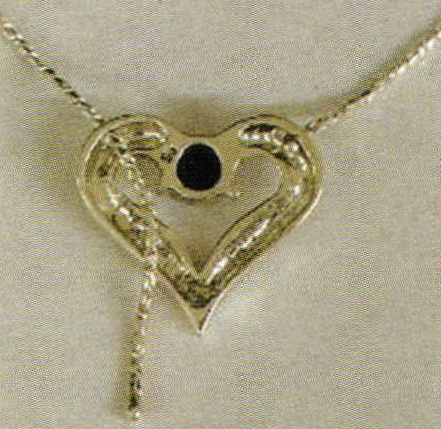
You can see in the photo how the left side of the chain has had the end melted into a ball.On the right side of the photo you can see how it fits inside the pendant. Remember, when doing this style of suspension, use a round bur the size of the ball on the end of the chain, and create a socket for the ball to rest in. The beauty of this system is that the pendant is always in the front, and the clasp is always in the back where it belongs.
First Production Run
I inject seven waxes and sprue six of them to a rubber base for casting in sterling silver. I also cast one separately in white gold. I'm pleased with the way the rubber mold and spruing system has worked to this point. I've had no problem with the waxes filling properly, or removing them from the rubber mold. The first pieces cast just fine.
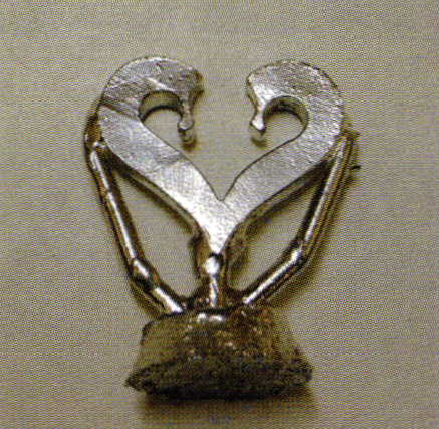
Sometimes the most difficult part of any design is how to hold it during production. The Grace pendant fit easily into my hand pin vice. In this position I can access the complete pendant for stone setting. We decide to make-up three pendants to see if there are any unseen production problems that haven't surfaced yet. I set a rhodalite garnet, an amethyst, and an iolite.
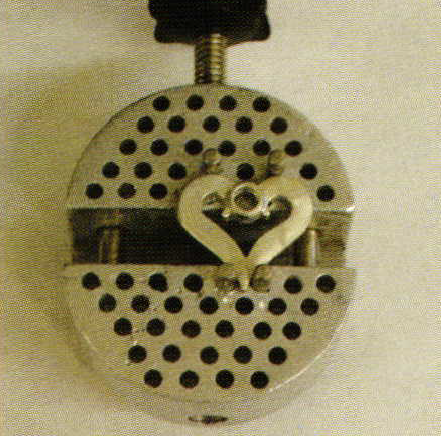
The photo shows that everything went smoothly. Since the first three were made without incident, I decide to make the big one.
The Donation
Stacey and I wanted to give something very special to this annual event in mid February in Nashville. The Grace Pendant with pink sapphires and diamonds was made specifically for this event to help them raise money for their research. The "Heart Gala Ball and Auction" is a great event to attend and I hope someone bids high and takes home a really cool new toy.
Related Articles

The Jewelry of Antonio Bernardo
Colored Gemstone Jewelry Design and Repair

Creating Equal Divisions in Stone Setting

Metalsmith ’86 Fall: Exhibition Reviews


The All-In-One Jewelry Making Solution At Your Fingertips
When you join the Ganoksin community, you get the tools you need to take your work to the next level.
