
Filigree Remake
3 Minute Read
This article "Filigree Remake" provides step by step instructions on resizing a pre-existing ring mounting to make way for a larger round diamond.
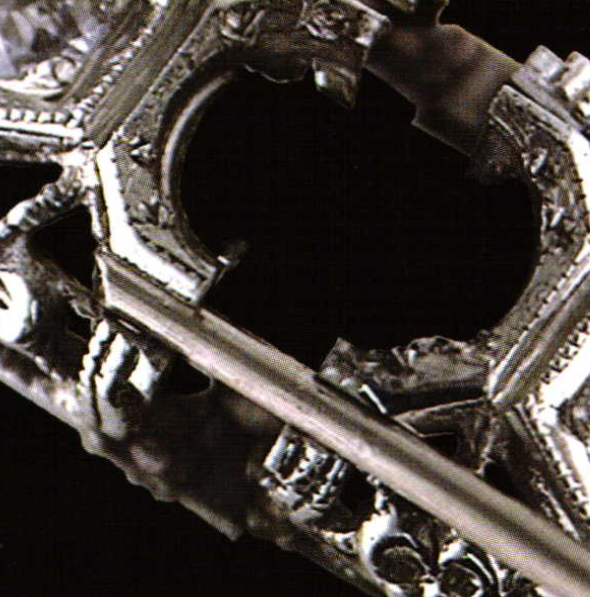
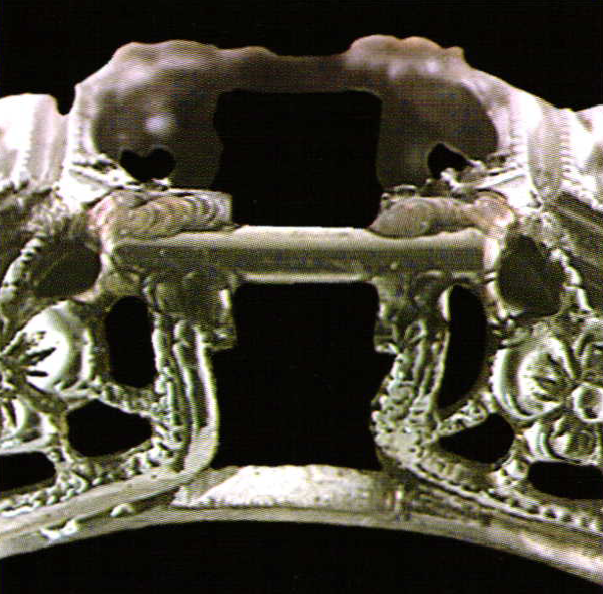
This is a picture showing the top and side view of a customer's mounting which has a pre-existing hole for a 3.2 mm round diamond.
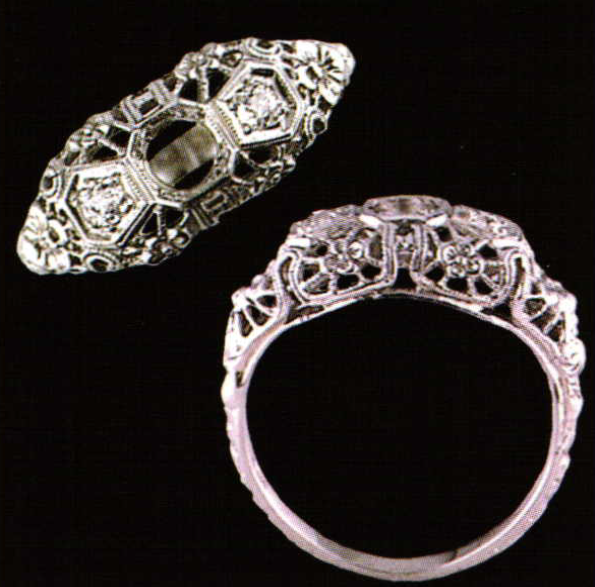
The mounting is in good shape and requires no rebuilding. The customer requested to use this antique mounting with a new diamond measuring 5.4 mm. The former 3.2 mm center went right to the edge of the top plate so to install a 5.4 mm diamond in this mounting would blow out the sides of the mounting.
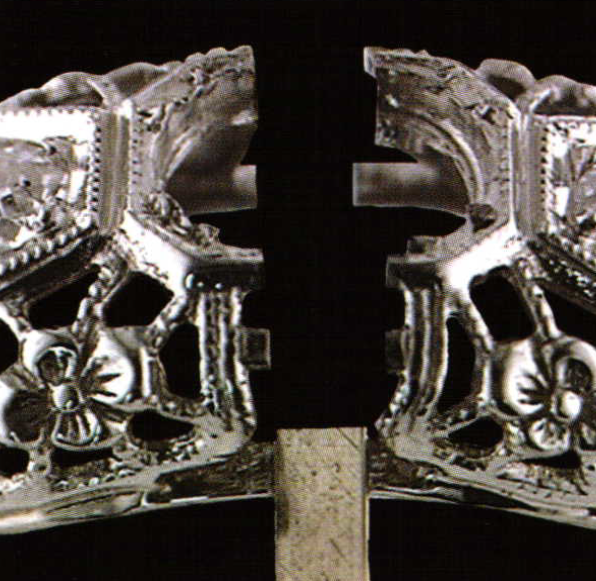
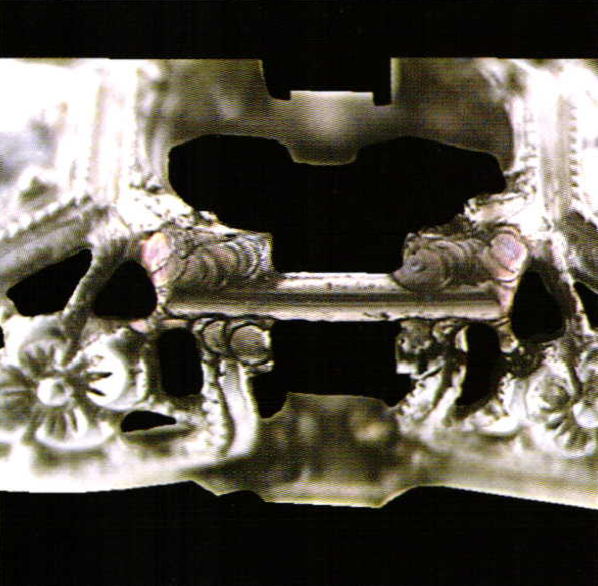
The mounting is cut down the middle and placed on a tapered ring mandrel. The new center stone is placed over the hole and the ring is pushed down the mandrel, opening the cut in the center until the diamond has sufficient room on the ends. I now take a measurement of the gap width with a pair of dividers. Adding piece of shank this width to both sides at the bottom rail of the under carriage will give us the width we need for the new diamond. This picture shows that piece of shank material in place on one side ready to be notched and laser welded in place. This must be done to both sides before moving to the next step.
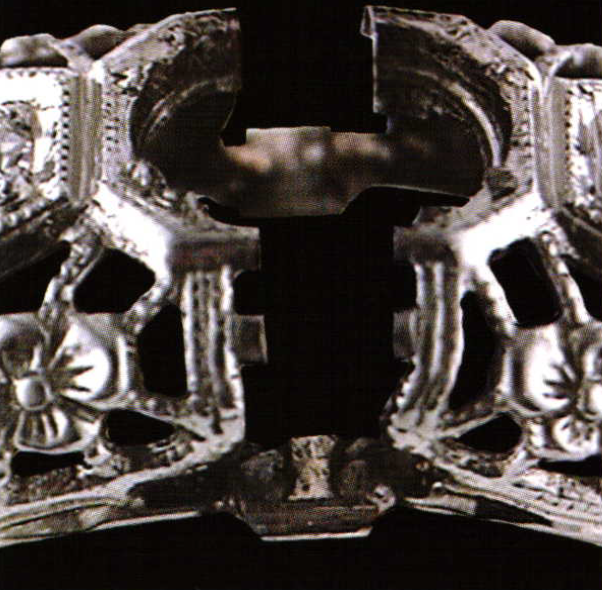
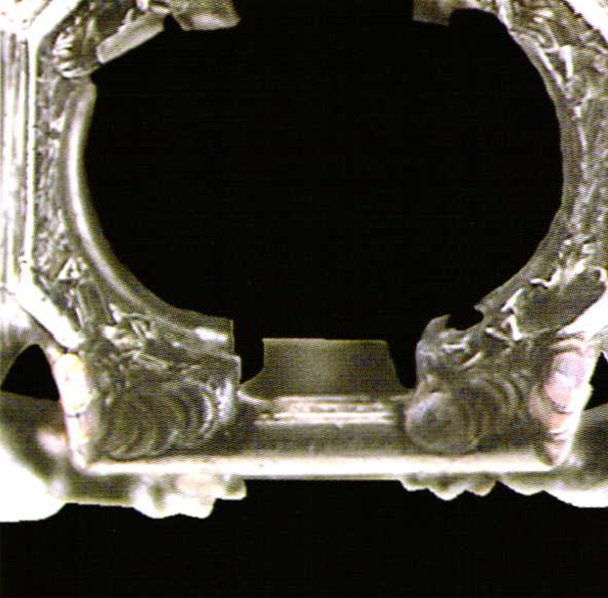
Here we see both pieces of shank material welded into place, solidifying the shank into a one- piece ring again.
We now notch under the top mounting plate to place a piece of 18 ga wire that is rolled with two slightly flat sides. The rounded edges are the top and bottom of the joint, eliminating the need to bevel the material for full penetration laser welding.
Here you see the 18 ga wire laid in place and being measured for width.
The wire has now been welded on both sides, front and back, and forms the top rail.
In this picture we can see how the wire was pulled to the outside of the mounting before being welded in place in order to increase the width of our mounting. Extra metal was welded onto the ends of the wire to stretch the previous bevel angle to fit the larger stone.
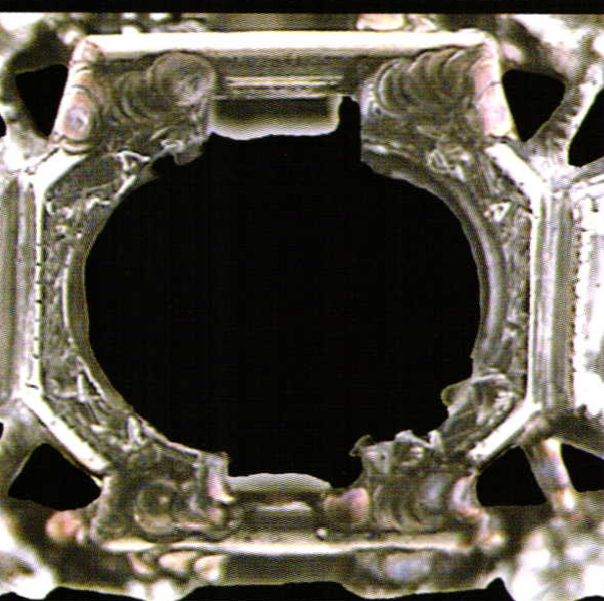
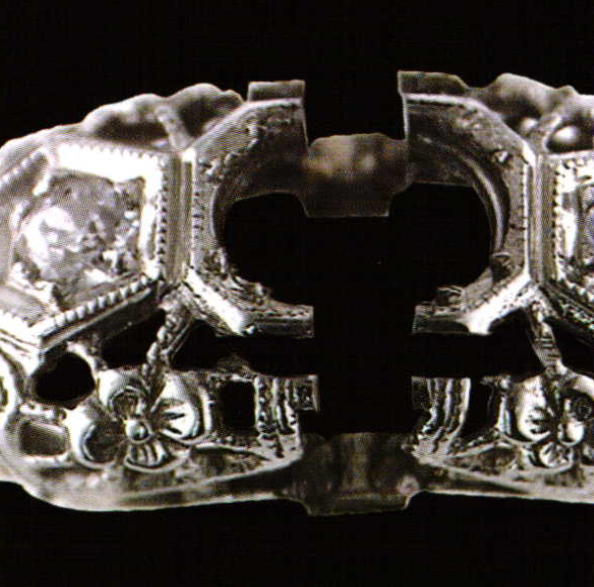
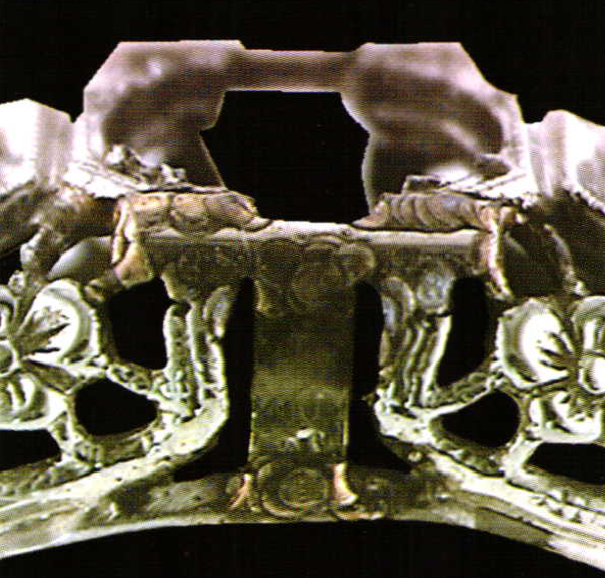
Here we see both sides with the new bar welded in to widen the ring up and down. We have now stretched the ring side to side and up and down.
As seen in the picture we have created some large gaps on the side that we now have to create some detail work on to fill the mounting and maintain the filigree look.
We measure, cut, and trim a piece of gold to fit the gap with a small space on each side and weld it in place.
After filling the gap on both sides we fill all existing ridges on the top with the laser and file it smooth in preparation for burring a new seat. We carefully bur a new seat for the larger diamond.
We place the larger diamond in the mounting and check for size and fit.
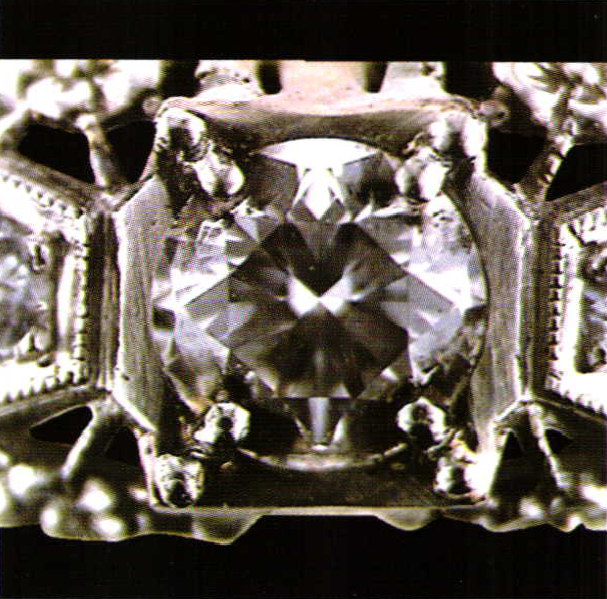
With the stone fit to the mounting we install four redi-prongs and burnish them round with the laser. We pick four smaller redi-prongs and install them outside these prongs as accents; then also burnish them round with the laser.
The flat gold on all the sides of the center diamond is sliced down the middle with an extra small onglette graver. This divides that area into two so we can create a double millgrain pattern around the center stone.
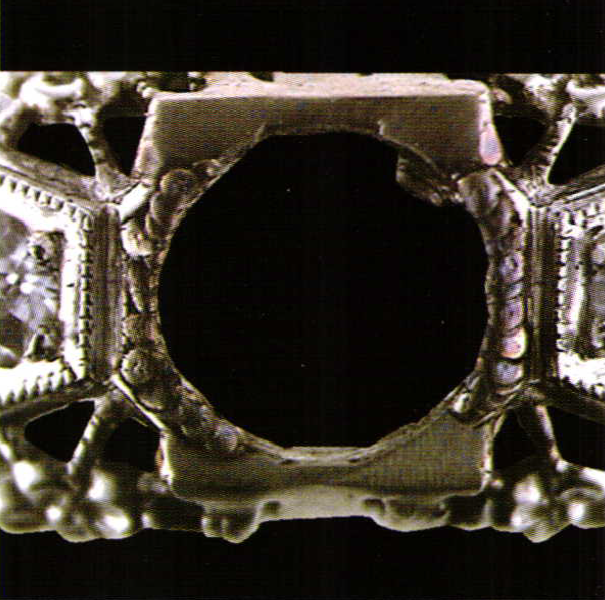
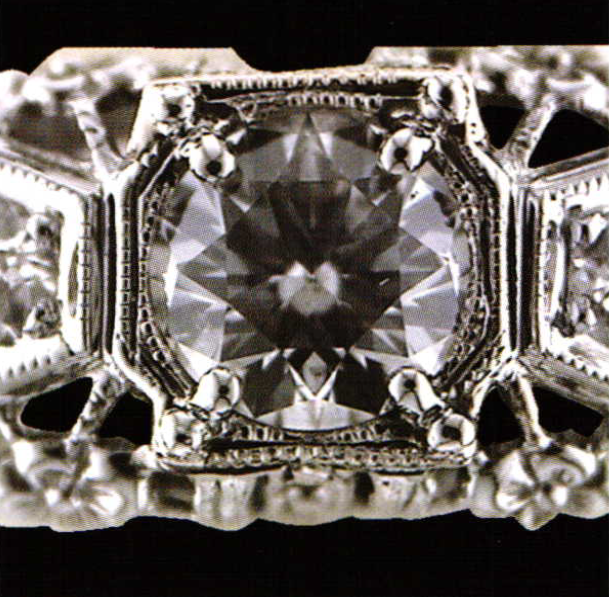
For this picture we mark and drill two holes in the middle of the extension plate added in picture 10. In the small space on either side holes, we cut a groove with the same onglette graver. We again add millgrain for added detail to the extensions.
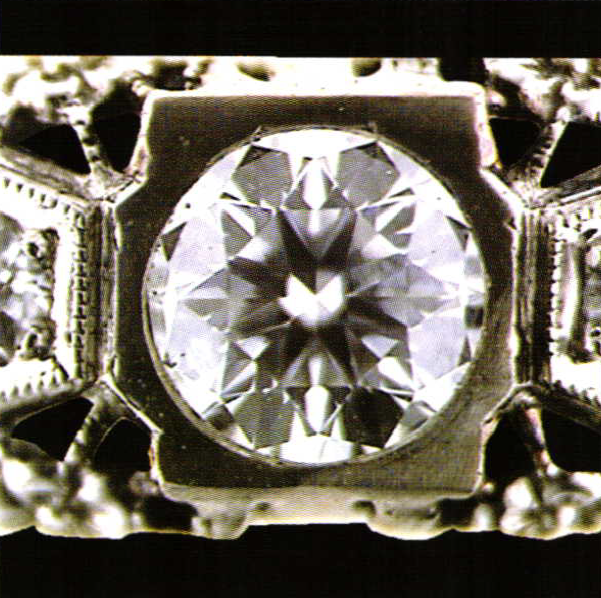
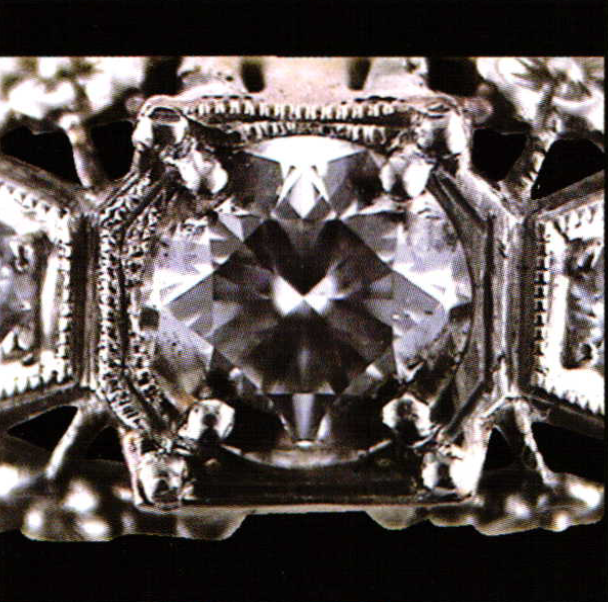
This is a down view of the polished top with the new center stone installed and all the detail work done on the top and sides.
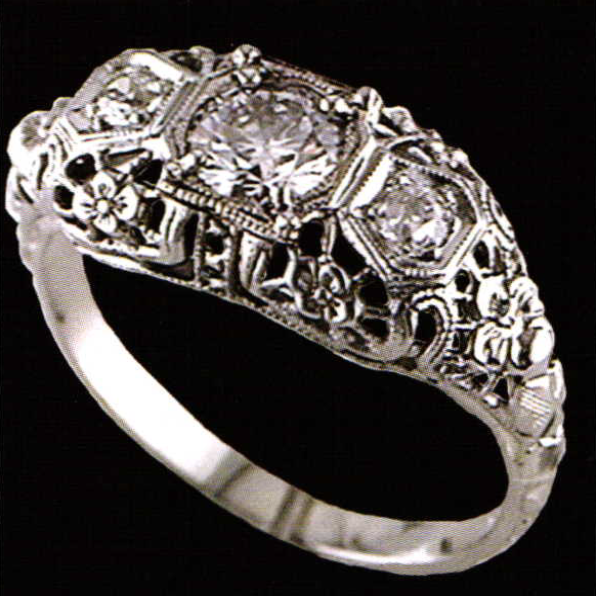
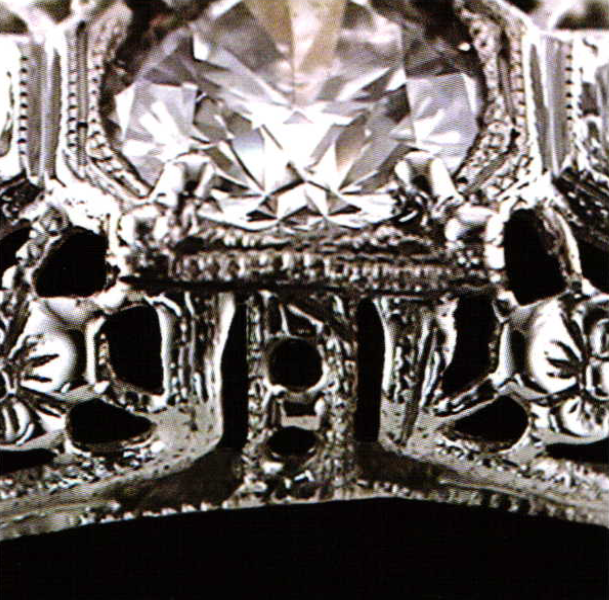
This is a 3/4 angle shot of the finished ring. The laser was used exclusively on this mounting because it was die struck in two pieces and then soldered together. Any attempt to use a torch to rebuild the top of the ring, in my past experience, has usually been unsuccessful with solder flowing into the filigree or the filigree being melted.
Related Articles

Making a Filigree Wire
Victoria Lansford on the Art of Filigree

Platinum Wire Filigree

A Modern Method of Creating Enameled Filigree Jewelry


The All-In-One Jewelry Making Solution At Your Fingertips
When you join the Ganoksin community, you get the tools you need to take your work to the next level.
