
Fabricating a Free Form Opal Pendant
3 Minute Read
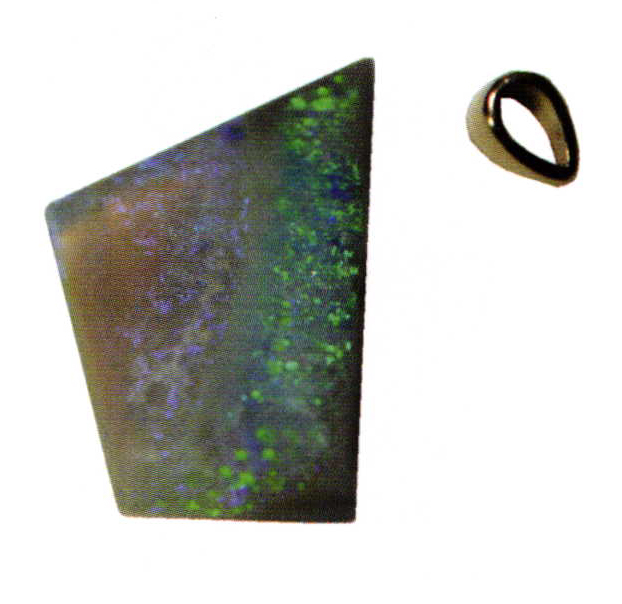
I received this opal from a woman who had cut it years ago. Her customer was aware it had a small chip on the corner and she was leery of setting it. I wasn't sure if it had been kept hydrated or if it was more brittle that usual. She also wanted a light weight pendant mounting that hid the damage to keep from having to re-cut it and the subsequent weight loss. This was my initial design info for the free form opal pendant:

These are the parts I received: a loose chipped opal and a 14KY bail along with the instructions. I was billing on a straight hourly basis plus parts, so I wanted to make the most efficient use of my time. I also wanted a light frame to show the greatest amount of opal possible. I feel it's silly for someone to pay me to manufacture bar stock or bezel from grain when a manufacturer who does it for a living does it better and cheaper, so I used ready made stock.
I decided the least expensive and safest way to set it was to make a frame that it dropped into. The frame would have to be heavy enough to not flex when the bezel was tightened to lessen the chance of chipping the already damaged opal. This would greatly increase the price. If a light frame was constructed to allow the opal to drop in tightly holding it and than laser over additional wire, it would he much cheaper, making all parties happy.
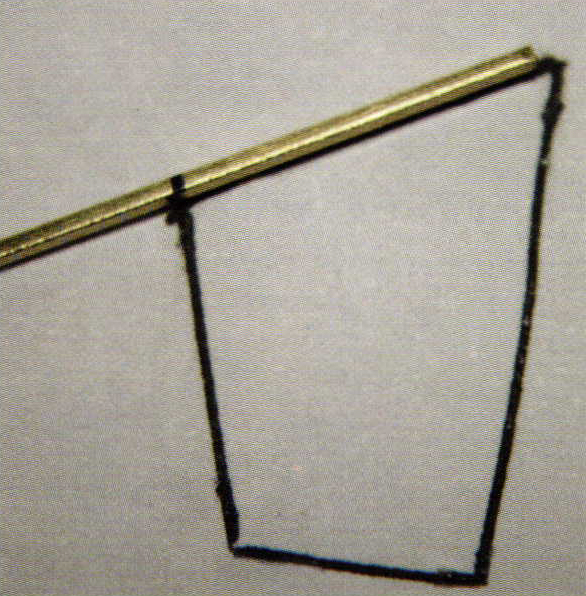
The opal is laid out and traced tightly around the edge. This gave me a template to build the frame to. A light 1 mm rope chain was laid over the drawing to estimate how much bar stock was needed. Afterwards I cut and annealed a piece of 1×1 14KY bar stock to the chains treasured length. The bar stock was easy to bend around the profile tracing with pliers. You can also get a very accurate profile by laying your flat piece on a scanner or copier. Then do the same steps.
Fabricating a Free Form Opal Pendant | |
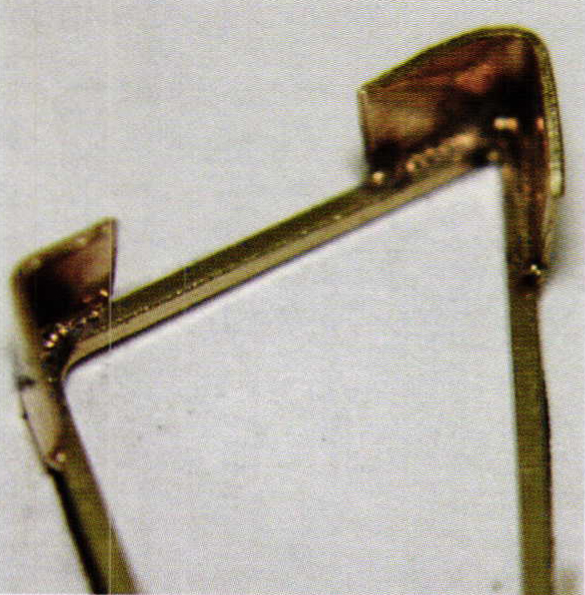
 | Here the frame is bent to fit the inside of the tracing and laser welded at the top. The opal is laid on top to double check the size. Any corrections need to be made now if the bezel is off size. |
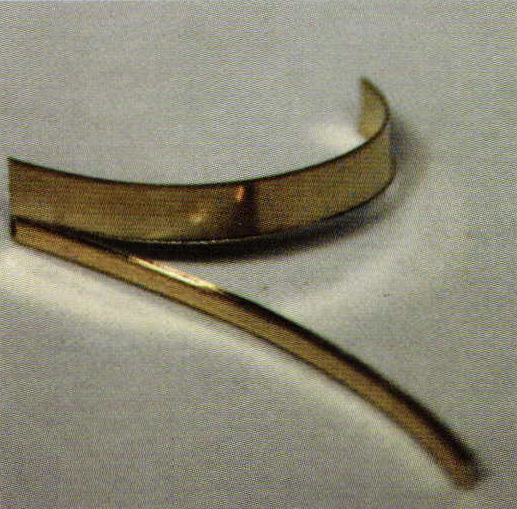 | Now a piece of 4mm high bezel material has the bottom lip cut off with tin snips. The bezel measures just over the high edge on the opal once it is attached to the frame. This will allow me to weld more material over the opal final setting. |
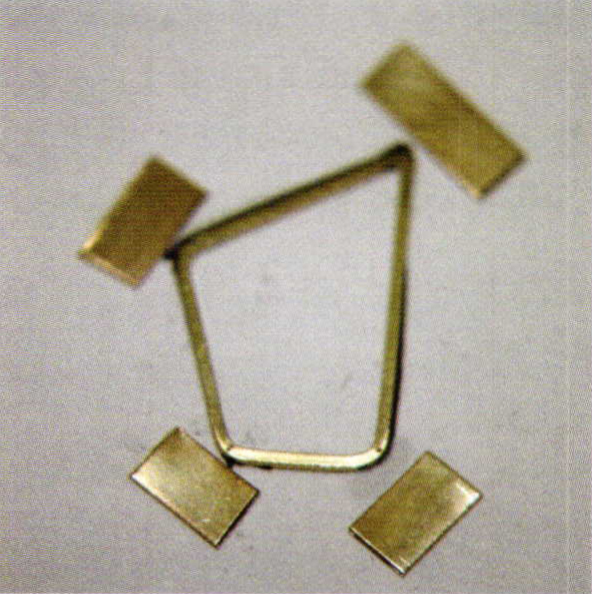 | Small pieces are cut from the trimmed bezel to make bezel end caps and laid in position for forming. |
 | The bezel end caps are checked for fit and welded into place both top and bottom. To test for penetration aim your laser at a tiny piece of the 1 x 1 bezel scrap. Shoot at the edge until it melts it down 1/2 way. Then be sure to use filler wire as you weld so you don't get radial melt back on your bezel components. |
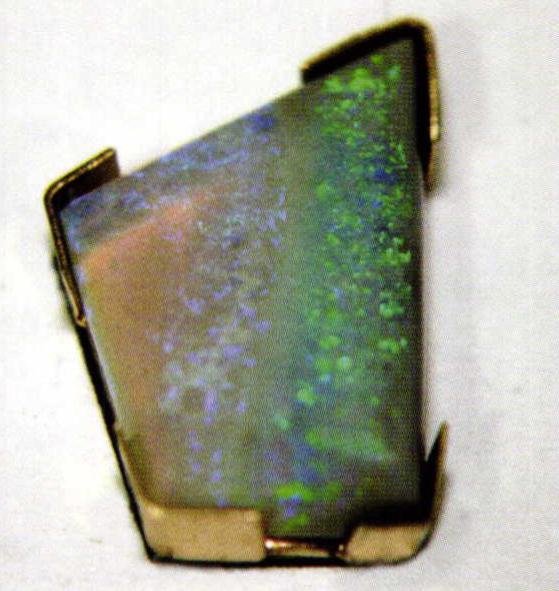 | The opal fits in with a little persuasion, making a tight fit, with all corners high enough to allow me to weld on 20 gauge wire as top caps. This will hold it firm with no chance of breaking as long as one shoots straight. |
 | This is the side view showing we have just enough bezel after trimming. |
 | Two pieces of 20 gauge 14KY wire were used instead of trying to make thicker wire bend to match the tight curve of the thinner bezel material. The wire was lasered into place. |
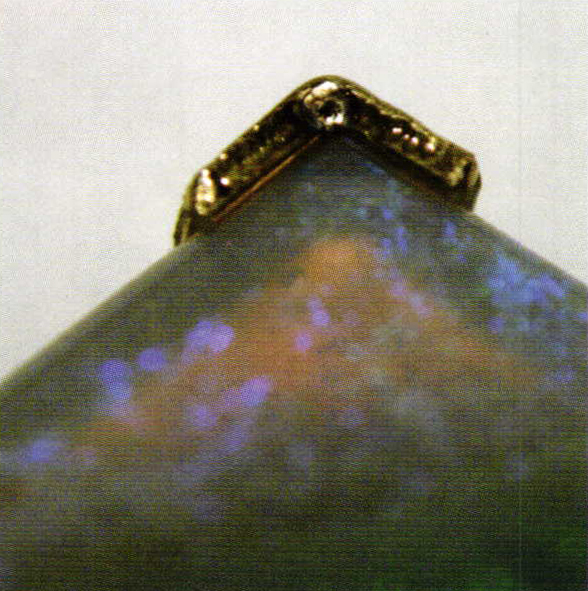 | The second opposing corner is welded into place with a slight downward pressure on the opal. The opal is now tight and the other two corners can be welded with no downward pressure on the opal. |
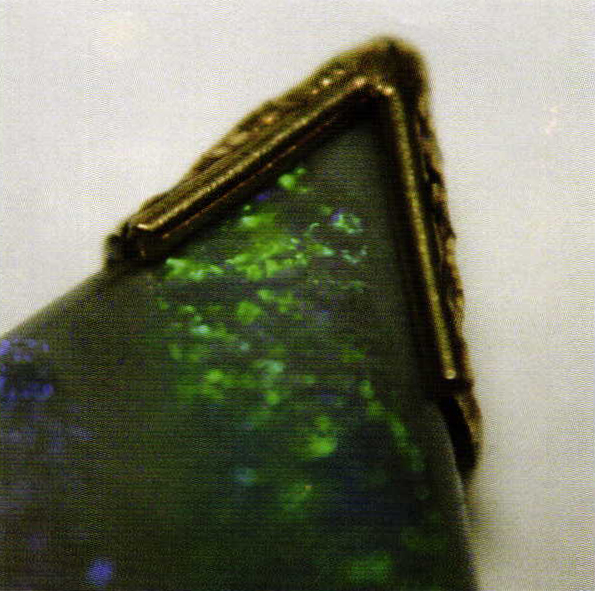
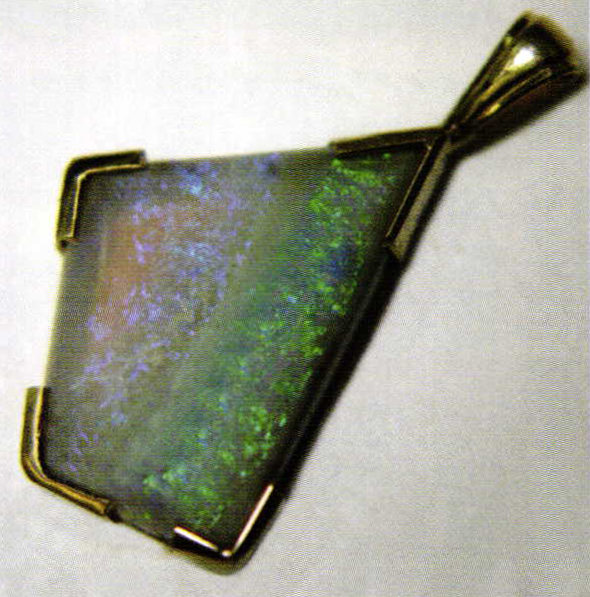 | All the corners are lasered on and trimmed, ready to touch up inside with a graver. A light touch up and you're ready to polish. You can also use a small burr to round the inside of the corners. The bail has also been welded into place. |
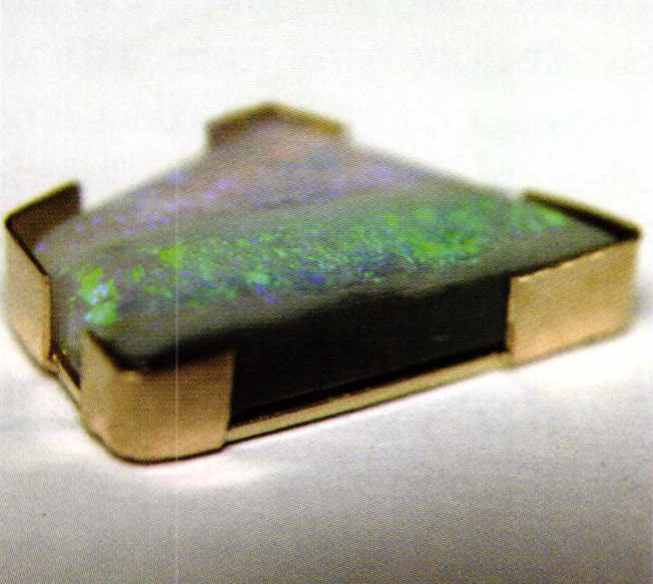
 | This angle shows the tight fit of the opal against the bottom of the bezel rail. The slight shadow at the top is poor lighting. It's ready to finish polish. |
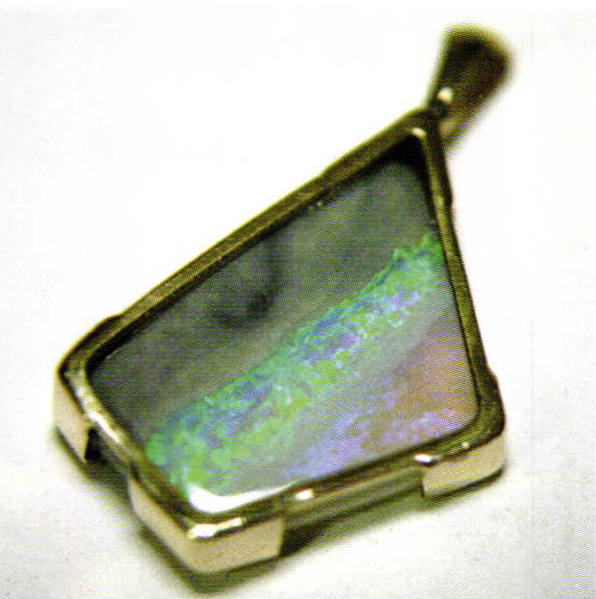
 | Here is the finished piece. With a slight halo applied in Digital Goldsmith 4 on a white background. |
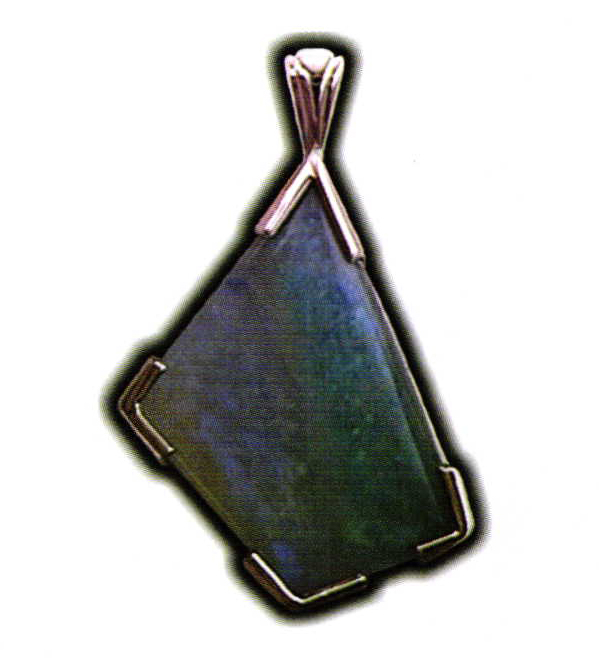
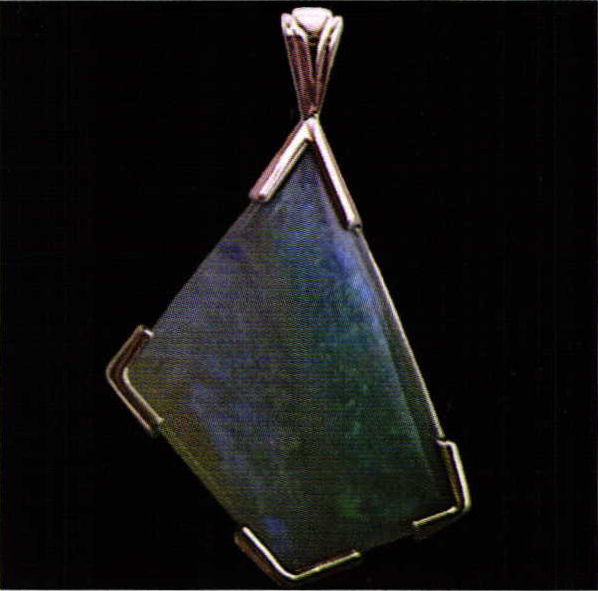 | This is the same pendant on a black background. |
Related Articles

Installing and Repairing Hinge Rivets
Special Repair Work

Making a Crown Using Welding Technology

Laser Repair: Emerald & Diamond Ring


The All-In-One Jewelry Making Solution At Your Fingertips
When you join the Ganoksin community, you get the tools you need to take your work to the next level.
