
Experiment Shortcuts
7 Minute Read
Over the years, I have been experimenting to find ways of combining techniques so as to save firing time. Because I have to produce a certain number of inexpensive 'bread and butter' items, and because there are so many ideas I want to try, and so little time, maybe-at my age. I seem to have infinite patience for cutting tiny bits of foil or using fine tweezers to place tiny beads, but hate standing by the kiln waiting for the timer to buzz!
On the other hand, possibly those who teach enameling prefer to carry on the traditional ways, maintaining the mysteries and difficulties of the process. But perhaps some of their students become discouraged by the perceived difficulties. I hope to encourage more people to be enamelists. There aren't very many of us in this country. Wonder how many, really?
I do my experiments on small copper pieces. . .1- 1/2″ round or square. . .they can become magnets, or if really successful, pins. A few go in the trash bin, although some I keep to remind me not to try that again!
Usually I'll do a set of four in one color with slightly different treatments. Four can be fired on one 4″ mesh trivet. On these small things I leave the back bare. On arrival from the supplier, these are bright and shiny, though very oily. Rather than clean off the oil, I paint with baby oil instead of KIyr Fire, and sift a heavy coat of opaques. With tweezers I pick up beads, threads, or lumps and lay them in place. . .the oil doesn't even have to dry. You'll hear a small pop soon after placing in the kiln, but nothing is disturbed. I fire in a small kiln (a Jelrus) at 1500°F for about 90 seconds. After filing the edges, they're ready to be glued to a magnet. If I planned to add silver foil, I used to first fire my color-two thin coats as taught, that's two firings-then add foil, fire that, then sift transparent over and fire again-that's four firings. I began to wonder why I couldn't do that all at once. . .there should be a quicker way. I cleaned the top of my small trial piece with spit and a tiny bit of powdered enamel on paper towel to degrease the surface, brushed on a heavy coat of Klyr Fire®, sifted a heavy coat of enamel. . .then using an eyedropper filled with diluted Klyr Fire® (1/2 water), dripped drops onto the powdered enamel until wet enough to be shiny. (Hold the eyedropper about 1/8″ above the surface and space drops next to one another so they spread and touch; until the whole piece is wet enough to be shiny but not puddle or drip.) This is very important! Then using tweezers, laid the silver bits in place and carefully smoothed them with a small soft damp brush. This may not be necessary if the foil lies smoothly where you want it. Then I sifted 2020 flux over the foil, very thinly, placed lumps, threads, floral buttons or whatever where desired. Allow to dry on top of the kiln then fire as usual-voila! You'll be surprised. . .and I hope, delighted. This method does take some practice but saves much time and electricity. One time, a piece done this way was left overnight to dry, and the next day I noticed that the foil had curled up a little in places. . .fired it anyway to see what would happen and it came out quite well. This was a fragile and complicated bit of silver design and where the foil had lifted, it curled over itself and I could pick off the loose bits with tweezers. This piece was done early on, before I learned to use the diluted Klyr Fire instead of just water to wet the piece just before adding the foil. This piece can be saved with another firing.
If large pieces of foil are used, it's a good idea to prick them with a needle once they are on the wet area. . .this allows any trapped air to escape so the foil will not buckle.
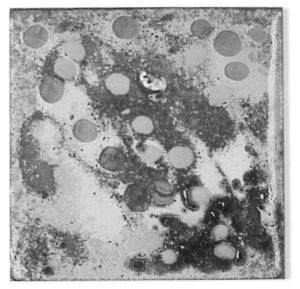
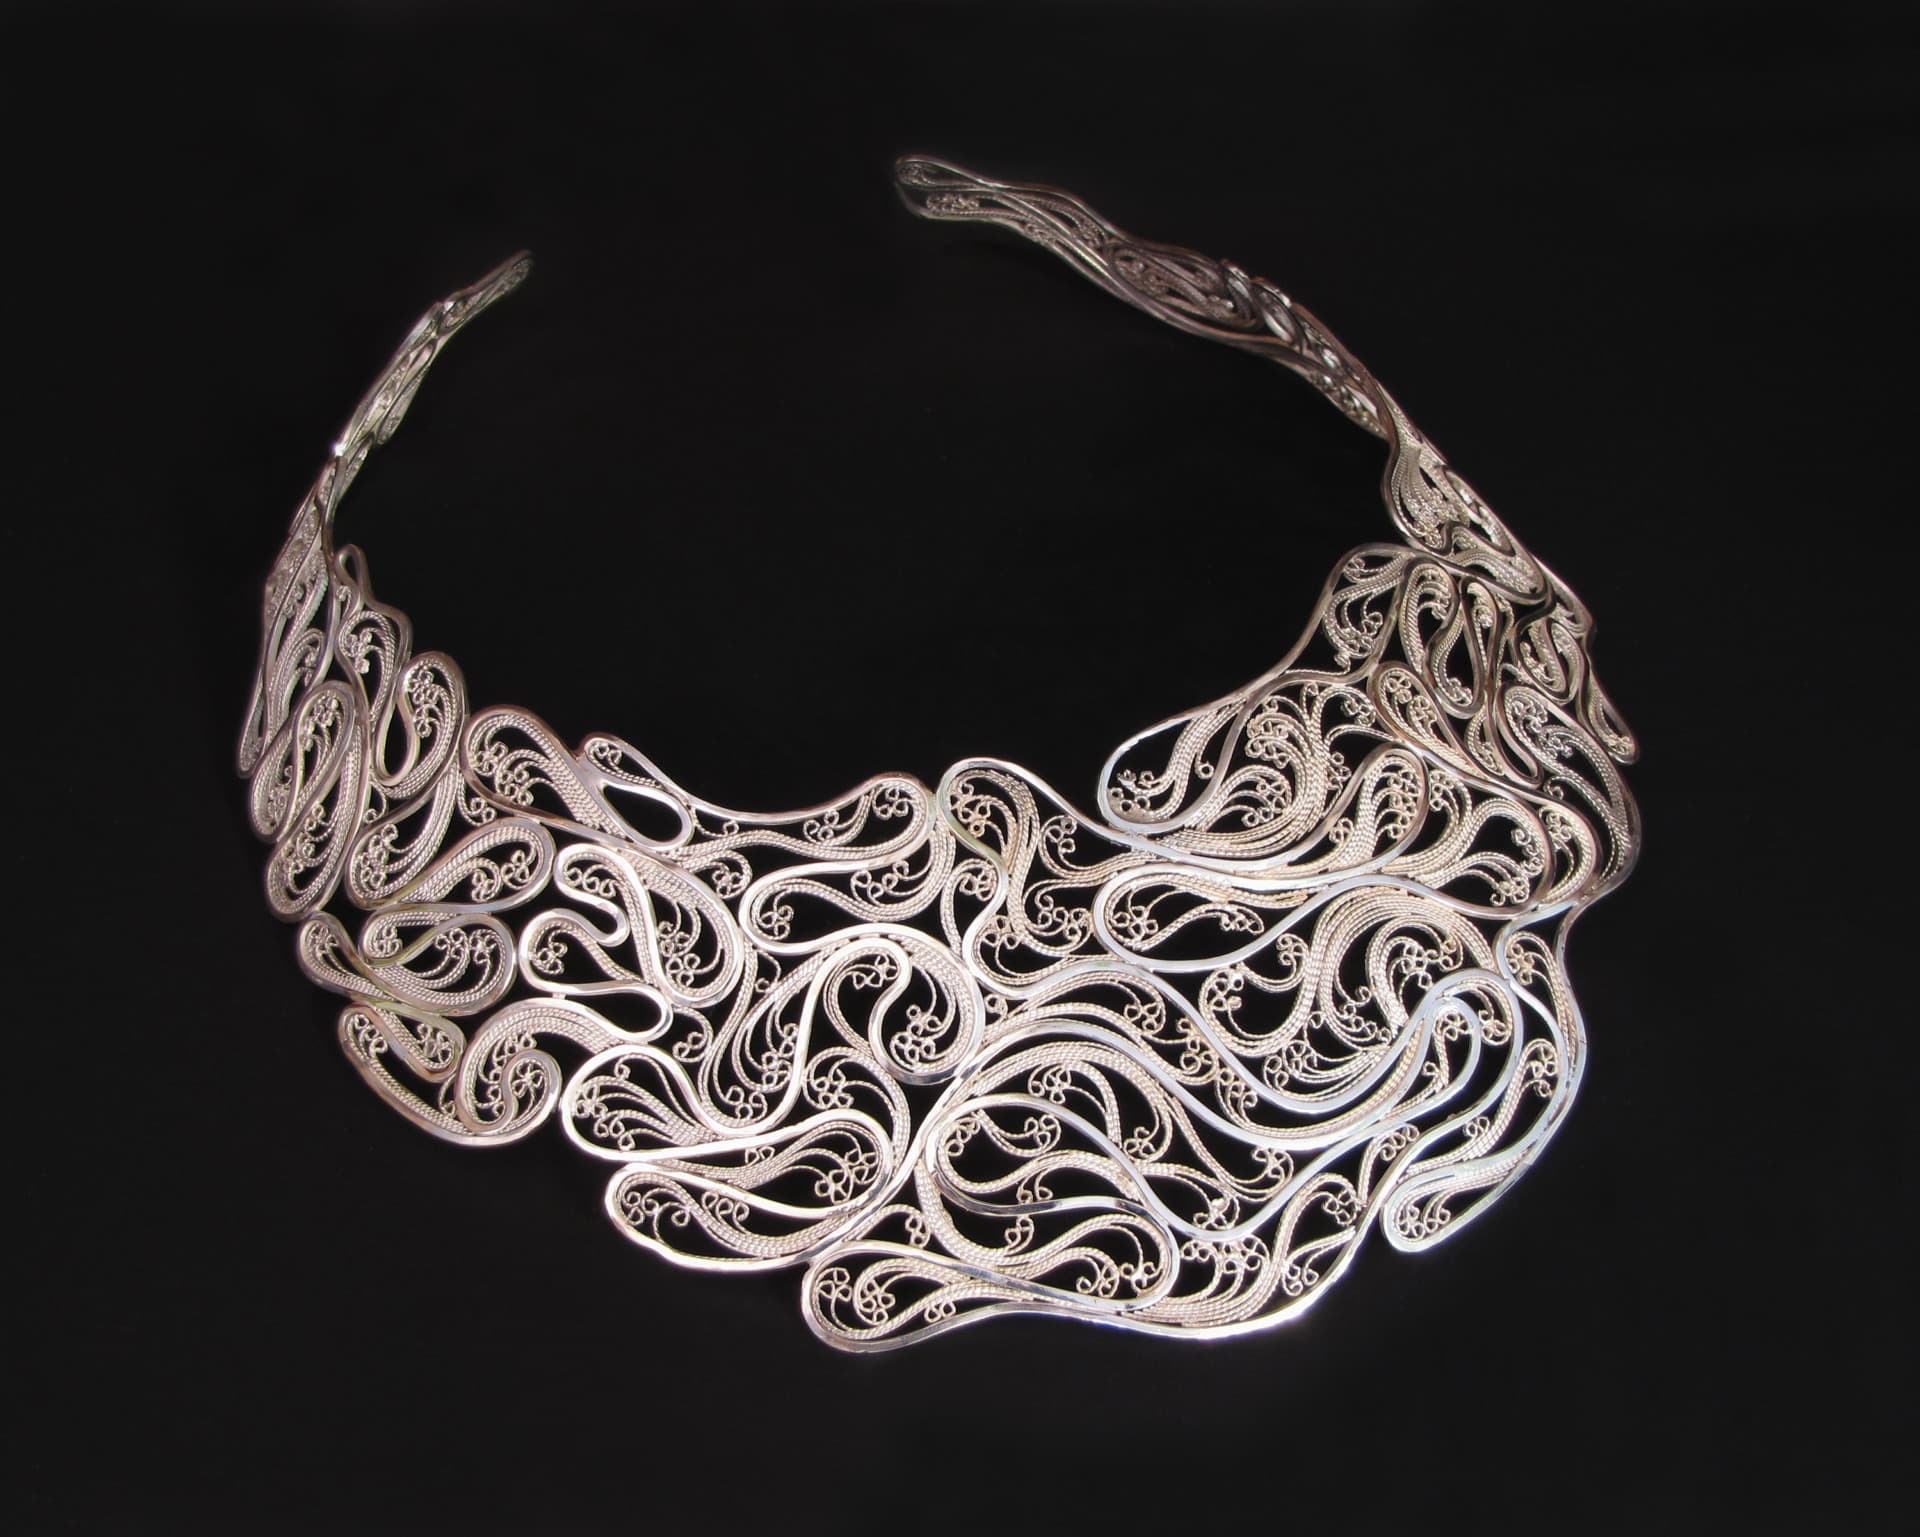
Now, today, I find I can sift transparent color over the foil, add more foil on top and sift flux on that. . .fire all at once. Each side is Enamel square by Stell Shevis. fired only once.
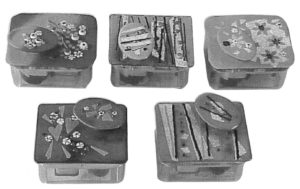
Some of my pins are made from copper scraps left over from cutting shapes for other work; for the music boxes, for instance, or for the dimensional figures I like to do. Metal shears are easier for me than sawing, so I cut out the shapes from 24 gauge copper, then round and file the corners. Shevis drills holes for me, for the wind-up mechanism. The only power tool I own is the electric drill.
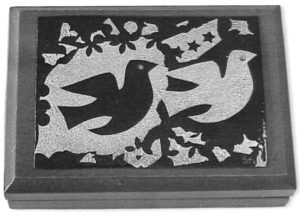
For pins or other pieces which need a finished back, I heat the copper to burn off oil and dirt, clean off any firescale, then paint the back with liquid black base coat. Let that dry before working the front and fire both at one time. For plates and bowls, I enamel the back or bottom and fire upside-down before doing the other side. For larger pieces like plates or bowls, I haven't tried the single fire method-yet. Although, quite a few painted wall pieces are finished in one or two firings, either wet pack or painted oxides (see Glass on Metal, Vol. 19, No. 2, April 2000).
Most of these small pieces are consigned to a shop here in Maine, where the commission is 40%. . .most sales are under $50. Larger, more pricey works are sold in galleries, or are commissioned.
I don't remember ever reading any discussion of prices or money in Glass on Metal®. . . and yet, it certainly is a most important consideration to most of us. Shevis and I have always earned our living by selling our art. For more than 30 years, we designed and printed silk screened wall hangings, limited editions of prints for framing, as well as scarves, handkerchiefs and notecards. We had an agent with a showroom at the Gift and Art Building on Fifth Avenue in New York who represented only clients like us, who produced quality work in small quantities. She took orders from all over the country and collected 15% of the wholesale price each month. That was easier for us than packing up stuff and driving to crafts shows several times a year, which is what we'd been doing earlier. We had to learn the hard way about pricing our work so as to cover cost of supplies, heat, light, etc., plus advertising, and still leave enough to support our family of four children.
After the kids were grown, we decided we'd retire from the printmaking and do whatever we felt like doing!
Shevis could work full time at painting and the collages and wood constructions he'd been doing in spare time. And I could concentrate on enameling. I'd inherited about a thousand jars of enamel, some copper and a marvelous furnace designed by my friend and teacher, Pauly D'Orlando, and built for her by Woodrow Carpenter. Pauly had been my best friend at Mass Art in Boston. When she married and moved to New Orleans, she became art teacher at a small private girls school where she found a small kiln and a good supply of enamels. With the help of Kenneth Bates' book, she rapidly learned enough to teach the girls in the school. In the following years, she produced some of the most beautiful enamels I've ever seen, and had a following of wealthy collectors in the area. That was before the enamel society or Glass on Metal, so her work wasn't shown or known outside Louisiana.
Woody Carpenter was so impressed by her work that he not only built the furnace, but delivered and installed it in her second floor studio in New Orleans in exchange for one of her enamels!
Well, I digress. . .but I love to read about the personal lives of other enamelists and think we should have more stories about the enamelers in GoM.
I am working on more shortcuts, and would be very interested to hear from any of you who have tried my methods or have worked on some of your own. Please feel free to contact me at stelnshev@gwi.net.
Related Articles

Titanium – Properties – Design – Processing

Jewelry Designs: Bella Pendant
Victoria Lansford on the Art of Filigree

Hans Appenzeller’s Elegant Designs


The All-In-One Jewelry Making Solution At Your Fingertips
When you join the Ganoksin community, you get the tools you need to take your work to the next level.
