
Creating and Sharpening Gravers
6 Minute Read
This article is about creating and sharpening gravers before using for your work or project as described by Tom Weishaar.
Before beginning a discussion on creating a graver it might be helpful to identify the different parts of a graver. Prior to being shaped a graver is called a "blank".
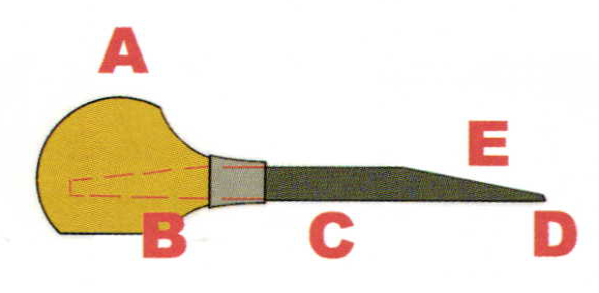
A.Handle - usually made of wood.
B. Tang - contained inside the handle.
C. Belly - bottom cuttingsurface.
D. Face - cutting edge.
E. Clearance angle
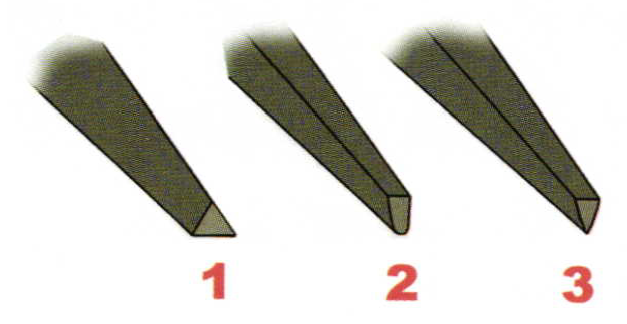
There are three types of gravers most commonly used by bench jewelers when setting stones.
1. Flat - is primarily used to bright cut the metal around stones. I like to bevel the clearance angle of my flat gravers.
2. Round - is a pushing graver. It isn't used as much to cut metal as it is to roll the beads over the stones.
3. Onglette - or line graver- is used to cut frame lines and isolate beads.

The first step in preparing a graver is to mount the blank into a wooden handle. Graver handles come in many shapes and sizes; choosing one is a matter of personal preference. I start by drilling a deep, narrow hole that is slightly smaller than the graver's tang.
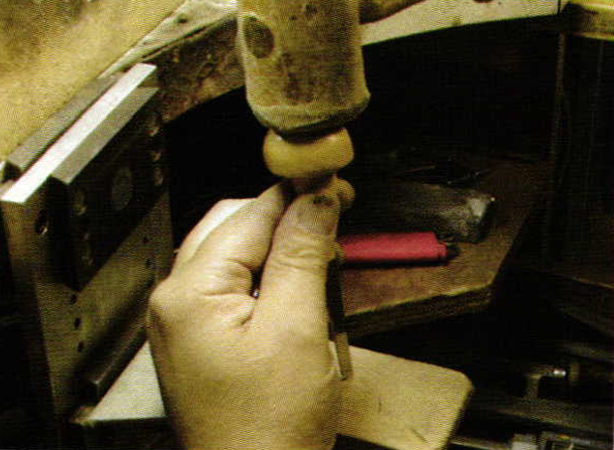
After drilling out the handle, I like to use a leather mallet to tap the handle down onto the graver. I try to tap the tang as deep into the handle as I can so that the finished graver won't be too long.
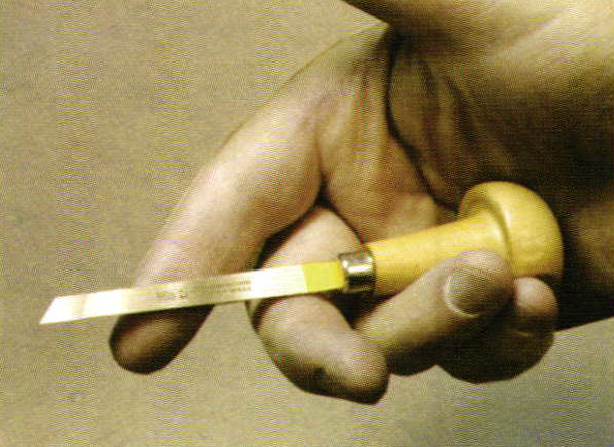
The handle of the graver is meant to nestle in the palm of your hand with the face extending just beyond your finger tips. I have seen bench jewelers with small hands snap off the first 1/2 inch of the graver so that the overall length is more comfortable for them.
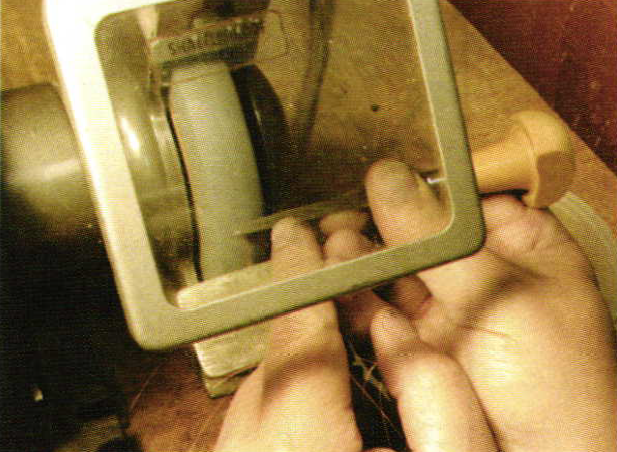
In this picture I am using a bench grinder to cut the "clearance angle"; see picture #1. I like to cut the clearance angle from about the graver's midpoint down to 2/3 the height of the graver's face. The clearance angle serves two purposes. First, it reduces the height of the face making the graver easier to sharpen. Second, the clearance angle removes a portion of the graver that might inadvertently scrape against your work.
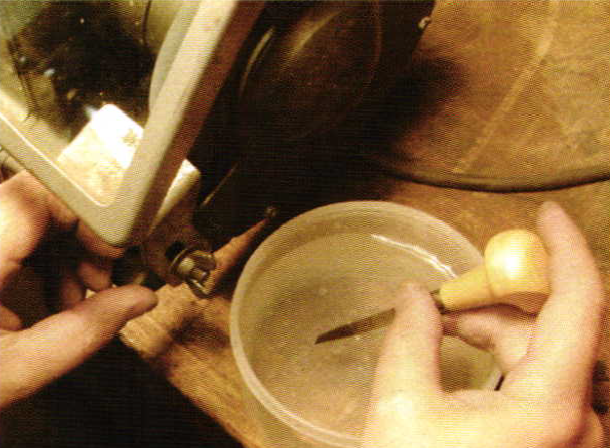
Graver blanks are usually made from heat tempered tool steel. When cutting the graver's clearance angle it is very important not to allow friction heat to build up in the graver's tip. If the graver becomes overheated you will alter the hardness of the metal. I keep a water container next to my bench grinder and quench the graver after each pass on the grinder. If your graver's tip turns light brown or worse yet, blue, then the graver has been softened and won't cut well.
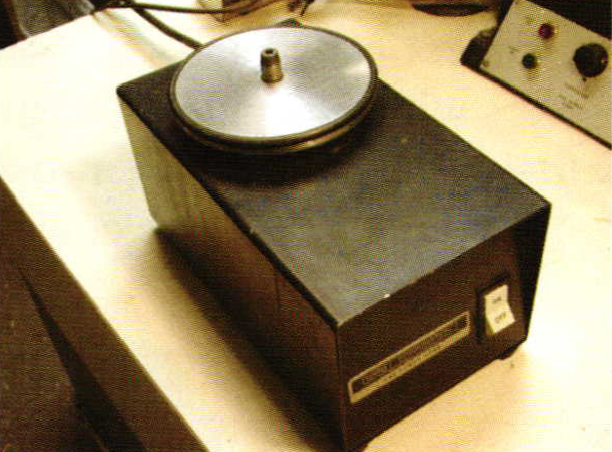
This tool is called a "power hone". They are made by many different manufacturers. This one is made by G.R.S. and I feel that it is the finest available on the market. A power hone is a great, luxury tool that will save you time and increase the effectiveness of your gravers. This tool is well worth the investment.
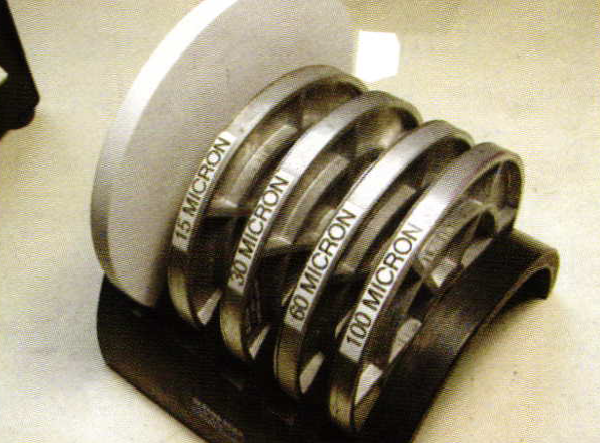
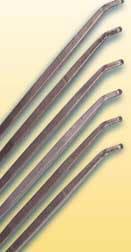
Shown here is a full set of grinding wheels for the power hone. It's nice to have every grit available, though the coarse (100 micron), the fine (15 micron) and the ceramic polishing wheel are the ones I use most frequently. The grinding wheels are coated with diamond powder and do an excellent job of final shaping of your gravers. Each wheel will last for approximately a year of normal wear. At a cost of about $90.00 each they do get expensive to replace.
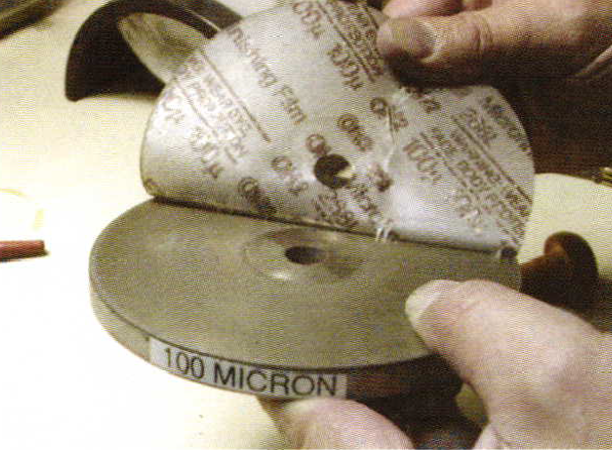
Anew product available for power hones are these replacement grinding sheets. They are plastic sheets with an abrasive coating on one side and adhesive on the other. When they wear out you can simply peel off the used sheet and stick on a fresh one.
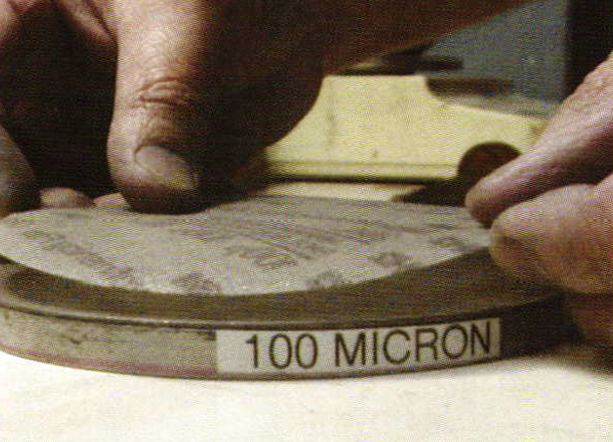
Each new grinding sheet will shape about ten gravers before it is worn out. The cost for 25 abrasive sheets is fairly modest and seems to me to be a better deal than replacing the entire cutting wheel when it becomes worn.
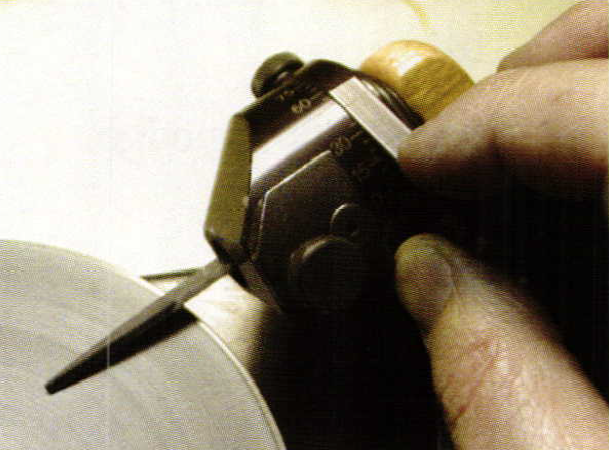
The final tool worth mentioning is the graver holding device. This tool is a must have! It has two indexing wheels, one that controls the vertical angle and the other which controls the rotation of the actual graver. These two indexing wheels allow you to dial in the exact angles that you want to grind onto your graver.

In this picture I am grinding the face angle of a flat graver. The graver has been set to a 0o rotation while the vertical angle is at 55o. The correct face angle is a matter of personal preference, but there are some generally accepted guidelines that may help you. When working with more brittle metals, like gold, a steeper face angle up to 60o works well. For more gummy metals like platinum a shallower face angle of 50o will cut more easily. Be advised that a shallow face angle makes the graver's tip prone to chipping and you'll need to sharpen the graver more frequently.
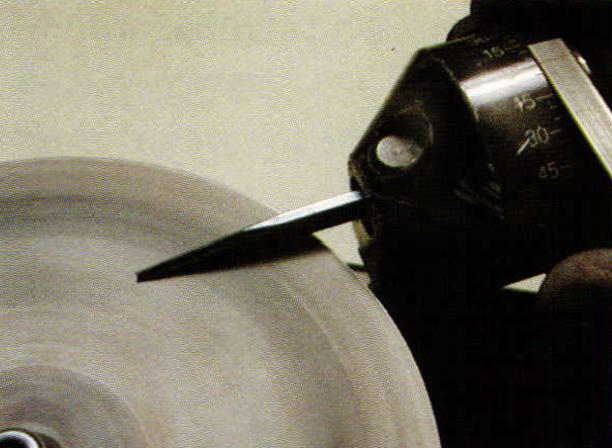
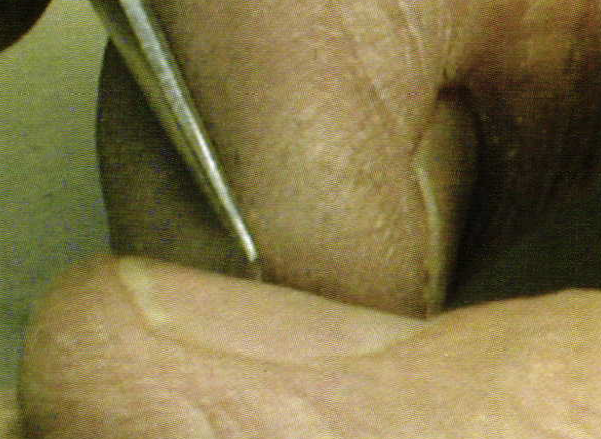
In this picture I am beveling the clearance angle of a flat graver (see picture #2). I have rotated the graver onto its back and lowered the vertical angle to 15o so that I can grind the clearance angle. The graver holder has been rotated and set at 45o. After one side of the clearance angle has been beveled I'll rotate the graver holder 90o and bevel the other side.
In this picture you can clearly see how I've beveled the clearance angle. You might be asking "Why does he bevel flat gravers?" I do this because flat gravers are used to bright cut around melee and beads when Bead & Bright setting. By beveling the flat graver I'm removing the upper portion of the clearance angle so that the graver can slide past the beads and not nick or cut them off.

In this picture the flat graver has been indexed back to a 0o rotation angle and the vertical indexer has been lowered to a 0o vertical angle. Now I am ready to grind and polish the belly of the graver. On the flat graver I will take the time to work through each of the grinding grits down to the 15 micron wheel.
I'm still not finished with the flat graver as it must now be polished. The flat graver is the most important graver in your arsenal. Ifyou take the time to polish its belly then you'll get the "Bright" finish that every bench jeweler wants. "Spray Diamond" available through G.R.S. is used to coat the ceramic polishing wheel. Each application of Spray Diamond lasts for some time so it only needs to be applied to the ceramic wheel every month or so. The wheel should be cleaned in an ultrasonic cleaner before each new application.
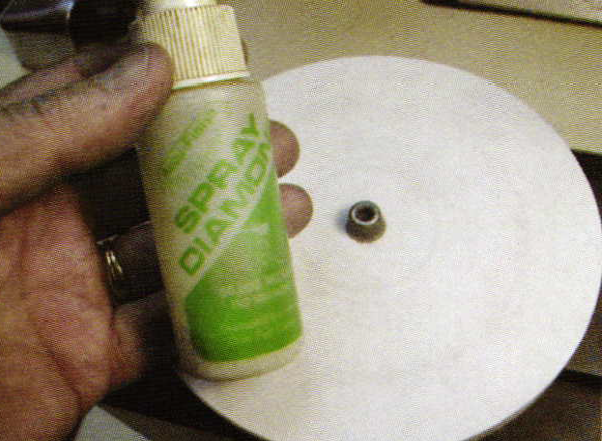
The combination of the Spray Diamond and the ceramic wheel can put a beautiful mirror finish on the belly of your flat graver.
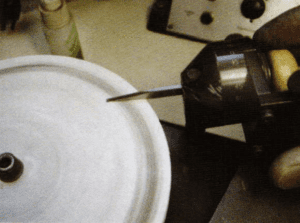
Your other gravers, the onglette and round, are not used for bright cutting so they require grinding but no polishing. These gravers also have rounded surfaces so they need to be hand-held and rotated while grinding. In this picture I am grinding the sides of my onglette graver with the 15 micron wheel. This will produce a very sharp surface good for cutting frame lines and isolating prongs.
Instead of using a ceramic polishing wheel many bench jewelers prefer to use a sheet of 4/0 polishing paper. I like to glue a sheet of 4/0 paper to a piece of plexi glass for this purpose. The graver is held firmly against the paper and pulled backward about half an inch. This is repeated several times until the graver is polished.
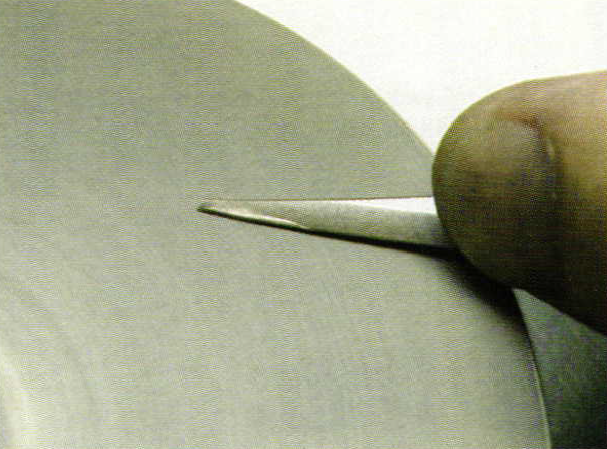
The standard test for a graver's sharpness will always be the thumbnail test. If a graver skips across your nail then it is dull. It must bite deeply and never skip to be called sharp. The same is true when cutting metal. A graver that skips across the top of the metal is dull.
I hope this article has helped to answer any questions you might have about gravers and sharpening them.
Related Articles

Customized Peg Head Holder & Stone Holder

How to Modify Tools for Carving Wax

Foredom Redesigned Series SR Flexible Shaft
Stone Setting Tools FAQs


The All-In-One Jewelry Making Solution At Your Fingertips
When you join the Ganoksin community, you get the tools you need to take your work to the next level.
