Creating Equal Divisions in Stone Setting
3 Minute Read


Below are steps for an easy way to create equal divisions in setting stones that jewelers need to know.
Dividing something into equal parts is something jewelers do all the time. For example, you may have to set stones equally around a ring band or a bangle, or position prongs around an already fabricated object or sawn shape. Or, maybe you need to saw equidistant tabs in a fabricated bezel, or drill holes evenly around the perimeter of an object. If you are left-brained like me, it's no fun to try to measure the circumference of a regular shape—let alone an irregular one—and then do masses of calculations in fractions eof a millimeter to figure out positioning.
In a former life, I was a graphic designer and learned this almost math-free trick derived from grid-based page design. I figured out a way to translate it to 3-D metalwork, and I've used this technique on everything from rings and bezels to bangle bracelets and organic-shaped forms. It can also be used to determine divisions for evenly scalloped bezels, or to cut sections of mill stock into equal parts. It takes just a few minutes to do, and all you need is tracing paper, a T-square, a ruler, a pen, and some tape.
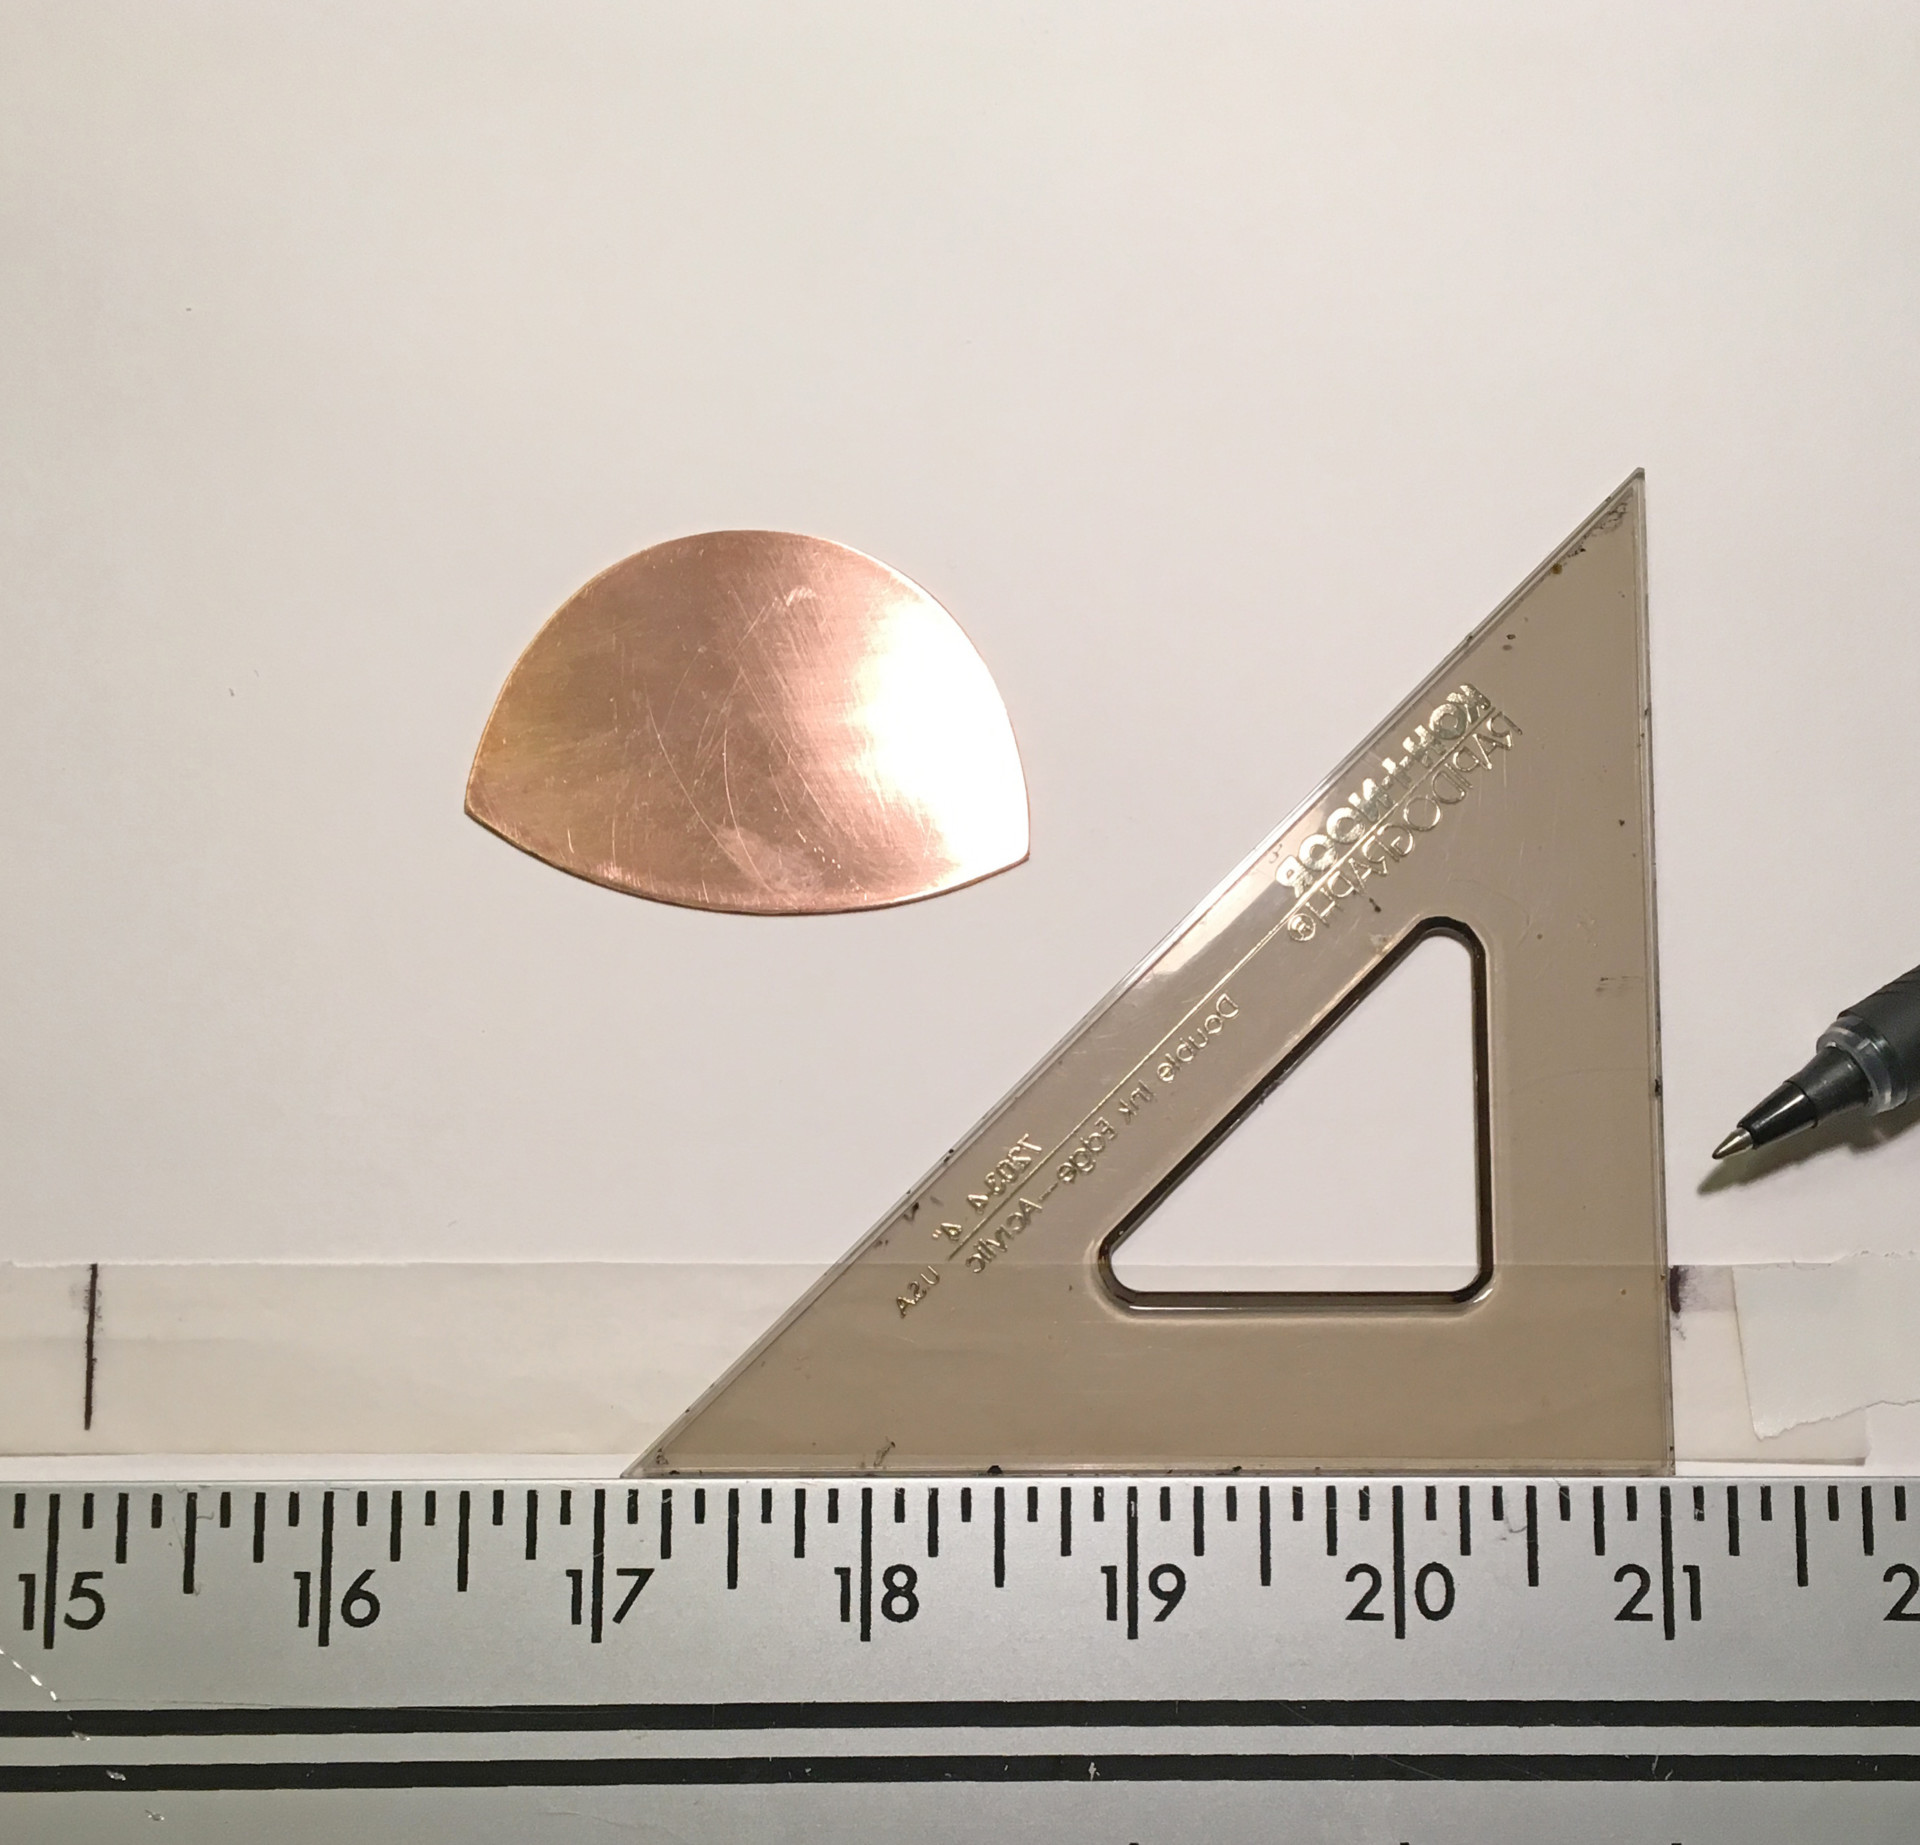
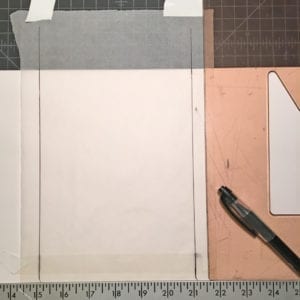
- Wrap a narrow strip of tracing paper loosely around the object and cut it a little longer than the total circumference. Tape the paper strip to a worktop and use a T-Square and 90-degree angle to mark a vertical line near the edge of the paper.
- Rewrap the strip of paper around the object and make a mark exactly at the overlap on the first line you drew.
- Flatten out the paper again and tape it securely to the desktop. Draw another vertical line at the second mark you made in step 2.
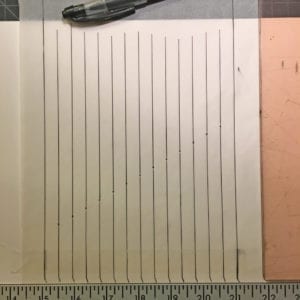
- Tape a clean sheet of paper over top of the strip. Use the T-square and angle to draw vertical lines on the top sheet in the same locations as those on the strip. Depending on the number of divisions you wish to create, it is better to create long vertical lines so you don't come up short. Notice we haven't measured one single thing yet.
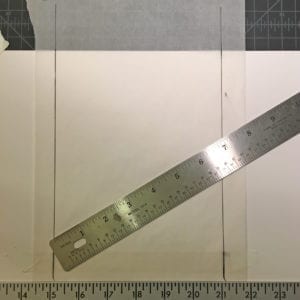
- Decide on the number of divisions you'd like. In this project, we're creating 14 divisions. Next, grab a ruler. Since the target number is 14, I'll need to choose a number on the ruler that I can get to 14 from. I'll use seven, because the half-inch marks will give me 14 total divisions. To do this, angle the ruler so the seven-inch mark sits on the right vertical line and the zero mark sits on the left vertical line; the angle or position of the ruler don't matter—just the zero and seven.
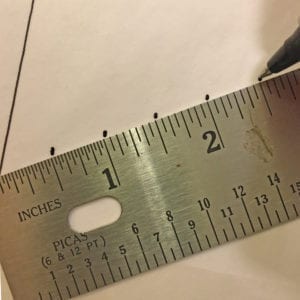
- Make tick marks precisely at the half-inch marks of the ruler.
- You will note the marks will go uphill (or downhill) depending on how you positioned the ruler on the paper.
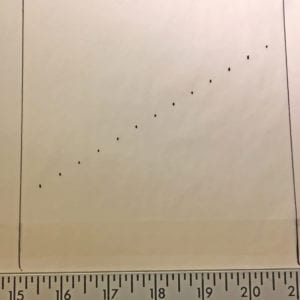
- Using the T-square and 90-degree angle, carefully draw vertical lines that extend from the tick marks. You should have 14 equal divisions between the left and right boundaries.
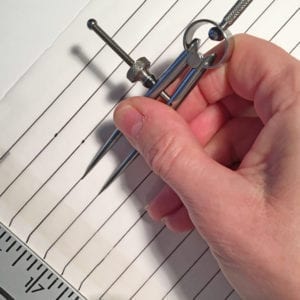
- There are two options for transferring these measurements to the object. The first way is to set your dividers to the width of the section and then "walk" it around the perimeter of the object to mark the divisions.
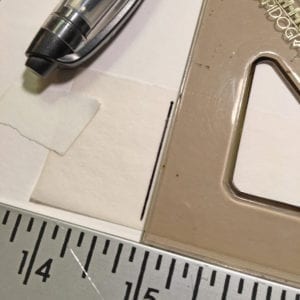
- Alternatively, you can use an X-ACTO knife to cut a thin strip from the marked paper to create a pattern that you can use double-sided tape to adhere to the object. The choice in method depends on the unique form you are working with, and sometimes one way will be easier than the other.
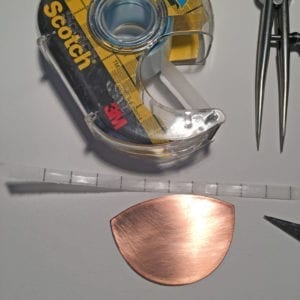
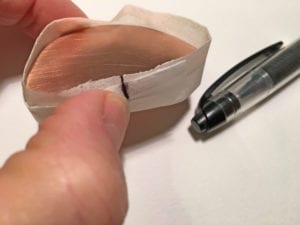
- Here, you see the paper pattern method, which I like because I can see exactly where everything will end up before I mark the metal.

Helen I. Driggs is an experienced metalsmith, lapidary, and studio jewelry instructor, and has appeared in six instructional jewelry technique videos. Her book, The Jewelry Maker's Field Guide, was published in 2013.

In association with
The award-winning Journal is published monthly by MJSA, the trade association for professional jewelry makers, designers, and related suppliers. It offers design ideas, fabrication and production techniques, bench tips, business and marketing insights, and trend and technology updates—the information crucial for business success. “More than other publications, MJSA Journal is oriented toward people like me: those trying to earn a living by designing and making jewelry,” says Jim Binnion of James Binnion Metal Arts.
Click here to read our latest articles
Click here to get a FREE four-month trial subscription.
You assume all responsibility and risk for the use of the safety resources available on or through this web page. The International Gem Society LLC does not assume any liability for the materials, information and opinions provided on, or available through, this web page. No advice or information provided by this website shall create any warranty. Reliance on such advice, information or the content of this web page is solely at your own risk, including without limitation any safety guidelines, resources or precautions, or any other information related to safety that may be available on or through this web page. The International Gem Society LLC disclaims any liability for injury, death or damages resulting from the use thereof.
Related Articles
Steps on Making a T-Fold Boat Fold

Metalsmith ’83 Summer: Health Hazards Q&A’s
A Replica of the Sutton Hoo Sword
Tube Setting Faceted Stones


The All-In-One Jewelry Making Solution At Your Fingertips
When you join the Ganoksin community, you get the tools you need to take your work to the next level.

Trusted Jewelry Making Information & Techniques
Sign up to receive the latest articles, techniques, and inspirations with our free newsletter.