
Creating a 14KW Rubellite Tourmaline Pendant
2 Minute Read
Updated on
Steve Satow describes the procedure on creating a 14KW Rubellite Tourmaline Pendant.
Creating a 14KW Rubellite Tourmaline Pendant | |
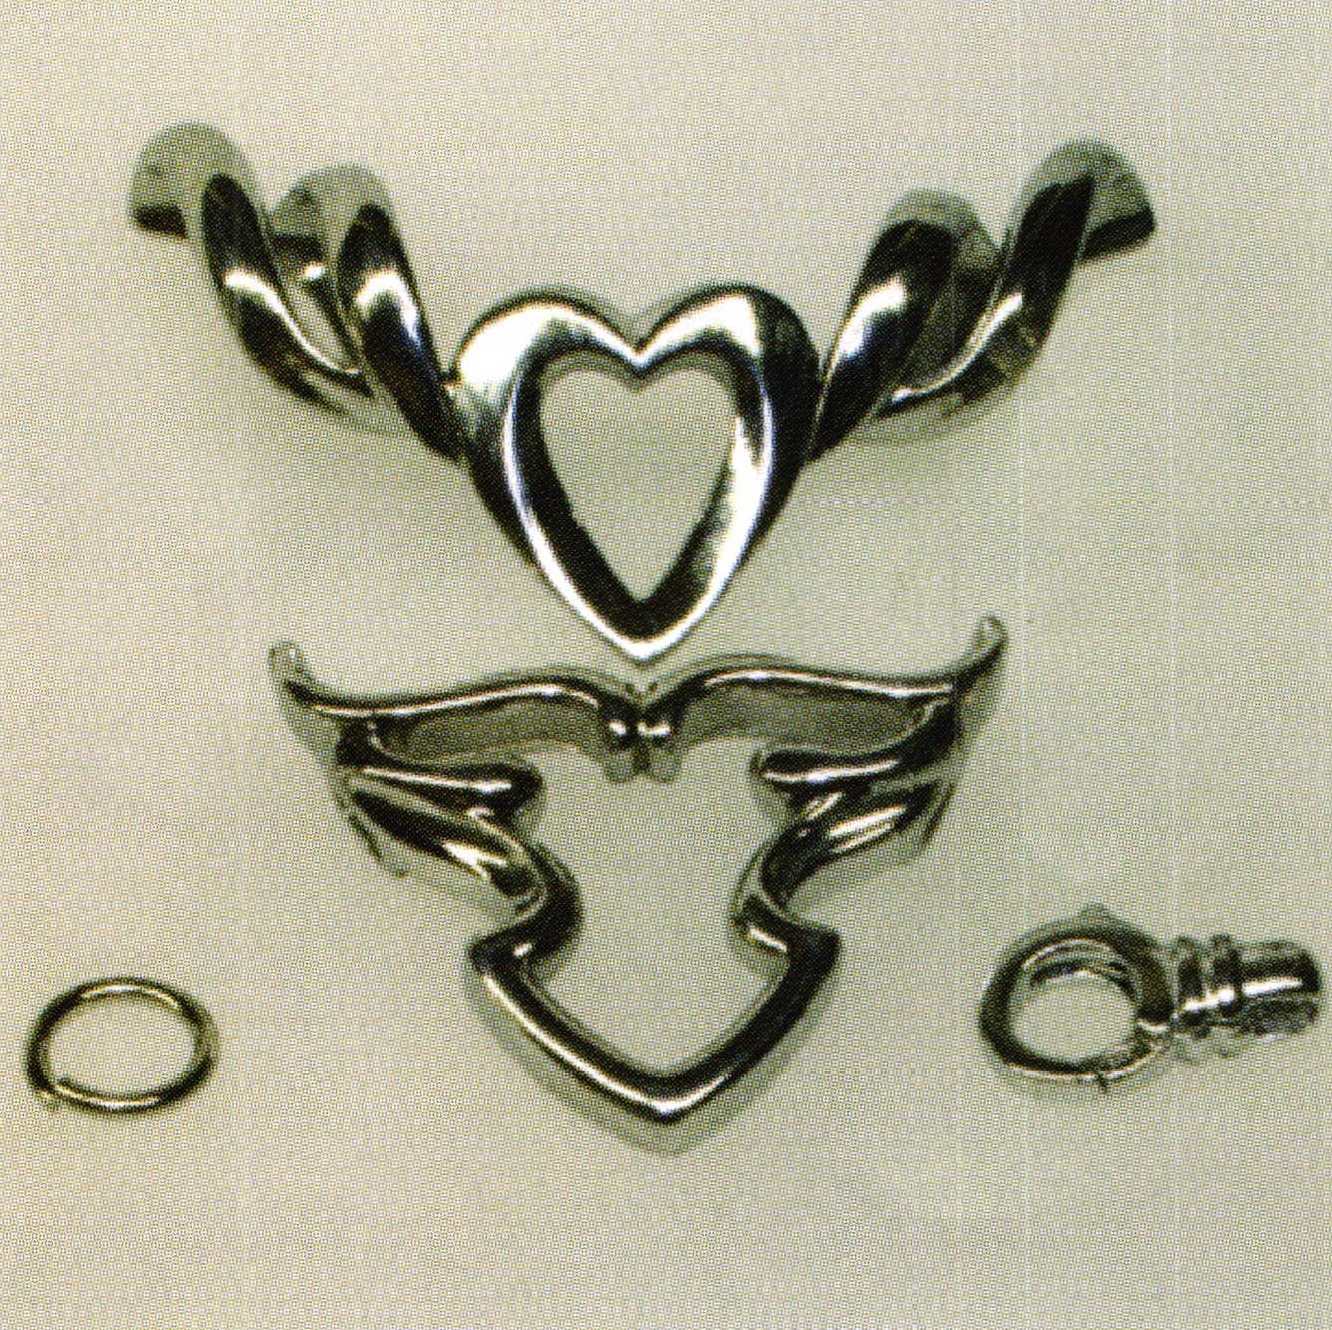 | Beginning components are two 14kw pendants, a lobster claw, a 6mm jump ring, a 16 inch strand of 6mm pearls and a 9mm princess concave cut rubellite tourmaline. I used Stuller pendant numbers 81078 and 80913. My mission was to make a one of a kind, large look for this pendant so the benefit raffle would make as much as possible for the American Cancer Society. It seemed that the tourmaline was the right color to fit their pink theme. |
 | Let's start with cutting the heart out of the center of the first pendant. |
 | Three pendant is now separated into three pieces. The heart will be used for another project. |
 | The second pendant is now cut into 3 pieces. All 3 pieces of this pendant will be used in the finished pendant. |
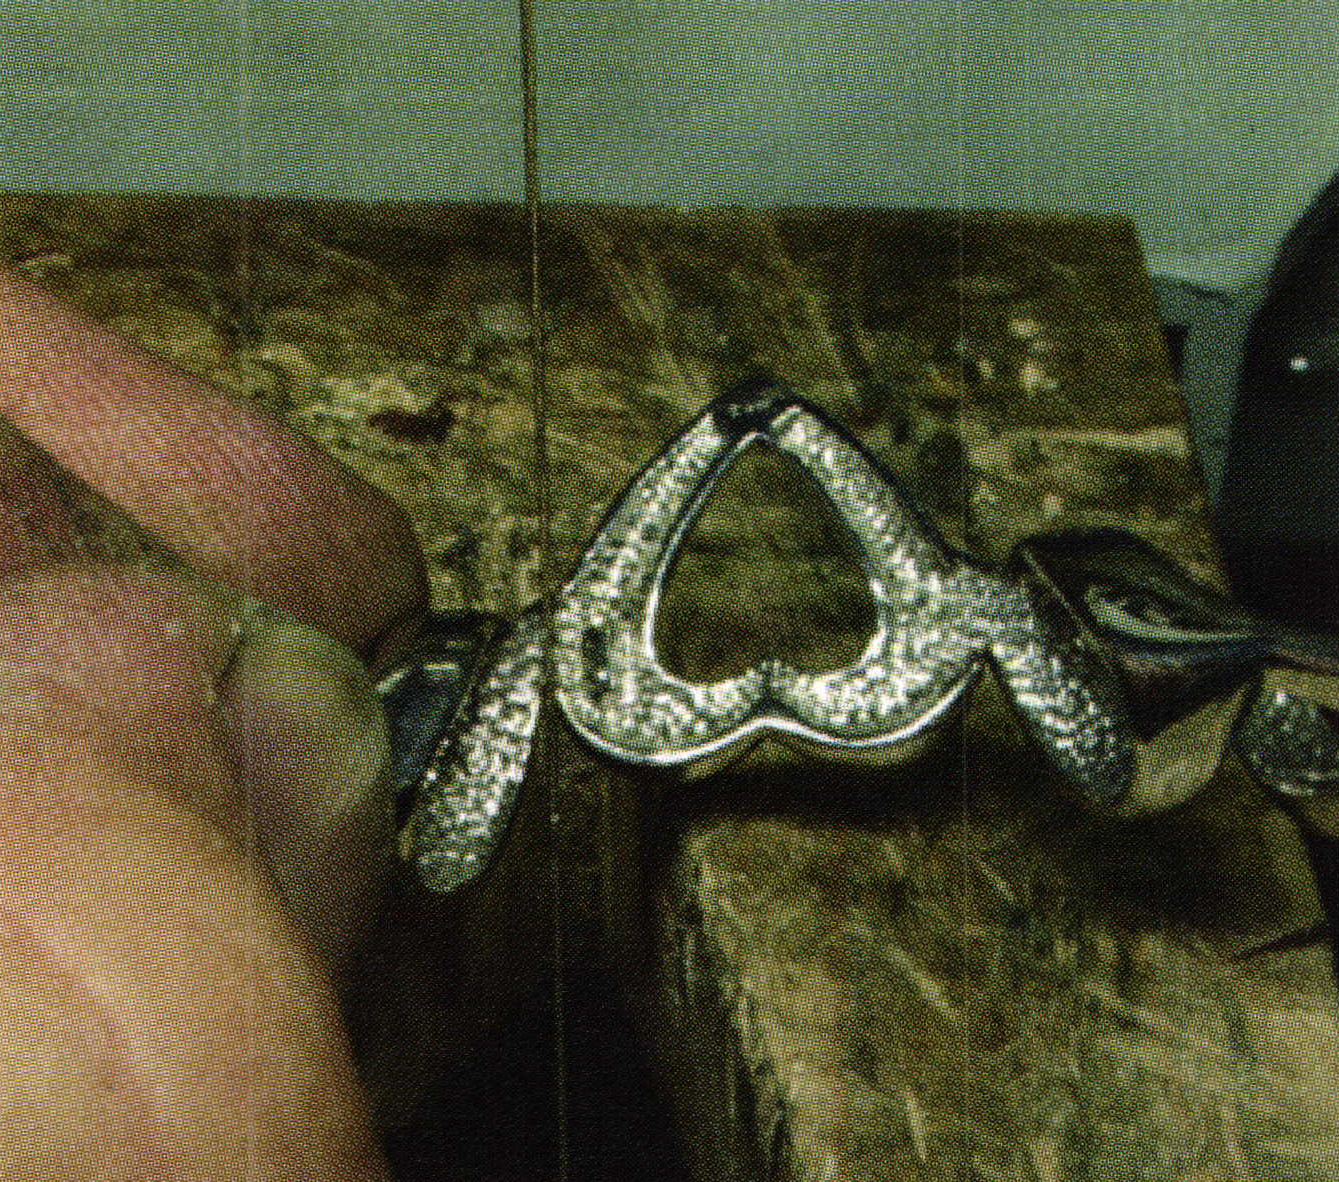
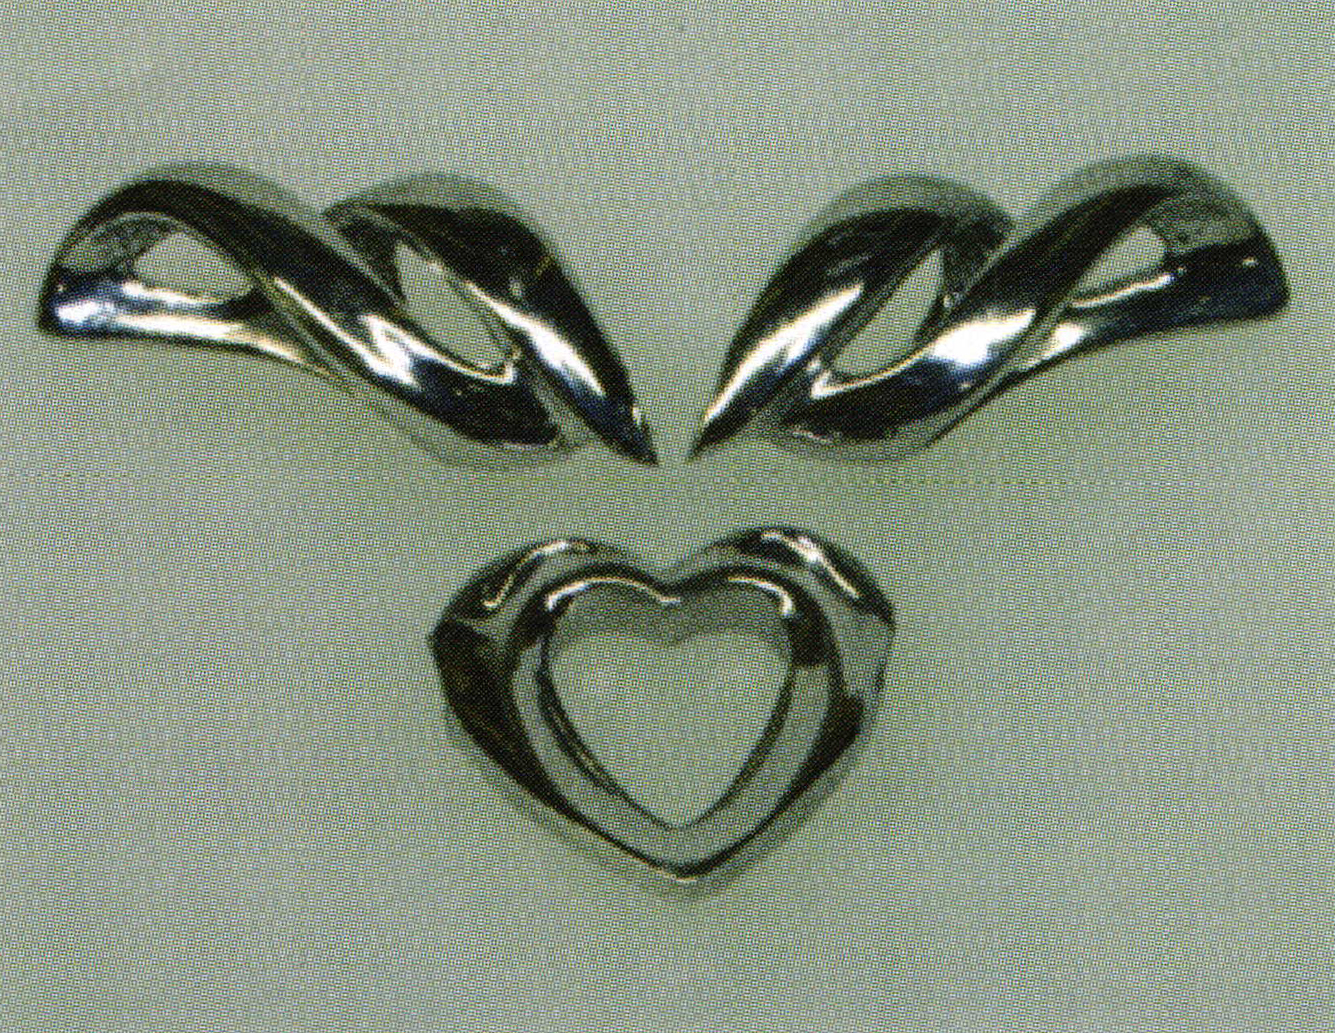
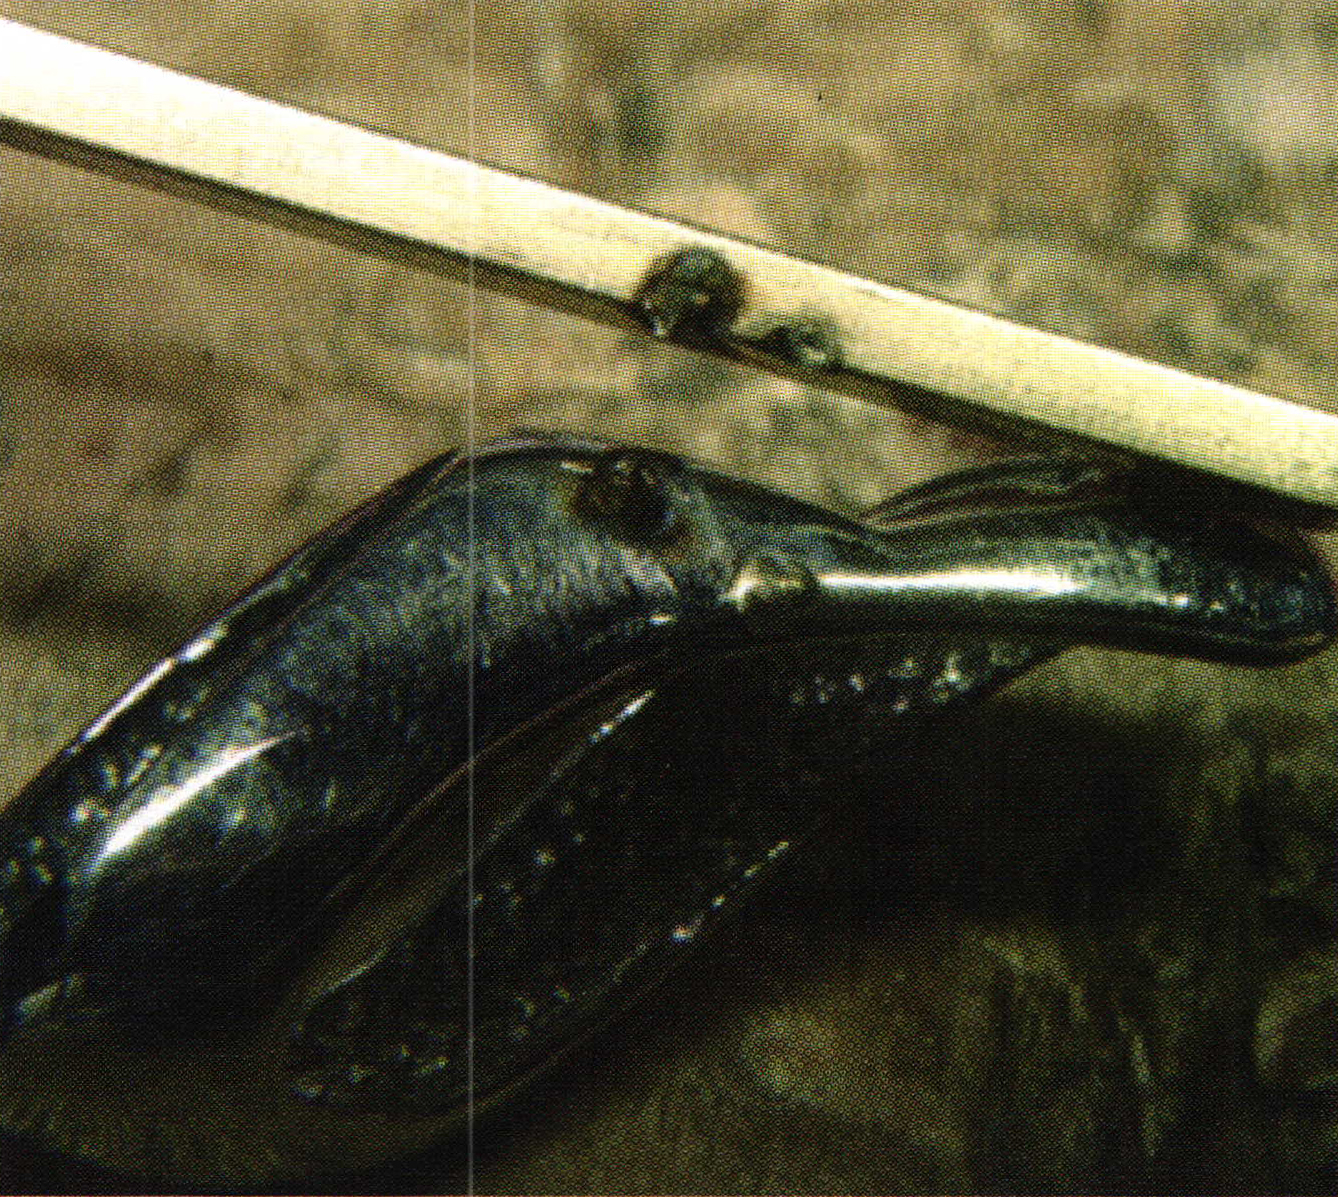
 | The two pieces cut from the top are annealed and bent to a much tighter angle and welded together. |
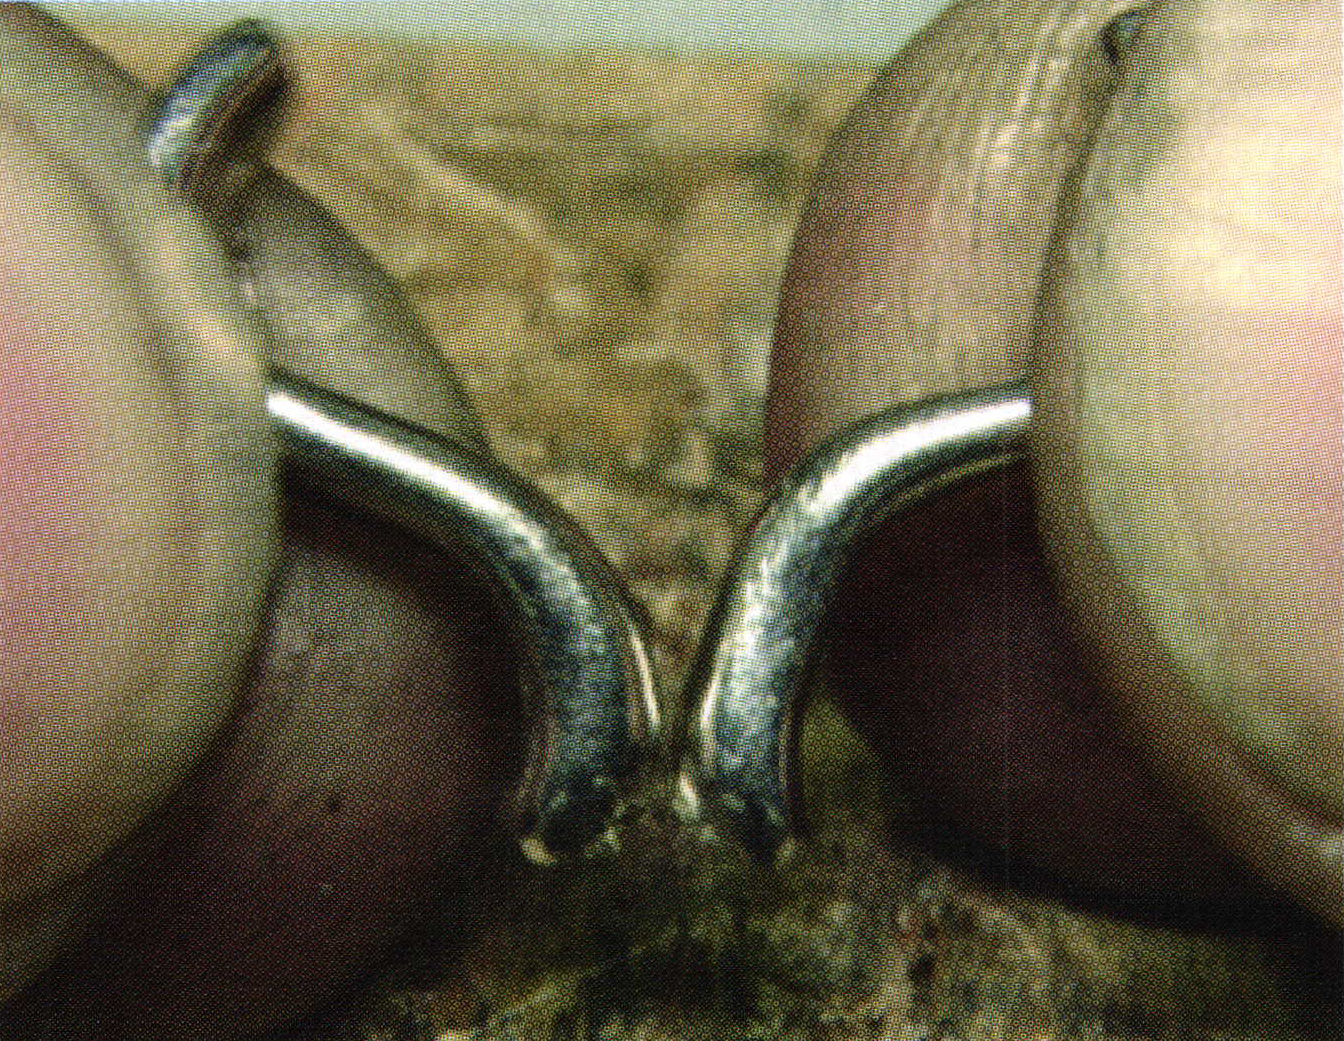
 | To make it easier to weld the pendant together symmetrically the first time I used a piece of gold shank as a fixture jig. I tacked one side and laid the other piece on the opposite side and moved it back and forth until I had the mirror image of the piece at the right place. |
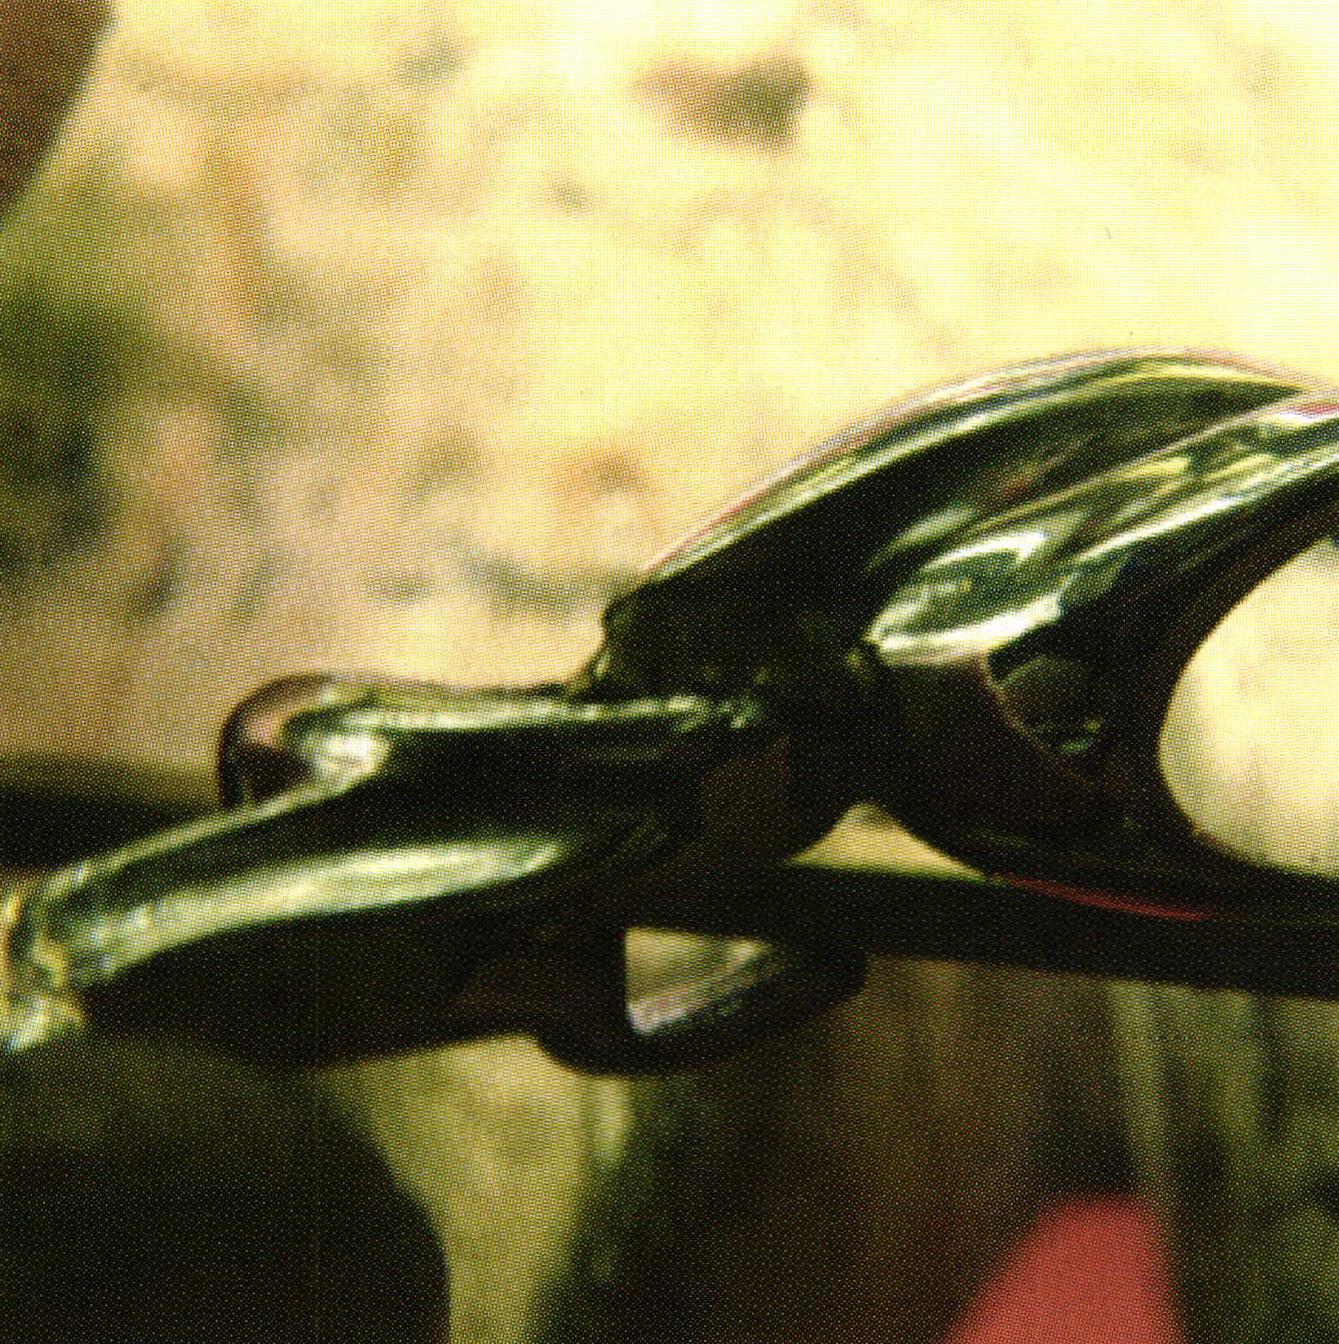 | With the two sides of the pendant tacked in place the piece that will be the new center section can be placed in between them. The sides can be bent until the exact angle you want to join the center piece is achieved. Then tack the new center portion to the sides. Make any minor adjustments to the parts and then weld the upper part of the center that was assembled in picture 5 to the top of the pendant. Lay the tacked pendant on a flat surface and make sure it's flat. With the pendant now flat and bent at the angles you want, finish laser welding the parts together. Now weld two small jump rings inside the outer top loupes so they are hidden for tying off the pearl strand. |
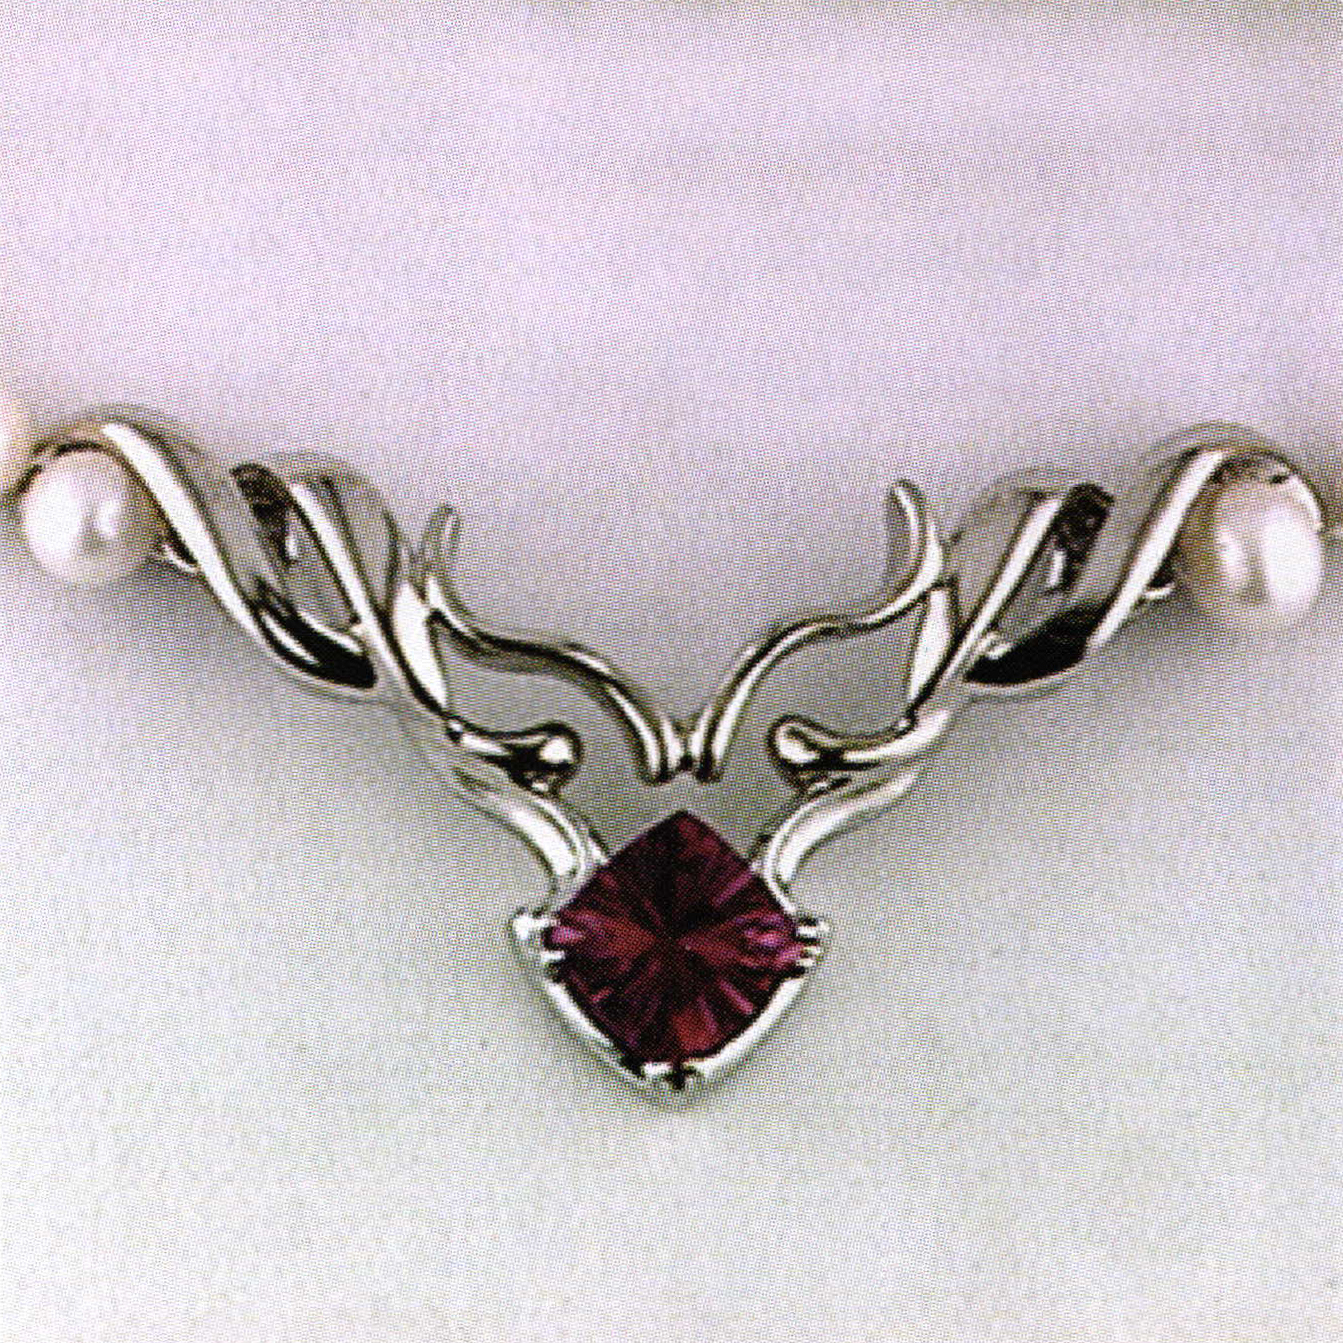
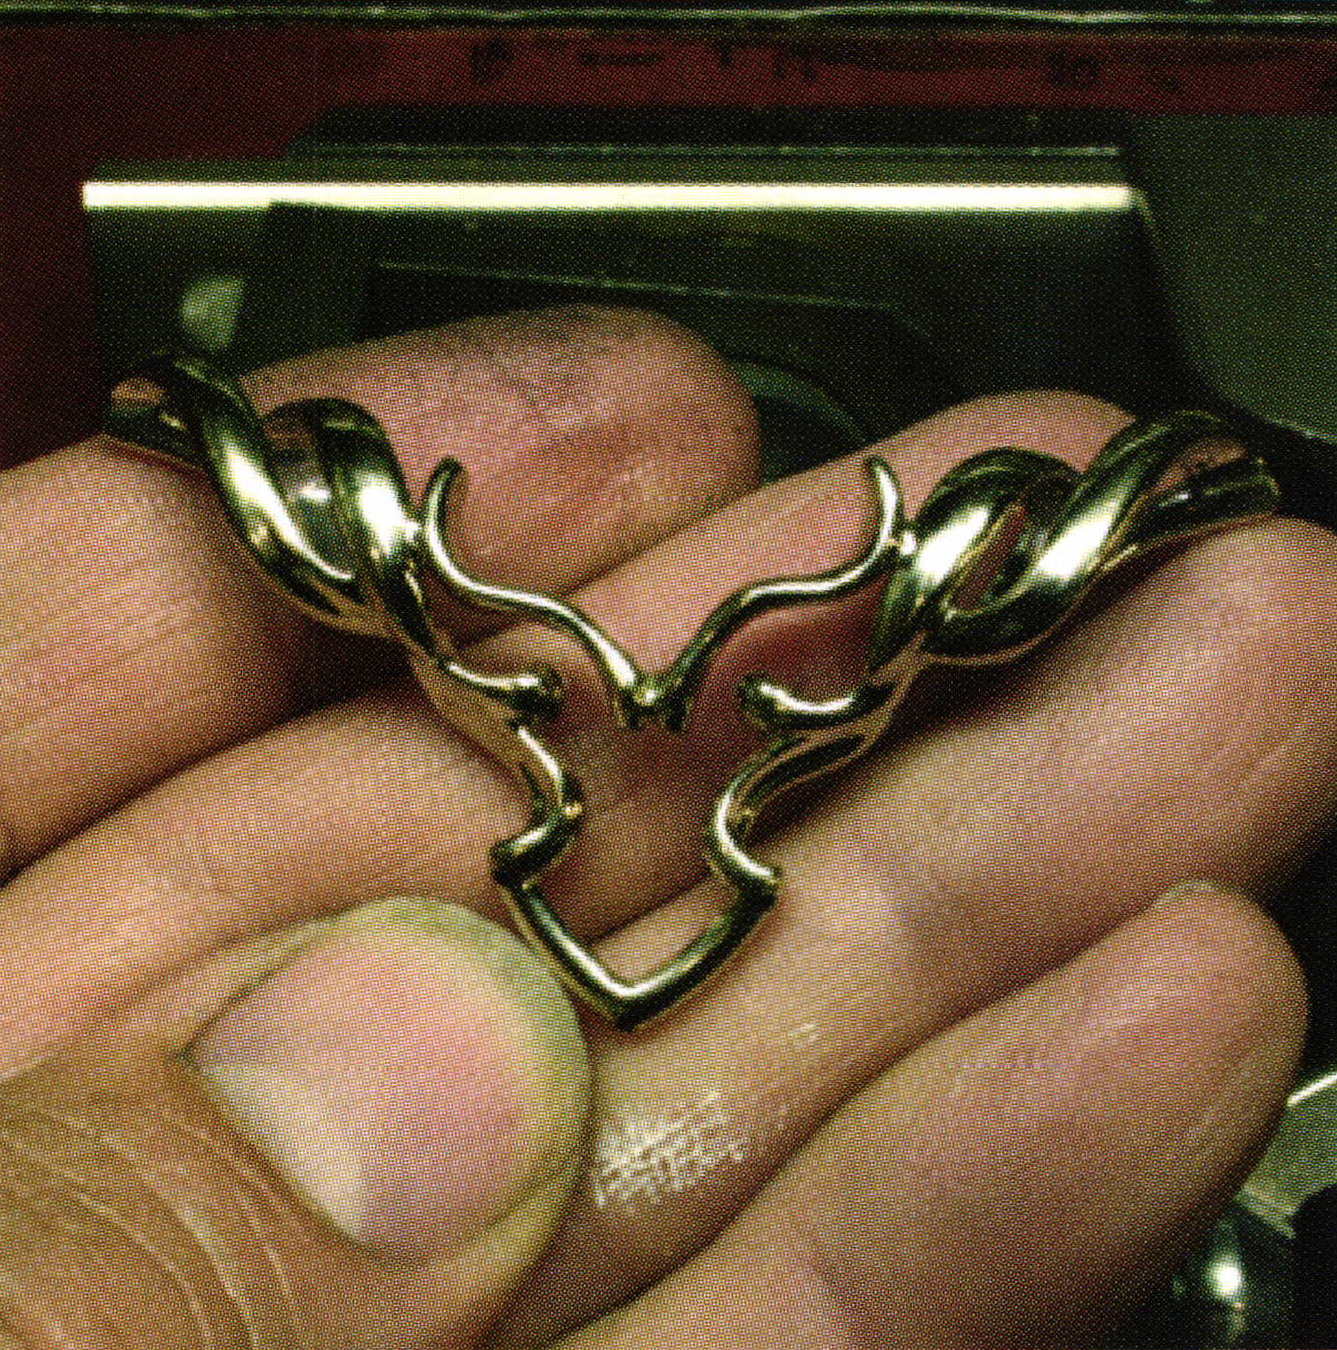 | The finished pendant is polished and ready to have the prongs added to set the center stone. |
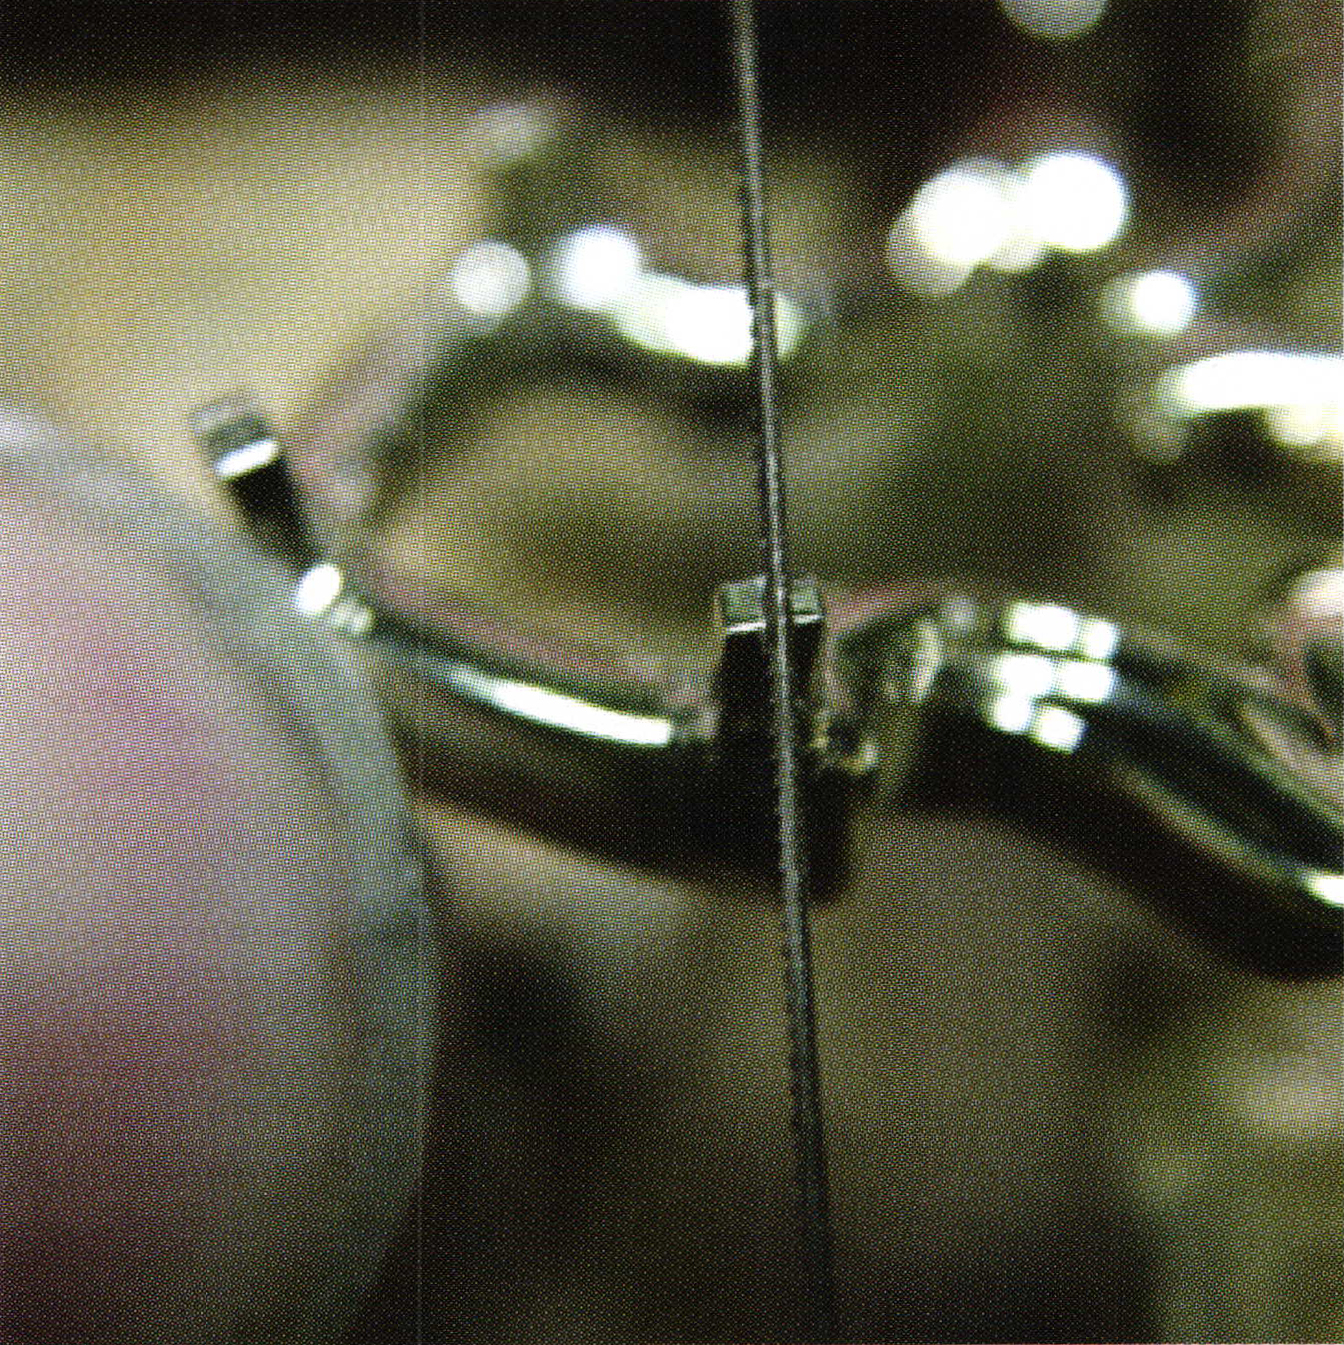
 | Lay the stone on the pendant to gauge where the prongs will go and then mark it with a fine pointed sharpie. |
 | For a different look I decided to set the stone with 3 prongs. Three prongs will not hold a princess securely enough for me unless they are split prongs. With split prongs the stone is securely trapped with 3 prongs. To make the prongs, roll out some 14 k palladium white gold shank material to 2x.75 mm and anneal the shank material. Weld on the prongs at the marks. Prepare the prongs like you would to set a 4 prong princess cut except undercut a little less than normal because once the prongs are split they will bend over easily. Use an 8/0 saw blade to split the prongs down 2/3 of the length from the tip to the base. Pre polish before beginning setting. Gently set your tourmaline with the 9 and 3 o'clock prongs first. Then once it is straight finish with the 6 o'clock prong. Cup your prong tips and head to the buffer. Because you pre polished before setting, it will take just a kiss of a knife edge buffer wheel to remove any swirl marks from the prong tips while still keeping them heavy and the stone secure. Rhodium plate your pendant and then string your pearls and tie them off to the pendant. |
By Steve Satow
© Bench Magazine – 2006 Spring
In association with
BENCH Magazine is devoted to the Bench Jeweler in retail jewelry stores and small trade shops.
Related Articles

Carol Kumata: Pandora’s Box
"How to Wrap Five Eggs" was a dilemma posed by a cult book of Japanese packaging design in the mid-1960s....
Read More

Tips for Avoiding Meltdown
Now What?
You’ve carved a few waxes or made a piece in metal that you want to mold and have...
Read More

A Metalworking Hand Tool List For Beginners In Jewelry-Making
Making jewelry is sometimes seen as a difficult or an expensive proposition. In reality a basic metal working shop can...
Read More

Making Custom-Designed Earrings Using Welding Technology
This custom job of 14 karat yellow gold earrings with diamonds and pink tourmaline is made easy using tack-welding technology....
Read More


The All-In-One Jewelry Making Solution At Your Fingertips
When you join the Ganoksin community, you get the tools you need to take your work to the next level.
