
Portable Polishing
4 Minute Read
Making your own custom finishing sticks
Due to space restrictions, I don't own a full-size polishing machine. Because I work largely in alternative materials, most of the time I can get by using my flex-shaft to polish the metal sections of my work. But there are times when I'd love a really high polish on my sterling silver rings, bezels, or chain. For these occasions, I've made a series of hand polishing sticks. And, because they're human-powered, they're portable and I can toss them in my toolbox to take with me when I teach.
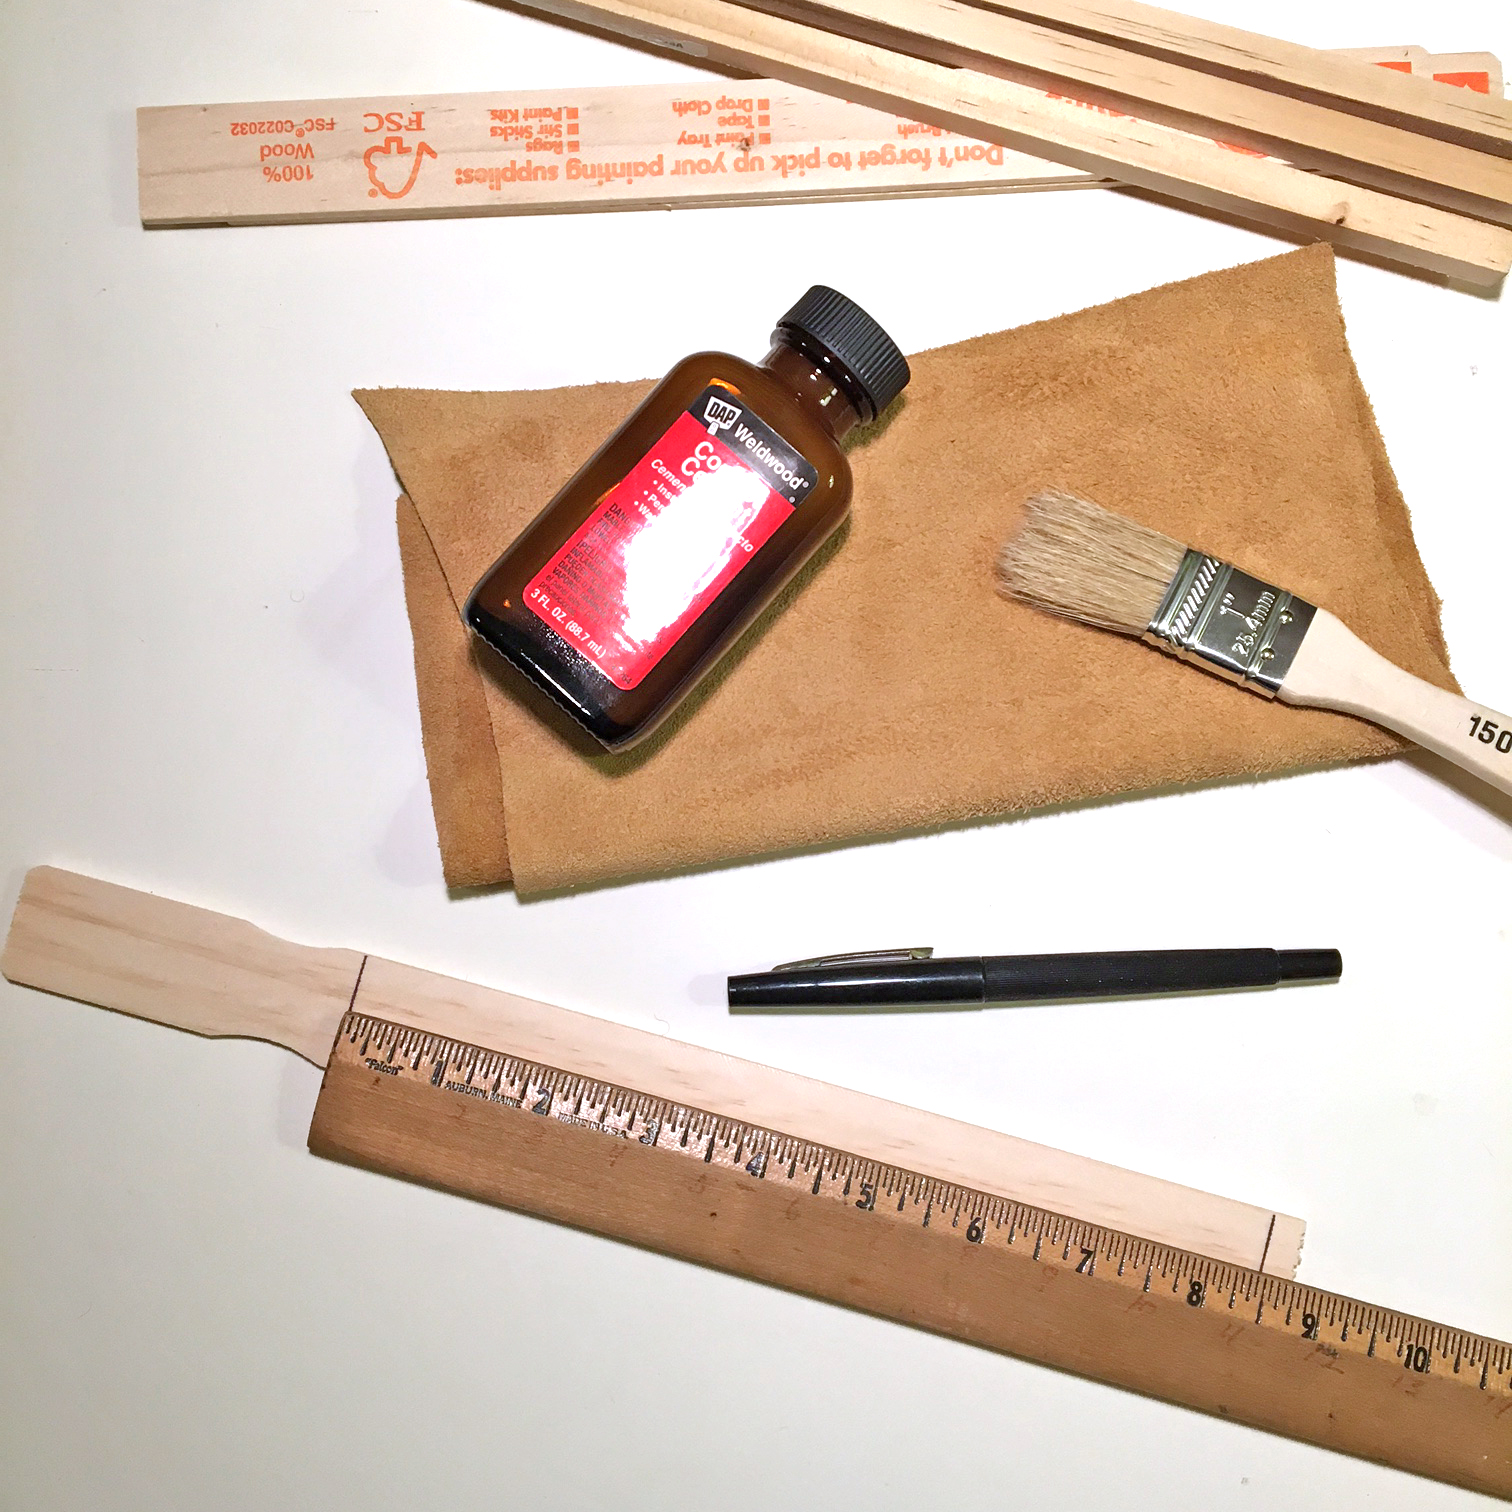
For this project, you will need chamois leather, a wood paint stick or wooden dowel, contact cement, a junk paintbrush, Sharpie marker, sharp scissors or a utility knife, a clean cutting surface, scrap paper (in case of glue spills) and a heavy book. (Safety note: Use of contact cement requires good ventilation, and cannot be done near an open flame.)
- Choose a dowel or paint stick and mark where you would like the chamois to fit. The specific measurement is up to you, and the size of the wood and the size of the chamois will have to be factored in. The leather can be mounted from edge to edge on the stick, or in this case, at a length determined by the indent of the paint stick.

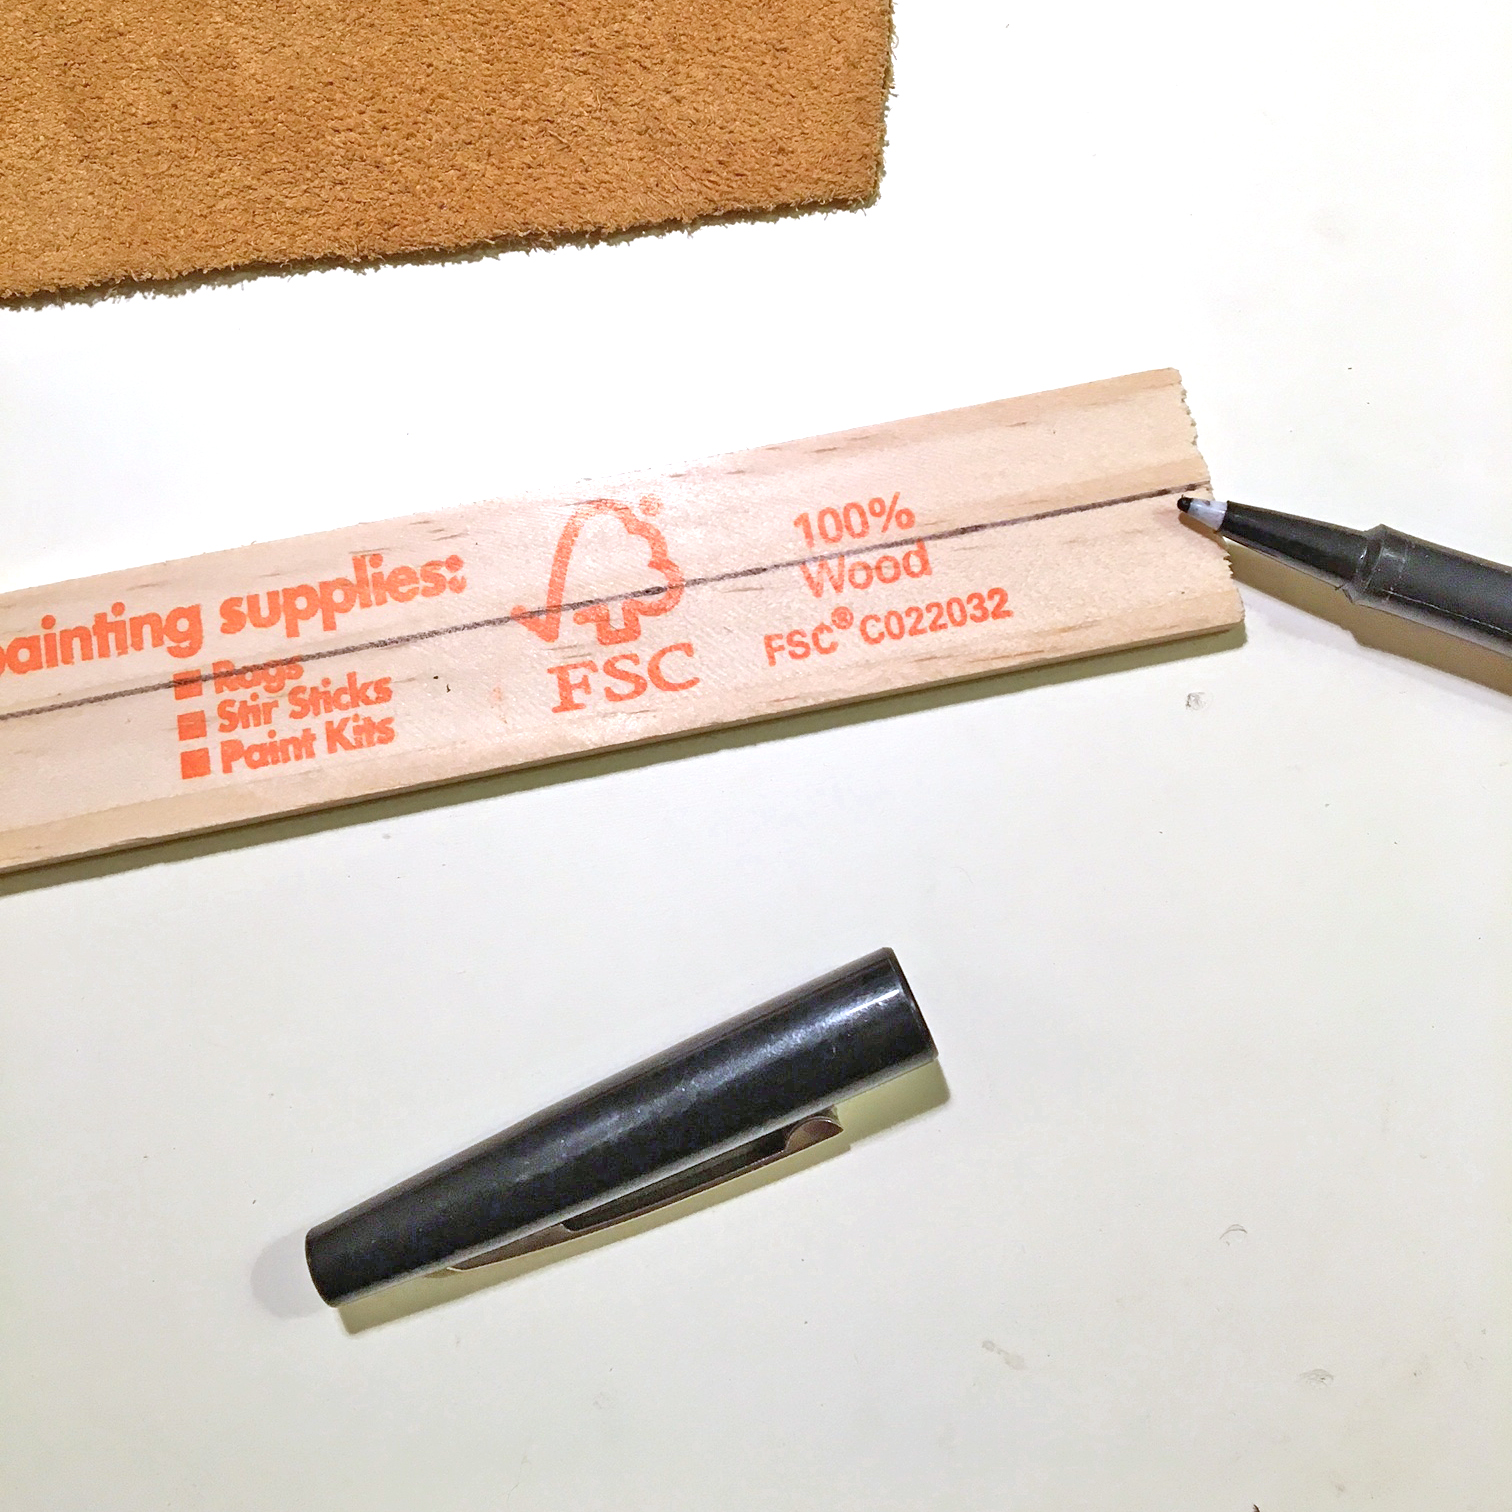
- Mark the centerline on the back of the paint stick.
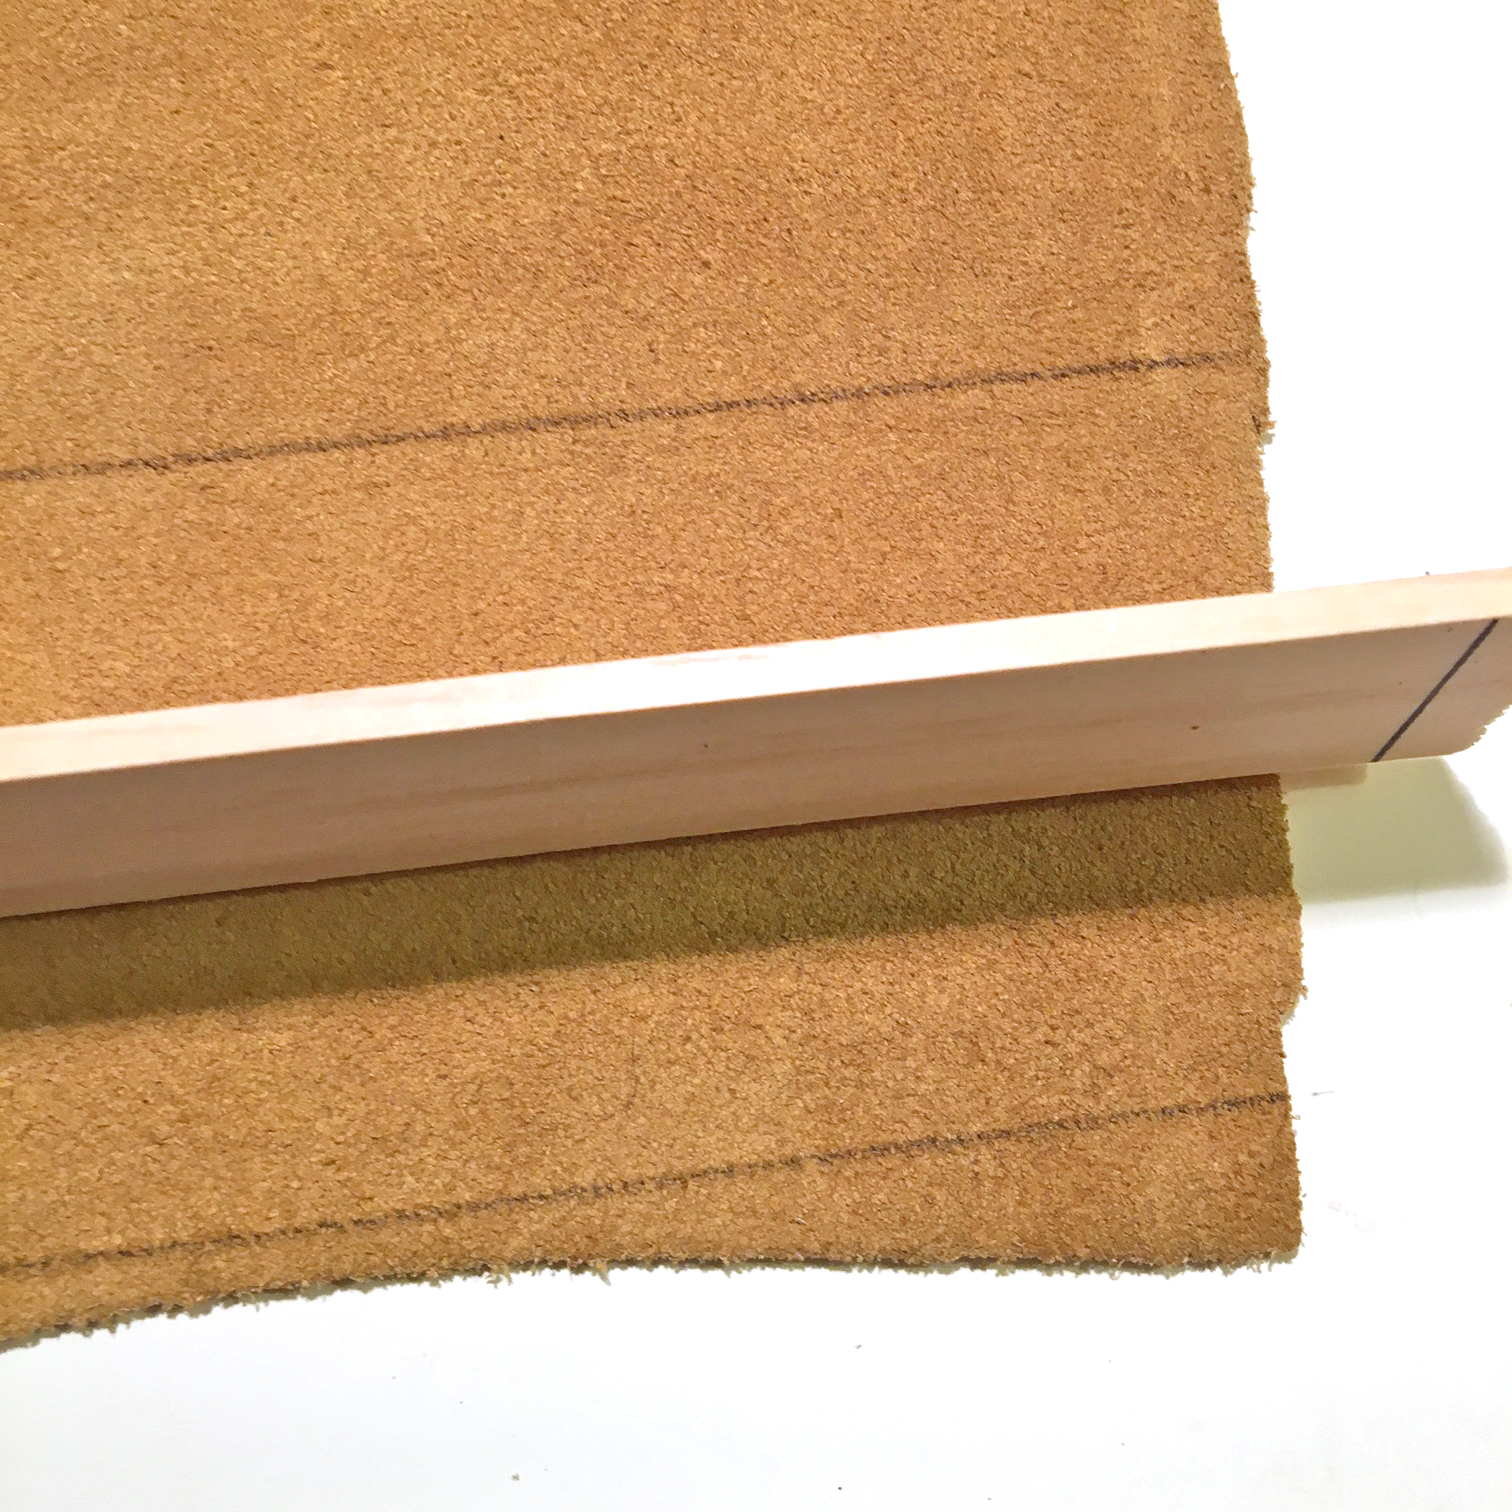
- Mark a straight line along one edge of the leather. To easily determine how much leather to wrap around the stick, roll the stick over the three remaining sides from the line you indicated across the leather. Then, mark another line for the opposite edge.

- Cut the leather strip on the lines, allowing a bit extra if the leather is very thick. Keep in mind that it will stretch as you wrap it around the wood to attach it. It is not critical if the leather edges do not exactly meet, but if the leather is too long once it is wrapped around the stick, gluing it will be difficult. If the edges of the leather overlap, trim any excess before you apply the glue.
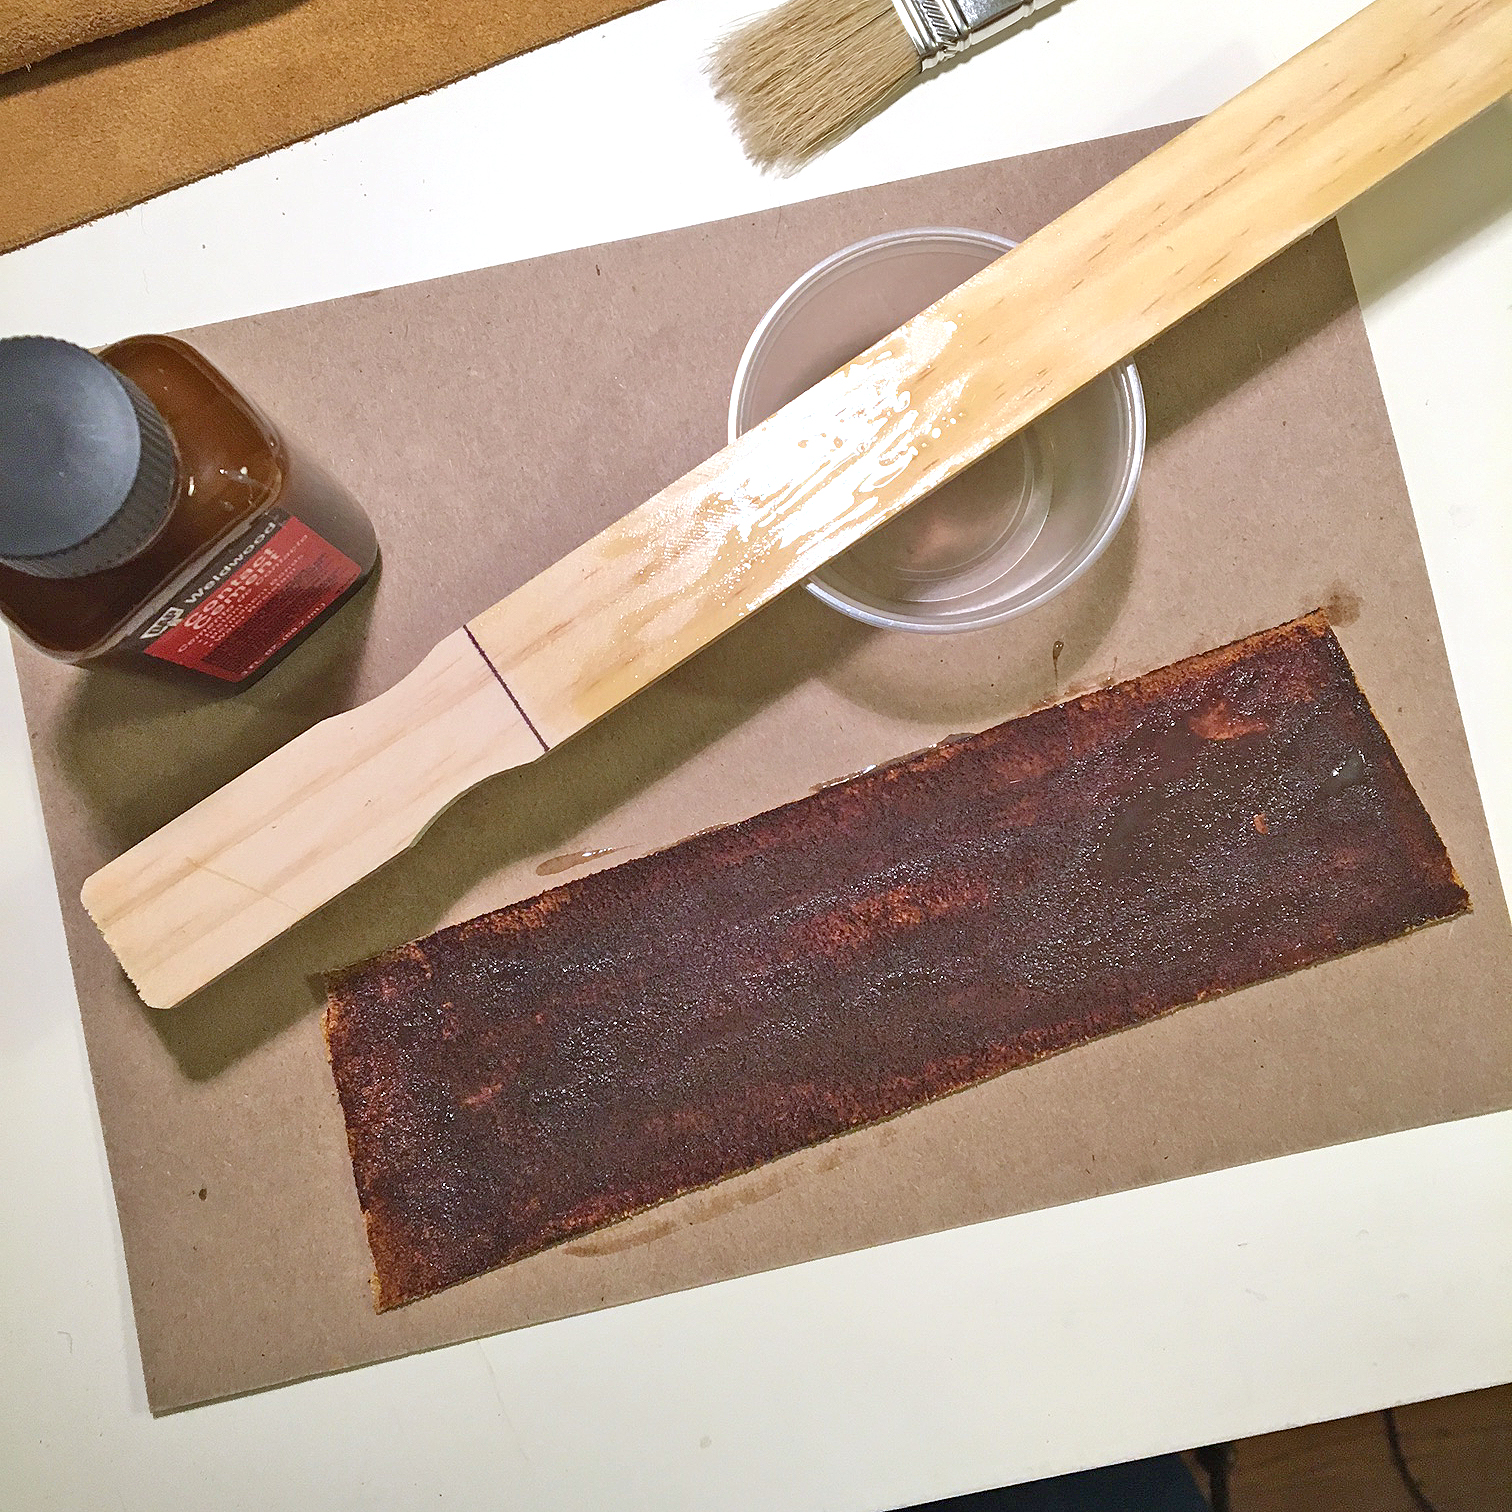
- Spread a generous amount of glue on the stick and allow it to dry for about 15 minutes. Most contact cement is ready to join when it is shiny and no longer tacky. I set the stick on a plastic take-out sauce cup to elevate it and prevent the glue from sticking to the worktop. At the same time, coat the back of the chamois with a generous amount of cement and let it dry for about 15 minutes, too.
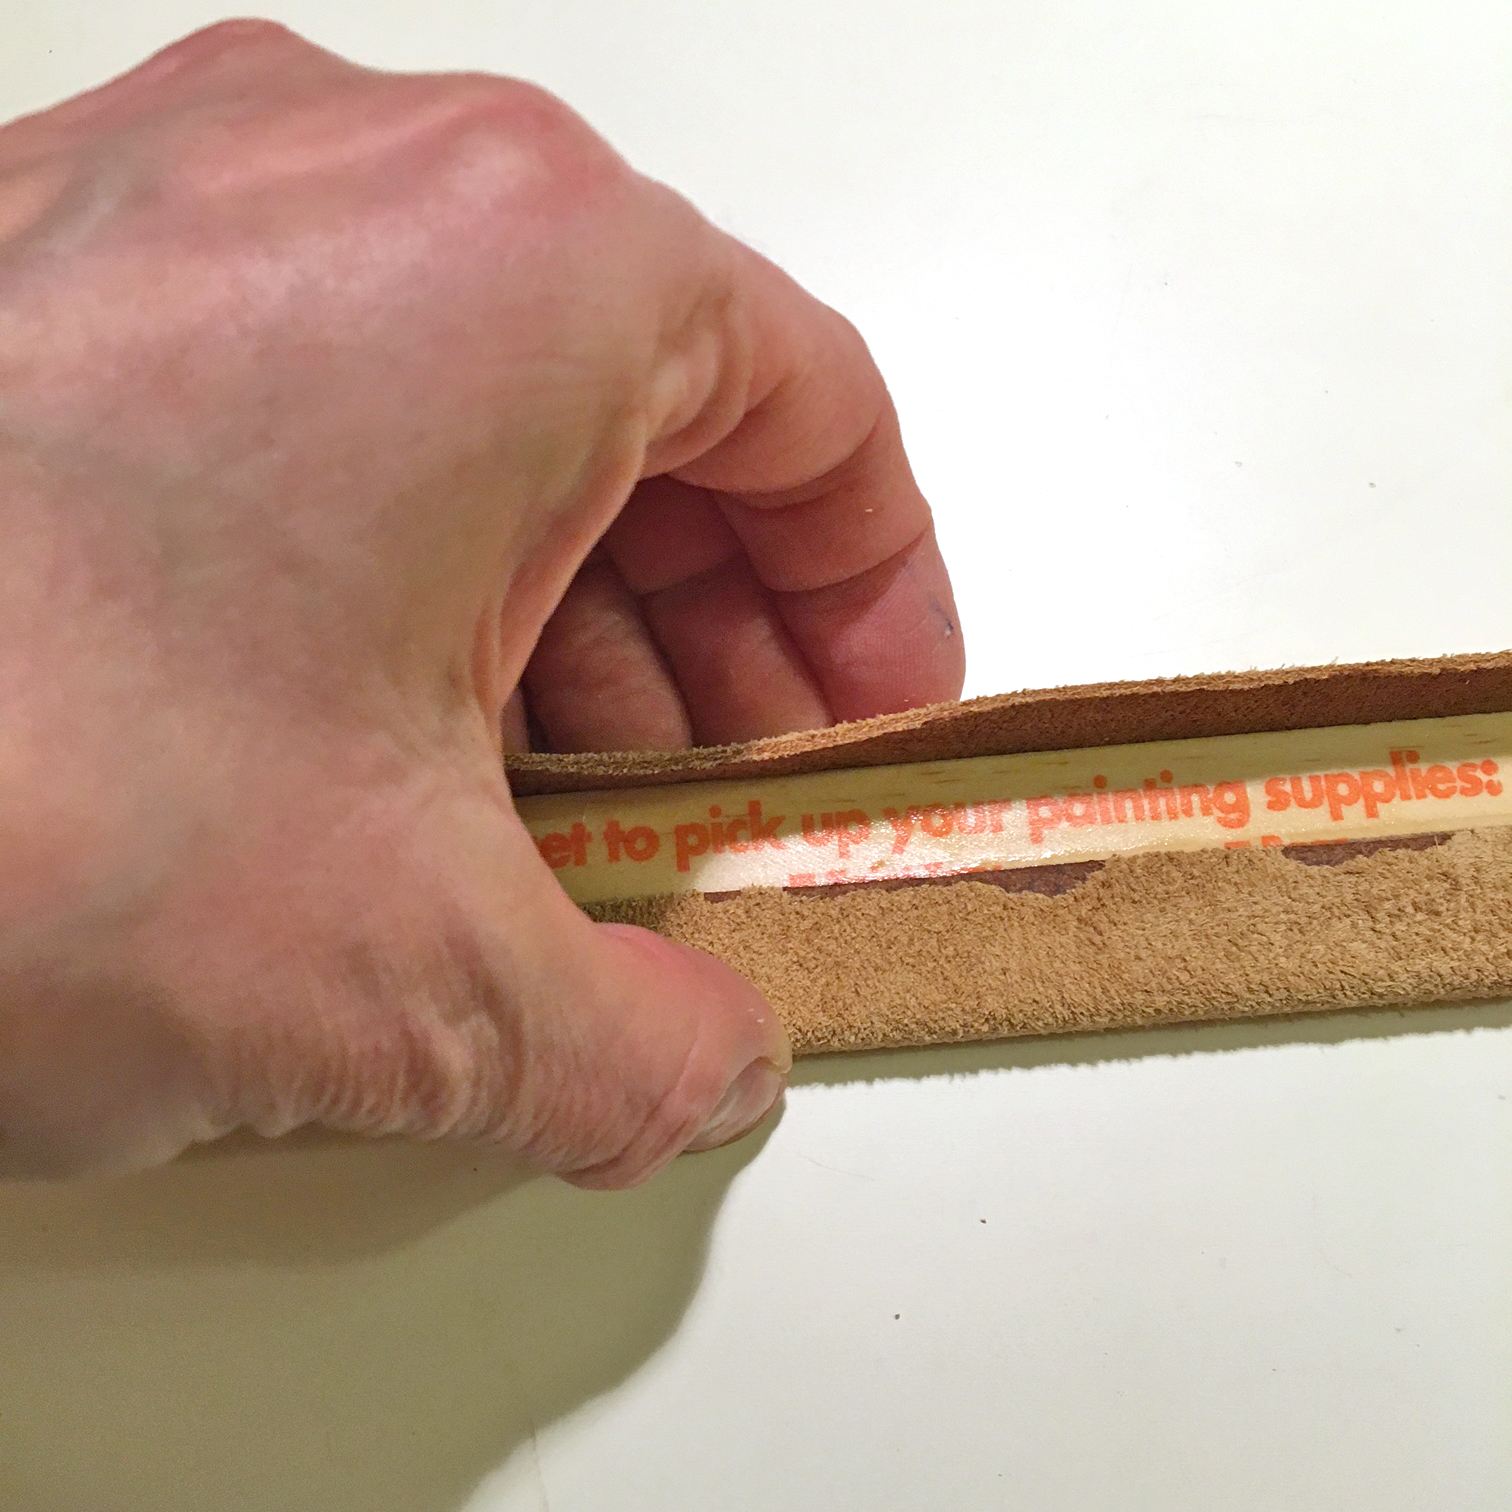
- Align the edge of the glued leather with the glue side down along the center mark on the back of the paint stick. Carefully press down the leather to bond the glue on both surfaces. Take care not to trap any air bubbles, and work slowly to bond the leather smoothly across the entire stick.
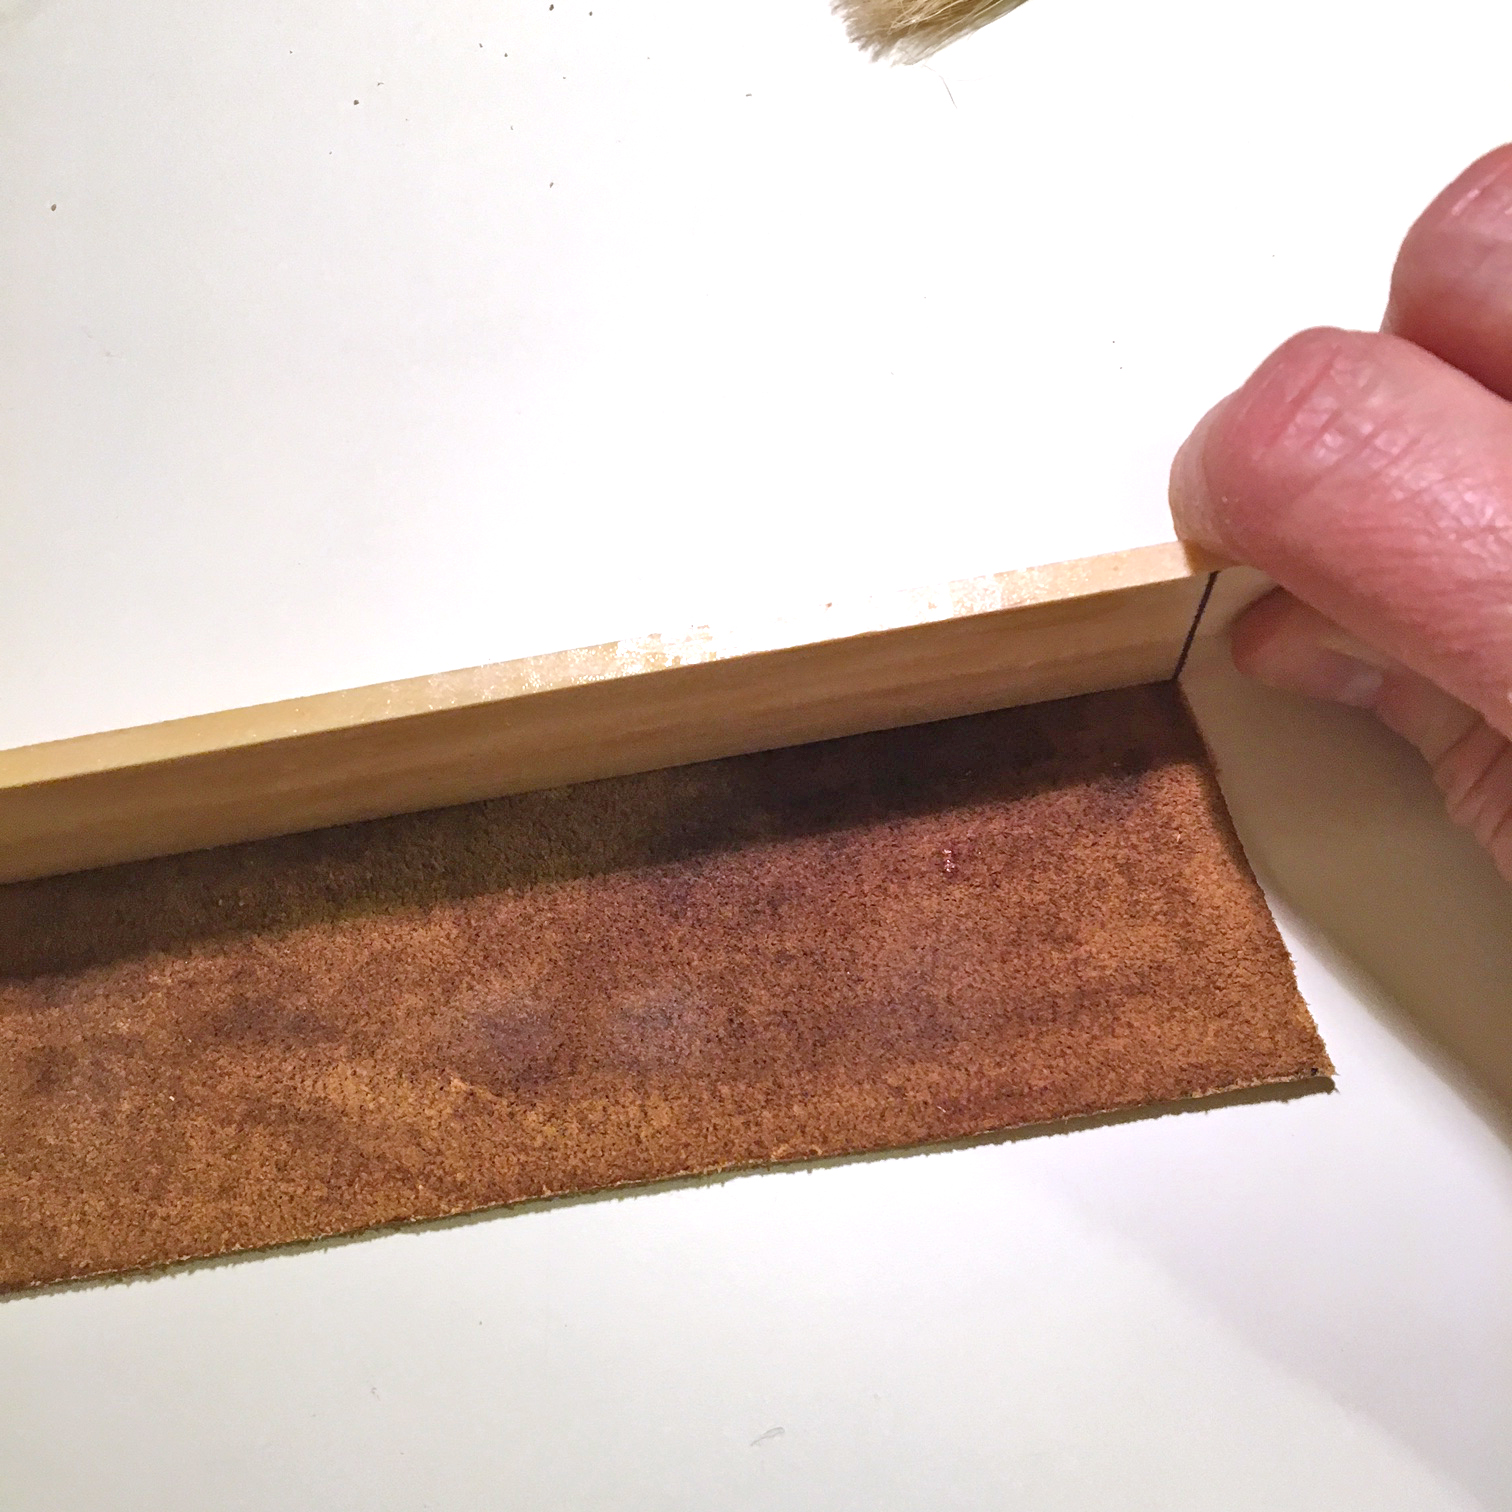
- Turn the stick over so the back is facing away from you, and then push down the short edge of the stick into the leather to strengthen the glue bond.
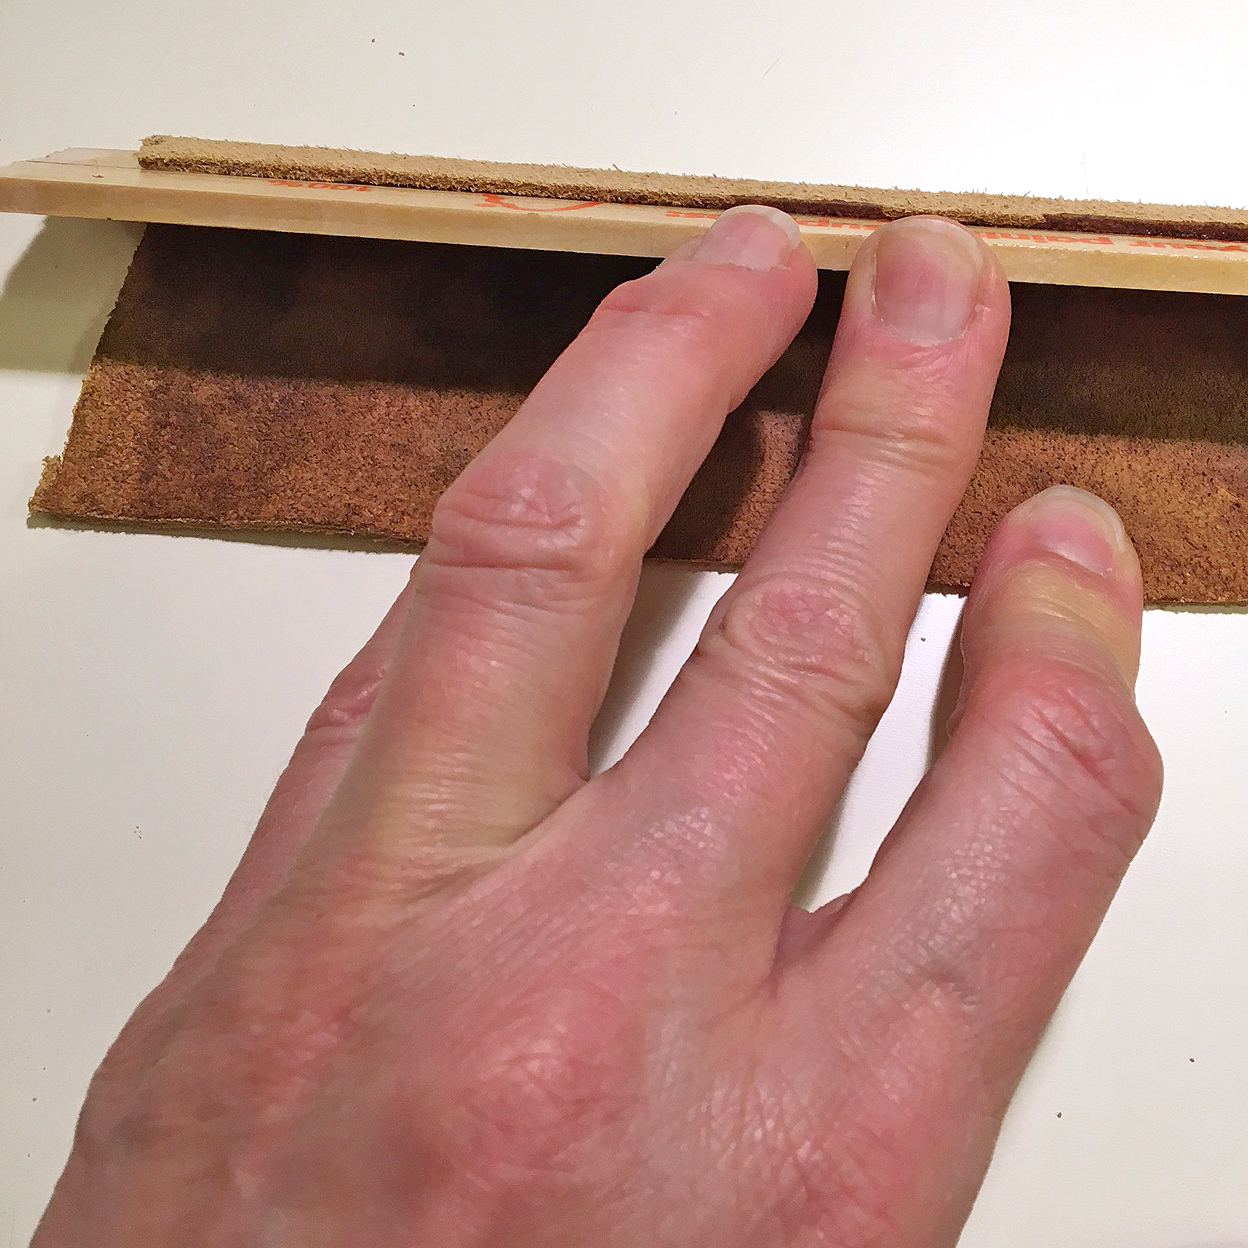
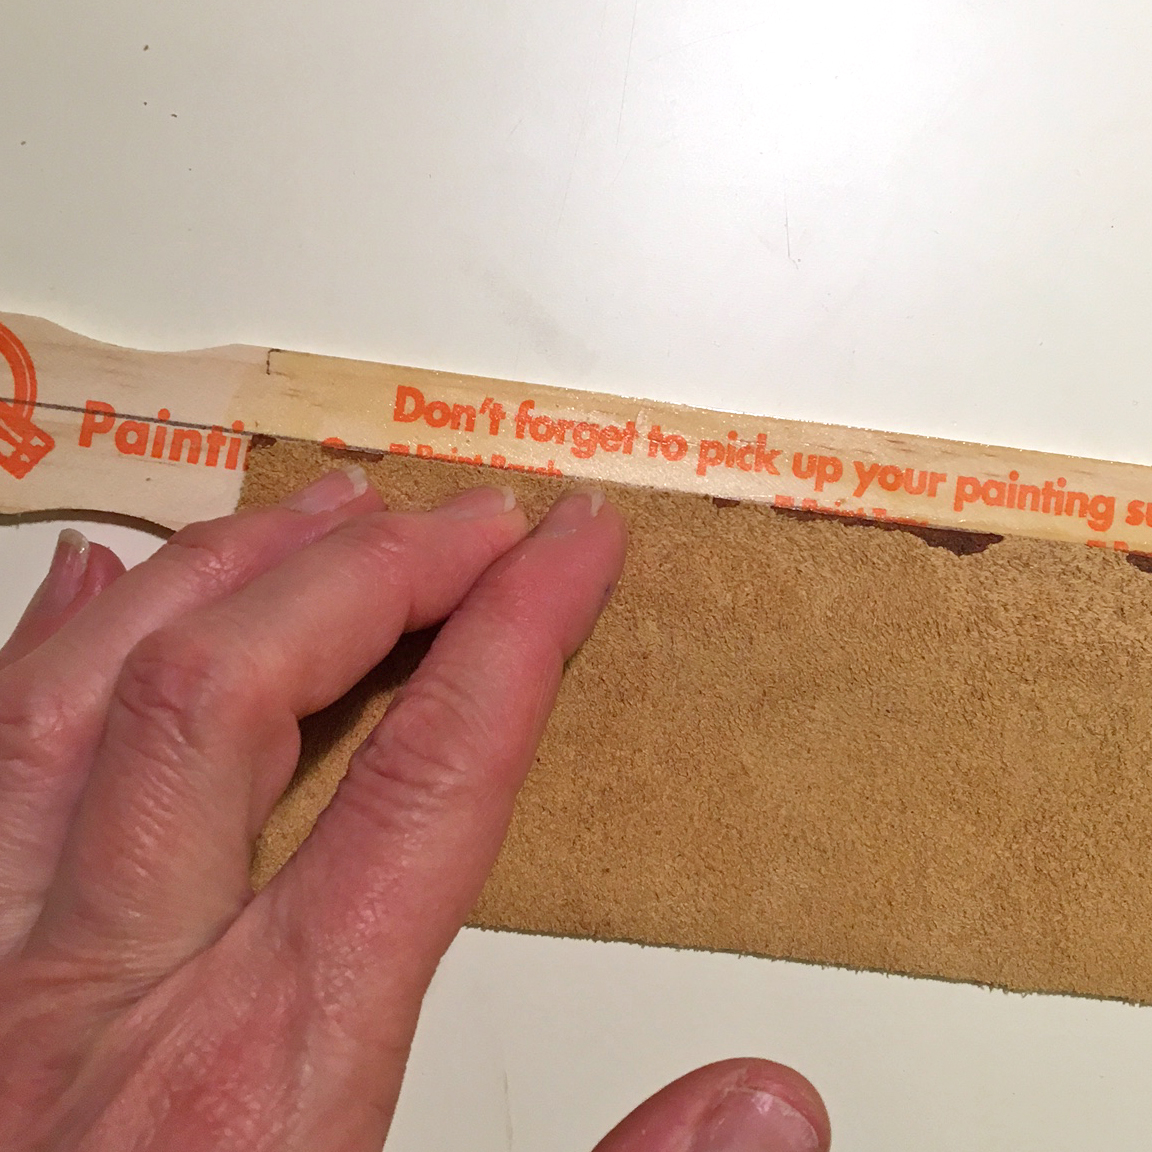
- Use your first finger and pinky to hold the leather firmly on the table, and at the same time, put pressure against the stick with your middle and ring fingers as you lower the stick on to the glued leather surface to bond the next surface. Smooth the bonded leather carefully.
- Working out from the center of the stick, press the leather in with the left hand to prepare it for bonding. Use the right hand to gently press the leather down toward the centerline and stretch it into the glued surface of the stick, taking care not to create wrinkles or air bubbles. Carefully smooth all sides of the stick and let the contact cement cure overnight. I put a heavy textbook on the stick to prevent anything from moving.
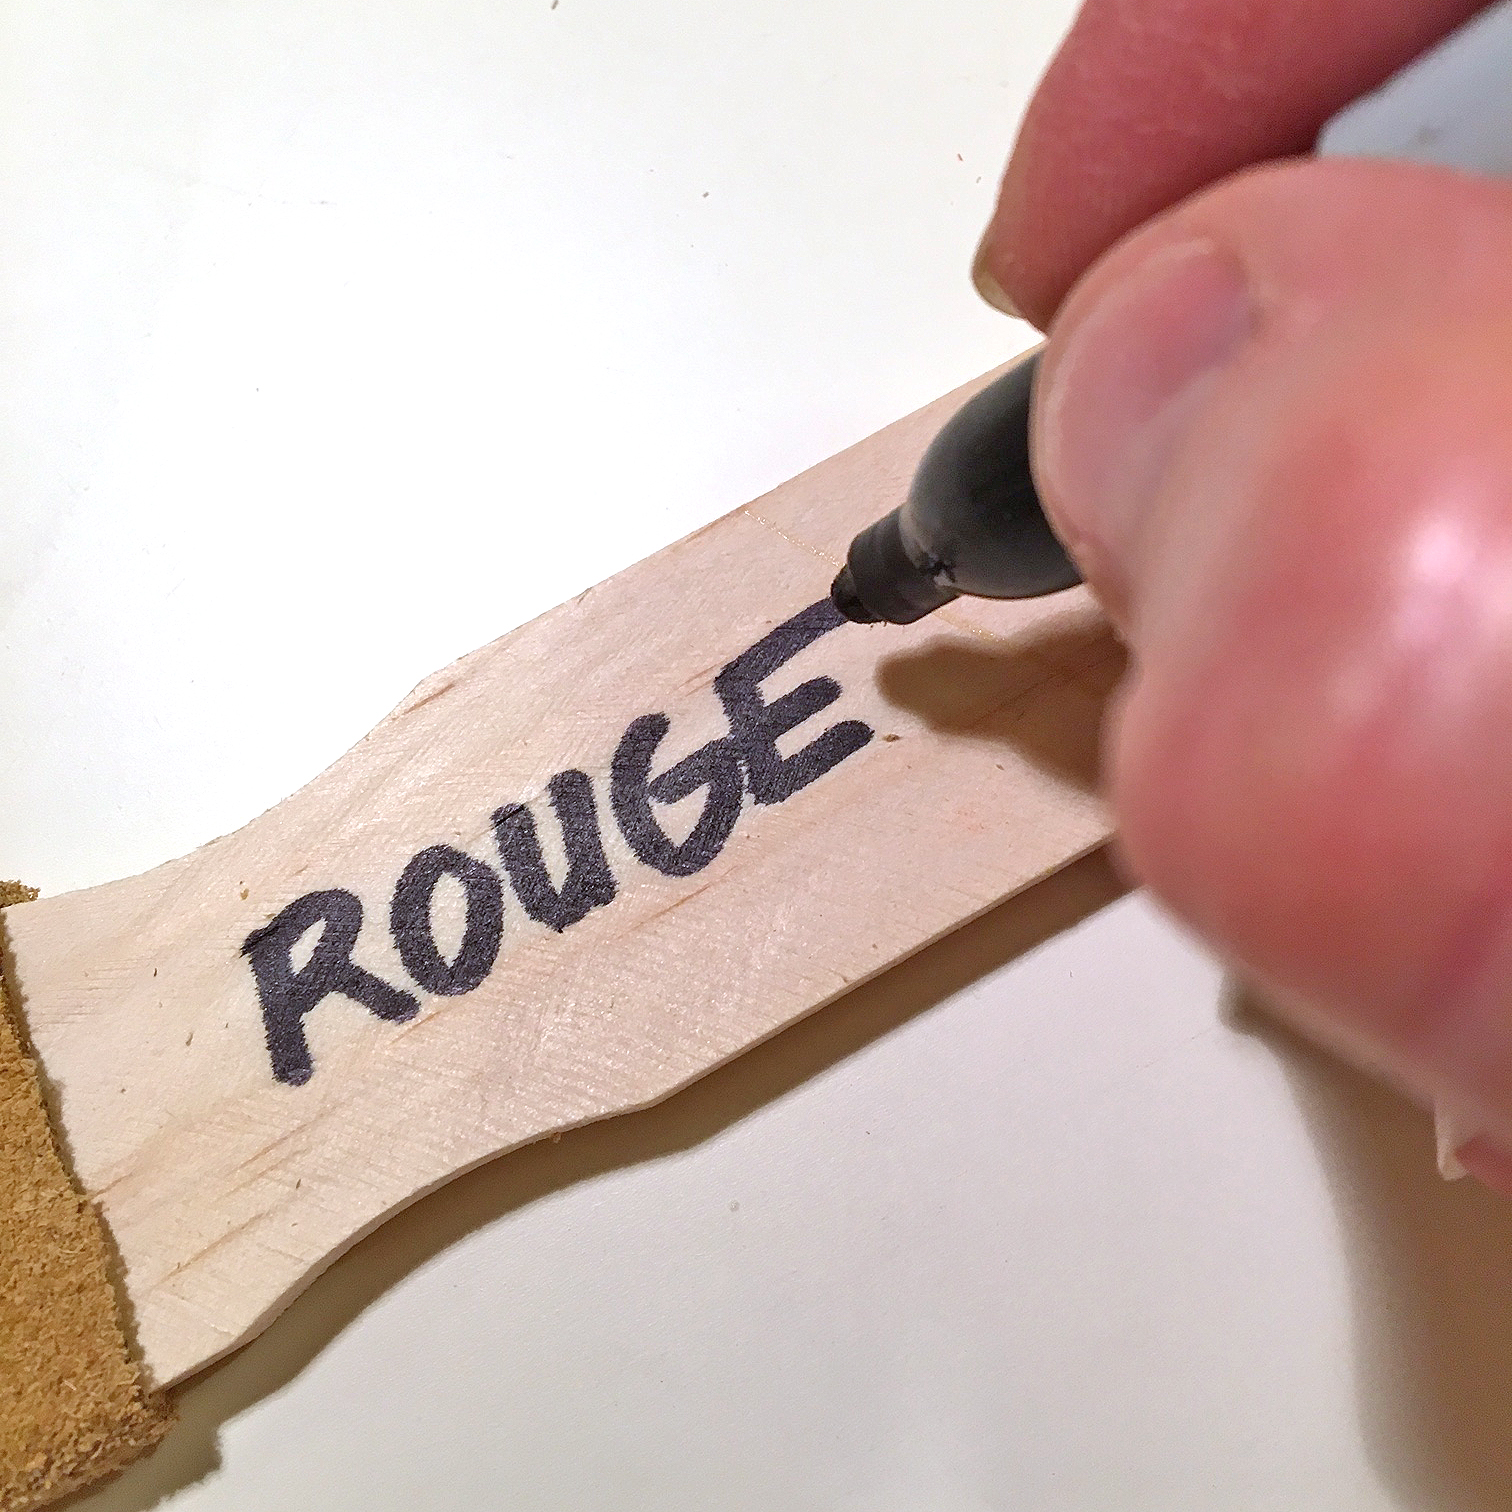
- Use a permanent marker to label the polishing stick with the compound you'll use it with.
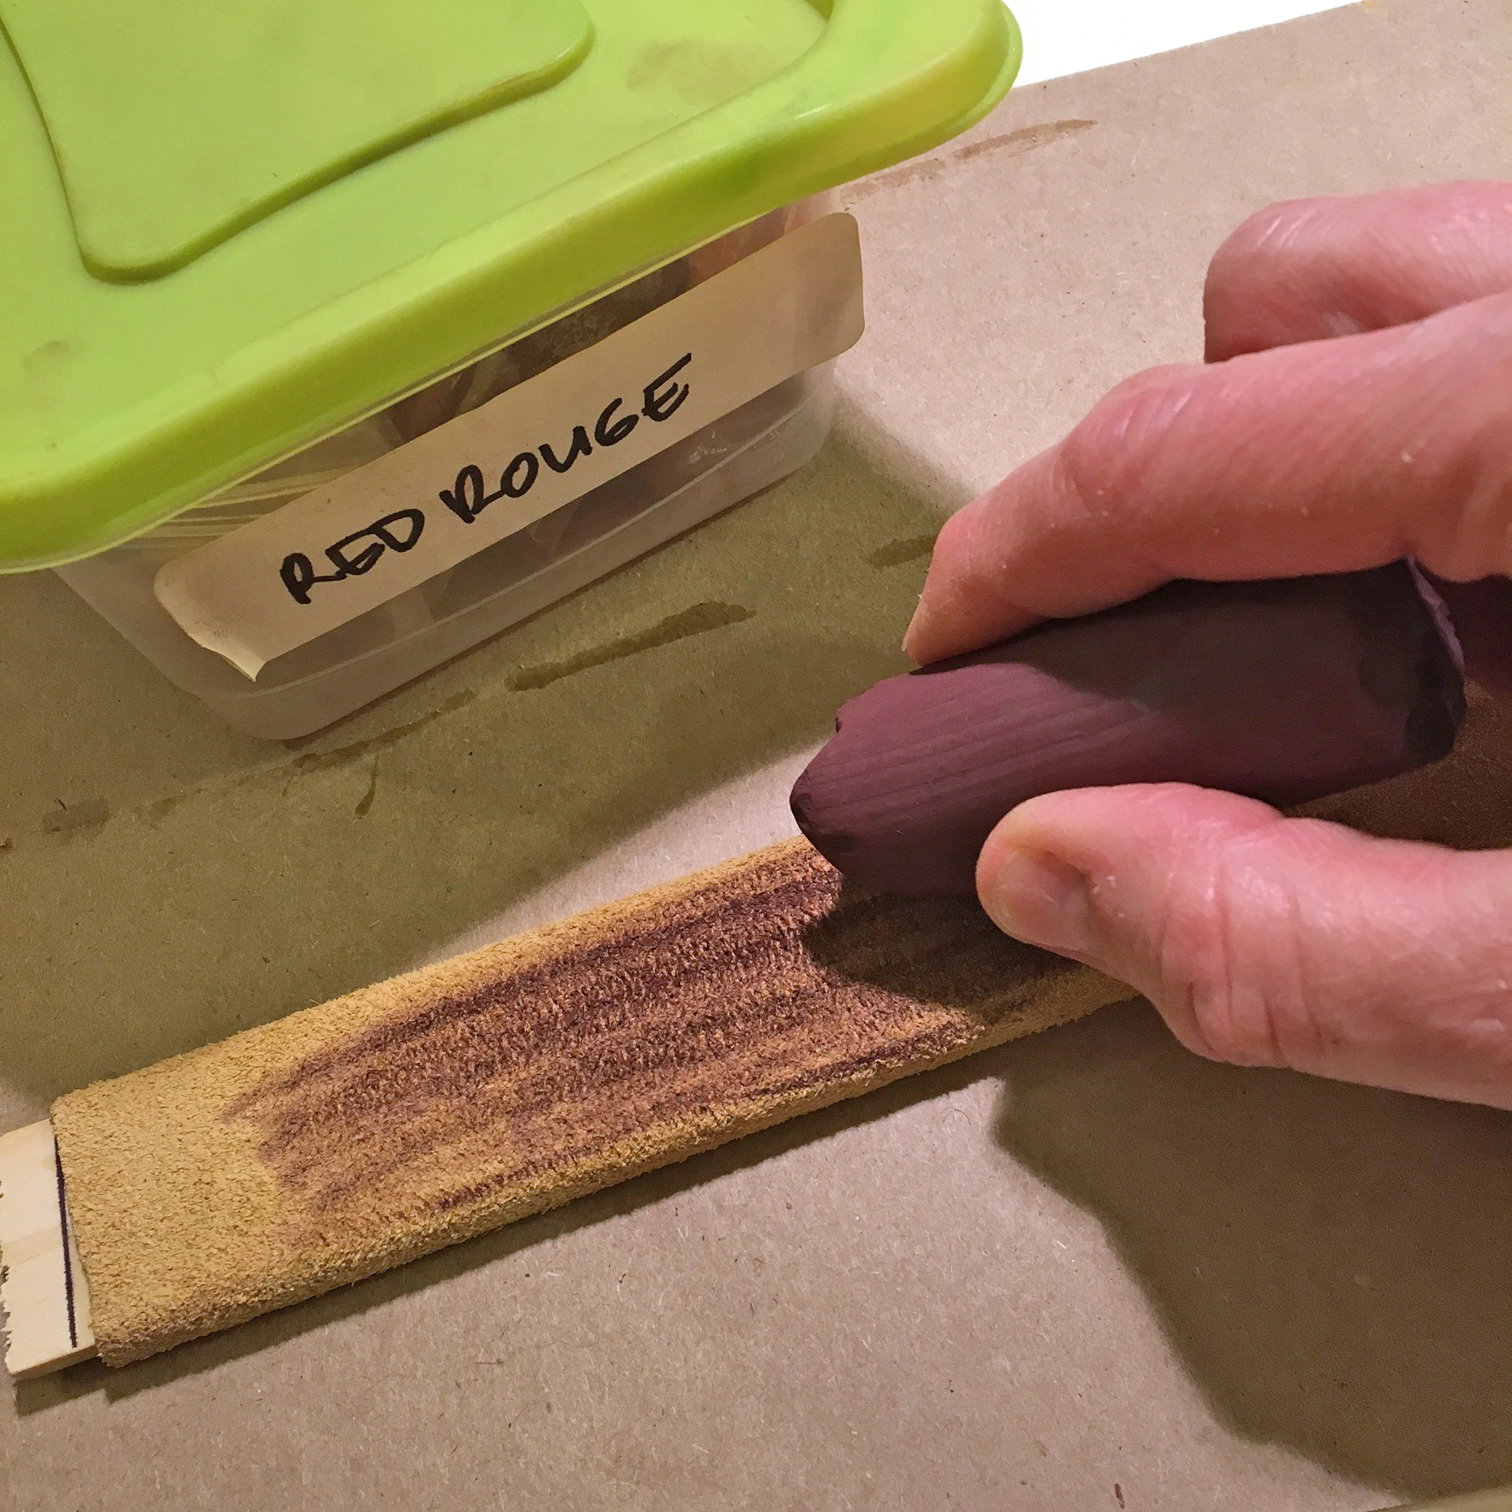
- Charge the leather on the stick with the polishing compound of your choice.

- Use the polishing stick the same way you would use a sanding stick or file—either flat on the benchtop or by holding the work in your hands. I make polishing sticks in several sizes and shapes, and find that square sticks are particularly useful for polishing silver bezels and other 90-degree angles.
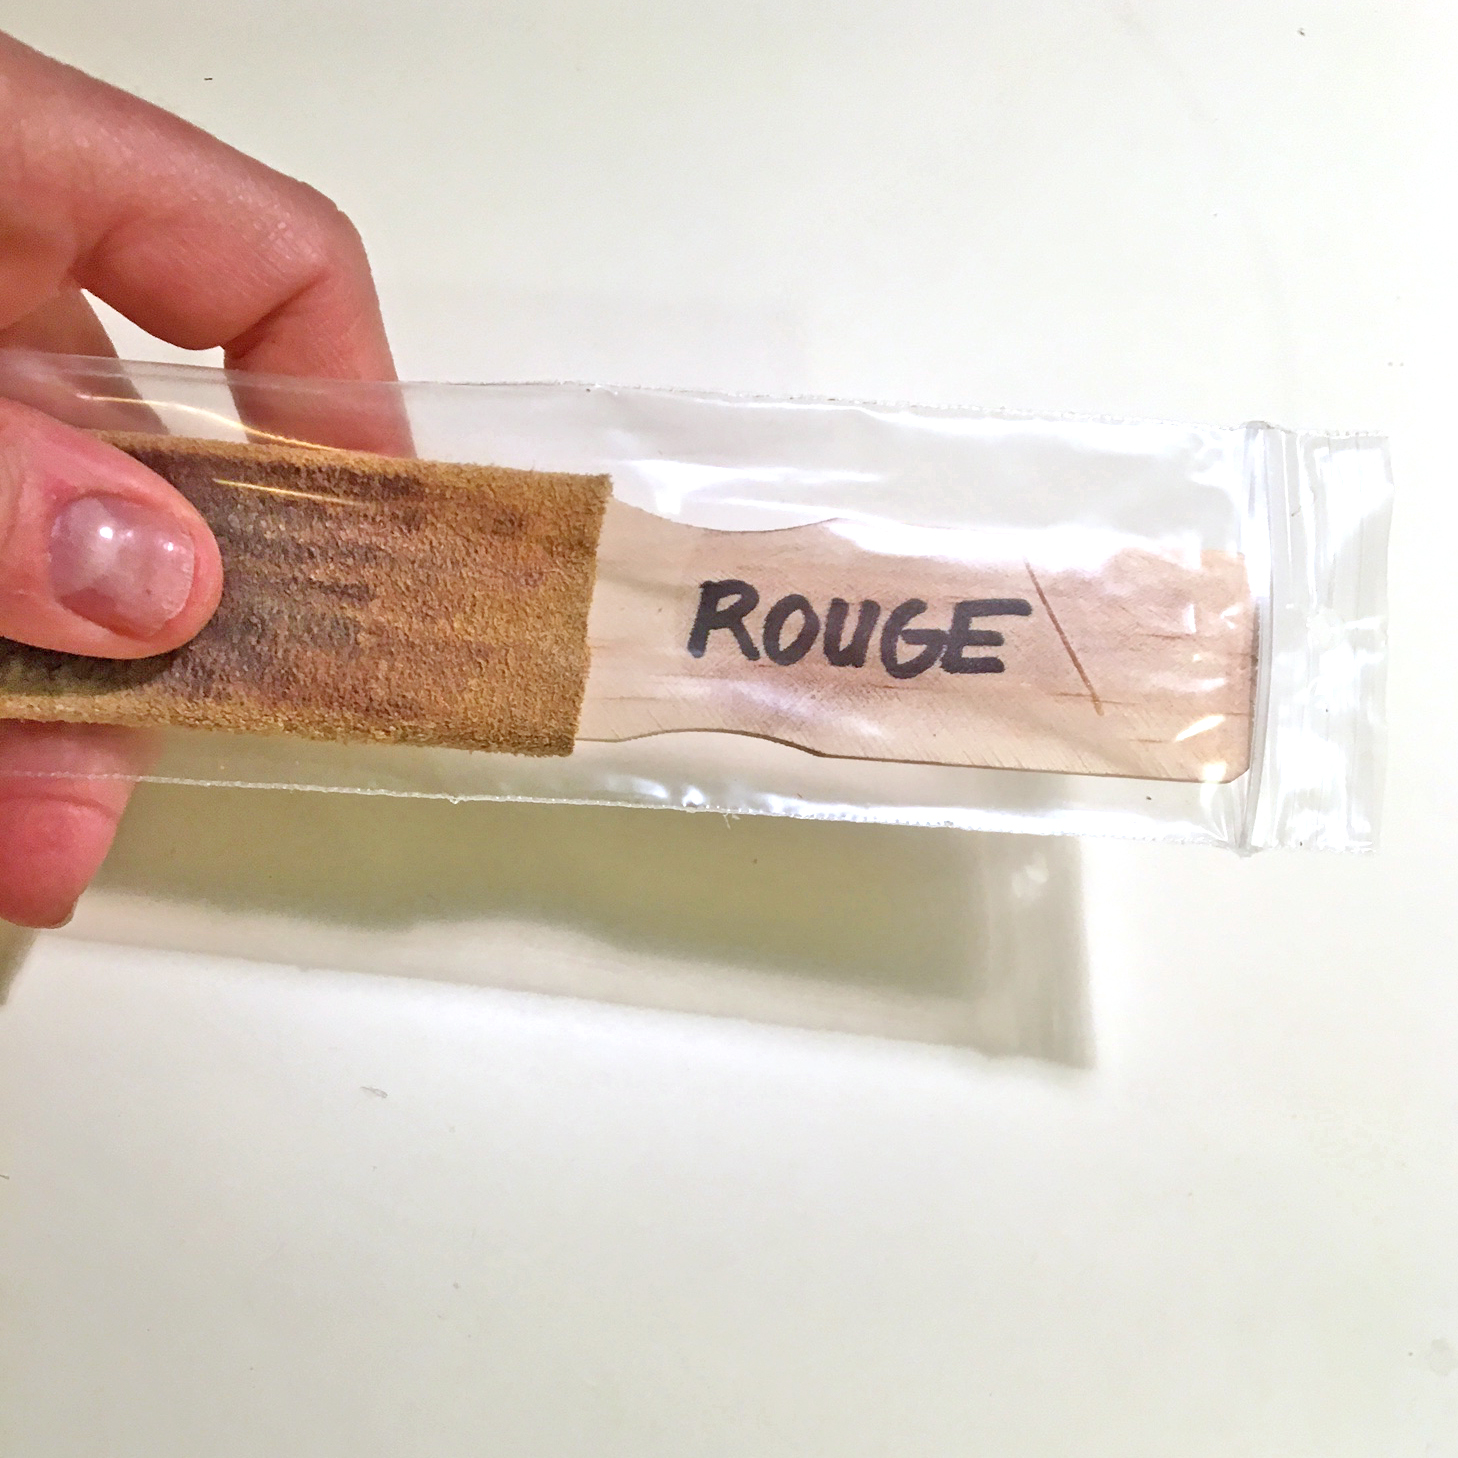
- To store your polishing sticks, keep them in sealed plastic bags sorted by their compound. As with a polishing machine, you should never mix up compounds, even on hand polishing tools.
Helen I. Driggs is an experienced metalsmith, lapidary and studio jewelry instructor, and she has appeared in six instructional jewelry technique videos. Her book, The Jewelry Maker's Field Guide, was published in 2013.
Related Articles

Flexible Shaft Tricks

Customized Light Box & Bench Shelf

Gold Alloys Using X-ray Fluorescence

Japanese Chasing Tools


The All-In-One Jewelry Making Solution At Your Fingertips
When you join the Ganoksin community, you get the tools you need to take your work to the next level.
