
Modifying Beading Tools
1 Minute Read
Modifying beading tools for clean re-tipping jobs
A colleague recently asked for my help in finding cup burs that were smaller than 008 size (0.8 mm diameter) because he had a micro-pavé re-tipping job for one of his clients. However, commercial cup bur makers stop at 0.8 mm, leaving anyone in need of something smaller on their own.
Luckily, I just happened to know a trick.
When re-tipping, you usually use a laser welder to add material to the tips. But that results in a bit of a blob shaped tip that needs to be shaped into a bead to hold the stone. You can use a standard beading tool to create the bead shape, but it will create flashing—extra metal around the bead that will need to be removed.
Traditionally this material is taken off with a graver, and that works well with larger beads where the flashing is usually better defined and can be quickly flicked off with the graver. But when you're re-tipping micro-pavé, the flashing is pushed down hard and usually extends all the way around the bead, making it a pain to cut loose with a graver.
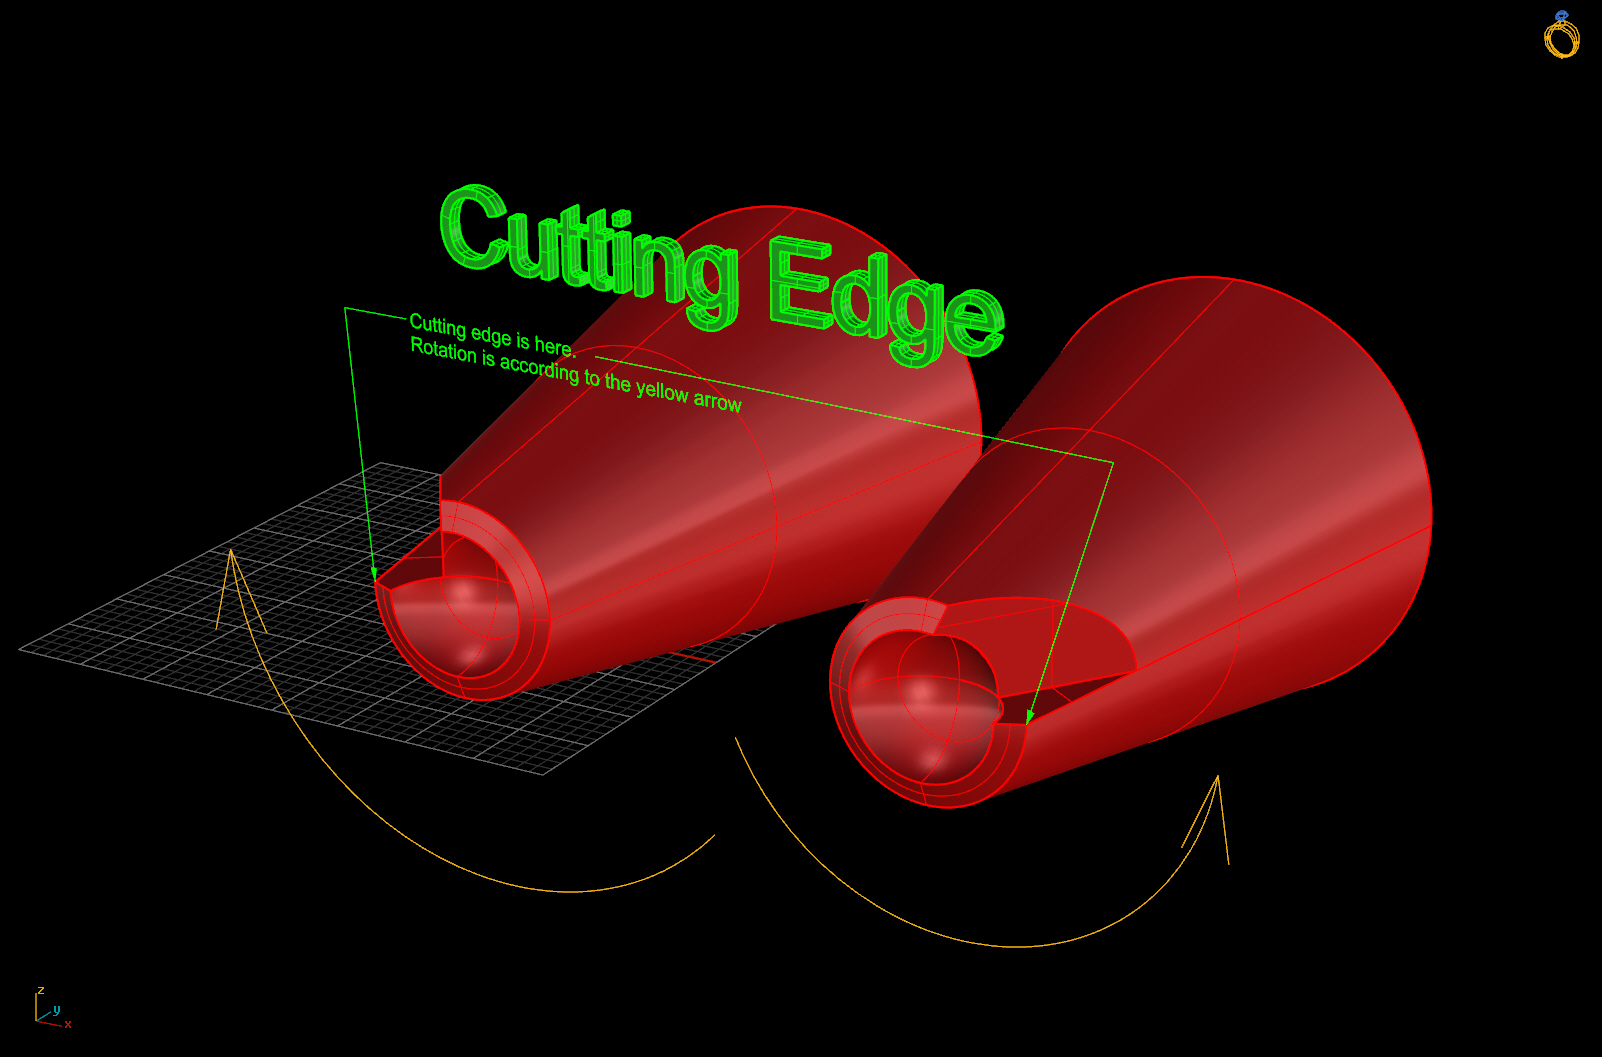
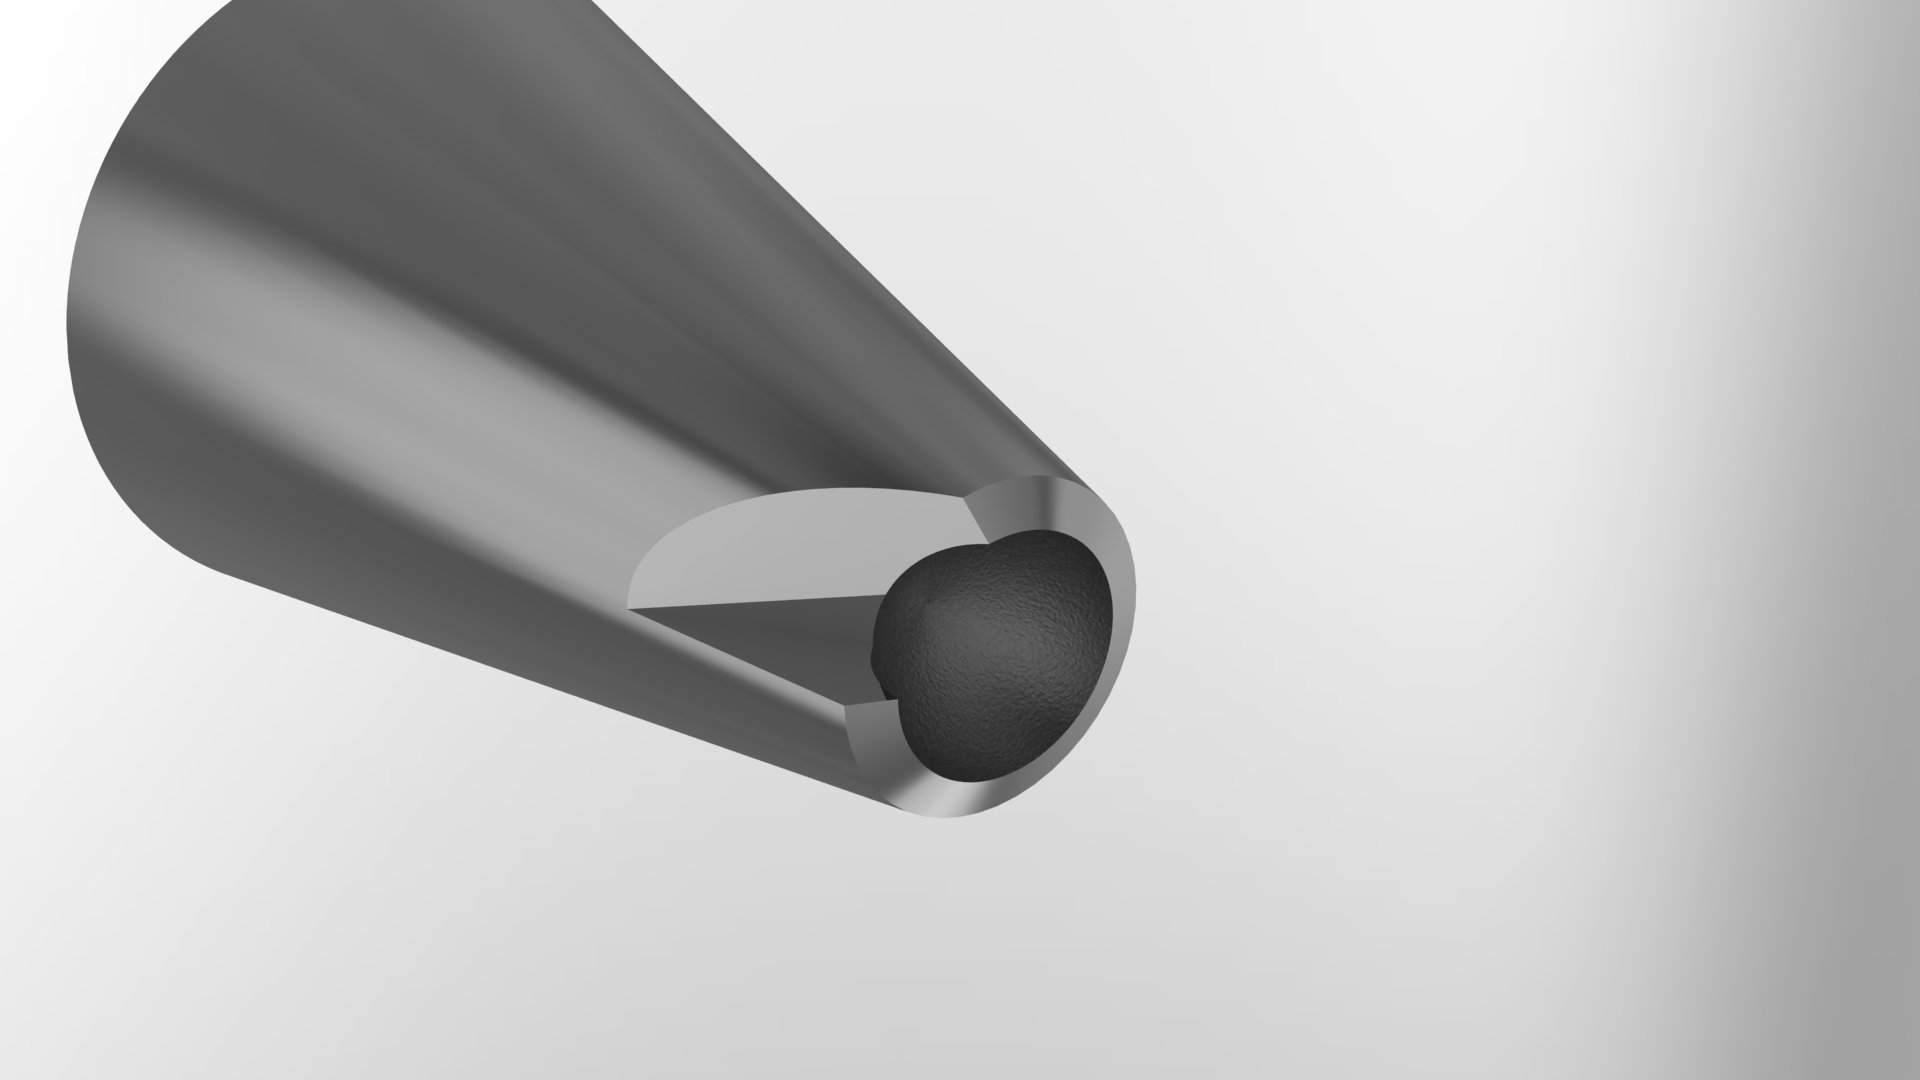
There's an easy and fast modification you can make that will let you make quick work of any bead flashing. Take a very sharp-edged diamond file and make a notch in the end of a beading tool that is the same size as the tool used to form the bead. The notch will work like a concave, single-edge end mill. One side of the notch should go from the edge of the beading tool and follow a radius line toward the center. This creates a cutting edge that is a right angle to the direction you are turning.
Although you can turn the tool in whatever direction you want, I recommend setting the tool up to cut clockwise if you're right-handed or counter-clockwise if you're left-handed. To create the notch for cutting clockwise, remove metal to the right side of the radius; to cut counter-clockwise, remove material from the left side of the radius.
Now, with just a couple of rotations of the modified beading tool, you'll be able to cut the flashing off of beads in a flash.
Related Articles

How to Customize Short Insulated Tweezers

Customized Robo Grip Pliers

The Art of Tool Making

Tool Alterations


The All-In-One Jewelry Making Solution At Your Fingertips
When you join the Ganoksin community, you get the tools you need to take your work to the next level.
