
Make Your Own Jewelry Displays
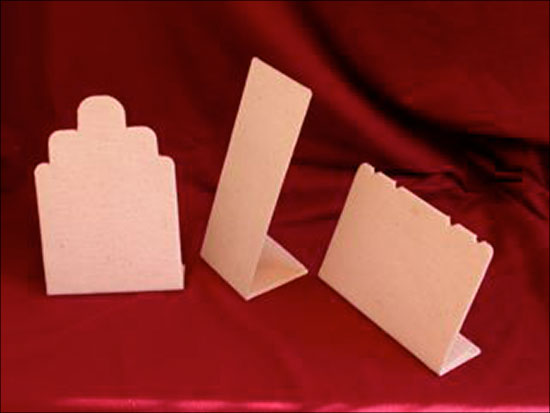
Here are some photos of jewelry displays I have made. Bend galvanized sheet metal to make an acute sort of "L" shape, and round the corners a bit with heavy tin snips. Felt will be placed on the front, trimmed to a size just about 5 mm bigger than the metal edges, and then the display will be covered with fabric, in this case a linen-looking cotton in bone white. Fabric with a rough weave or a bit of fuzz is good, so it won't show pin holes in the future when you move jewelry around.
1 Minute Read
Here are some photos of jewelry displays I have made. Bend galvanized sheet metal to make an acute sort of "L" shape, and round the corners a bit with heavy tin snips. Felt will be placed on the front, trimmed to a size just about 5 mm bigger than the metal edges, and then the display will be covered with fabric, in this case a linen-looking cotton in bone white. Fabric with a rough weave or a bit of fuzz is good, so it won't show pin holes in the future when you move jewelry around.
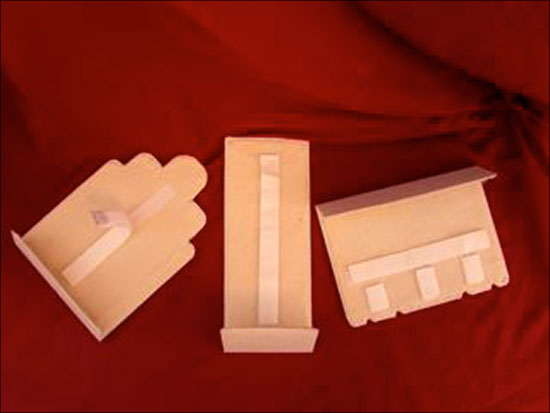
To cover your displays, spray the back of the fabric with spray adhesive, place the felt padding on it, and place the display face down on it. The corners are tricky to do nicely, so I have included a page of instructions. (I learned the corner-covering technique from a bookbinder.) After gluing the fabric cover on, cover the back with felt or paper, and perhaps add stick-on velcro strips to help position chains. Since the felt underlayment is not glued to the board, it can receive U-shaped jewelry pins very well.
These displays, if the feet are all bent at the same angle, stack well for transport. If I want to leave the jewelry fastened to them, I make slipcovers for each one with bubblewrap and tape.
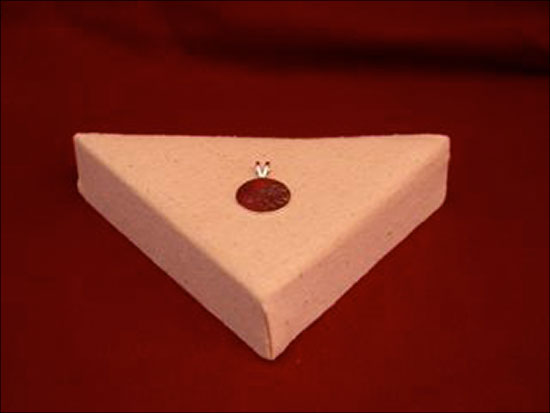
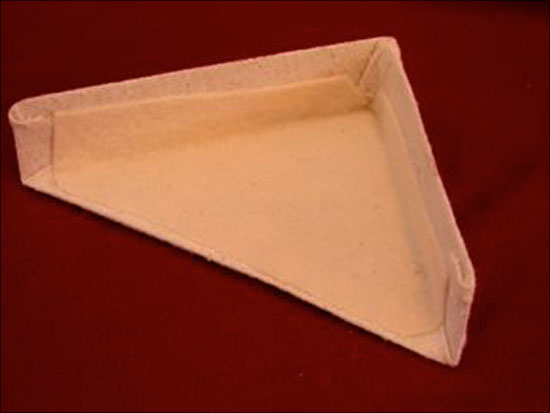
Of course the displays can be made to absolutely any size you like, and can be curved or bent into just the shapes you want. If you want flat displays instead of "L" shaped, you can use corrugated cardboard or mat board as the backing. Look at your transport containers to see how you choose to use that space, before you start making anything.
This system is low-cost, stackable, and easy to make. I like the way it looks, and the fact that I can always recover it with new fabric when it gets shopworn or I just need a color change. I made a large set of it in a day or two.
Related Articles

Art Transportation Packing Methods

The Art of Individual Packaging

Displaying Watches and Jewelry

Display & Packaging


The All-In-One Jewelry Making Solution At Your Fingertips
When you join the Ganoksin community, you get the tools you need to take your work to the next level.
