
How to Create a Basic Link Chain
3 Minute Read
Making a simple or basic link chain to display your pendant designs is a great way to add further value to your work, and it can be a fairly easy process. When I make my own chain, I like to use 16 gauge (1.3 mm in diameter) wire. This gauge of wire makes a good medium weight chain that can be used for a necklace or a bracelet. Regardless of the wire gauge you choose, I recommend starting with dead soft wire. Most suppliers will provide it this way by request. If not, then you will need to anneal it before you start.
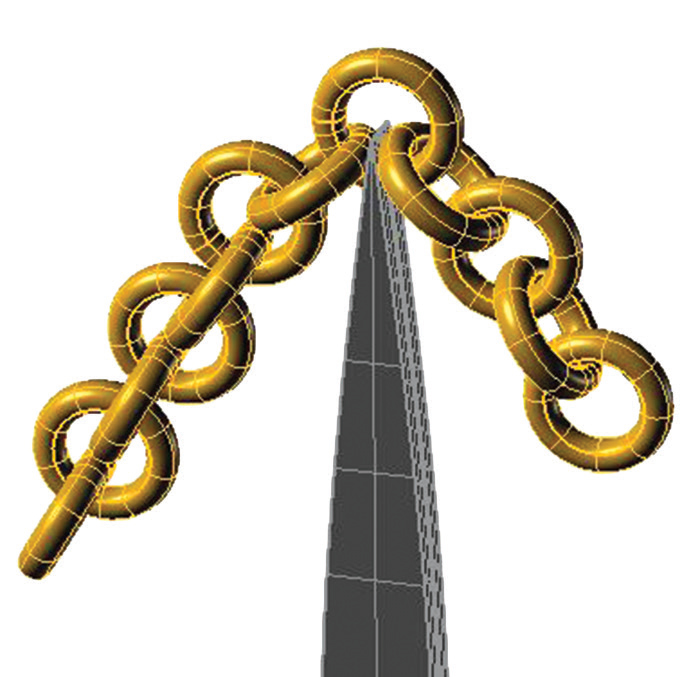
In addition to wire, you'll also need a metal mandrel or rod to shape the wire around. While you can use any metal, brass rods are easy to find at hobby shops. The diameter of the rod you use will determine the size of the links; the bigger the rod you use, the bigger the links will be. For this project, I am using a 4 mm rod to create a nice cable chain.
Creating a Basic Link ChainSkill Level Beginner | |
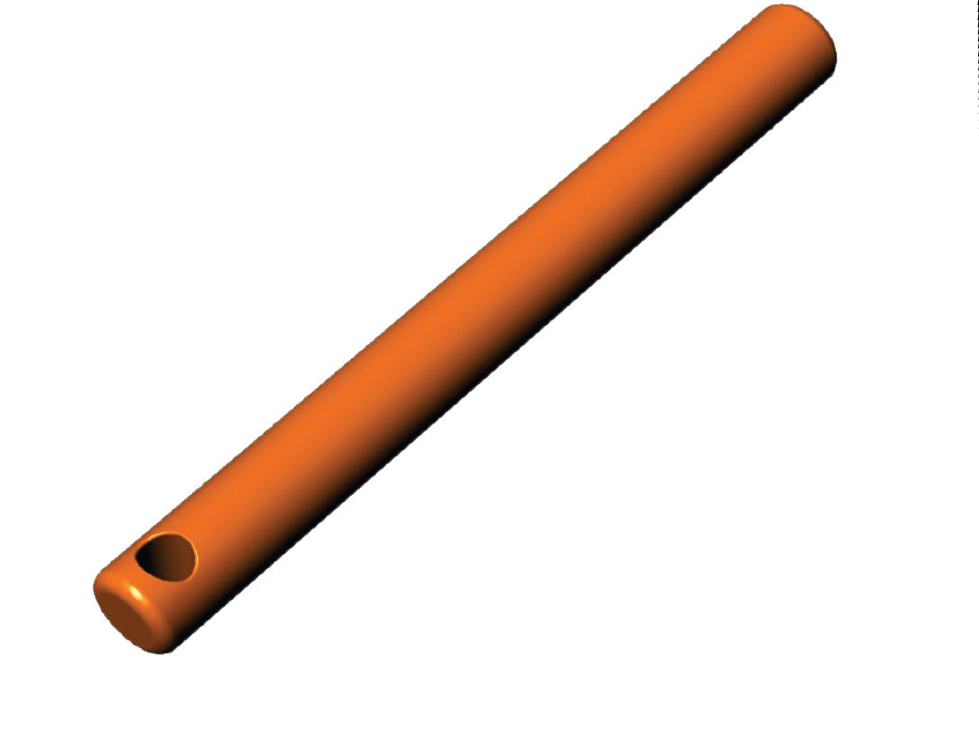 | Cut the rod to about 3 inches and drill a hole in the end that is just larger than the diameter of the wire you are using. |
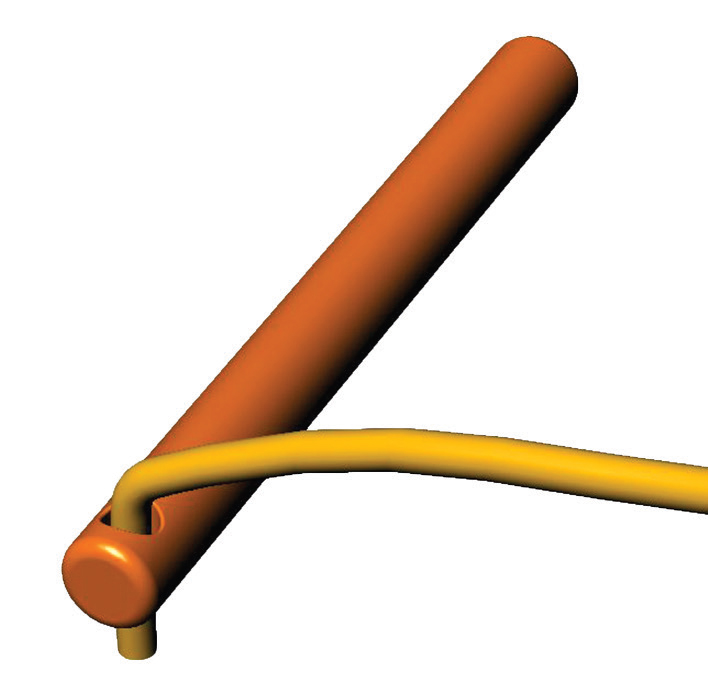 | Feed the wire through the hole in the rod and crimp it over about 90 degrees. This should keep the wire from slipping out of the rod when you spin it. |
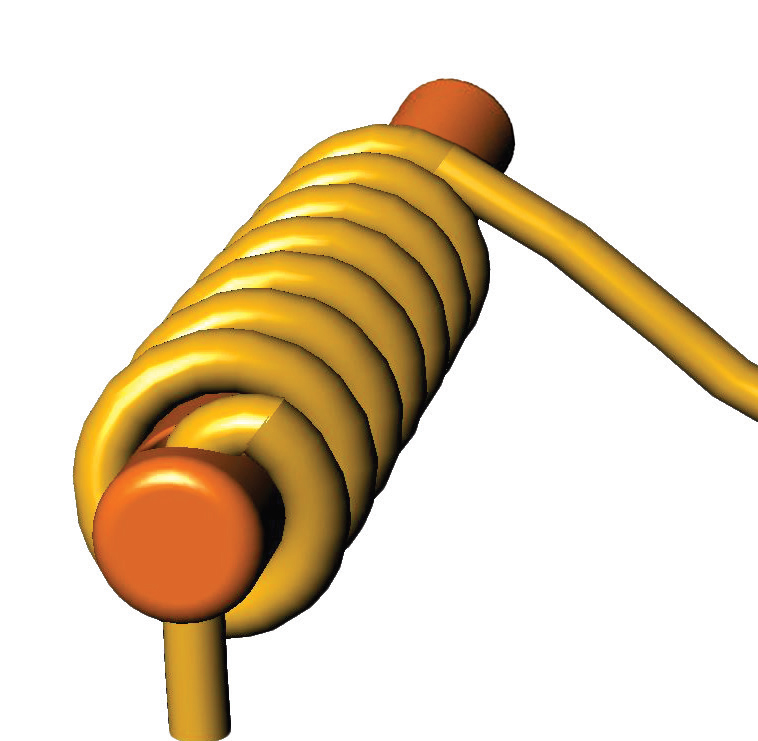 | Spin the rod slowly while holding the end of the wire tight so as to create a coil on the rod. You should turn the rod by hand until you get comfortable with the process. We chuck the rod into a power drill and have one person operate the drill very slowly while the other person feeds the wire, keeping tension on the wire. Aim to make the coil as tight as possible, with each newly formed ring lying tightly against the others. This will give you a consistent link size and shape. |
 | Cut the coil into jump rings. I find the easiest way is to use an ultra thin separating disc on a flex-shaft or micromotor. Start cutting at the end away from the hole in the rod where you started. |
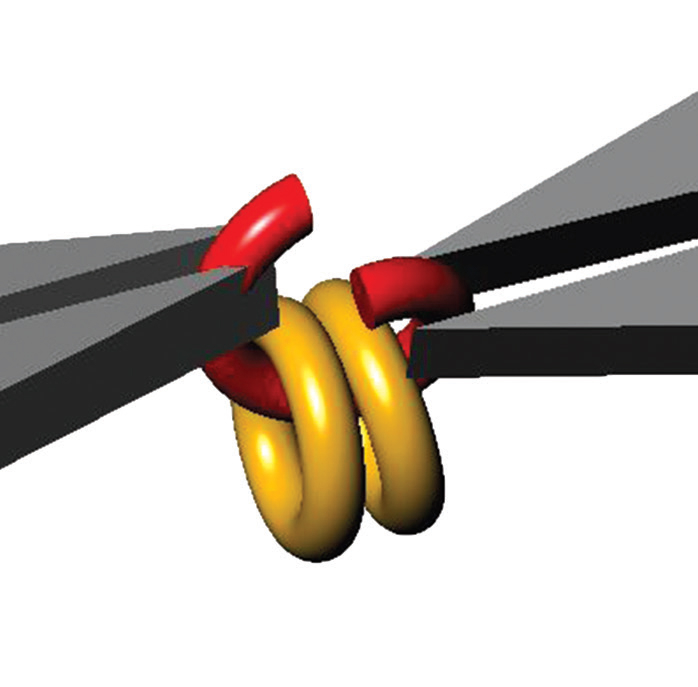 | Twist the rings closed with two pairs of flat-nosed pliers. The first few you can do alone, then you need to start linking the rings together to begin forming your chain. |
 | Solder each link with hard solder. I like to hold them up in the air with a third hand so the heat disperses evenly over the link. Solder them one at a time, making sure not to allow solder to flow on to other links, which would freeze them and cause you to have to discard all. |
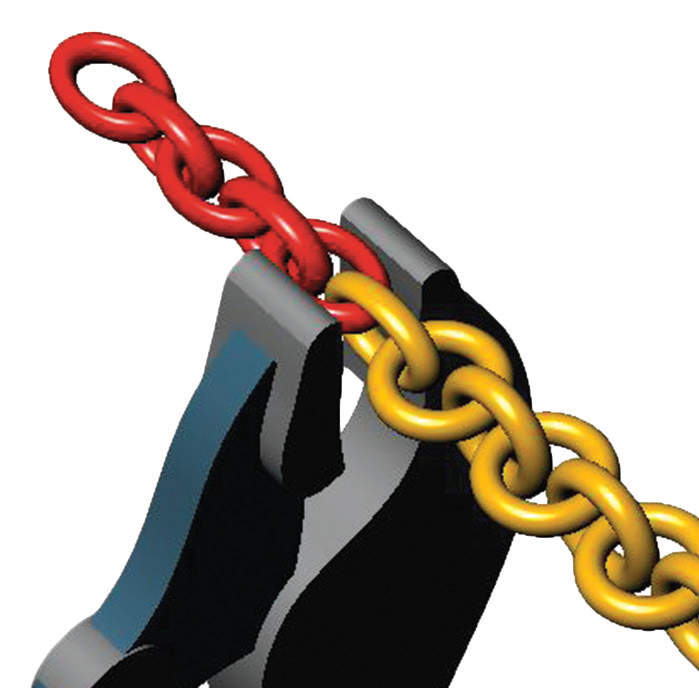 | Continue creating and soldering links until the chain is the desired length. Once the entire chain is soldered and cleaned, you can alter the links to suit your aesthetic. In this case, we used a pair of vice grips to make the links oval, which also elongated the chain. Vice grips are perfect for this activity because by adjusting the back screw you can set the distance the jaw closes, allowing you to make sure each link is shaped the exact same amount. When the chain is complete, it's time to polish the links. Be aware that polishing a chain with a motorized wheel is very dangerous, and can cause harm to you and others in your shop (not to mention destroy your new chain). I recommend polishing the chain in a magnetic tumbler. If one is unavailable, you can use a polishing wheel but first secure the chain to a leather strap to stabilize it. Polish one side of the chain, and then turn it over on the strap and polish the other side. |
Joel McFadden is a third-generation jeweler and he currently is the owner of The Art of Jewelry by Joel McFadden, a custom design jewelry boutique in Red Bank, New Jersey.
![]()
In association with
![]()
The award-winning Journal is published monthly by MJSA, the trade association for professional jewelry makers, designers, and related suppliers. It offers design ideas, fabrication and production techniques, bench tips, business and marketing insights, and trend and technology updates—the information crucial for business success. “More than other publications, MJSA Journal is oriented toward people like me: those trying to earn a living by designing and making jewelry,” says Jim Binnion of James Binnion Metal Arts.
Click here to read our latest articles
Click here to get a FREE four-month trial subscription.
Related Articles
Chain Repair Paste Solder Method
Special Repair Work

Chain & Findings

Curb and Cable Chains Project


The All-In-One Jewelry Making Solution At Your Fingertips
When you join the Ganoksin community, you get the tools you need to take your work to the next level.

