
How to Repair a Hollow Rope Chain
3 Minute Read
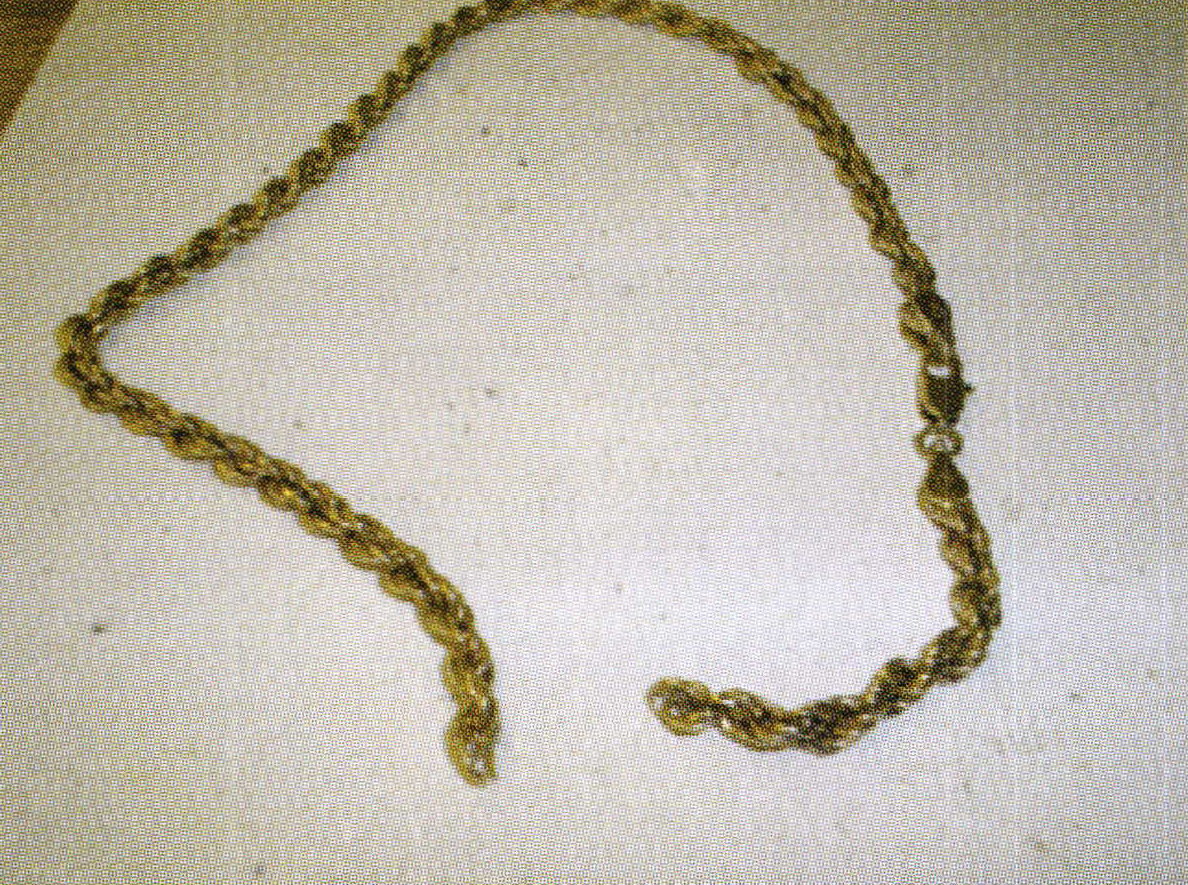
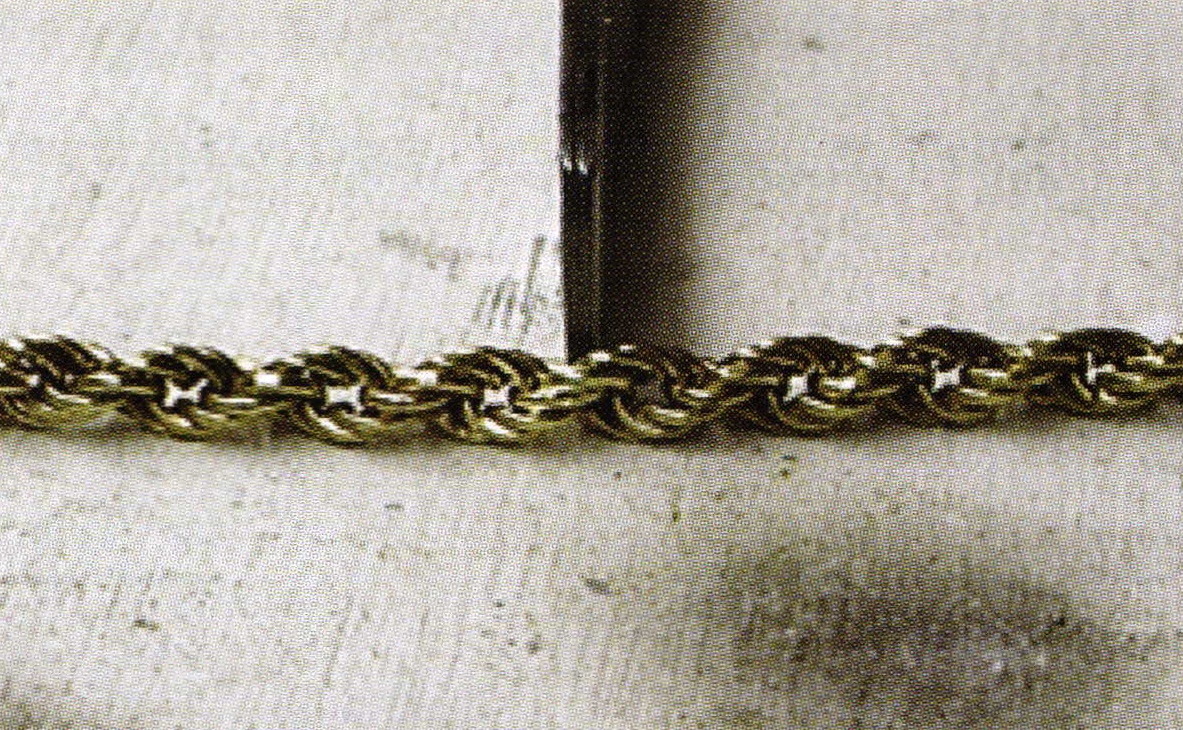
I took in a broken hollow rope chain bracelet for repair this week. The bracelet had caught on a desk drawer and broke. I didn't think it presented any special problems (outside of being hollow) until I looked further and noticed a couple of previous repairs that had been done by another jeweler.
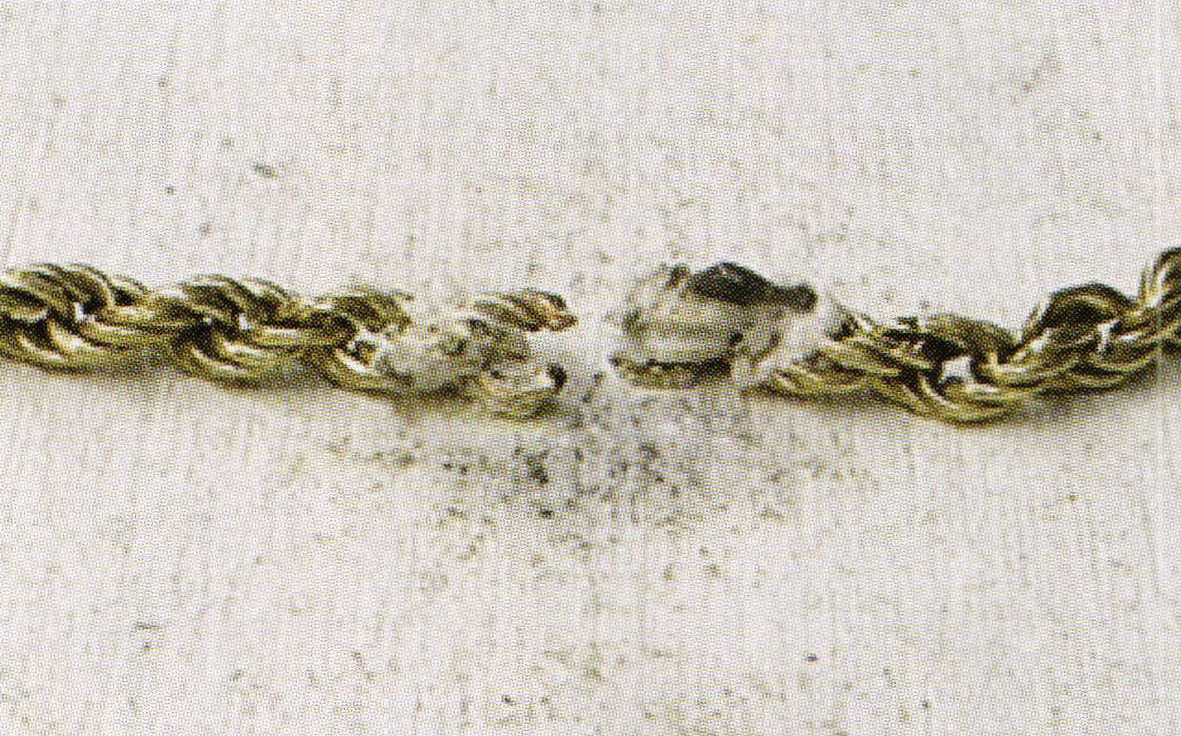
In the photos you can see that the chain doesn't line up properly and there are huge globs of solder everywhere. These were not exactly invisible repairs.
It seemed like such a simple repair, that I almost didn't give it another thought. It was here that it occurred to me that twenty years ago I couldn't have repaired it any better than whoever did the previous two repairs. I struggled with rope chains for over a decade before I finally figured out this method and the tools to use for reweaving them.

The first thing I'm going to do is remove all of the broken ends. I use a pair of end cutters and snip away all of the bad links until I get two clean ends.

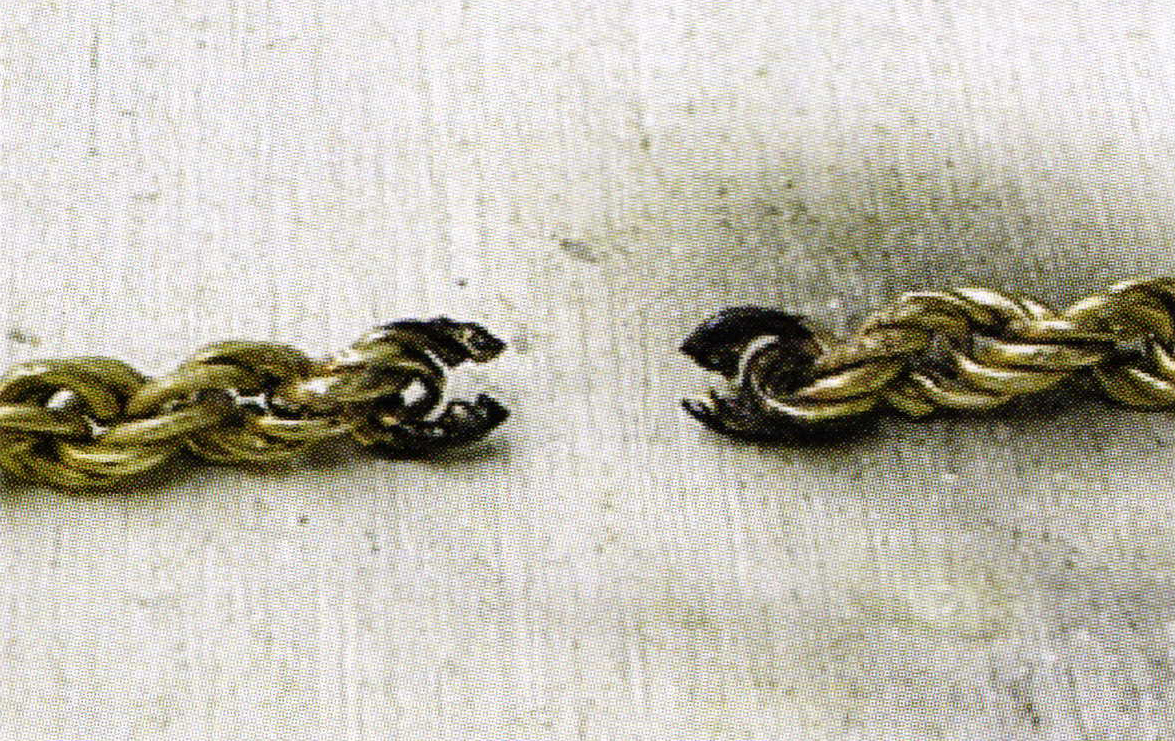
Next l take a small pair of snips and cut a small section out of the ends. Sometimes I'll use a cut off disk and saw through the ends of the chain. The photo shows I created about a half millimeter gap in the ends of the chain.
Right here, most jewelers would try to weave the two halves together and try to solder. Try this instead. Go ahead and coat it in boric acid a few times and then apply green flux. Since the flux bubbles up when you heat it, it tends to make the lightweight pieces of chain move in all directions. Here's the trick. Go ahead and heat the two ends up and let the flux do its thing.
The photo shows how the flux expands and bubbles, causing the chain to move in several directions. After a few seconds it will quit expanding and settle down to just a coating on the chain. Once it's cool enough to touch, rub it between your fingers and break the bond of the flux between the joints and make the chain flexible again. Some of the flux will fall off, but not enough to affect the soldering.
If you do this repair correctly, the broken joint will get lost in the chain, making it difficult to find your soldering point. I like to take a sharpie marker and liberally paint the two ends I'm joining together. This helps me keep track of where my work is in relation to the rest of the chain.
Now I carefully weave the two halves together and tack one side. I don't want to completely solder it yet because the heat will burn my sharpie mark off the other side and I'll have to spend 10 minutes looking for it. The photo shows how I just tacked the two pieces together. Once I've located my repair on the second side, I go ahead and flow my solder completely between the two broken chain halves. Now I go back to the first side and finish flowing the solder.
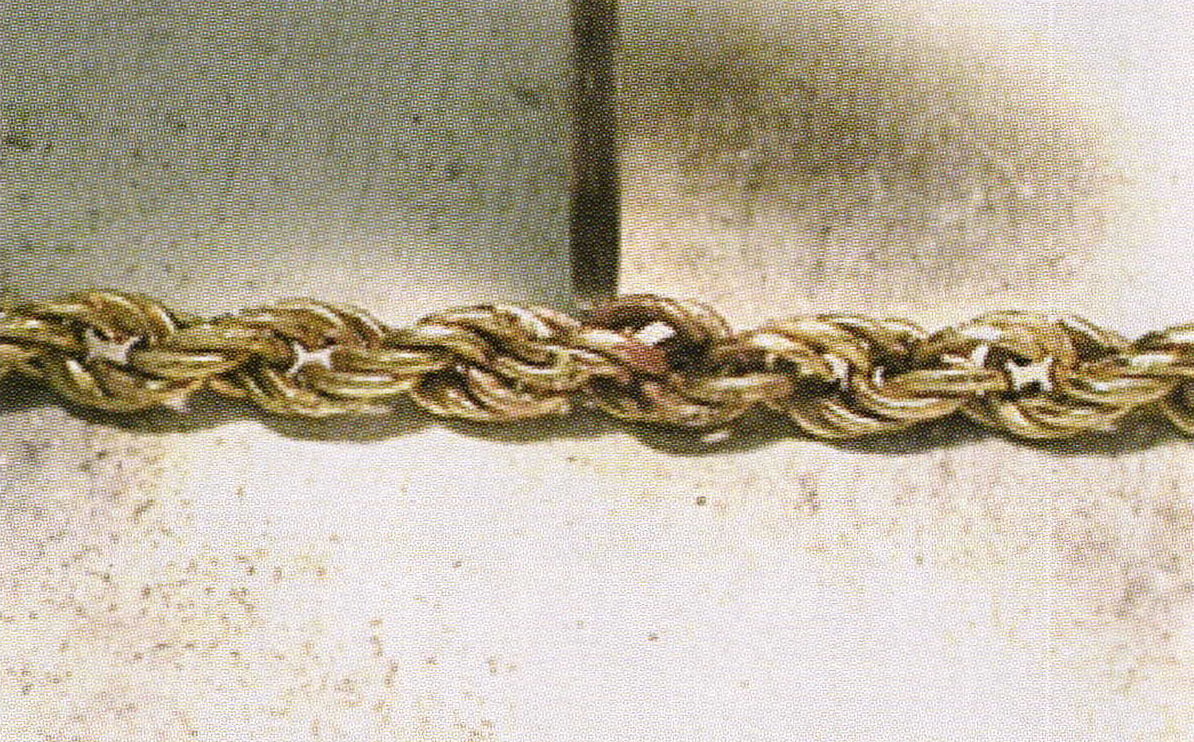
I pickle the solder joint and check my work to make sure I'm happy with it. Now, trick number two. Since the solder joint hasn't been polished yet, I note where my repair is in relation to the clasp. My repair is on the lobster claw side, 65mm from the end. Once I start to polish the bracelet, my repair disappears into the piece. As the photo shows, it is virtually invisible to see, so I like to make a mental note of the exact location to make sure I clean and polish my work.
And that my friends, is how to fix a rope chain! I hope it helps. Till next time…
Related Articles
Plique-a-Jour Russian Soldering Method

Debunking a Soldering Myth 1

Laser Platinum Fabrication

Tips on How to Master Soldering


The All-In-One Jewelry Making Solution At Your Fingertips
When you join the Ganoksin community, you get the tools you need to take your work to the next level.
