Metalsmithing 102: Make a Silver Bezel Ring
Article: Two Successful Stone Setting Tips
Ask any experienced jeweler, and they'll tell you: it takes stones to become a gem setter. You literally have to put hundreds of stones in their place, time and time again, to be able to reach a point of consistent quality.
Along the way, as with any aspect of jewelry creation, that repetition leads to finding personalized tweaks to accepted setting practices, the occasional short cut, and new ways to refine and streamline how things get done.
Sometimes, you might even share them.
We asked a handful of jewelers for their tips, best practices, and solid advice on a number of stone-setting types. Gary Dawson, owner of Gary Dawson Designs in Eugene, Oregon, starts us off with a bit of wisdom to keep in mind for any setting job: "Treat every gem like its own setting job. No matter how standardized each situation seems, it's always different. And if you approach it that way, you'll have consistently better results."
Now on to the tips.
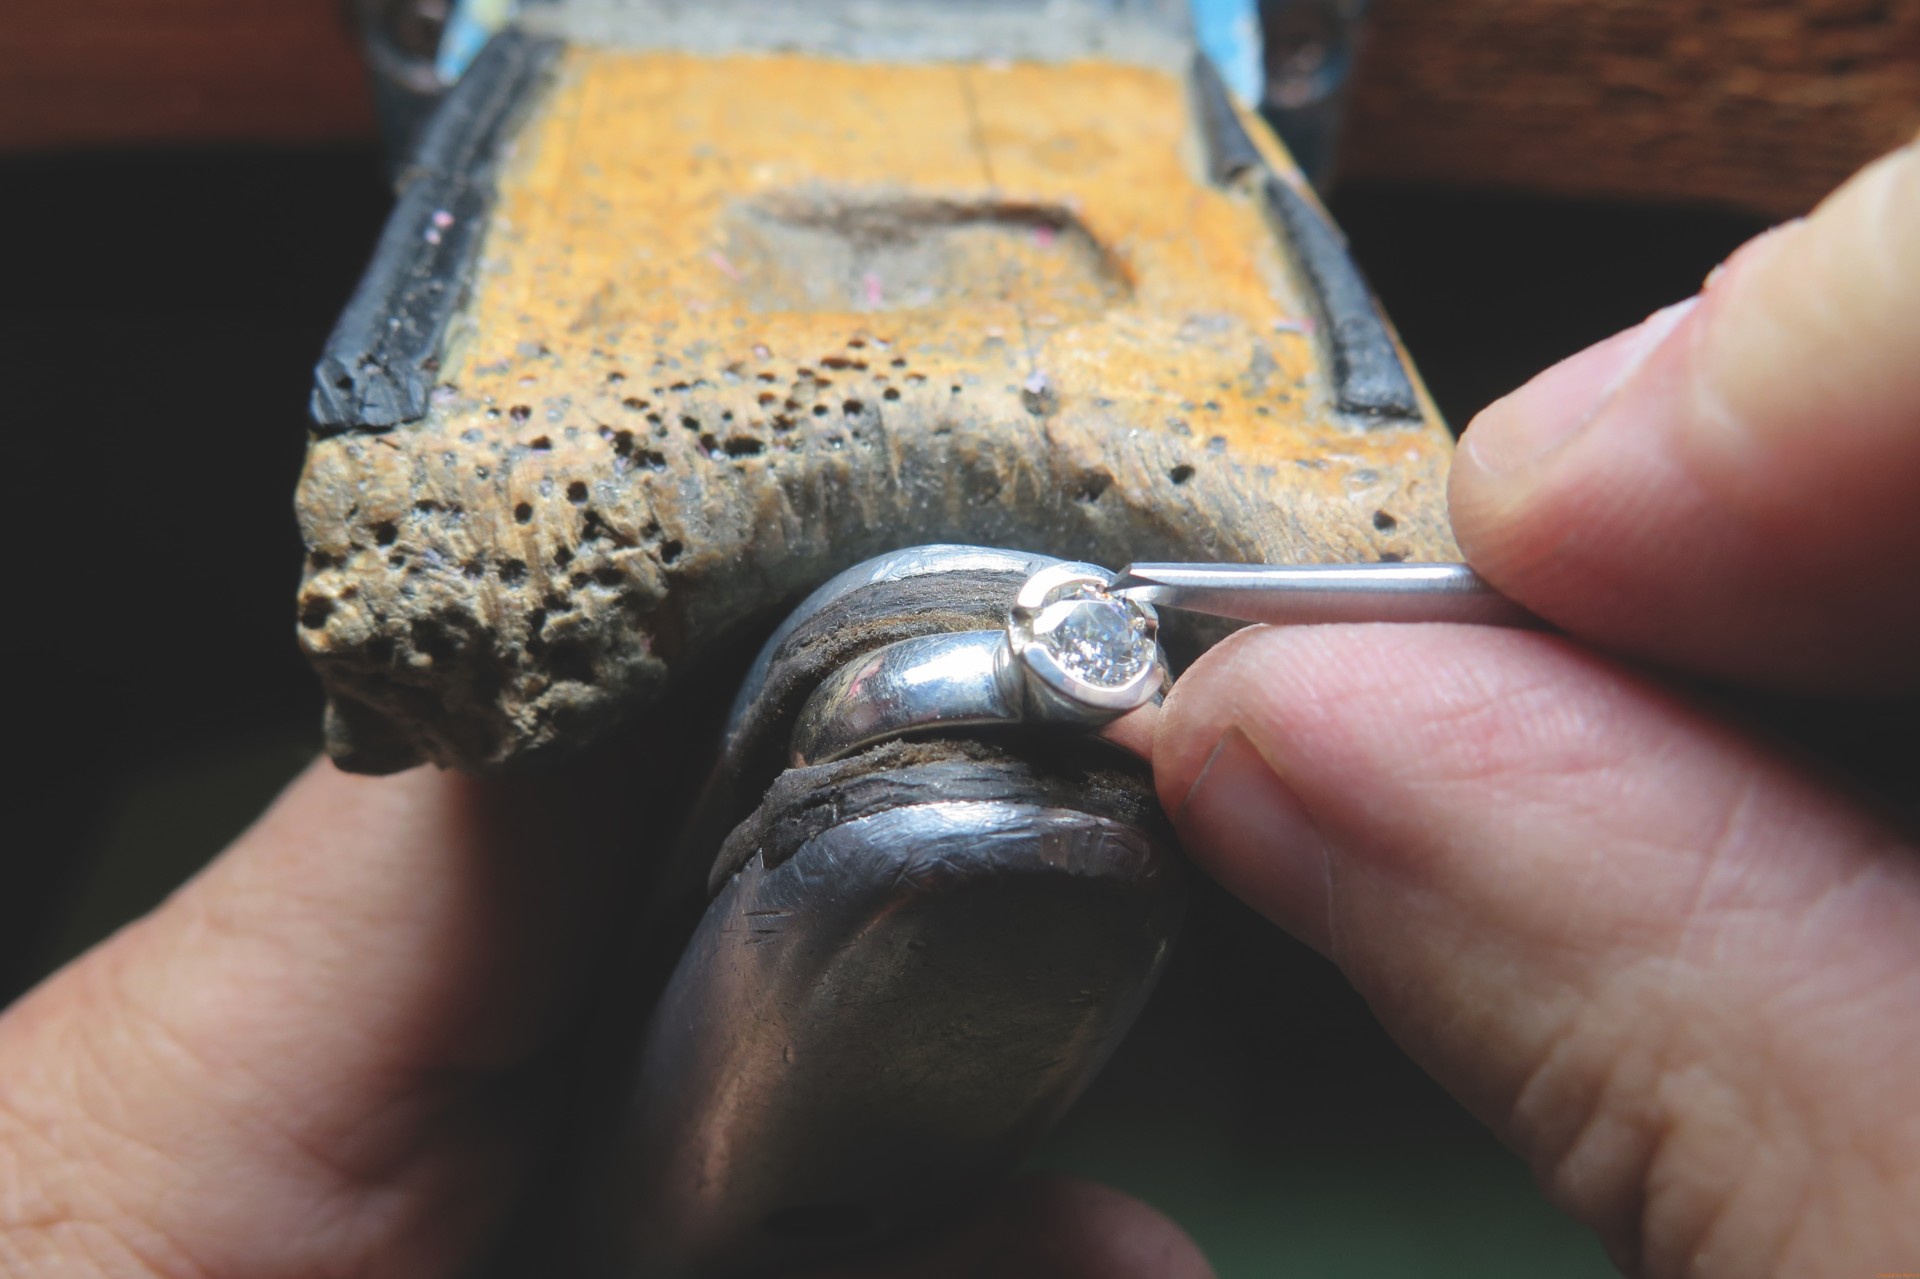
Bezel Setting
When it comes to bezels, David Phelps, owner of John David Jewelers in Durham, North Carolina, has an interesting take on stone setting. According to him, almost all setting is a variation of bezel setting. "It's just a matter of how many points of contact there are and how wide they are," he suggests. Whether it's an actual bezel, prongs, or a channel, a stone gets placed between areas of metal, and the metal is bent around it. There are, of course, bezel-specific tips.
Gerry Lewy, a master gem setter and instructor from Toronto, is a big proponent of bright cutting bezels—but not the way some may do it. "I find it unusual that many setters do not bother to use a simple graver to bright cut a bezel setting," he says. "If a bezel is going to overlap parts of the stone, you have to bright cut it to give it more brilliance and visually give back what's covering the stone."
His tool of choice is a number one or two onglette graver, highly polished with an 800 grit paper. Bright cutting with this after the stone is set allows him to work with very little contact with the stone. "The very sharp side of this tool is basically just gliding over the soft stone-facets, but not digging into them," he says. "I stop and [check with a] loupe just to examine where the actual cutting is taking place. I could bright cut on a genuine emerald [with this tool] and have no chance of chipping any facets," he says. He adds that he prefers not to use a flat graver, as that tool tends to leave rippled cutting facets around the inside of the bezel.
Not comfortable with the graver? No problem. Ann Cahoon, a jewelry making and repair instructor at North Bennet Street School in Boston, offers her own graver-free tip: "Pre-finishing the top of your bezel to 800 to 1000 grit, and keeping to a slightly shallower seat depth, minimizes the need for heavy graver use on the inside edge of a set bezel. Sometimes this makes it possible to eliminate it altogether and replace it with a burnishing step, especially in thinner-walled bezels that don't require hammer setting."
"Changing the angle of the pressure is really important with any bezel," says Dawson. He begins with just enough to hold the gem in place, then begins folding the metal in toward the stone. "Visualize a cross section of a piece being set in a bezel. You begin [applying pressure] at about 45 degrees. Once you've done that all the way around the stone, you change the angle of attack to maybe slightly less than 90 degrees. Then you want to push the bezel back the other direction to lock it down." Finally, he says, come at it from about 100 to 115 degrees to bring that lip of metal right up against the girdle cuts. Do that all around, then clean it up with a graver.
A tip offered by both Dawson and Phelps (and which applies to many forms of setting) centered around the analogy of tightening lug nuts when you change a car tire. When you're putting the tire back on and you begin tightening the nuts, you don't do them all at once—and you don't just go around the circle. Same with bezels. Tighten your first spot, then go to the opposite side of the bezel and tighten its corresponding spot. Back and forth this way, work your way around. The idea, Dawson says, is to keep the stone from rocking. Want some help with that? "You can use a little snake of wax that goes over the top of the stone and is pressed into both sides of the bezel to keep the stone from rocking while you set it," he says. "When the stone is in place, put the wax over the top, then use a 45 degree angle of force to secure the stone all the way around, working opposite sides."
Flush & Gypsy Setting
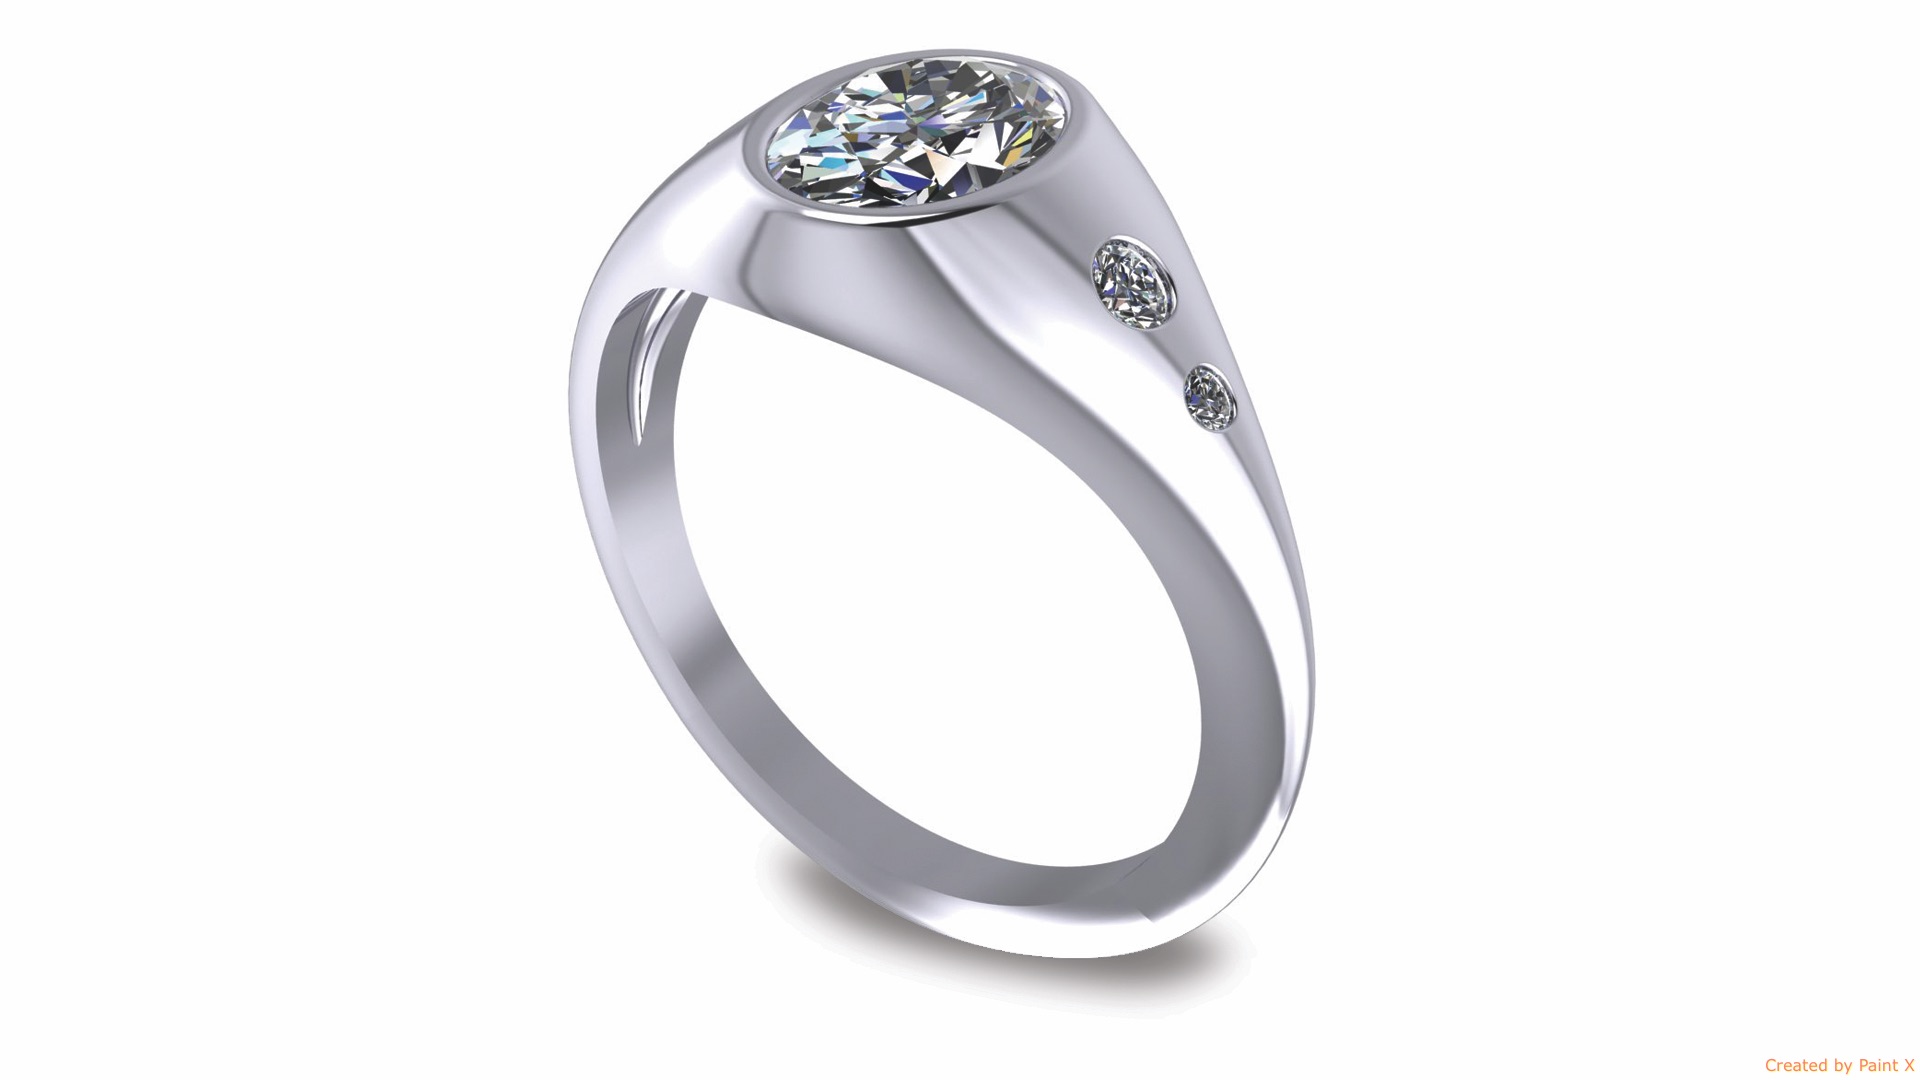
Several of the tips already covered could be applied to flush and gypsy settings. According to Phelps, "They're bezel settings with a really thick bezel. Most people I see doing this have far too much metal over the stone. They hammer it all down and then go back in and try to clean it up with gravers and wheels, but that's not how to do it."
Instead, he says, finish everything first. Next, lower the top of the bezel to the desired finished height and bevel the outer edge so it's easier to hammer over. Finally, polish it inside and out, then hammer down the smallest amount of metal you need to hold the stone in place. "Then all you have to do is touch it up," he says. "I use a radius flat bottom graver polished with a fine ruby bench stone to clean the inside edge of the finished bezel [first]."
Like a bezel setting, the amount of metal you bring down over the stone will take away some of its brilliance. Lewy's answer to this is, of course, bright cutting. "You can carefully bright cut the inside of a gypsy setting," he says. "I use a number one or two graver. The stone that's been covered with metal will look bigger. It takes me three cuts around the full circle of a 2 mm stone, making sure the width of the opening is uniform."
When he bright cuts, Lewy holds the graver perpendicular to the metal rather than leaning the graver on the side. This helps make a uniform cut. "My finger will be on the top of the graver," he explains. "I let its barrel shape give me the desired cut angle."
Editor's Note:
The following is an excerpt from "Settin' Pretty," which appeared in the April 2016 issue of MJSA Journal. To obtain a full copy of the article, contact MJSA at 1-800-444-6572 or via e-mail at info@mjsa.org.

The All-In-One Jewelry Making Solution At Your Fingertips
When you join the Ganoksin community, you get the tools you need to take your work to the next level.
