Platinum Fabricating & Stamping
This paper is aimed mainly at the small- to medium-sized jewelry manufacturing operations interested in working with platinum group metals. Preparing the melt, the melting process, forging, rolling and finally some manufacturing techniques for alloyed platinum will be discussed..
8 Minute Read
This paper is aimed mainly at the small- to medium-sized jewelry manufacturing operations interested in working with platinum group metals. Preparing the melt, the melting process, forging, rolling and finally some manufacturing techniques for alloyed platinum will be discussed.
Preparing the Melt
The maximum amount of metal that can be handled by this low-tech method is about 20-25 troy oz. For operations requiring larger melts and ingots, induction melting is necessary. It is important to start with pure metals, i.e., platinum of 99.95% purity and iridium or ruthenium of at least 99.9% purities. It is preferable to use platinum in plate or shot form. In the event that sponge is used, it should be melted first, rolled out and cut into small squares. The reason for this becomes apparent when sponge is melted. There is usually a melt loss associated with sponge of about 0.2-0.5%. If the alloying element is added to the sponge, the final percentage of alloy will be higher than the desired goal of 10% iridium or 4.8% ruthenium, for example. This will make the platinum percentage lower and bring the alloy below the stamping standard.
There are several methods to adding the alloying element, but our preferred method is to prepare a foil of pure platinum and fold it onto a pouch large enough to hold all the powdered iridium or ruthenium. The advantage of this method is that the melting platinum will immediately soak up all the powdered alloy material, thus diminishing loss created by the torch blowing away metal powder.
An easy way to determine how much alloying metal is required is to first weigh all the pure platinum, including the previously mentioned pouch. This weight is divided by 90% for iridium alloy or by 95.2% for ruthenium alloy. This will give you the platinum content of the total melt. Now you need to add alloying element to the pouch until the total weight of the melt is achieved. For example, if the weight of the pure platinum is 166.86 DWT and that represents 95.2%, then the total melt will be 175.27 DWT. When enough ruthenium has been added to the pouch to reach this weight, the pouch is sealed by folding over the remaining edge.
The Melting Process
The crucibles used are Wesco 2H or 3H platinum melting crucibles. They can be reused, but should be used for nothing other than platinum. Gold or any other metal or impurity, even in small amounts, will cause problems in the workability of platinum. The equipment we use is a torch with a 12-inch neck and a single-port tip. As fuel we are using an oxygen/ propane mixture, as it is easiest to obtain and can achieve a very hot flame. The Wesco 2H crucible is suitable for up to 12 troy oz. and the Wesco 3H can be used for melts up to 25 oz. In addition, we are using hi-heat resistant gloves and a welders mask with at least a #6 lens. Ear plugs are also essential. The crucible is placed on a 6″ x 6″ x 1″ piece of ATJ grade graphite. This should be placed on a non-flammable substrate such as ceramic or refractory brick. Melt the platinum at about 35 pounds of Propane pressure and about 65 pounds of Oxygen pressure. The flame should be adjusted during melting starting, with a lower flame until the metal is bright orange, and then increasing to the full pressure at which point the blue cone of the flame is 3/4″ to 1″ long.
As the platinum starts to melt, the alloy mass will be floating in the crucible like ice in water. The molten mass should be swirled (stirred) with the force of the flame. Continue melting until the alloy is completely dissolved. Sometimes a second melt is required. The melt should be allowed to cool until all the color is gone. A gentle tap will make it fall out of the crucible. Since platinum alloys melt at more than 3200° F, the metal will freeze almost as soon as you remove the torch, which makes it impossible to pour into a mold.
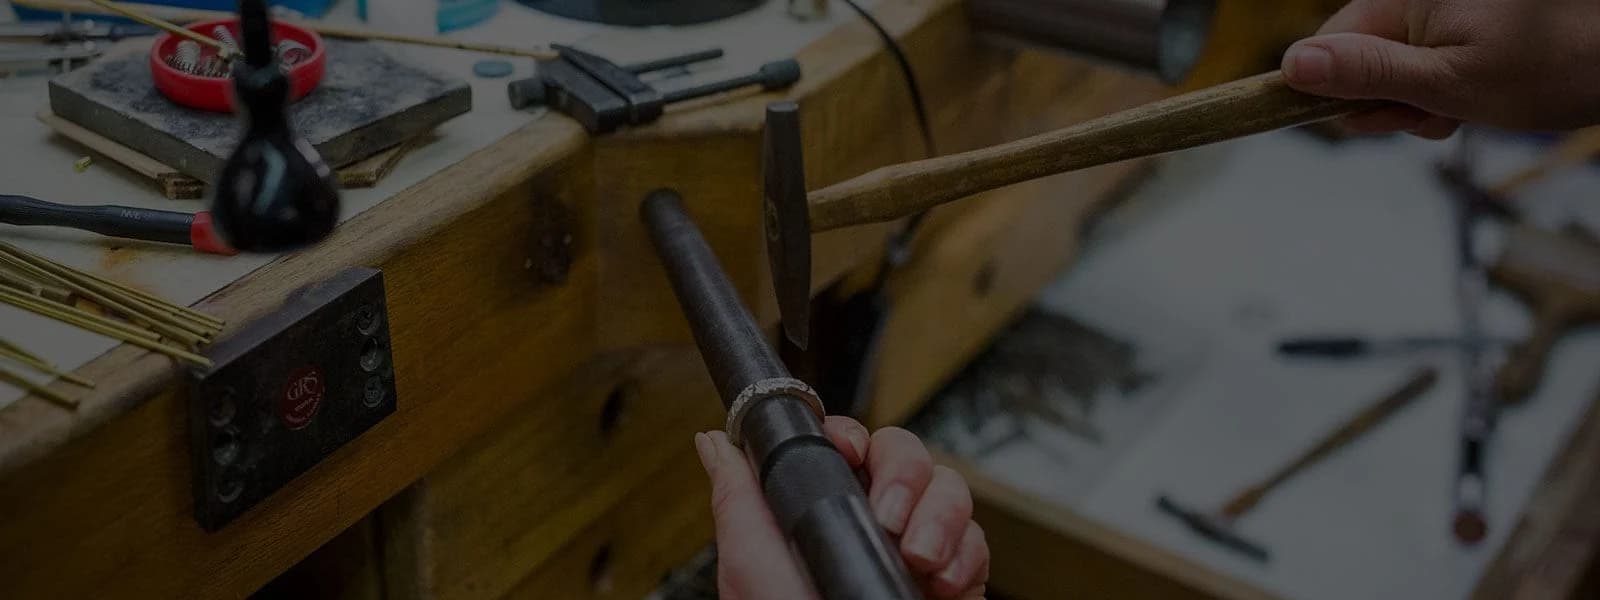
The Forging Process
Platinum button is picked up with a pair of tongs and hammered square with a 3-pound sledgehammer on an anvil or a large steel plate. For melts of more than 15 troy oz., a drop or forging hammer is used. It is then returned to the graphite square for swedging.
In this operation, the top of the now square button is being melted, so that any remains of the crucible or other impurities are being moved to the edges and any crater or bubble will be filled.
The white-hot button is then hammered again on all six sides and the swedging process is repeated.
This button, now rectangular in shape, is hammered for a third time.
All this hammering is done to break up the crystal structure to the smallest possible size, and to compress the platinum. This is an absolute requirement for the manufacture of good plate or rod.
At this time the forging can continue if a square rod is desired. Do not swedge without hammering after swedging.
Rolling
If the forging has been done properly, the rectangular ingot or square rod can be rolled down to any thickness without cracking. Annealing should take place after every 50% reduction. If the plate is to be stamped at any thickness from 0.060″ to 0.125″ annealing is recommended about 0.020″ above that point. Below 0.060″ annealing is generally not needed.
For making round wire, the rod should be rolled to the thickness of the diameter of your largest die, then coiled and annealed on the aforementioned graphite square. It can then be passed through successive dies with about 0.005 diminishing sizes, without further annealing. Beeswax is the recommended lubricant for the drawplate. The dies can be made of Tungsten Carbide for low production. High production requires diamond dies. Platinum should not be over-annealed, as that produces grain growth. The larger grain size will make the surface pitted or frosted. A tight grain structure will produce a superior polish, which is proven by the superior appearance of polished die-struck jewelry, versus the cast or extruded product. For small quantities of jewelry findings, a handheld torch is sufficient for annealing. A smaller flame than for melting is recommended, so that one does not inadvertently melt the platinum. The platinum should be annealed to a bright orange and held for about 15-60 seconds, depending on the quantity. To anneal larger quantities of plate or ingots, an annealing furnace, set to 1800° F to 2000° F is required. Annealing time is 10 to 30 minutes and the platinum is either aircooled, or quenched in water, once the color is gone.
Stamping
Stamping operations can be divided into two types of processes. The first is blanking, where a thin (typically 0.020″ to 0.060″) sheet is sheared clean through with one strike and the finished piece is not deformed. In this method, the metal can remain hard- or halfhard rolled. This produces clean edges with very little burr. Platinum does, however, produce much greater wear on the cutting edge of the blanking tool as does, for example, gold or silver. Therefore, the dies require much more frequent sharpening and, ultimately, replacing. Blanking operations can also be done on sheets of greater thickness (3 mm or more) but it is recommended that the metal be thoroughly annealed and the shapes be relatively simple.
The second type of operation is where the previously blanked piece is further shaped by one or more strikes in a forming die. This can be as simple as having a starshaped blank pressed into a cavity to form a setting, or it can be something more complex. The blank can be deformed into shapes which will require trimming operations in trimming dies. Continued annealing is recommended during these forming steps although some simple shapes can be blanked and formed in one operation. One method of making wedding bands is to start with a die-struck blank in the shape of a washer. It is then inverted in two or three steps into a band using several steps of cupping dies.
The type of equipment for these operations include punch presses, ranging in capacity from 5-20 tons for blanking and simple forming. For deeper forming or more complex shapes, a drop hammer or hydraulic press is required. These machines can deliver the much higher force needed, usually up to 100 tons.
Machining
When one talks about machining of platinum products, one is usually discussing lathe turning, milling and drilling. In lathe turning, the product is spinning around, as the tool is stationary. The most common products are wedding bands, made from extruded tubing. They are formed into shapes (half-round, flat-top, channel, etc.) using a diamond-point tool, then cut from the tube using carbide discs or narrow slitting tools. In the milling and drilling process, the product is stationary and the tools are turning. In this way a ring can be partially channeled with a milling tool and holes can be drilled with an indexer.
These methods are well known from machining gold, but the difference lies in the type of tools used, the lubricant and speed of production , when it comes to platinum. Since platinum tends to stick to most forms of tooling and cutting edges, it may remove some of the tool material when it breaks away during the above operations. This gives the impression that platinum is inherently a hard material. It is in fact not particularly hard, but because of its high density , it acts gummy. The several ways to combat this difficulty are: Frequent resharpening of the tool cutting edges, resetting tool cutting angle after sharpening, proper lubrication, patience, and deep pockets for diamond tools. One way to reduce tool cost during a large run turning operation is to use lower cost tungsten carbide bits for gross metal removal and then switch to PCD tools for final finishing.
Related Articles
Producing Semi-Fabricated Platinum Products
Platinum Consideration Factors

Fearless Platinum Repairs

Laser Platinum Fabrication


The All-In-One Jewelry Making Solution At Your Fingertips
When you join the Ganoksin community, you get the tools you need to take your work to the next level.
