Cupric Nitrate Patination of Metals
This patination solution gives you a range of greens, olives, browns, black, turquoise and yellow-greens on many metals because it is a surface finish. It is quite adhesive and controllable. You do however need adequate ventilation.
9 Minute Read
This patination solution gives you a range of greens, olives, browns, black, turquoise and yellow-greens on many metals because it is a surface finish. It is quite adhesive and controllable. You do, however, need adequate ventilation.
General Purpose Green Patina
- Cupric Nitrate 300 grams
- Distilled Water 1000 ml (fill to 1000 ml level)
- Photo-flo* 1-2 drops (wetting agent)
*One can substitute household liquid detergent or 1-4 drops methyl alcohol.
To make up, place the cupric nitrate in a container, pour in water to the 1000 ml level, add the wetting agent and shake until the cupric nitrate is dissolved. Warm water will dissolve it faster. Use plastic containers for it with a plastic lid, not a metal one.
As in all metal coloring the end result is greatly dependent on the care put into the cleaning and preparation of the metal surface before beginning. If one wishes to develop a perfectly even patina an absolutely grease free surface is necessary. Most problems in patination may be traced to inadequate cleaning or to insufficient patience in application.
The more time and attention given to repeated applications of the patina the more even a finished surface will be obtained. Developing the ability to produce a perfect finish at will allows one the conscious choice of various qualities and imperfections of finish.
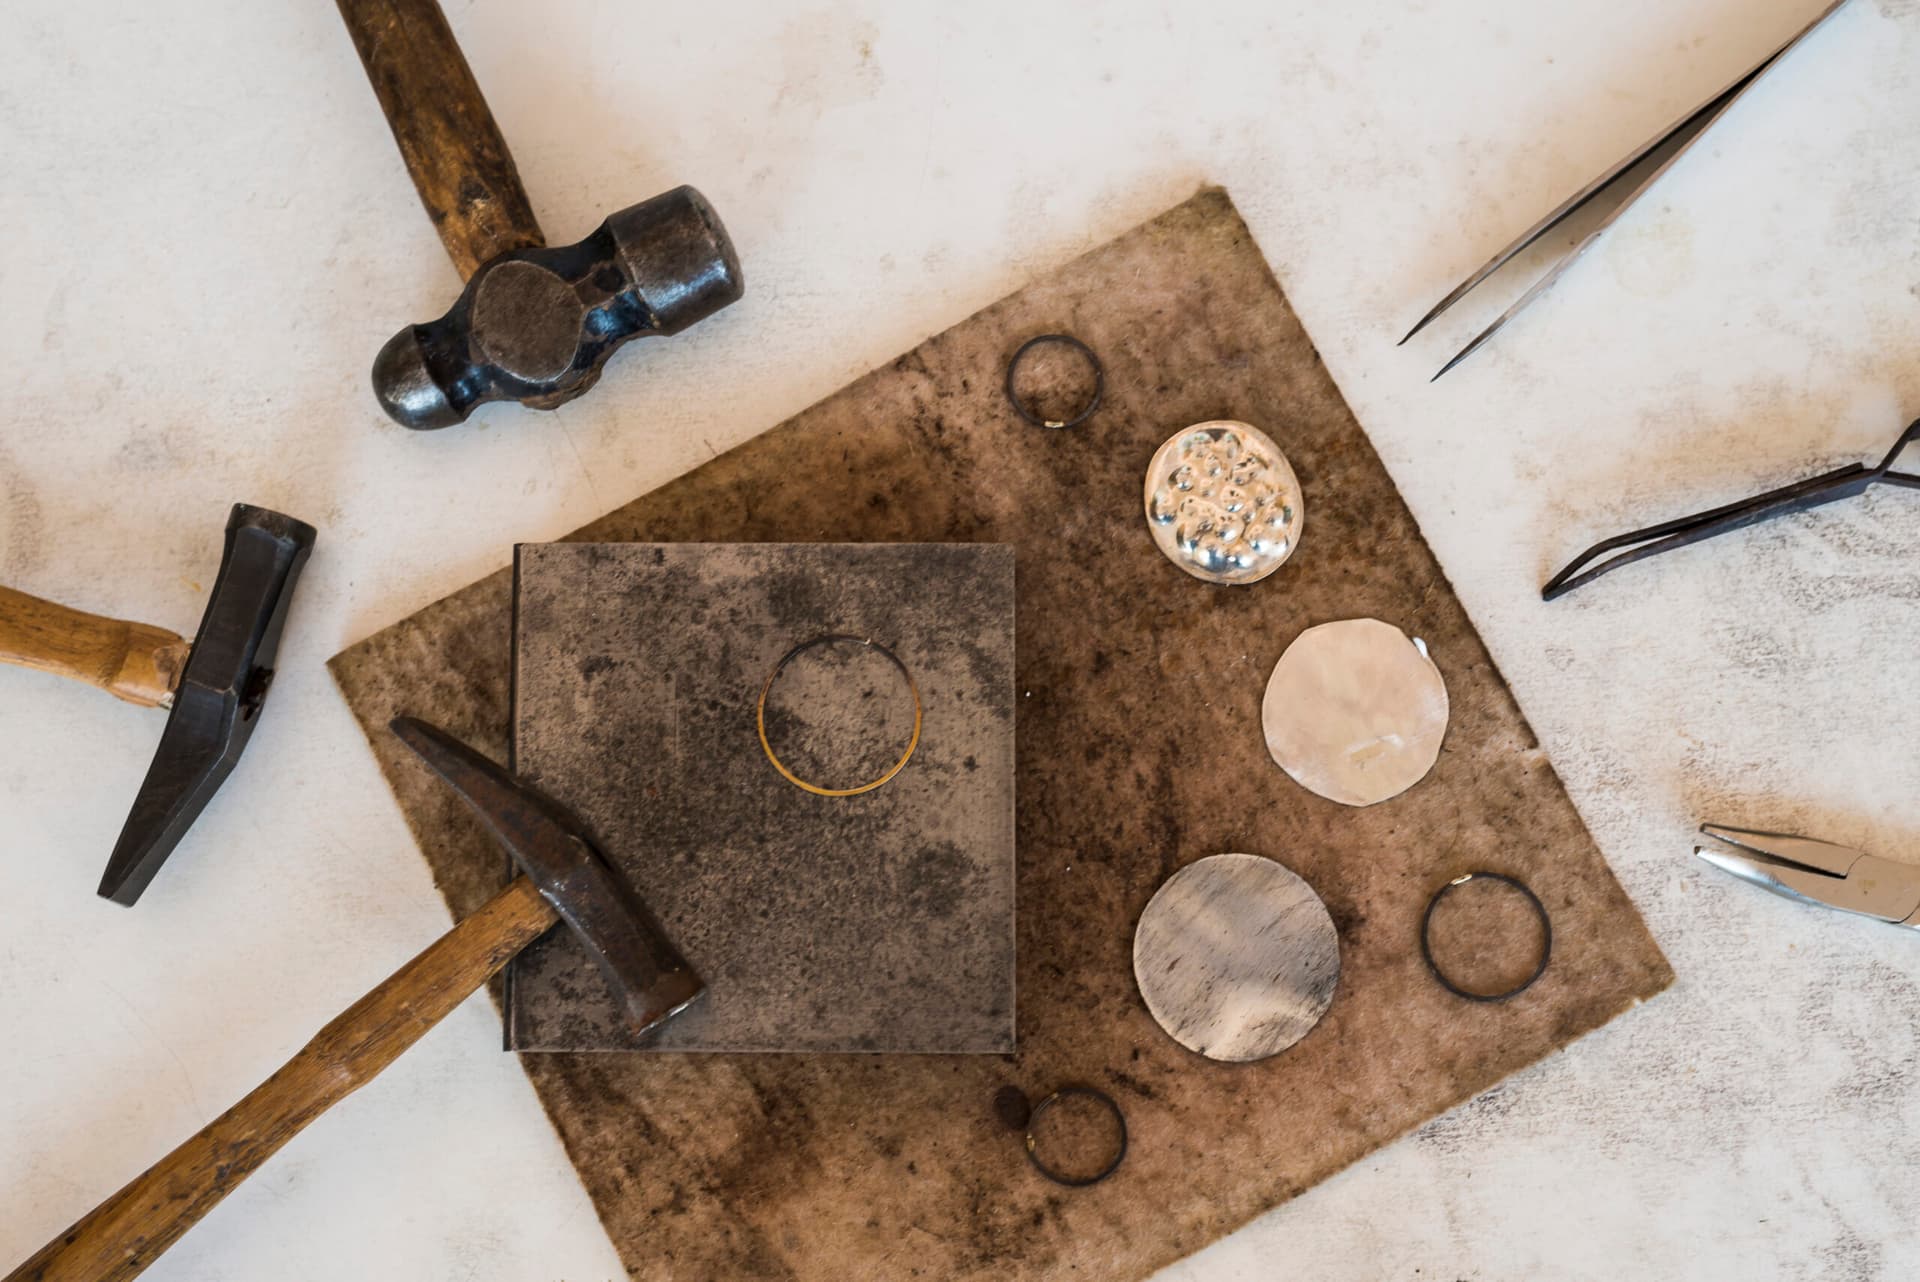
Basic Tools
- Hot plate or bunsen burner and a torch
- A piece of steel or thick metal above the burner or hot plate to act as a device to transfer heat evenly to the flat metal being patinated.
- A thick short bristled brush
- A stiff scrubbing brush
- Pumice or Ajax type cleanser
- Newspaper or felt in a plastic container
- Spray bottle (if this is used the solution may need to be filtered)
- Fume hood
- Rubber gloves
- Chemical filter face mask
The use of a fume hood with excellent drawing power is recommended for this patina application. Use rubber gloves and the face mask. There is no point to unnecessary exposure to chemicals. The main danger is nitric acid generated during drying with heat and copper meal fumes-use a fume hood for this or equivalent. Plans for the construction of a small scale, inexpensive fume hood for patination designed by Theo Jansen and James Evans are available from the Ontario Crafts Council in Canada (see Appendix).
For patinating three dimensional objects one can use a torch to heat the object or resort to the slow application method described later.
Procedure
- Prepare the metal. Rub it well with pumice to completely remove the oxide layer on the surface and to provide small scratches for better adhesion of the patina.
- Clean the metal as described in the Appendix to remove greases and oils from the surface.
- Place the flat work on the heated metal plate. If the work is not flat place it on a clean fire brick on a turntable and heat it evenly with a torch flame.
- Dip the brush in the solution, wipe it partly dry on the newspaper and dab it on the metal until it is covered with green. A better alternative is to moisten a piece of felt and dab the brush on it to keep it almost dry when applying the solution. If one is spraying the solution on, a light touch is suggested and a large shield constructed around the work to prevent solution being sprayed over everything. A chemical mask and fume hood are especially necessary when spraying the solution on to hot metal.
- Let it heat up to the point that it turns darker, to brown. Expose it to a flame, burning the layer on, turning it black. Do not heat it too much however as it may lead to adhesion problems.
- Using a stiff brush under running water remove as much of the surface coating as will come off easily and then repeat steps 3-6 until the surface is covered evenly.
- When an even black layer is formed repeat the process dabbing with an almost dry brush (or use a sparing spray) build up the green patina. When the surface is evenly covered in green cool it and scrub under running water to remove all that can be removed. Repeat this until the desired thickness and color are reached. One can build it up extremely thickly with time. Again, the more time and care taken in application the more even the final patina.
An extremely wide range of finished effects is possible. Perfectly even green, speckled, patchy, yellowish, brownish, tones of green to turquoise, rough textured or almost smooth, patterned colors and areas of reddish-brown are possible on copper.
If any problems in adhesion occur dipping in a mild (2%) solution of hydrogen peroxide between applications improves its adhesive properties. This also tends to give the patina a slight brownish tinge. Use only synthetic brushes with hydrogen peroxide solution, if brushed on.
After the final scrubbing and rinsing, dip in methyl alcohol and dry in the air, with a fan, compressed air or in resin free sawdust. This last method is fast and avoids water spots. Gentle blotting also works.
Color Variations
Yellowish tone: remove the metal from the heat before the patina turns green.
Brownish yellow on green: expose the finished surface to a light flame. Some experiment is necessary here to obtain even tones of brown. On textured surfaces the high areas will turn brown first which may be useful in emphasizing patinated heavy texture.
Greener: add a few drops of acetic acid. Do not add more than a few as too much may ruin the solution.
Blue-green: dip in a weak lye solution.
Bluish-green to turquoise: expose the surface to ammonia fumes or paint on or wash the surface in dilute ammonia (non-detergent household clear types are good). Patina that has been heavily treated with ammonia to obtain a turquoise color may lose some adhesive strength. When applying ammonia do it to cool metal as it will tend to dissolve the patina if dripped on while it is very hot. The color may be made to revert to green from turquoise by gentle heating.
Pattern Development
Scraping
Areas in bright metal may be obtained by scraping through the patina layers. Paint, inks or gold leaf may be laid into the scraped areas and lines. Planned raised areas can be scraped clean leaving recesses patinated. Hard felt buffs may be used to high polish such raised areas.
Blue-green (turquoise) on green:
When the base color is satisfactory one can paint or draw with ammonia to develop blue where the ammonia wets the surface. The process is accelerated if the work is warmed slightly. Several applications on the same place may intensify the blue. Depending on the strength of the ammonia used and its evaporation time a deeper blue outline to the affected area may be developed.
White (very pale green) on green:
Vinegar (acetic acid) can be painted or drawn with. After a minute or so working time it is rinsed off leaving its location bleached.
White (to metal surface) on green:
A 1:2 solution of nitric acid when drawn on the surface will bleach the patina and if left long enough will eat into the surface providing some surface relief and the brown of the metal beneath showing through. Make sure and neutralize it afterwards with baking soda.
Dark brown on green:
Bleach is painted on. Where it is turns brown after 30 seconds or so. This is accompanied by a nice shade of deeper green that unfortunately washes off with water and disappears as the patina dries. The brown however remains. If the surface is suspended in bleach a mottled brown and green results. When oiled or waxed this becomes darker. It seems possible that resists might be used with the foregoing color modifications.
Green areas with brown outlines
A pattern is laid out on the surface with water, preferably beaded up slightly. A gel made from gelatine and water or a lubricating jelly such as KY or Lubafax would be excellent for this purpose. A torch flame is rapidly played once over the surface and the areas protected by water will remain green, the exposed areas turning brown. There will be a brown outline to the protected areas.
Applied finishes
Spray applications of acrylic sealers, lacquers, silicone lubricants and oils may be used with tapes, wrapped string or organic materials as resists to obtain patterned or mottled areas.
Protective Coatings
The finished product may also have some form of protective coating, although this patina is tough and not liable to damage if applied correctly.
Traditionally these would include waxes, vaseline and oils. Also available are the spray sealers and lubricants mentioned above. These work as water does in intensifying perceived color on the patina surface. The exact effect will depend upon the refractive index of the coating involved, its evaporation rate, viscosity, etc. One should make samples with various colors and different coatings for reference. Oils and waxes tend to darken the color. The spray acrylics tend to make the patina resemble green paint and I usually use them sprayed from a distance for a thinner more subtle effect. In general the use of such coatings is for aesthetic reasons rather than protective.
My favorite is clear auto enamel: intended for outdoors, intended for different temperature ranges, intended for metal.
CUPRIC NITRATE WARNING For Certified A.C.S. material
This warning was taken from a container of cupric nitrate. As is evident this chemical should only be used with appropriate ventilation such as a fume hood. Always test your fume hood before use with a smoke trail test. I have had students who did not test, used a fume hood and became ill because it wasn't working properly. When used correctly cupric nitrate patinations are not as dangerous as many 'patination solutions' available easily on the market. Nevertheless: Think and be safe.
Cupric Nitrate
WARNING, STRONG OXIDIZER. COMBUSTIBLE MATERIAL MAY CAUSE FIRE OR EXPLOSION. USE WITH ADEQUATE VENTILATION. HARMFUL IF INHALED. CAUSES IRRITATION. INHALATION MAY CAUSE HEADACHE, FLUSHING OF THE SKIN, NAUSEA, VOMITING DIZZINESS, COLLAPSE, HYPTENSION, CYANOSIS, CONVULSIONS, COMA AND RESPIRATORY COLLAPSE. PROLONGED INHALATION MAY CAUSE PERFORATION OF THE NASAL SEPTUM. HAS CAUSED MUTAGENIC EFFECTS IN LABORATORY ANIMALS. SKIN CONTACT CAUSES IRRITATION AND MAY PRODUCE EXZEMA. EYE CONTACT MAY CAUSE IRRITATION, TEARING, REDNESS, PAIN, BURNING AND BLURRED VISION. EXTREME EXPOSURE MAY CAUSE ULCERATION AND TURBIDITY OF THE CORNEA. MAY CAUSE CONJUNCTIVITUS. MAY BE HARMFUL IF SWALLOWED. MAY CAUSE BURNING OF THE SKIN, WATERY OR BLOODY DIARRHEA, DIZZINESS, COLLAPSE, TENESMUS, RETCHING, HEMOLYSIIS, HEMATURIA, ANURIA, LIVER DAMAGE, JAUNDICE, HYPOTENSION AND CONVULSIONS. MAY BE FATAL. MAY CAUSE METHEMOBLOBINEMIA IN INFANTS.
Target Organs Affected
Eyes, skin, mucous membranes, central nervous system, respiratory and gastrointestinal tracts and liver. Provide local exhaust ventilation or general dilution ventilation to meet permissible exposure limits or use recommended NIOSH respirators listed in Material Safety Data Sheet.
First Aid-Inhalation: Remove from exposure area to fresh air immediately. If breathing has stopped, perform artificial respiration. Keep person warm and at rest. Get medical attention immediately.
Skin: Remove contaminated clothing and shoes immediately. Wash affected area with soap or mild detergent and large amounts of water (approximately 15-20 minutes). Get medical attention immediately.
Eyes: Wash eyes immediately with large amounts of water, occasionallylifting upper and lower lids (approximately 15-20 minutes). Get medical attention immediately.
Ingestion: If victim is conscious and not convulsive immediately give 2 to 4 glasses of water and induce vomiting by touching finger to back of throat. Keep patient warm and at rest. Get medical attention immediately.
REFER TO MATERIAL SAFETY DATA SHEET FOR ADDITIONAL INFORMATION
Check the chemicals you work with at this MSDS site.
Related Articles

The Patina Studio
Patination Safety Considerations
Iridescent Patina Recipe

Introduction to Japanese Alloys


The All-In-One Jewelry Making Solution At Your Fingertips
When you join the Ganoksin community, you get the tools you need to take your work to the next level.
