Mystery Box Jewelry Challenge
Welcome to the Mystery Box Challenge! You are among the select designers who have received this box of materials, Your mission is to use these materials to create a unique piece of jewelry in four weeks' time. You must incorporate into your design at least one item from each of the six material categories; beyond that, you can use the materials as you wish. You may also add materials as desired.
11 Minute Read


Welcome to the Mystery Box Jewelry Challenge!
You are among the select designers who have received this box of materials, which includes:
- An 18 gauge sheet of 4-inch square TRUSilver from Hoover & Strong (hooverandstrong.com)
- An 18-inch sterling silver round box chain from National Chain (nationalchain.com)
- 3. A pair of leverbacks, a lobster claw, and a toggle claspall in sterling silverfrom Findings Inc. (findingsinc.net)
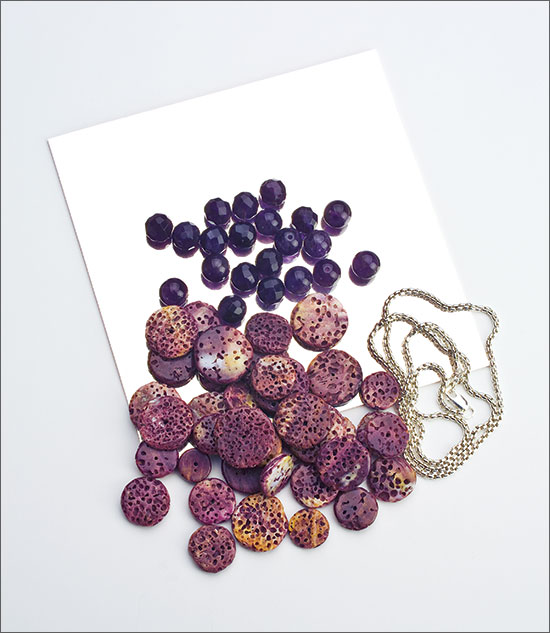
- 40 graduated Heishi spiny oyster shell beads in purple, ranging from 9 to 19 mm, from Rings & Things (rings-things.com)
- 12 round amethyst beads and 12 round faceted amethyst beads, all approximately 8 mm and Grade-A, from Rings & Things (rings-things.com)
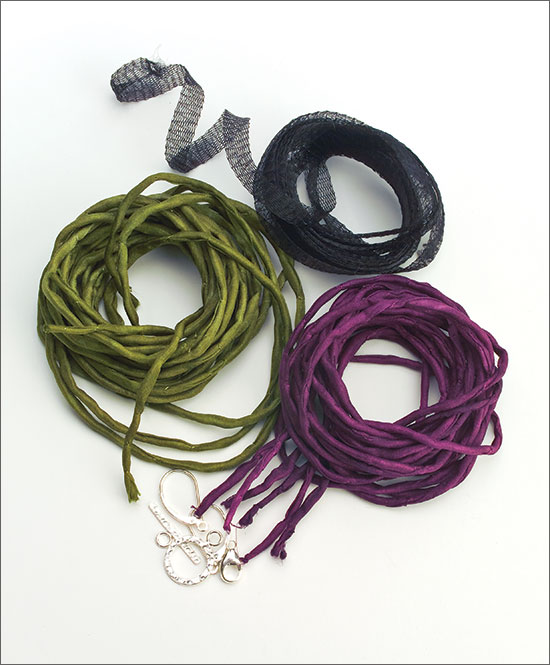
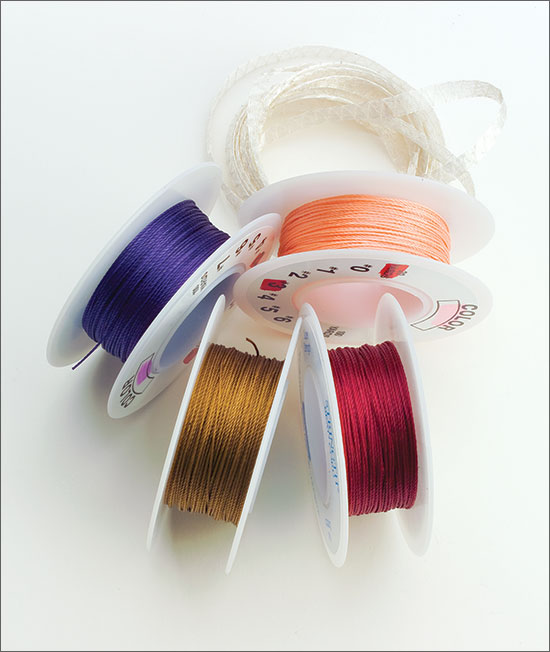
- Assorted cord and ribbon: 3 40-inch 2 mm silk cords (olive), 3 40-inch 2 mm silk cords (eggplant), 2.5 meters of 6 mm silver mesh ribbon, 2.5 meters of 6 mm black mesh ribbon, 100 yards #3 Stringth bead cord in pink, purple, red, and mustard, all from Rio Grande (riogrande.com)

Your mission is to use these materials to create a unique piece of jewelry in four weeks' time. You must incorporate into your design at least one item from each of the six material categories; beyond that, you can use the materials as you wish. You may also add materials as desired.
When designers Michelle Pajak-Reynolds, Erik Stewart, and Ryan Roberts and Robin Waynee (a married couple who worked as a team on the project) received their mystery boxes and read the letter inside (see above), their reactions ran the gamutfrom squeals of excitement to furrowed brows to mumbled curses. When they had accepted our invitation to participate in the second annual MJSA Journal Mystery Box Challenge, they had no clue what materials we had in store. Now, they had everything before themalong with the question of what to do with it all. But like any thrill-seeking jewelry maker, they accepted the challenge, and set about to turn the materials into a thoughtful piece of jewelryin just four weeks.
And that's exactly what they did. You'll read about the entertaining and enlightening stories behind their creations on the following pages. The pieces were recently on display at MJSA's Expo New York, where they were raffled off. All proceeds from the raffle benefitted the MJSA Education Foundation, which sponsors training programs and provides scholarships to U.S. students enrolled in jewelry design and jewelry-making programs at colleges, universities, and technical schools.
Sunken Treasure
Michelle Pajak-Reynolds Stow, Ohio
No stranger to unusual materials, Michelle Pajak-Reynolds was pleasantly surprised by the variety of supplies in the mystery box. "The sheer volume of materials was exciting, but finding a way to unify all of their different textures was quite intimidating," she says.
Pajak-Reynolds made two immediate decisions about her design: "I knew I wanted to use the amethyst and the spiny oyster shells as the focal point of the piece," she says. "And I wanted to make a necklace because it gives me a big canvas to work withI don't do dainty."
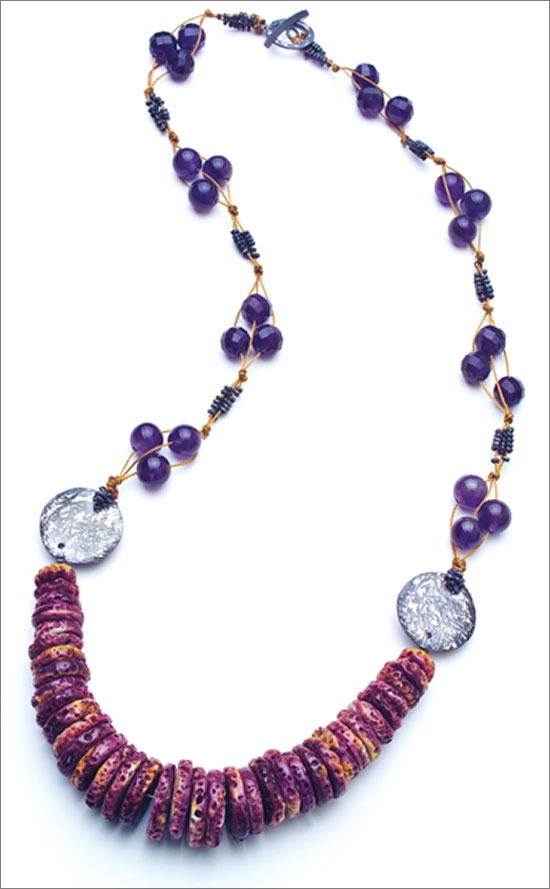
She loved the "randomness" of the oyster shells' pitted texture contrasting with the smooth and faceted amethyst beads. "I began to build my design around those three textures," she explains. She strung the spiny oyster shells in a double graduated strand on Beadalon steel cable, which she used in lieu of the supplied materials because of its strength and durability. With the central component of the necklace in place, Pajak-Reynolds had to figure out the best way to incorporate the amethyst beads, cords, and silver elements into the design.
"After studying the spiny oyster shells for a while, I felt the necklace should have an old nautical feellike something you dug up from the bottom of the sea," she says. "I patterned the amethyst beads after sailors' knots, clustering the stones together on the mustard-color bead cord so they appear to be caught in nets."
To further effect the theme of a treasure lost at sea, Pajak-Reynolds planned to blacken all of the silver components in the piece with liver of sulfur. Since she doesn't usually work with much metalshe has a severe nickel allergy and prefers to work with fabrics and steel cables, using crimping techniques as opposed to traditional metalsmithing processesPajak-Reynolds approached the three silver elements in the mystery box cautiously. Pleased with the hammered texture on the bar-and-toggle clasp, she decided to leave the findings intact, blackening them for an aged look. She replicated the clasp's texture on two discs that she cut from the TRUSilver sheet, which she used as finials for the graduated spiny oyster strand.
"I used a ball peen hammer to get the texture on the discs and blackened them, adding one to either end of the spiny oyster strand to provide symmetry to the necklace," she says. The Beadalon loops through a hole cut in the bottom of each silver disc, while the silk cord connects through a hole at the top.
To cover the knots at both ends of the discs, Pajak-Reynolds reached for the chain. "I [also] wanted to use the links of the chain as bead elements in the necklace, because interestingly the links were the same size as the facets on the amethyst beads," she says. "So I took apart the chain, cutting two links and salvaging the one in betweenit's such a high-quality chain that it took me forever to take it apart. Then I blackened all the tiny links. The chain manipulation was the most time-consuming step of making this piece."
When the chain deconstruction was complete, a total of 144 links made it into the necklacefunctioning as beads and taking the cake for the most transformed material in the original mystery box.
"My approach here was simpleto let the materials speak to me," says Pajak-Reynolds. "For some it meant showcasing them in their original form. For others, well, it meant something completely different."
Never Say Never
Ryan Roberts and Robin Waynee Santa Fe, New Mexico
Dread. It was the feeling that overcame Ryan Roberts and his wife (and design partner on this project), Robin Waynee, when they opened their mystery box. "All of the components in the box were things we would never normally use," says Roberts.
Accustomed to making their own mechanisms and not having strung a bead since childhood, Roberts and Waynee didn't know where to begin. When the shock wore off and reality set in"We have four weeks to make a piece with this stuff"they settled into their approach.
"As tempting as it was to throw the components together and string them on a piece of cord, we decided to challenge ourselves to make the most interesting piece we could using and altering these materials from their original state," says Waynee.
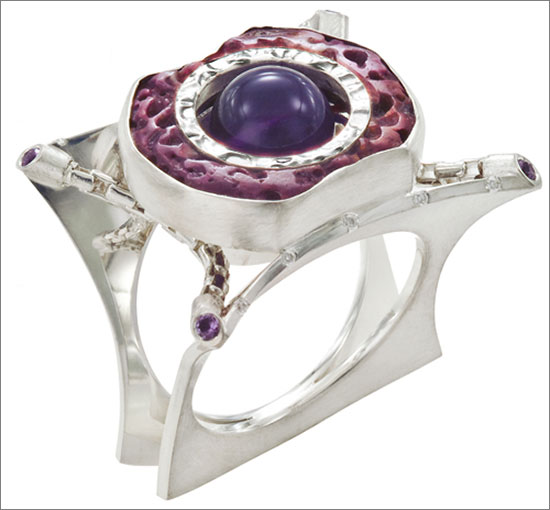
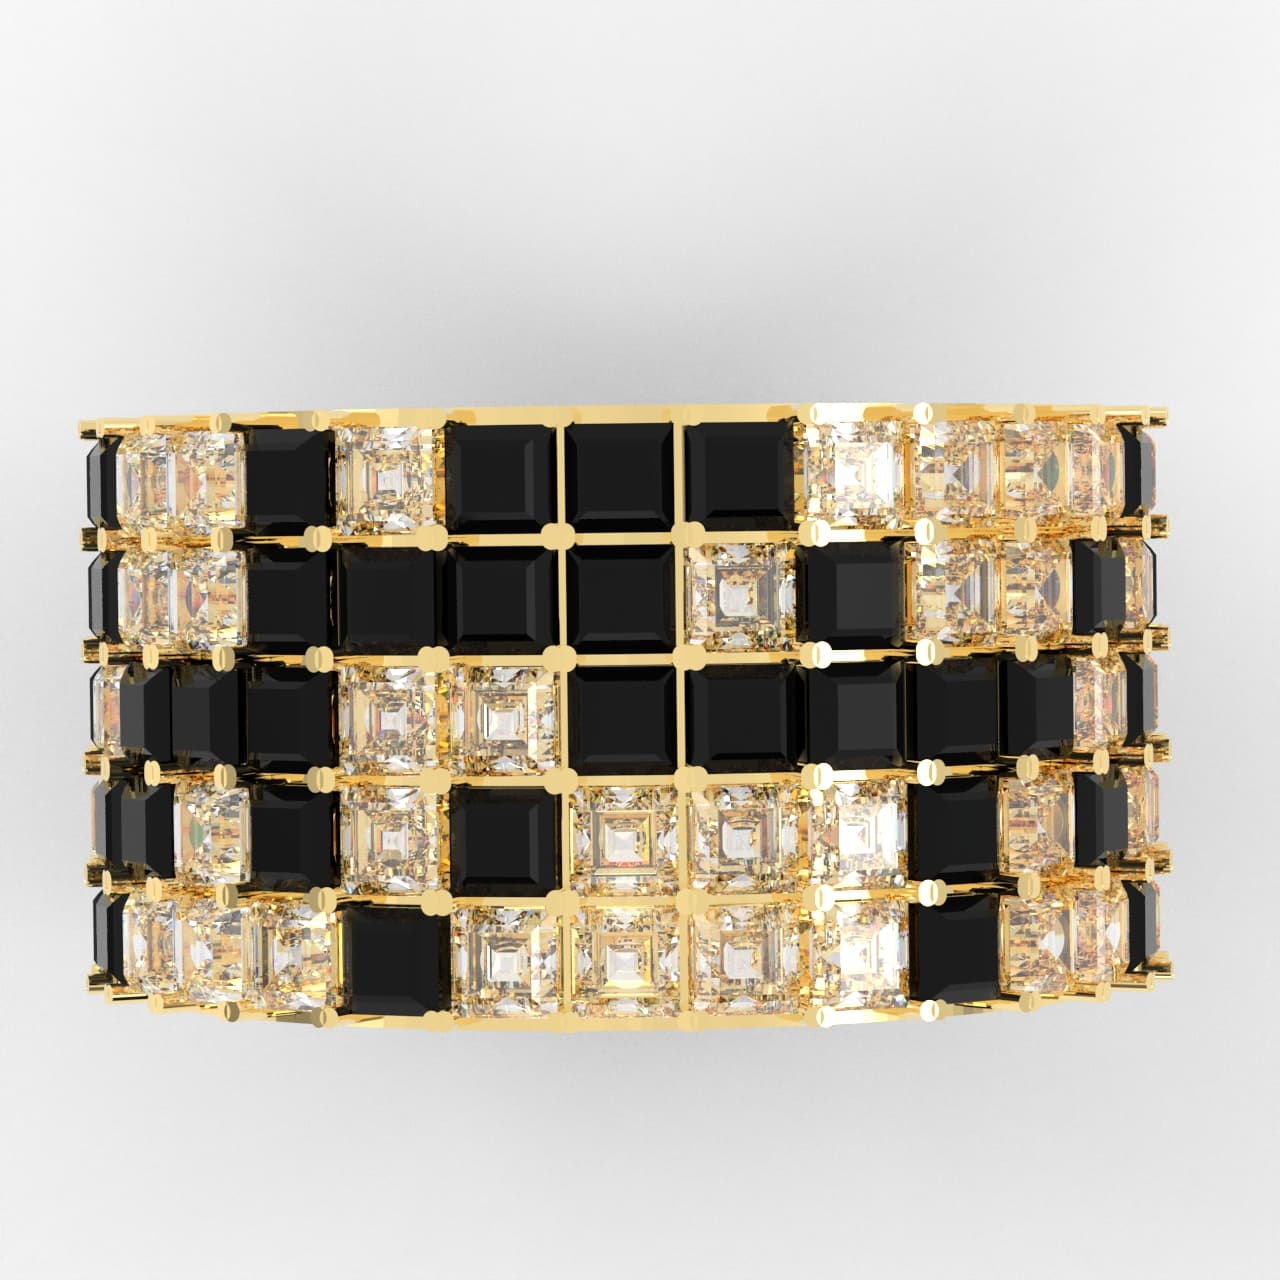
"When you look at all the mystery materials, they are clearly geared toward a bracelet, necklace, or earrings," says Roberts. "We thought, 'They don't expect us to do a ring, so let's do a ring.'"
The biggest initial challenge was figuring out how to incorporate the findings and chain into a ring design. "The chain posed the biggest problemuntil we started experimenting with ways to make it behave differently," says Roberts. "We ran it through a draw plate a few times and it started to stiffen up. It became more of a wire element, and we could work with that."
Then the circular half of the toggle clasp caught his attention. "Robin and I knew that we wanted to use an amethyst bead inside the spiny oyster shell in some way, and when we realized that we could get the finding out of the way by incorporating part of the toggle clasp into that construction, we were relieved," says Roberts.
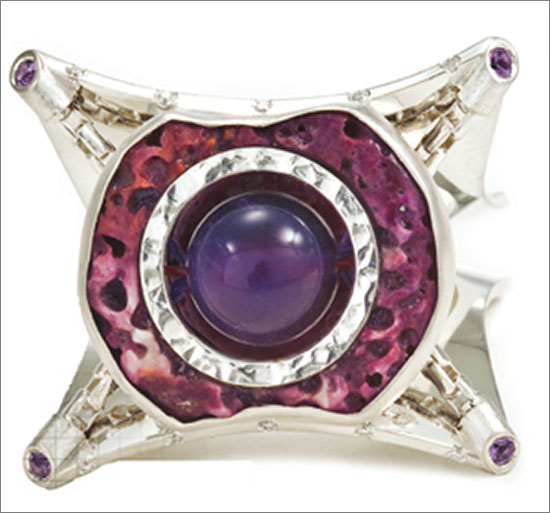
From there it was a fun collaboration of ideas to get the ring into shape. Roberts and Waynee started by conceptualizing the central portion of the ring, an organic two-tiered setting, the top half of which suspends a floating amethyst bead. Instead of letting the supplied spiny oyster shells dictate the shape of the setting, the designers took matters into their own hands. Using a diamond bur and plenty of water, they carved two spiny oyster shells into shapes that were pleasing to thema larger flat one for the top of the setting, and a smaller, curved one for the bottomthen fabricated bezels to fit each one.
"We cut the stones as much as we could to make them different and funky, not round," says Roberts. "We also had to sand down the circular part of the toggle to fit inside the construction, but we kept the hammered texture because we liked the way it looked next to the spiny oyster."
Three lengths of Stringth bead cordtwo purple and one redsuspend the amethyst in the center of the setting. Roberts used a diamond bit to cut channels into the underside of the larger shell; he then ran the cords through the channels, knotted the ends in pits in the shell, and pinned and epoxied the toggle element around the inside rim of the shell.
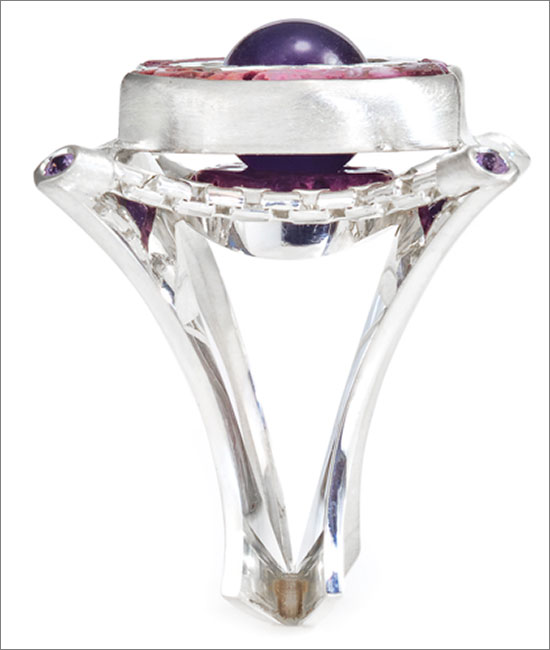
With the central element of the ring design complete but not yet assembled, Roberts and Waynee moved on to the shank. They created a structure that echoes the carved shape of the spiny oyster shell and features a matte finish on the outside and a high polish on the inside.
"I wanted to use a lot of the TRUSilver because it's a great metal that polishes so nicely," says Waynee. "Because of the alloy's high tarnish resistance, it's much nicer to polish because you aren't trying to overcome as much firescale."
After soldering the silver setting components in place on the shank, they added the stiffened chain. "We wanted to keep the corners of the ring flared, but we didn't want them sticking out," says Waynee. On each side of the ring, the designers connected the corners of the shank with a length of hard chain. They soldered tubes to each end, and set a faceted amethyst in each tube. They accented the top edges of the ring shank on both sides with five small diamonds, then completed the setting of the center stone assembly.
Seeing the well-considered end result of this project, you'd never guess it all started with a feeling of dread.
Crisis Averted
Erik Stewart Tucson, Arizona
It had to be a necklace. Erik Stewart was going big with his mystery box masterpiece. He planned to incorporate as many of the materials as he couldincluding almost all of the metalto create a grand statement showcasing the silver and gemstones.
After a few weeks of sketching out designs, he fixated on a 2.5 inch ellipsoid shape and started piercing it out of the TRUSilver sheet. Then he went to solder the piece togetherand he melted it.
"I was freaking out," he says. "My flame was too hot and I melted it. I was so frustrated."
And the clock was ticking.
Stewart had to think fast about what to do with the small bits of silver he had left. To find inspiration in this time of crisis, he turned to his library of MJSA Journals and grabbed the April 2012 issue, which featured last year's Mystery Box Challenge.
"When I saw Gregor? Morin's earrings, I felt a sense of relief," he admits. "Here I was trying to flood my piece with all of the materials, and Gregor? did just the opposite last year: He went simple. I realized that I was way overdoing it with my original concept, so I totally changed my plan."
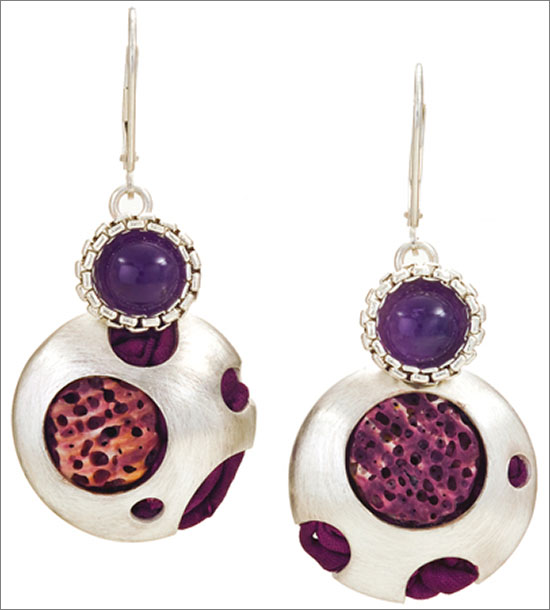
Stewart started reviewing the library of designs in his mind and thought immediately of his Mooncheese collection, which features domed earrings with cutouts reminiscent of craters. The design complemented the organic texture of the spiny oyster shells perfectly, so Stewart ran with it.
He rolled out the remaining silver sheet so he would have enough surface area to create the domes and flat backs for the earrings, as well as the two bezels for the amethyst bead halves that would top them off. He cut out two circles for each earring bottom, pierced the holes, and dapped the domes for the fronts. After soldering the halves together, soldering the bottom assemblies to the bezels, and attaching jump rings to hold the leverbacks in place, he set the spiny oyster shells, burnishing the edges of the pierced holes over to hold the stones in place. To incorporate the silk cord, he simply stuffed some of it inside the earrings to add a pop of color. He tried the olive silk cord at first for contrast, but settled on the eggplant color instead because it offered a better complement to the spiny oyster shell and amethyst beads.
To complete the earrings, he set the amethyst beads, which he had cut in half, using epoxy to secure them in the bezels. He then epoxied a small length of chain around the bezels to finish the settings.
In his race to meet the deadline and produce a piece to which he could proudly attach his name, Stewart realized something about himself. "This project was a solid reminder of how I don't prefer to work," he says. "When designing pieces for my line, I work from a concept and find the best materials to fit that concept, not the other way around."
That being said, Stewart adds that clients often bring him stones for custom pieces that he would never have chosen himself, but he still designs around them. "You do it because it's what you need to do for the client," he says. "And in this case, I pushed myself to a new level, creating a piece from an unknown set of parameters, and making it work despite the stumbling blocks along the way."

In association with
The award-winning Journal is published monthly by MJSA, the trade association for professional jewelry makers, designers, and related suppliers. It offers design ideas, fabrication and production techniques, bench tips, business and marketing insights, and trend and technology updates—the information crucial for business success. “More than other publications, MJSA Journal is oriented toward people like me: those trying to earn a living by designing and making jewelry,” says Jim Binnion of James Binnion Metal Arts.
Click here to read our latest articles
Click here to get a FREE four-month trial subscription.
You assume all responsibility and risk for the use of the safety resources available on or through this web page. The International Gem Society LLC does not assume any liability for the materials, information and opinions provided on, or available through, this web page. No advice or information provided by this website shall create any warranty. Reliance on such advice, information or the content of this web page is solely at your own risk, including without limitation any safety guidelines, resources or precautions, or any other information related to safety that may be available on or through this web page. The International Gem Society LLC disclaims any liability for injury, death or damages resulting from the use thereof.
Related Articles
Hans Appenzeller’s Elegant Designs
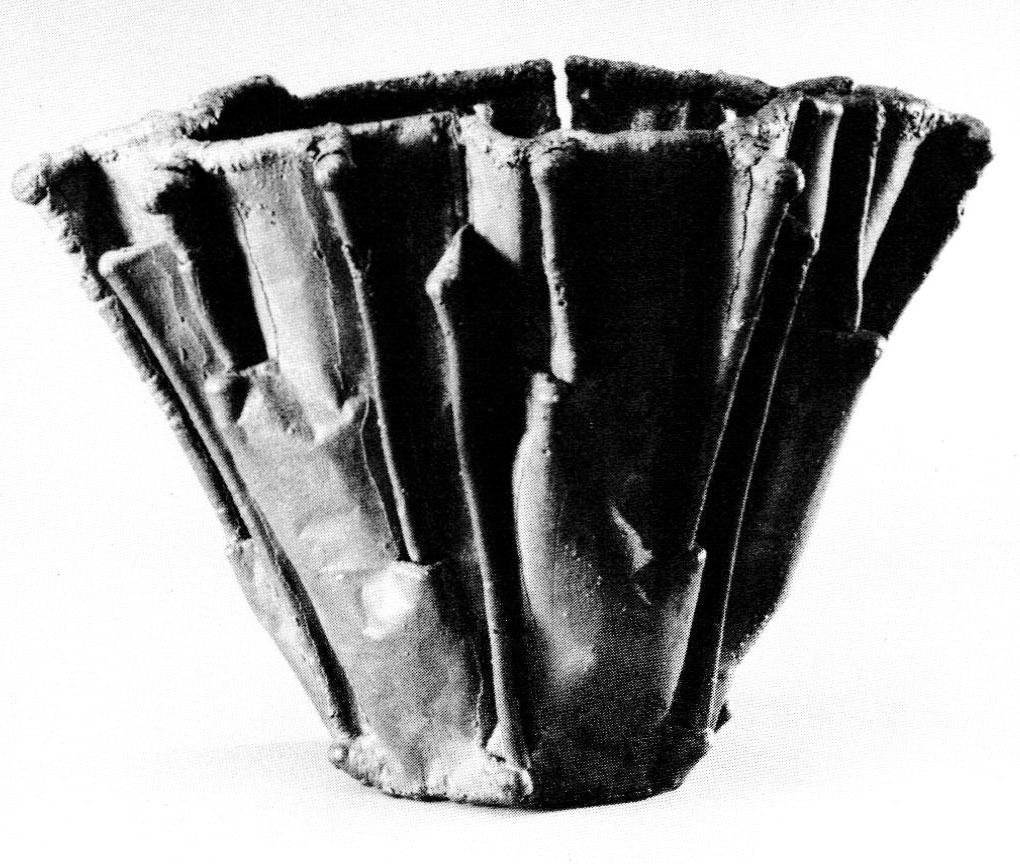
The Work of June Schwarcz

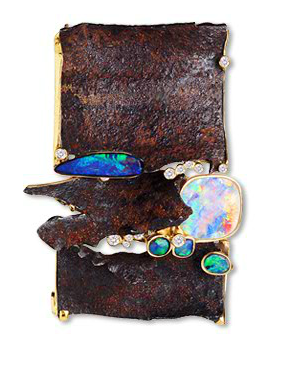
Belgian Contemporary Jewelry Designers
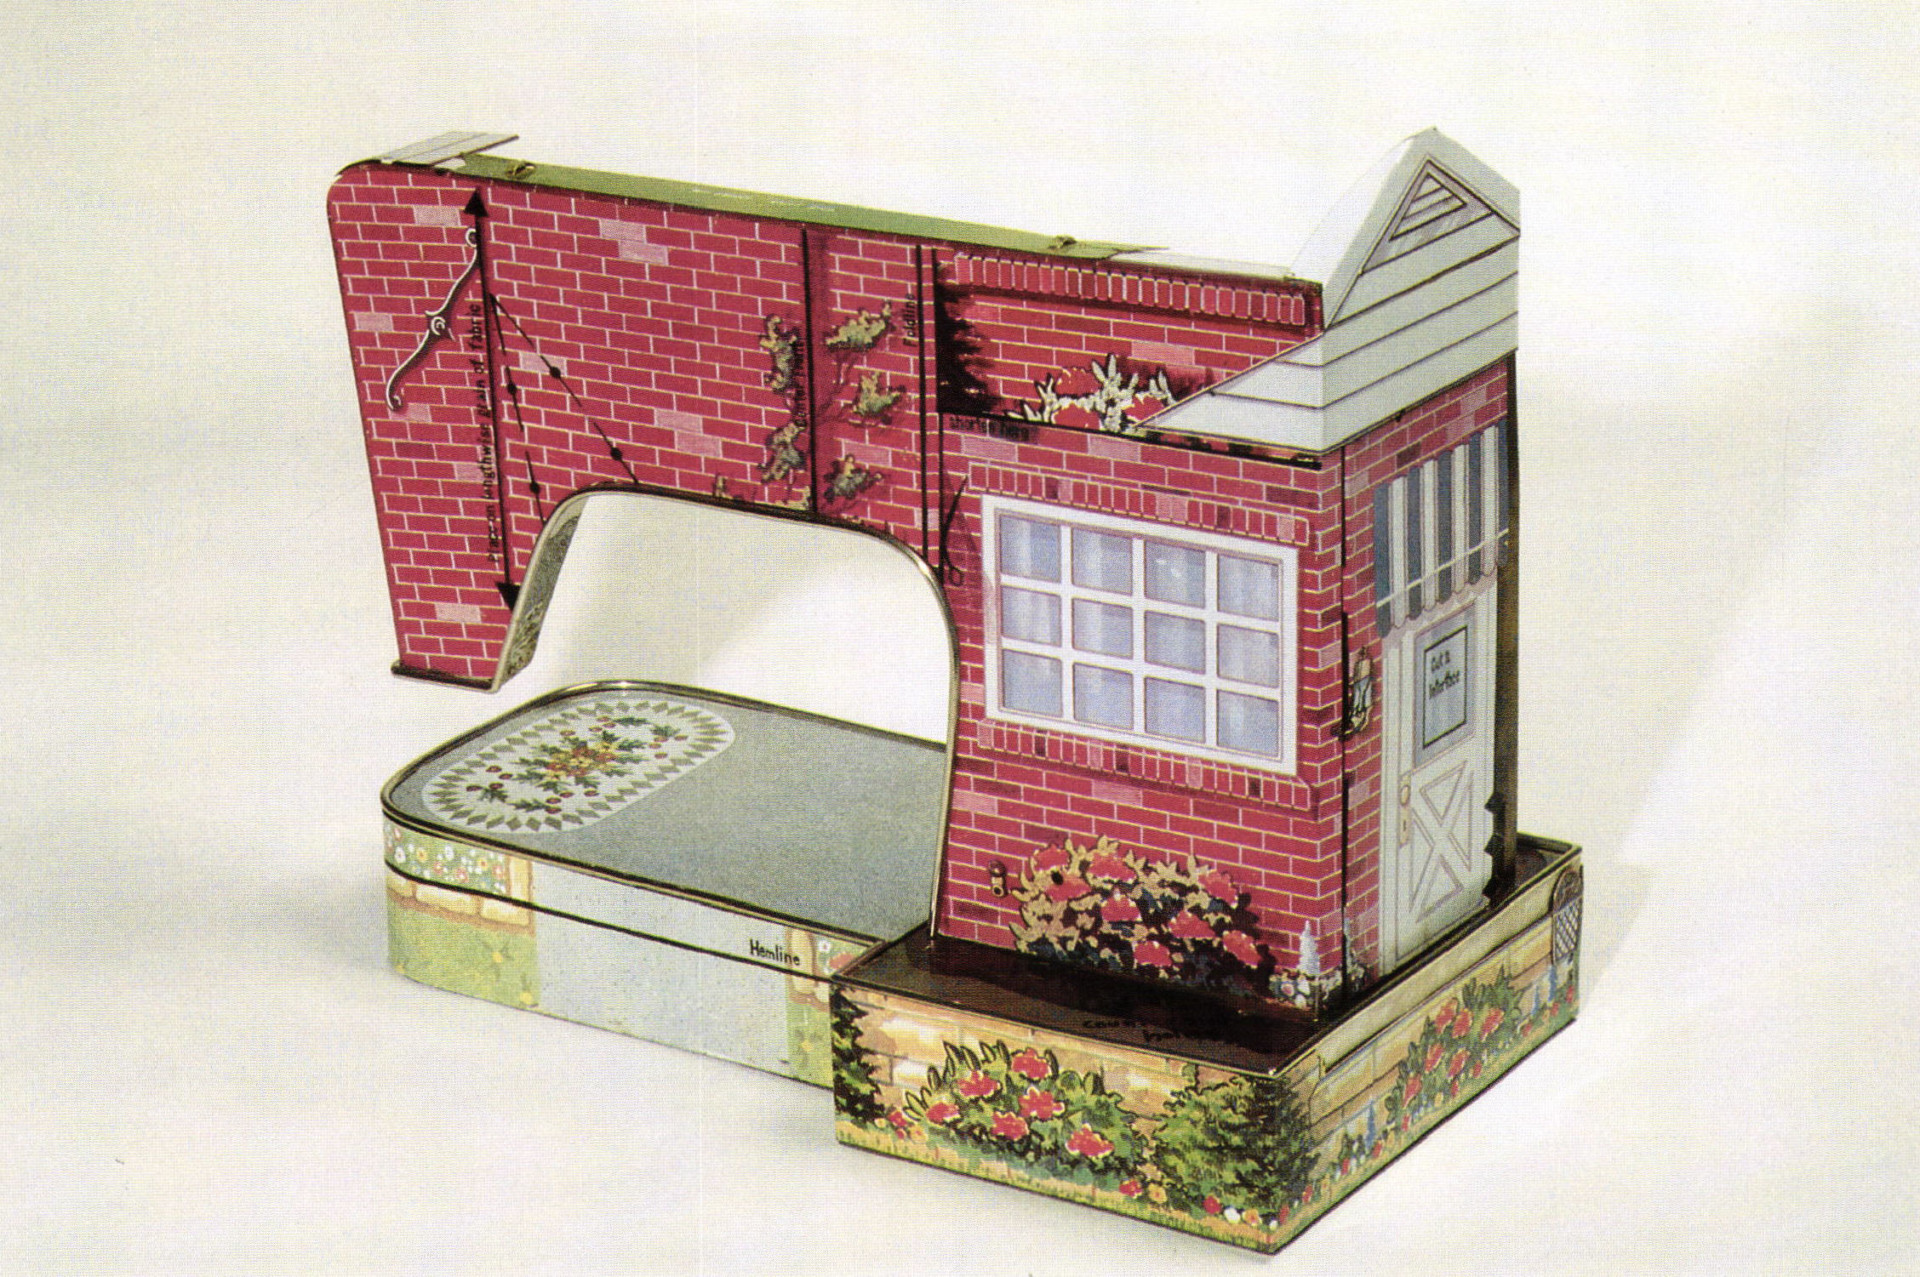
Harriete Estel Berman


The All-In-One Jewelry Making Solution At Your Fingertips
When you join the Ganoksin community, you get the tools you need to take your work to the next level.

Trusted Jewelry Making Information & Techniques
Sign up to receive the latest articles, techniques, and inspirations with our free newsletter.