
Channel Setting Bezels with Customized Pulling Pliers
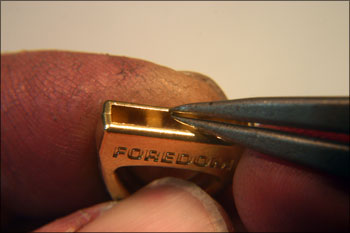
These pliers are used to pull back bezels on channel set rings. This allows you to drop in the stones without thinning the edge to allow the stone to drop in. It works especially well with the continuous channel method that the all-set tool creates. Mark the bottom jaws about 0.25 in from the end.
1 Minute Read
This article by Steve Satow shows how to make a customized pulling pliers for channel setting bezels using pulling pliers #111-137.
Customizing your pulling pliers
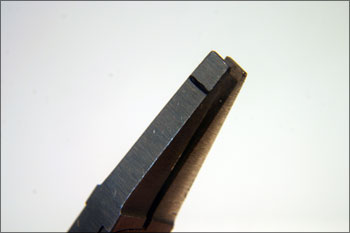 | These pliers are used to pull back bezels on channel set rings. This allows you to drop in the stones without thinning the edge to allow the stone to drop in. It works especially well with the continuous channel method that the all-set tool creates. Mark the bottom jaws about 0.25 in from the end. |
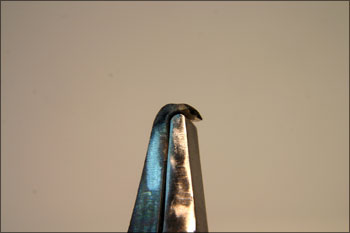
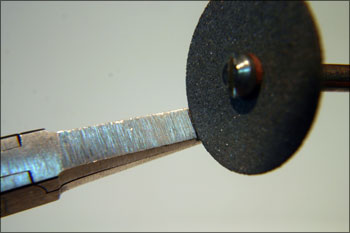 | Use a separating disc to cut off the tip. |
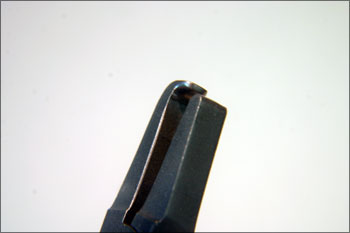
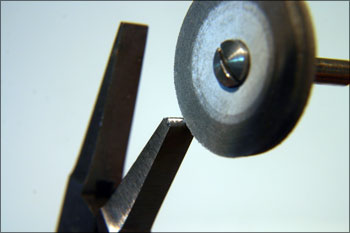 | Use a abrasive wheel to make a gently rounded end on the bottom jaw. |
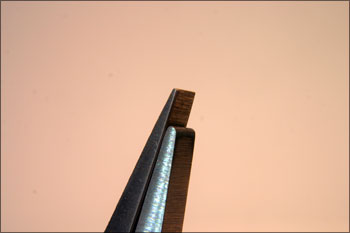 | Mark the upper jaw where the lower jaw ends. Open the jaws in order to heat them. |
 | Heat the tip until cherry red. Then close the jaws and pound the tip of the upper jaw around the tip of the lower jaw. |
 | Round the tip until the end has a gentle curve both around the end and on the inside of the tip. The curve on the inside allows you to pull metal without tearing at the outside corners. |
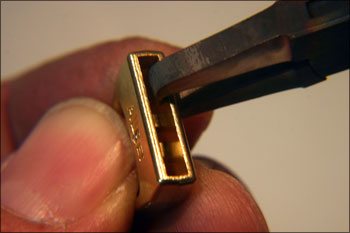 | Test the tips to make sure they will grip the bezel correctly. |
 | Open your dividers to the depth you would normally set the stones. Scribe a line inside the channel on both sides. Cut a groove with a allset tool or if your steady enough freehand. |
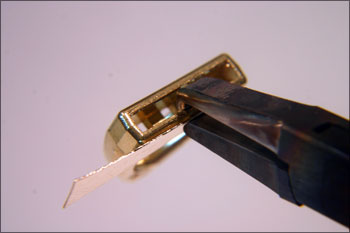
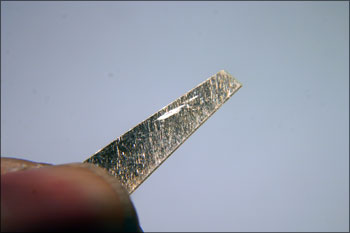 | Cut a piece of silver solder to use as a scratch shield. |
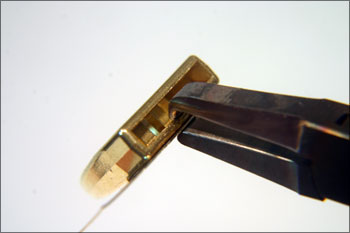 | Place the piece of solder between the jewelry and the pliers. |
 | Gently pull back on the bezel move to the side and pull a little more until you can easily slide in one of the stones your setting. |
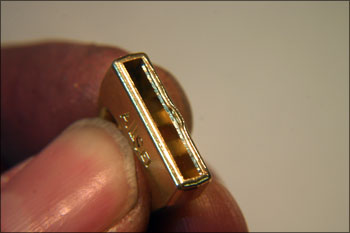 | You can see how the metal pulls back easily. After you have all the stones in place you can use some bee's wax to make them all stay until you tighten the bezel. Then steam away the wax. |
 | Side view of ring with no dent because we used the silver solder as a shield. |
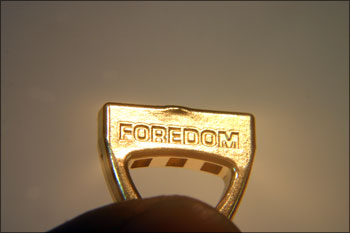
 | Because we pulled back the metal we didn't have to do a deeper undercut on one side to allow the stones to drop in. This often makes one side of the bezel thinner or makes us use bezels thicker than we need to make sure their heavy when were done polishing. Here we never bur the metal away we just pull it back. |
Related Articles

Customized Beading Tool Retipper, Trays & Polisher

Customized Earring Setting Pliers

How to Make Straight Wire Holders

Modified Super Tools


The All-In-One Jewelry Making Solution At Your Fingertips
When you join the Ganoksin community, you get the tools you need to take your work to the next level.
