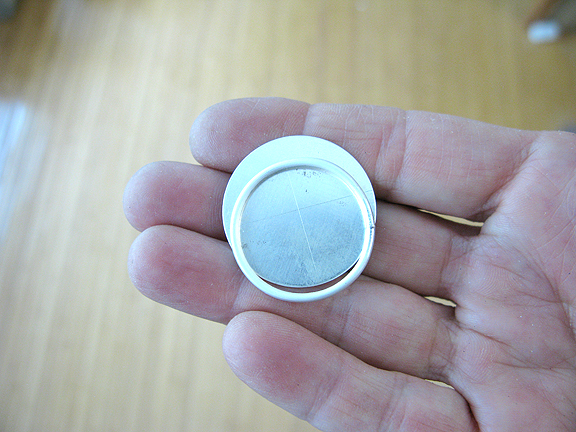
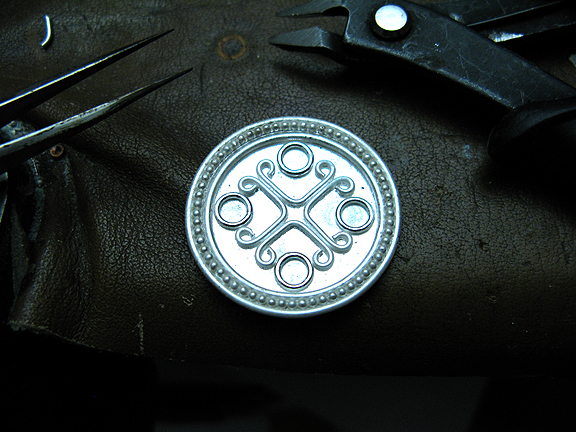
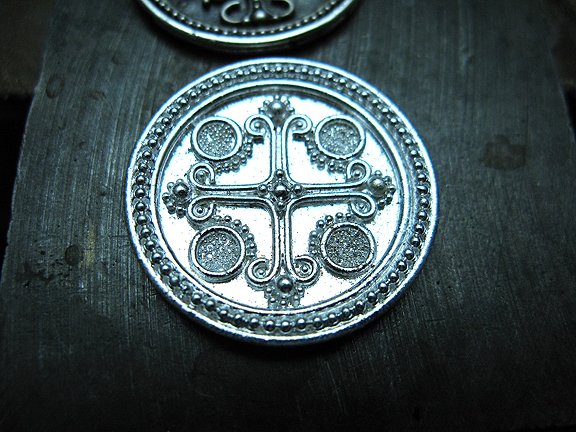
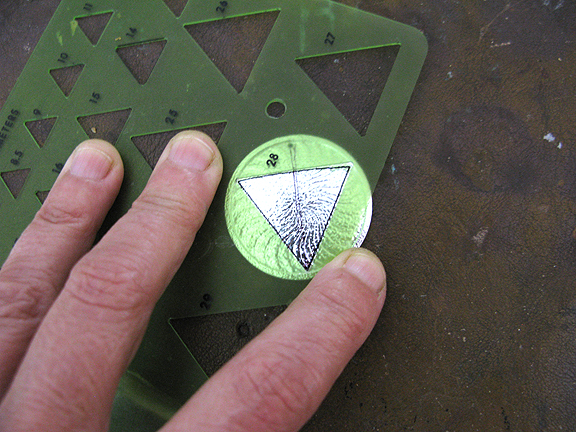
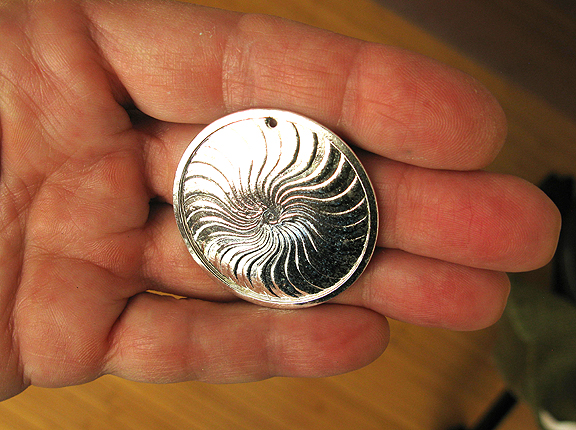
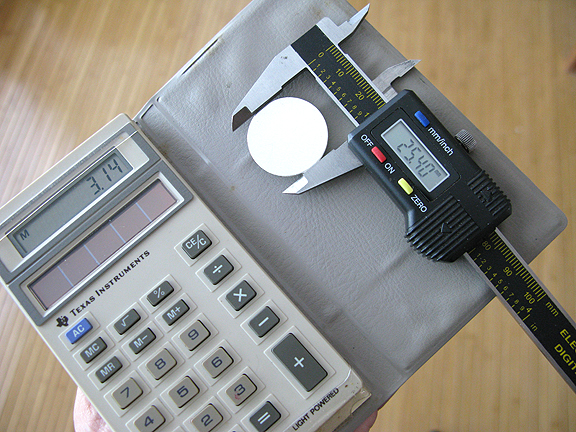
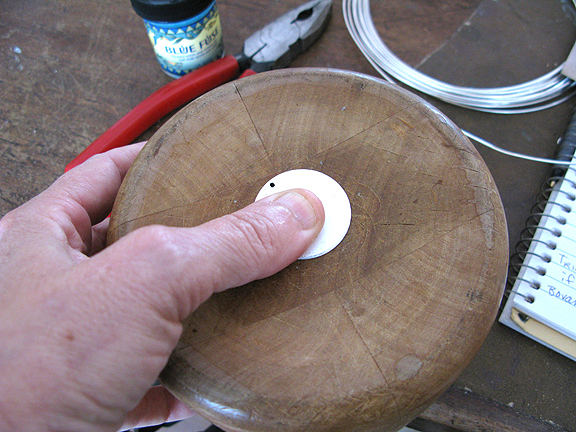
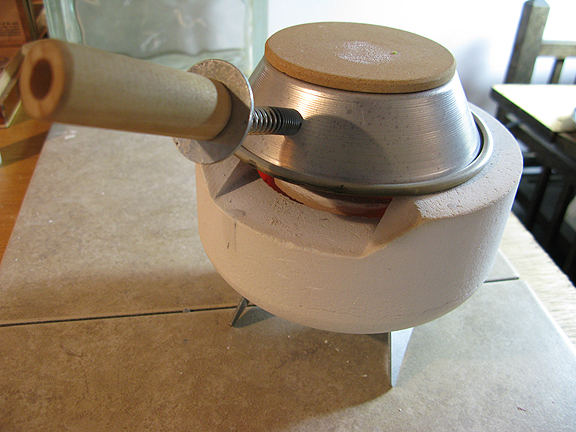
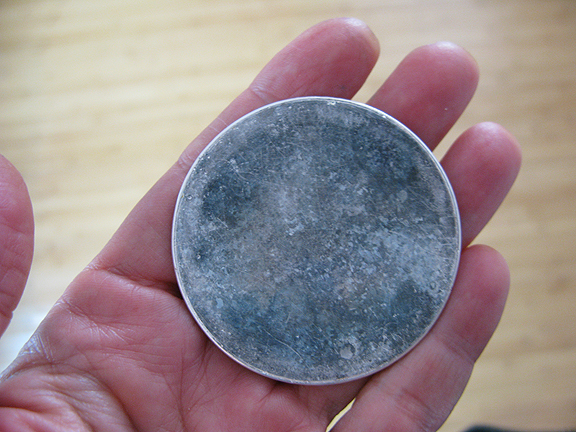
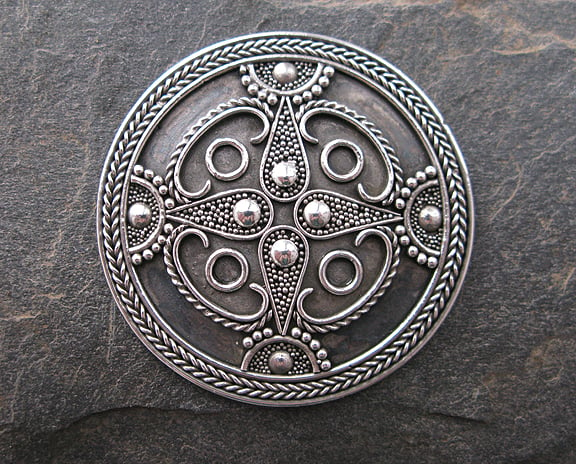
I’ve returned to the bench after a hiatus, and need to sharpen my skills in granulation. As I love English history, and all things Game of Thrones, I will make a simplified Anglo Saxon Disk pendant.I start with a fine silver disk, size 1 and 1/8 inch, or about 29 mm. The thickness of my silver disk is 24 ga, which is what I have on hand. The project would be to be 22 ga. or 20 ga, which would be less inclined to melt, but I am in the mood to make it work. |
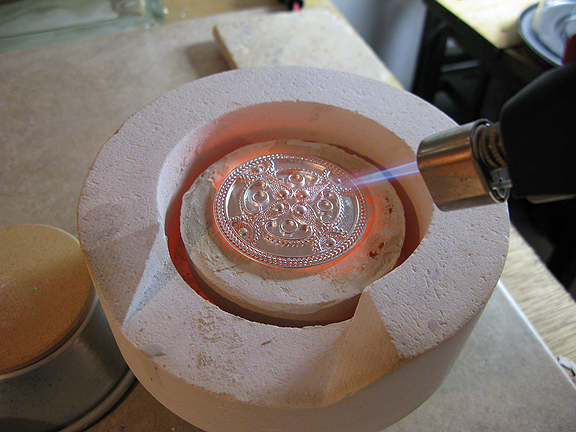
The Anglo Saxon disk: Granulation on Silver
Tuesday, May 9, 2017


Basse Taille and Cloisonne Pendant: Part IV
Tuesday, March 28, 2017
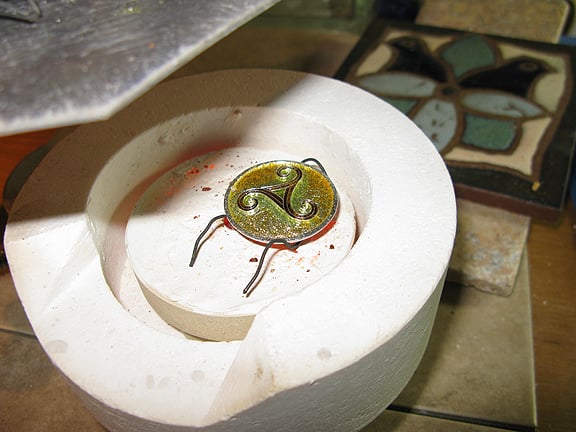
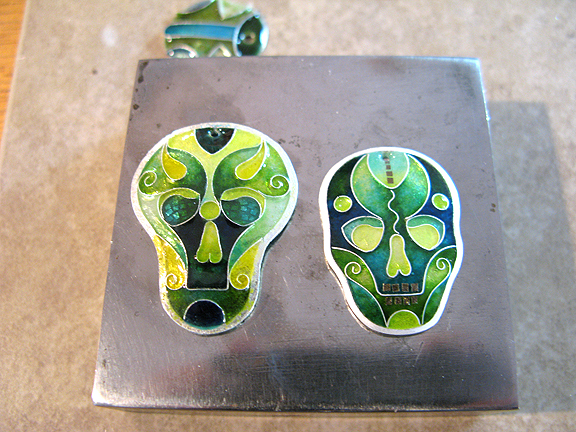
| I am now adding the first layers of enamel. Although I will not photograph all the layers, it will take may 10 layers or so to fill it. You could pile it in, but it is better to layer thinly, and you can change the colors as you work your image.
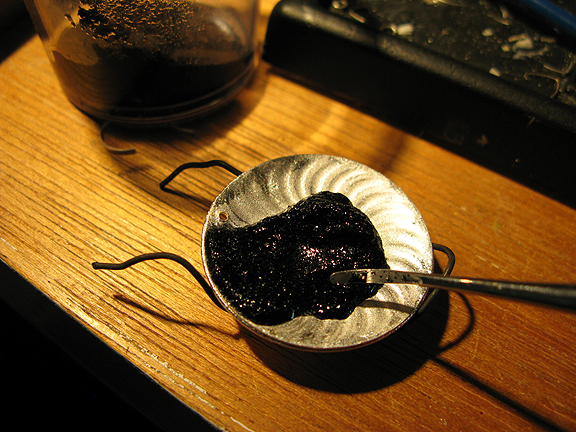
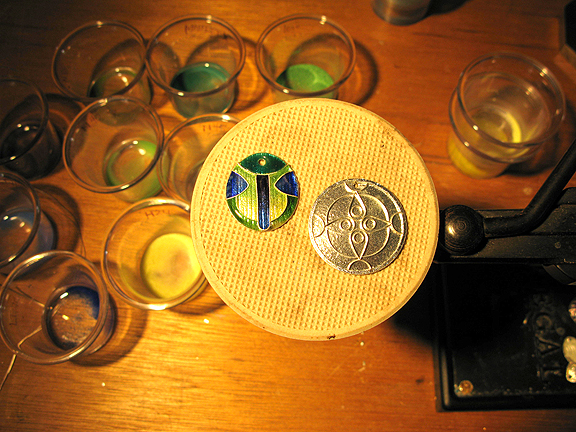
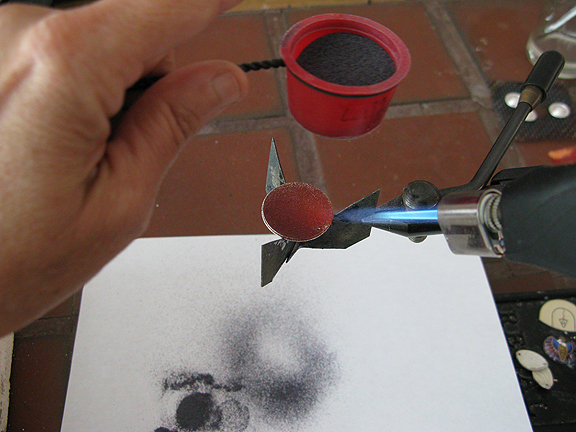
Enamel on most any metal requires that you put a coat of glass on the back of the metal, to balance out the coefficent of expansion differences between the metal and the glass. Most enamels that you purchase have an expansion rate designed to work with silver or copper, and if you are doing stained glass (enamel on glass) that is a different expansion, and different enamels. Here I am applying black enamel to the back. In short, if I don’t, the front will crack and flake right off.
Here is the enamel, drying on top of my teeny tiny tabletop kiln. Since I make little things, I like this style of kiln. I can just put things in and out with tweezers, no walking around the room with a firing fork.
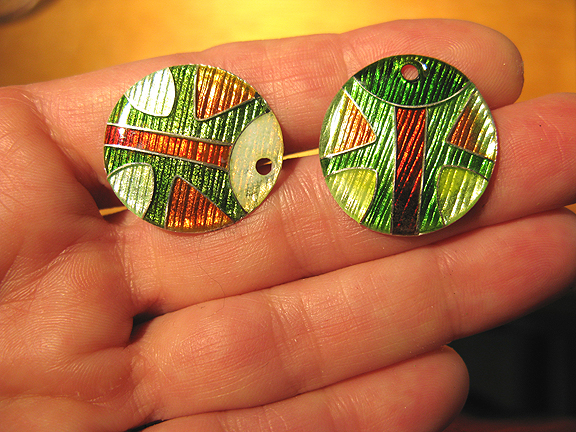
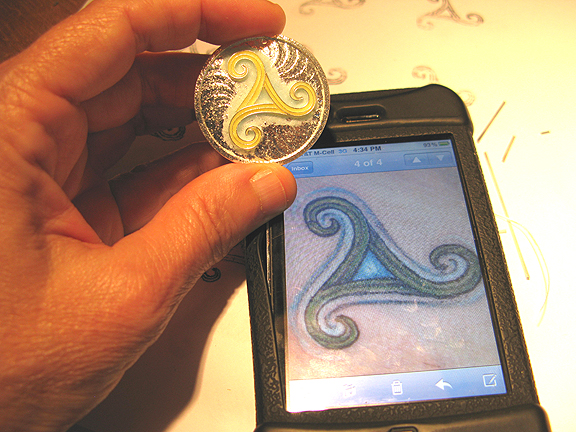
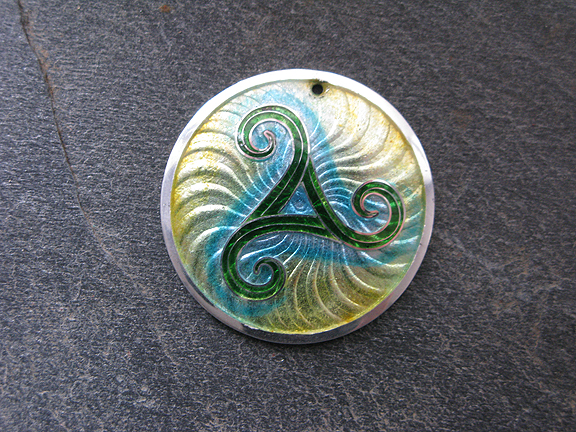
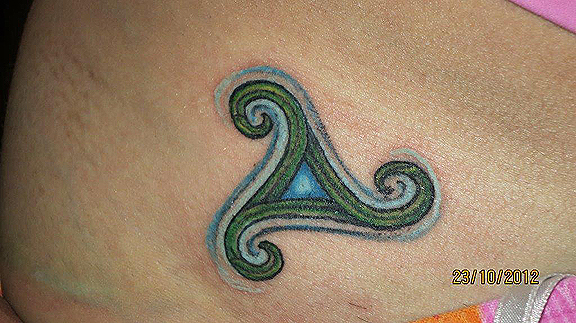
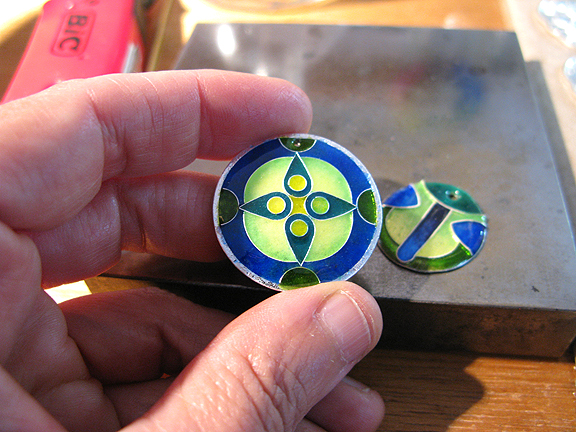
Here I am trying to capture the loose blue line in the original tattoo image, by adding enamel without the boundaries of the silver wire.
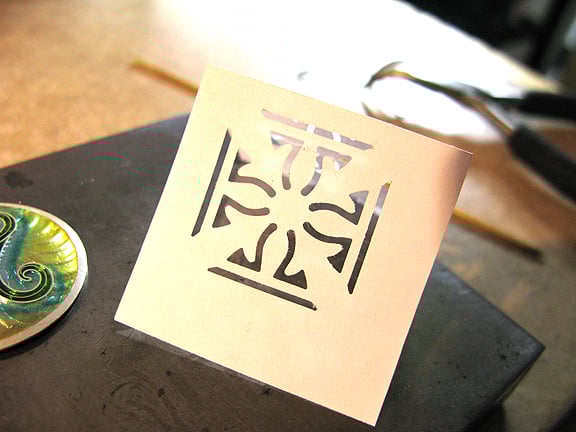
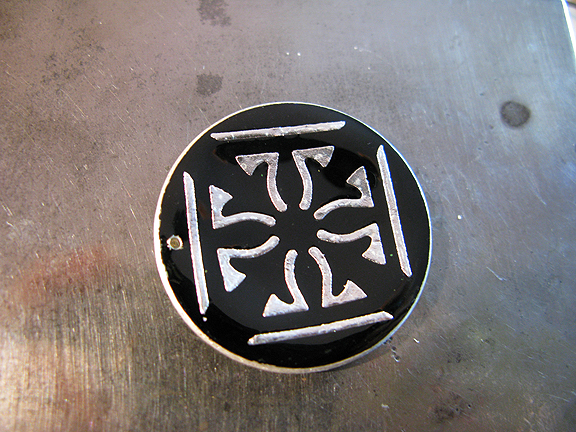
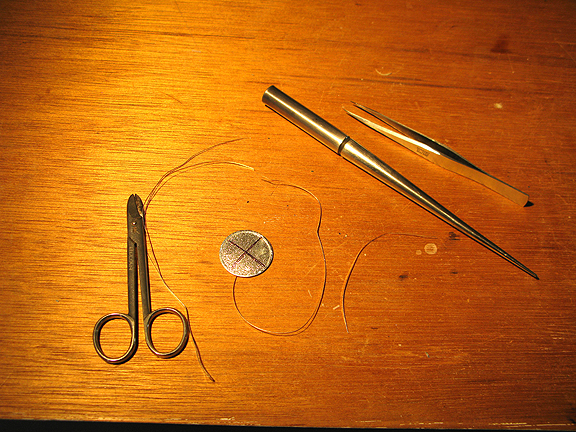
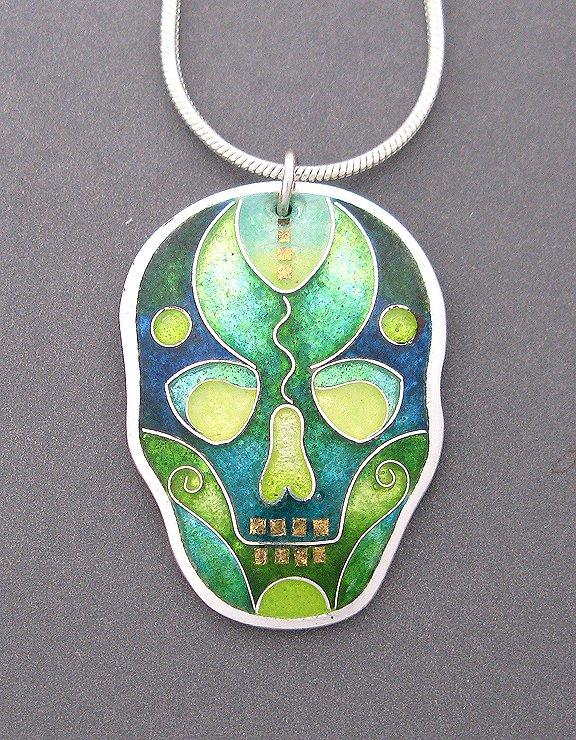
This is a cutout made by a punch that I used to create some silver detail for the back of the piece, just to make it a little more interesting. In case it turns over on the lady’s neck, there will still be something to look at. And here is the final project. I choose yellow to match her hair. |

Basse Taille and Cloisonne Pendant – Part III
Friday, October 4, 2013
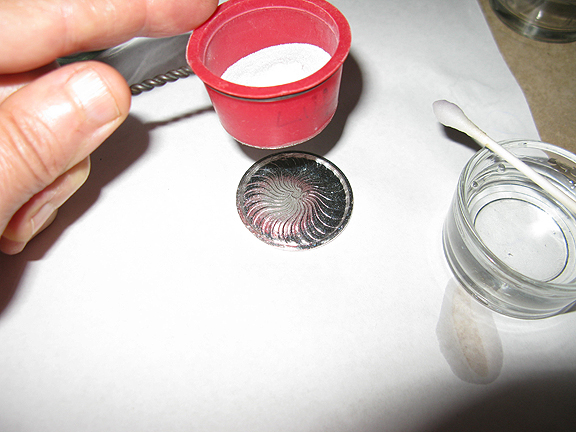
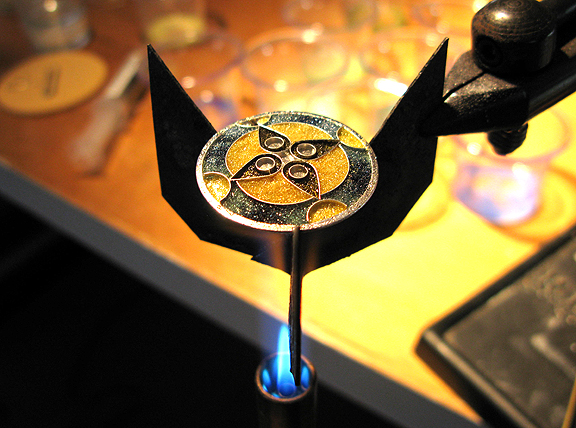
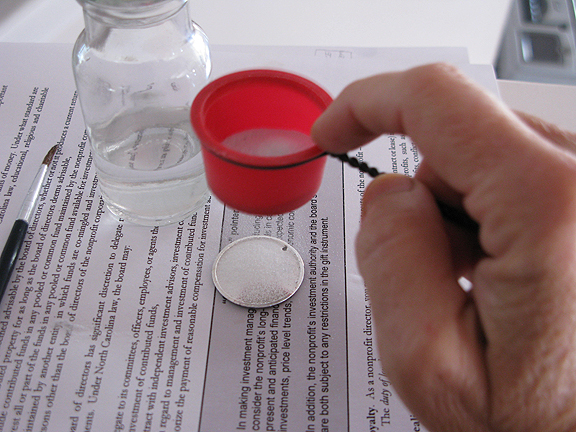
| When beginning an enamel, you first must sift a little clear glass onto the base, which will act as an adhesive for the wires. Since my next step is to bend and attach wires for the design, I am here sifting on a thin coating of Bovano #3, the clearest clear I have found.
I use alcohol instead of water to help the grains of glass stick, as it evaporates away fast and there is less chance of it muddying the clarity. It is best to use a thin coating, like snow in North Carolina. And heat it. I use an ultra-lite kiln, good only for a few things, but I like it for what I do. You can also just use a torch, it works fine, just heat it from below. I have other posts on torch-firing, if that is your interest.
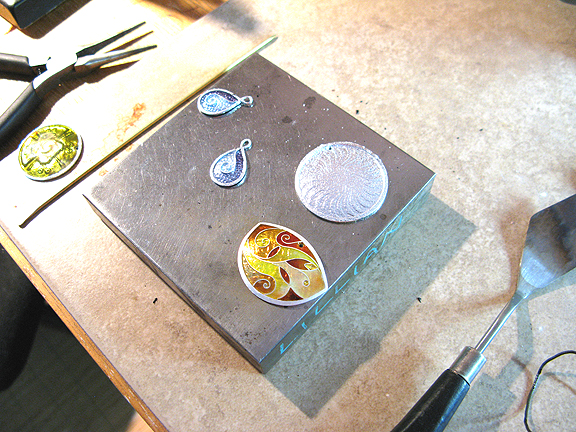
And there it is, cooling on a steel block, which sucks the heat right off. There are some other projects waiting for some attention.
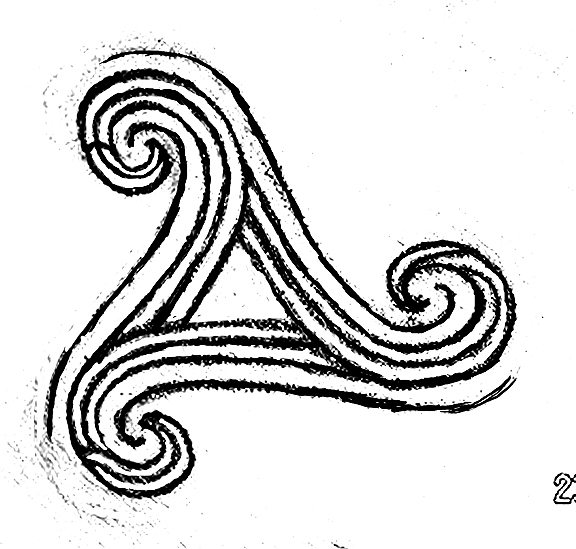
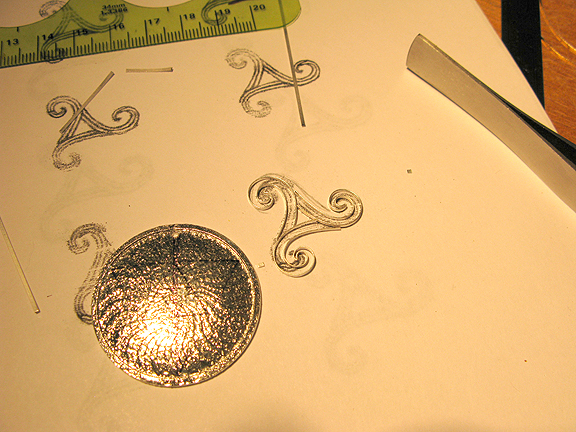
OK. So this is the commission: match the tattoo. On the surface, this would appear to be fairly similar to the designs I already do, but once I start really looking at the design, I realize I’ll have to use some technology to make a replica, or get even close. So I fire up the old Mac, with the ancient copy of photoshop, and pull out the lines from the photo. I always make a sheet of various sizes of the image, because I am measurement challenged, and can’t envision the exact size without looking at it on paper.
The outer line I will draw with enamel, rather than using a wire. I think this will be closer to the tattoo.
Here I am using a sharpie to put some guidelines on the base. The sharpie will burn away when I fire on the wires.
I use the drawing to work over and golly, this was a whole lot harder than I thought…so after a struggle,
I think I have what I was looking for.
|


Basse Taille and Cloisonne Pendant:Part2
Friday, September 27, 2013
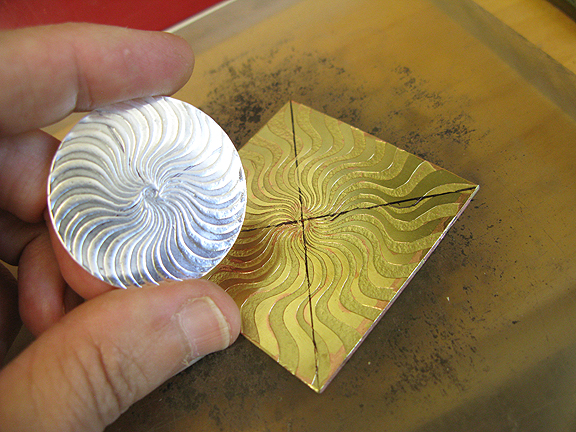
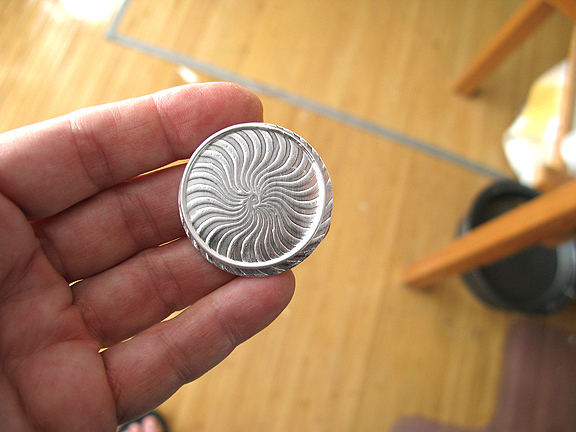
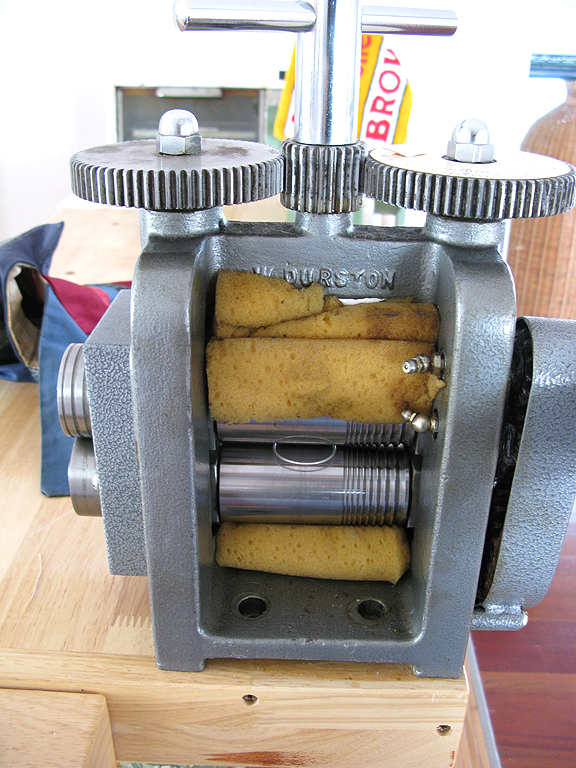
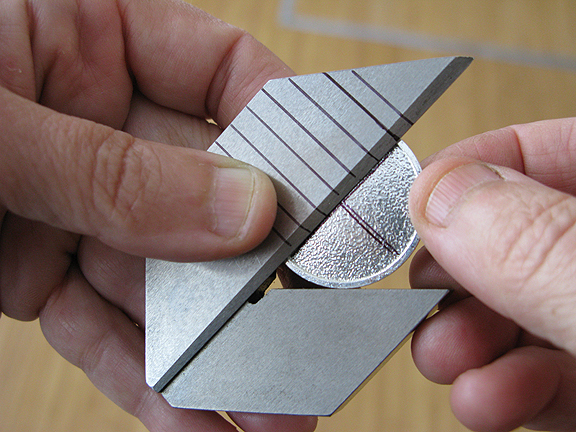
| Continuing from the last post, I am now going to use the etched plate to create and fine silver base for the enamel. I could use a rolling mill, but that would distort the image.
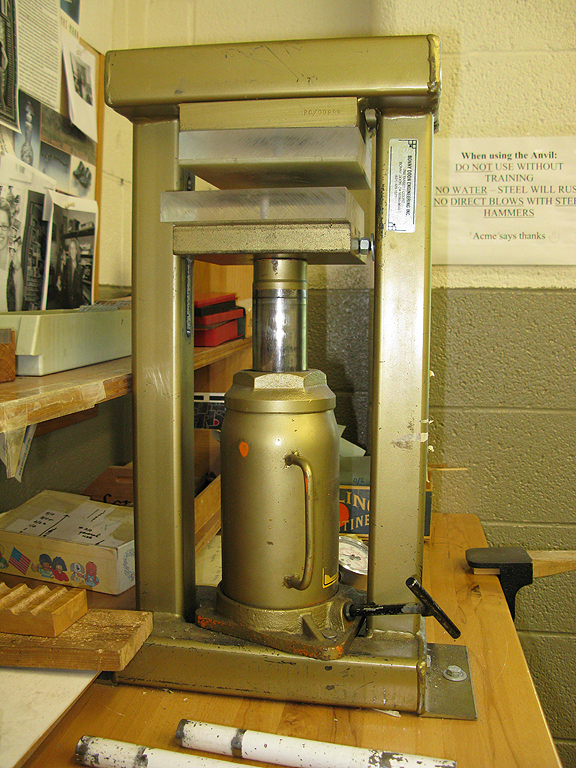
So I will use the hydraulic press instead, which applies pressure directly down and will not stretch the silver.
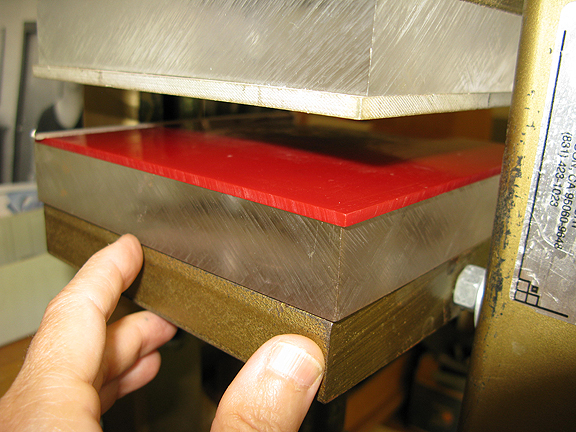
I’ve carefully marked both the silver and the plate, and taped the urethane to the edge of the lexan block, so it folds straight down and doesn’t shift the silver when I close it. You can’t use anything to secure the silver to the brass because it will be printed into the piece.
I put the silver, brass plate, urethane rubber pad and two lexan blocks in the hydraulic press, and jack that sucker up.
And it looks OK. (Whew!) I only used about 4000 psi, I could anneal and go again, but I’d never get the silver exactly back into the right place, not worth the risk.
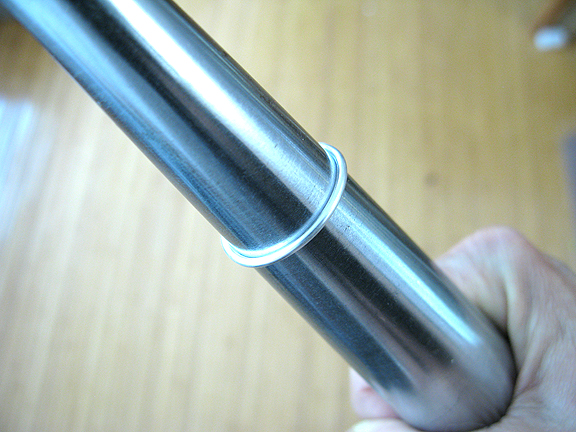
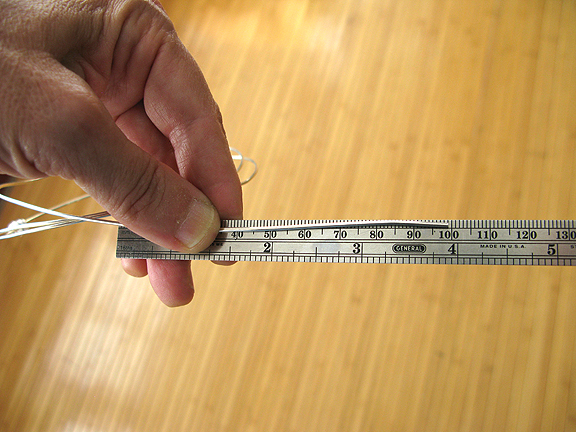
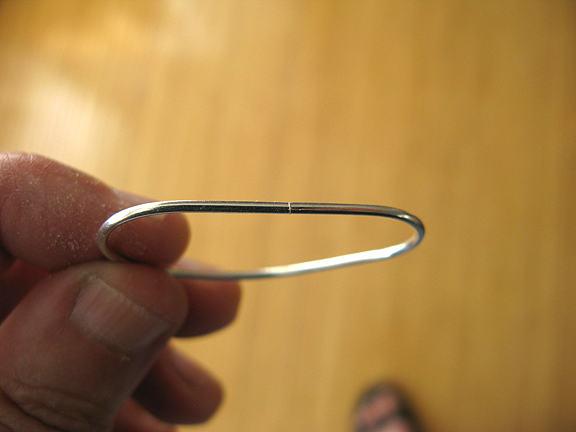
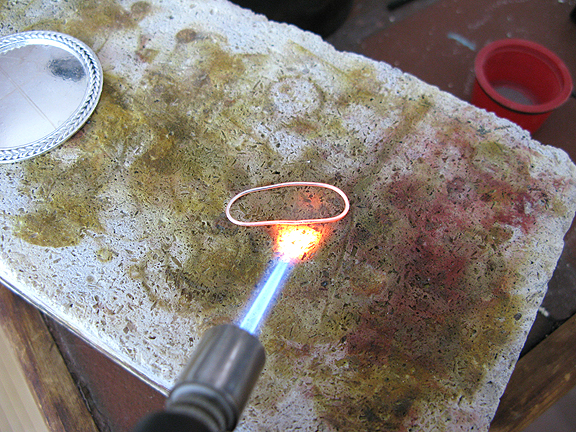
Now for the rim, I do some math and measure out some 16 ga. fine silver wire. All the silver must be pure silver, never sterling, because I am going to fuse it all together. This means melt it together without solder, which is the best way if you plan to enamel it. Pure silver has a much higher melting temperature than sterling, and any speck of sterling, or solder would burn a hole in the piece when brought up to fusing temps.
Make a nice neat joint, and spring the two ends of the silver together. Somehow, this makes it fuse better.
I use butane and a Very Clean firebrick for fusing. I learned from my friend Iris, the mistress of fusing. You can see her at www.sandkuhler.com
OK, so it doesn’t look that clean, but there is no flux or old solder there.
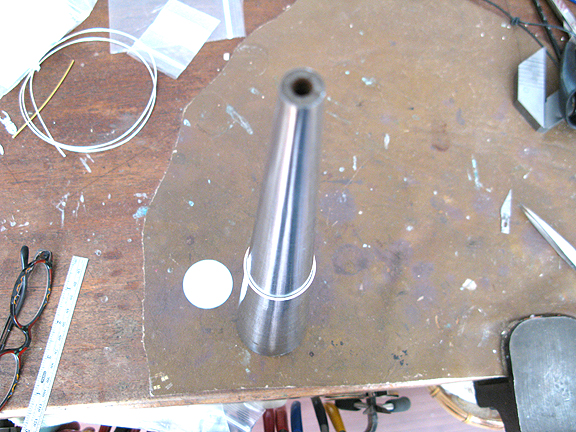
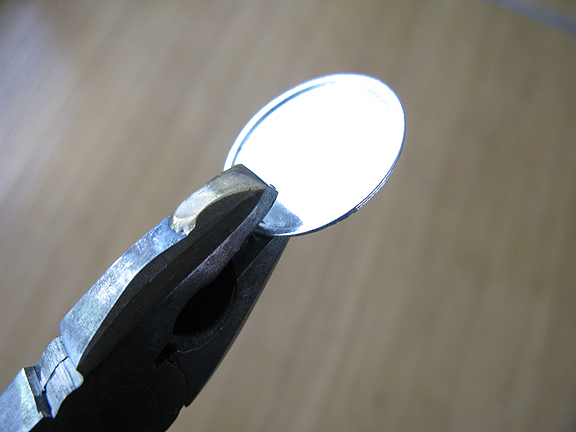
Make it round on my favorite mandrel.
And note that it is too small. But, I am going to flatten it in my mill, so I needed to allow for the stretching that will happen. Here I carefully roll the circle, changing directions to keep it roundish.
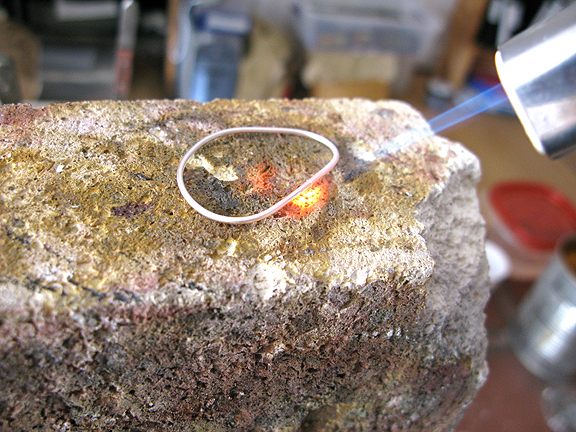
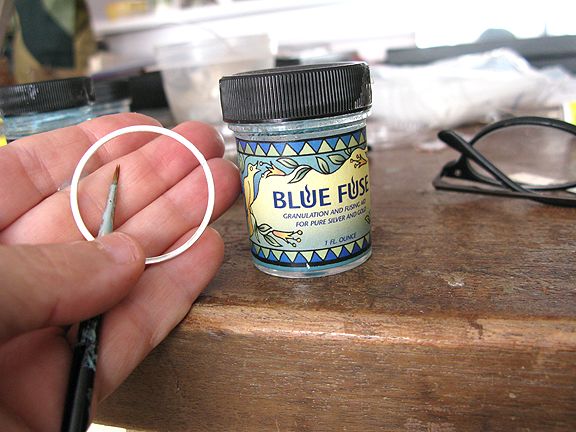
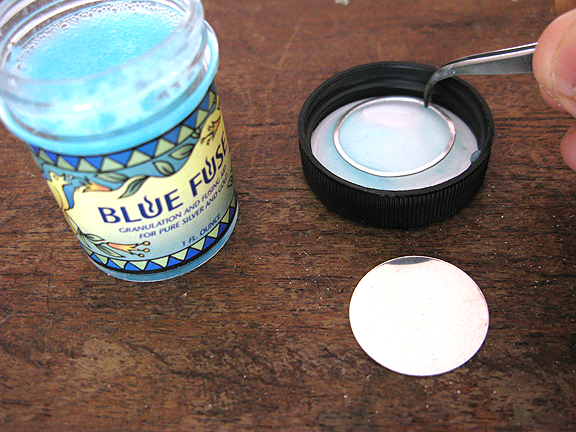
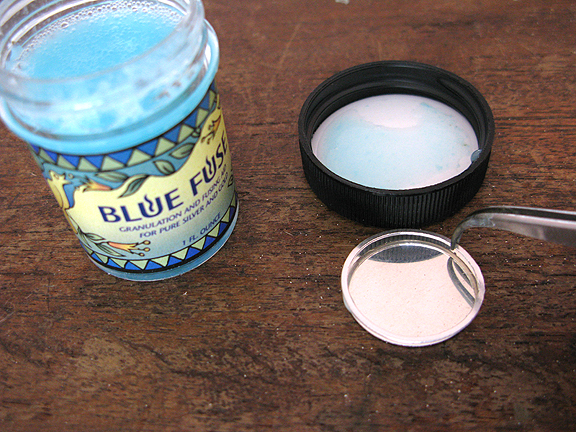
I use Bluefuse as a fusing aid for the final fusing. It is a solution of copper salts that cause the silver to melt a little sooner where it is applied. It is the same technique used with granulation See here for more on that.
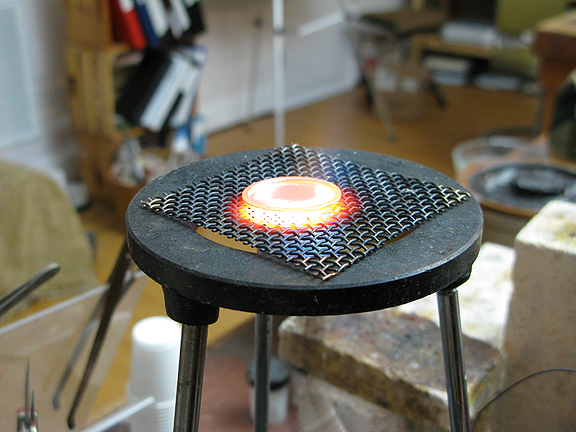
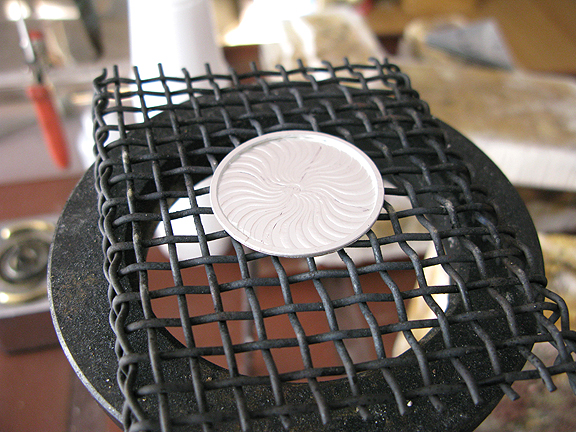
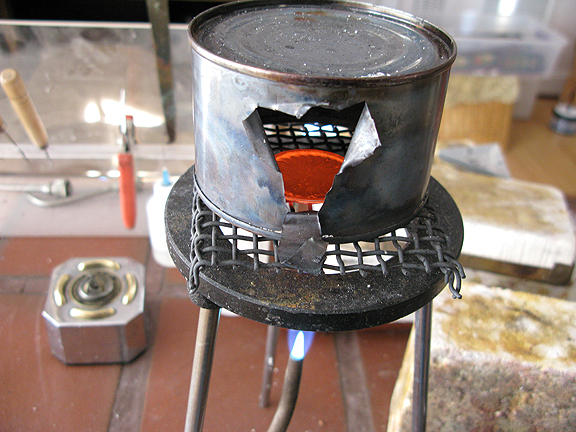
And here I set it up on a tripod. This fusing must be done in total darkness, or you will melt it. This is the secret to granulation and all fusing. Darkness.
I achieve this during the daytime with the aid of a tuna can. At night, I just turn off the lights.
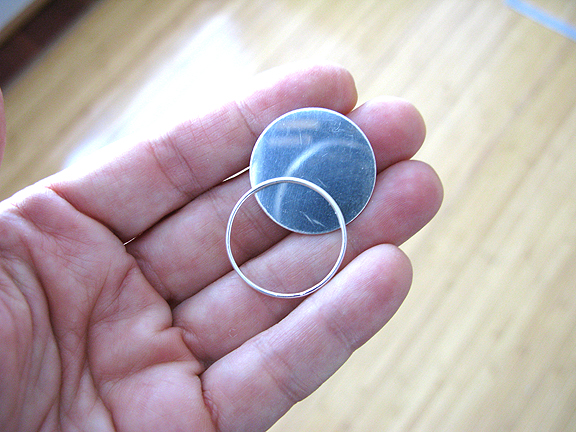
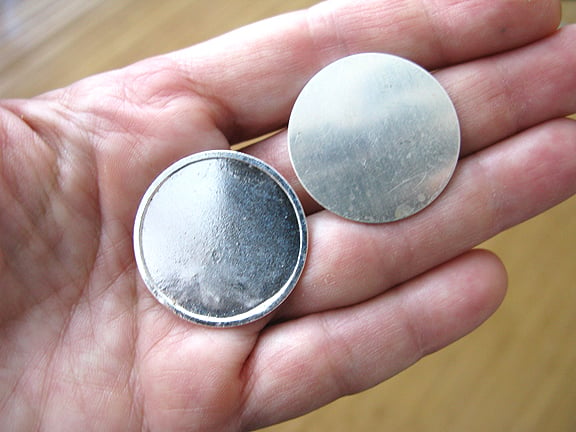
There it is, nice and shiny and fused together. The fused shine will hold up under the enamel, whereas a polish will not.
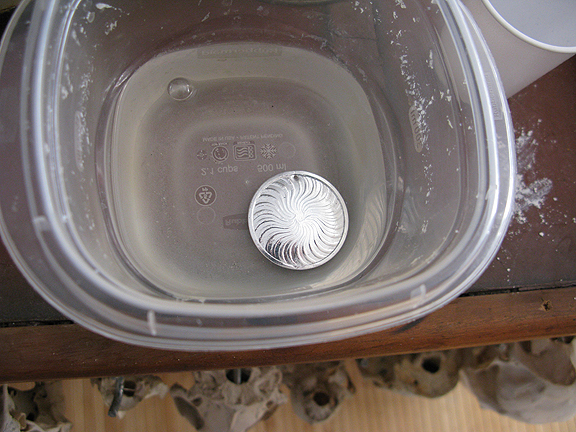
And I keep it in white vinegar until I am ready to use it. I don’t have any reason for this, other than it works, and I am superstitious.
|


Basse Taille and Cloisonne: Making a Triskele Pendant, part 1
Saturday, September 21, 2013
|
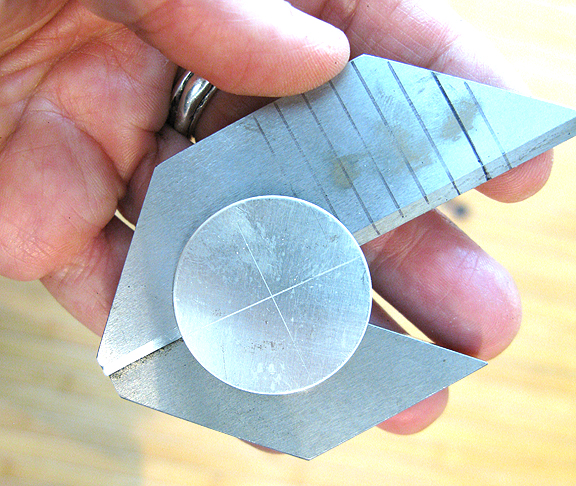
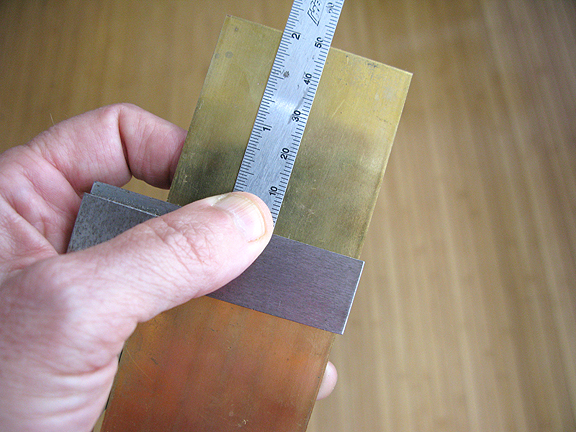
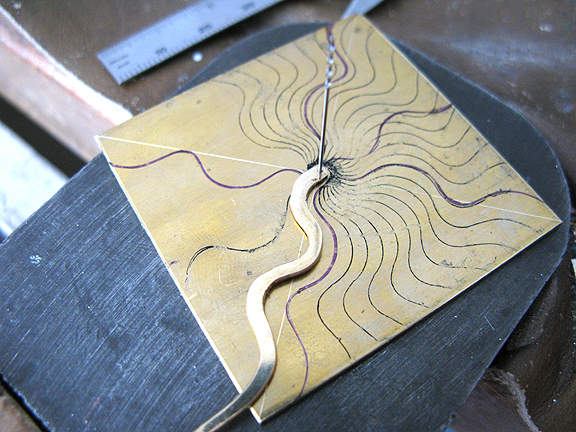
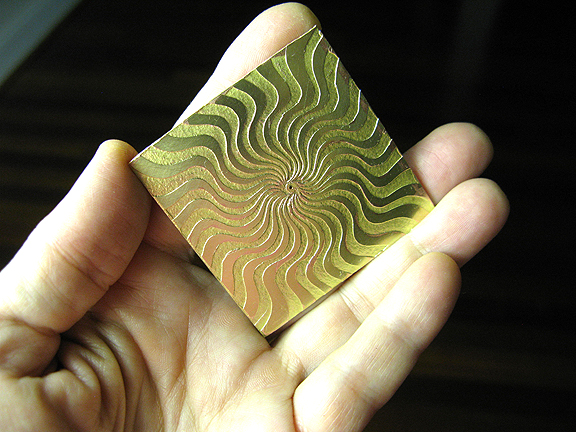
I want to make a triskele pendant, and have lately been interested in the surface that is under the enamel. For my first step I am going to create a new texture plate for this particular design. I’ll start with some heavy brass sheet. This is about 14 gauge, and I’ll cut a square that is 2 x 2 inches.
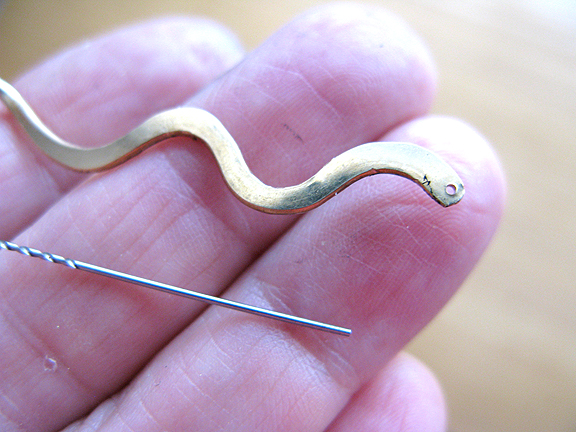
I had a cool idea about how to get the kind of image I wanted, so for this I find the center, tap a dent and drill a little hole.
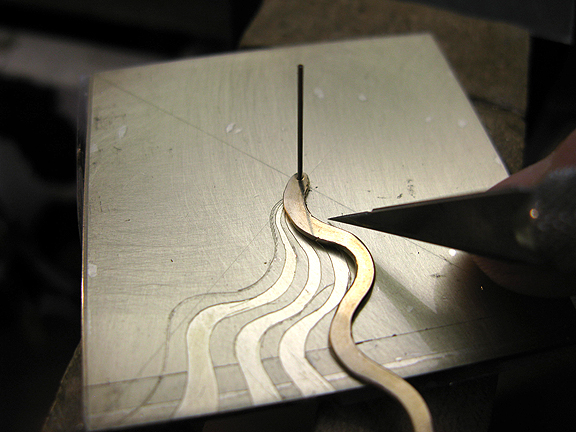
Next I forge a curvy wire and drill another little hole with the same size bit.
Using the drill bit as a pin, I am able to rotate the curve all around the sheet. It is a little squirrelly but looks interesting.
Since I need to etch the brass, I first cover it with clear packing tape, and then I cut the lines using a sharp blade and the brass wire as a guide. It looks larger in these images than it is, and this was painstaking.
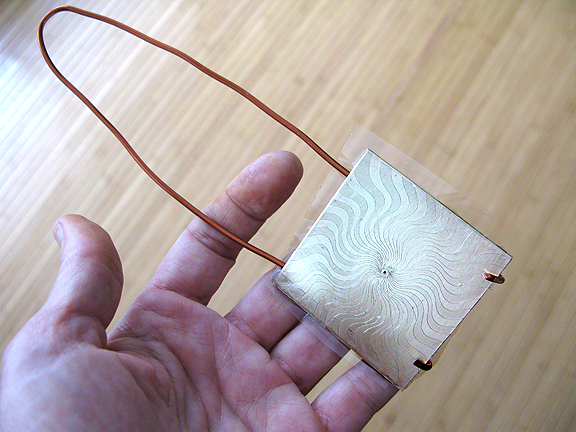
Here it is with all the tape cut and peeled away. I’ll electro-etch away the surface of the exposed brass.I like the way the hand drawn curves multiply, both mathematical and natural at the same time. Below I’ve taped some coated copper wire to the back of the piece, and I hope to establish a connection
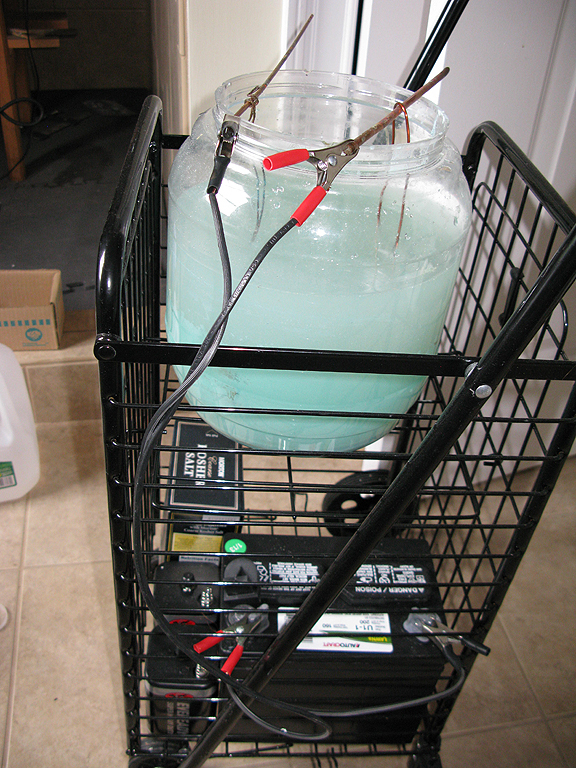
Here is my etching rig: a salt water bath with a copper anode and a motorcycle battery. It is pretty simple and not as messy as ferric chloride, but a lot more fiddly. So far I have not shocked myself with it. So here is the final plate. I’ll be interested to see how it prints the silver, which will be the next chapter of this project.
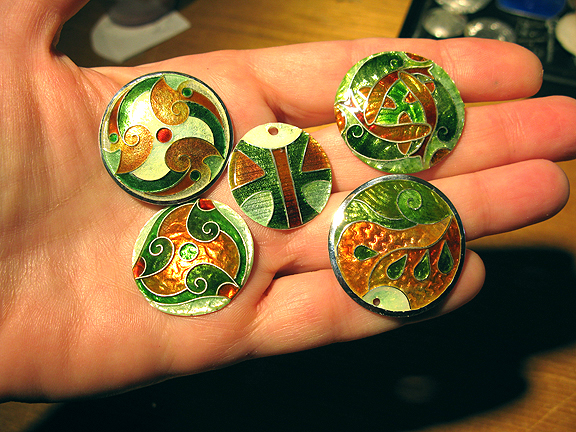
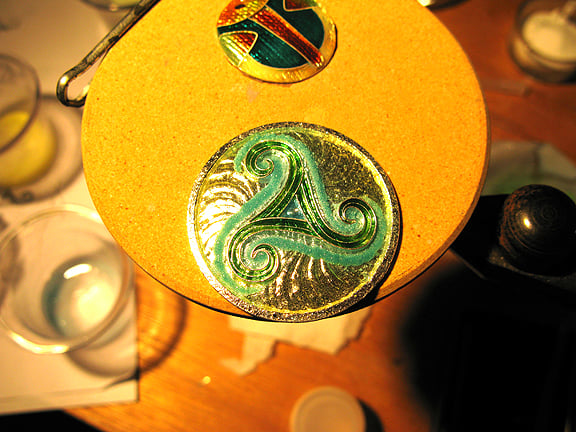
I like it. It reminds me of these.
|


Torch Enameling: Cloisonne on Silver Part II
Wednesday, September 26, 2012
| This is the last part of a tutorial on torch enameled cloisonne.
In this picture I have picked a color pallet of green and blue and yellow.
And here I’ve filled the cells.
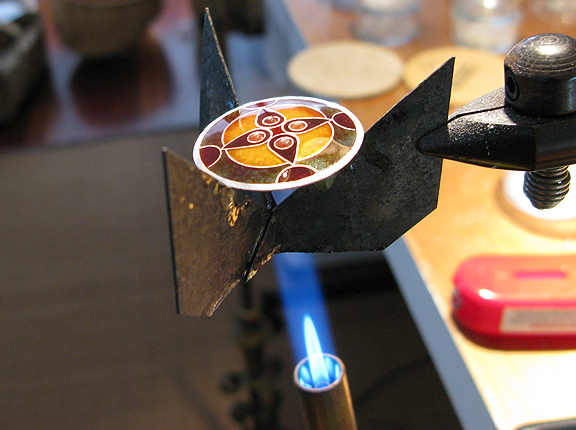
Firing with mapp gas, and a cheap little torch tip from Lowes.
And there it is, filled with enamel.
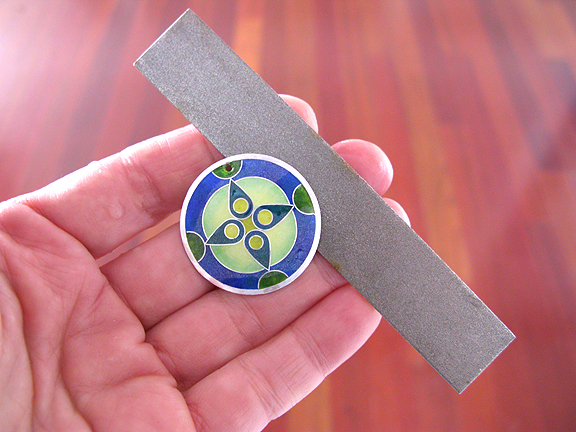
I have stoned the enamel down with a diamond hone.
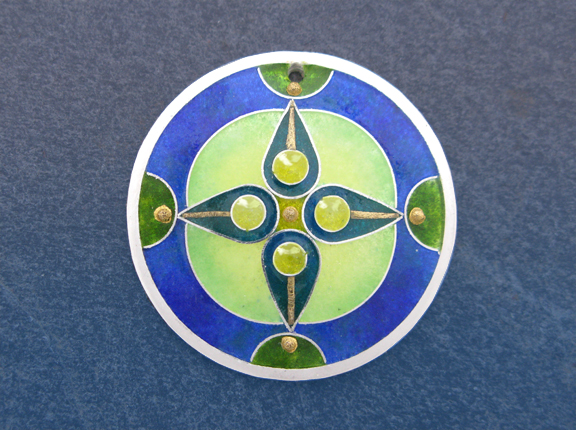
Adding some decorative elements, as it is a rather plain design.
And finished, all done with a torch.
I made this for a friend who is always lost. It reminds me of this granulation piece I made as a class sample.
|


Torch Enameling: Cloisonne on Silver
Tuesday, September 25, 2012
| I had a great visit with Patricia White of Grains of Glass, the coolest enamelist’s website out there, and she mentioned that the current trend in enamel is ‘torch firing’. I enamel on silver, and torch firing is super easy and cheap, and can look great. I use propane and butane for this, either of which can be purchased at the local hardware store from less than $20.
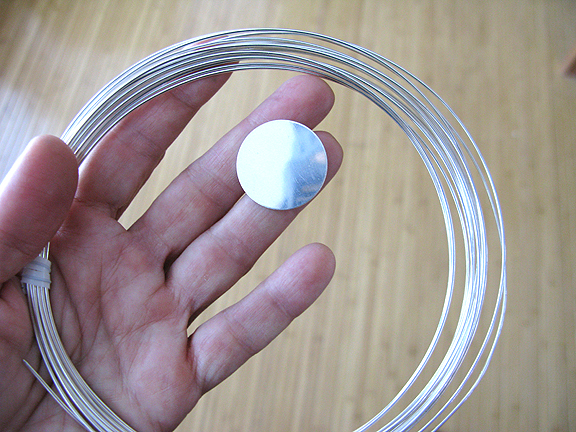
So I decided to make a tutorial. Turns out it’s really easy to get the bright beautiful cloisonne on silver that I usually get with my kiln, except the back is black, which is not really a sacrifice. So here goes. I start with FINE silver, a disk and some round wire. Sterling doesn’t work.
I am going to fuse a rim onto the disk, so I start by measuring the disk.
And cutting a length of wire a little less than the final circumference. I plan to hammer it into a flat washer, which will make it bigger.
Using butane, I fuse the wire. Solder will not work.
Round it into a ring,
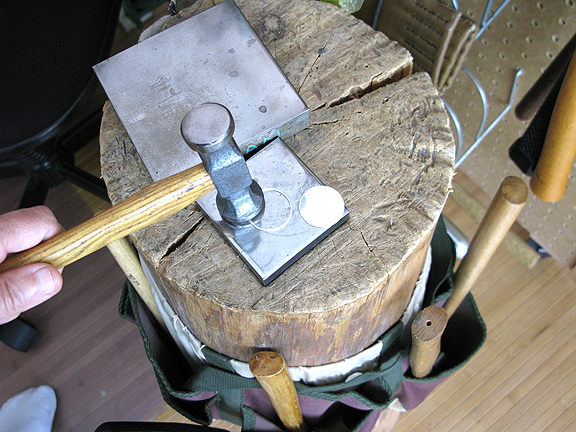
And flatten it into a washer. Or whatever shape: I am using a circle for an example.
I like to heat it from below, using propane or air/acetylene. This is the same technique as granulation, only using wire instead of little balls.
It also makes the silver nice and shiny for the enamel. Sometimes this is called ‘flash-fusing’, and the shine holds up under intense heat.
Punch a hole for a jumpring or bail,
Dome it slightly,
And I am ready to put enamel on it.
First I’ll apply the counter enamel, with the torch above the piece. If you heat it from below, you will lose your nice shine. Here I am using a little butane torch for a heat source. I am using Ndidi’s suggestion of Thompson’s Grisaille Black enamel.
Now I apply a clear enamel to the front, using rubbing alcohol instead of water or Klyr-fire. It seems to burn off cleaner, and leaves a clearer coat of enamel.
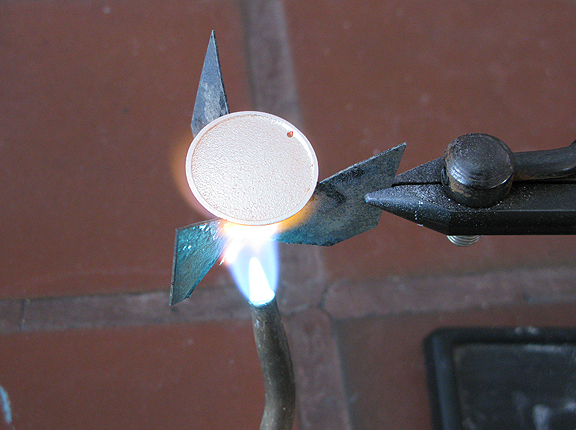
Heat it from below until it melts. Here I’ve switched to a hotter torch (actylene, but a big butane might work, propane does work)
Now I begin the wire work by marking my axis with a sharpie. And make the wire design. This is going to be fairly simple. Place the shaped wires with Thompson’s holding agent (I hate Klyr-fire) and heat it until it glows. The wires will be stuck on, and ready for color. I’ll show the enameling in my next post, here. |


In Search of Shape
Thursday, May 17, 2012
| My work for the last few years has all been circular. Not that there is anything wrong with that…
But my friends Marina, Addison and Bill advised me to look at some other options. So, after seeing a great brooch Bill welded, I decided on this:
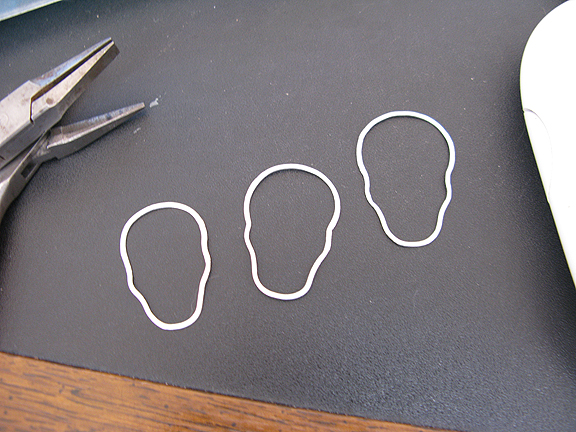
Kinda goth, but might be interesting made in prissy pretty enamel. So, I started with the outline. One idea is to abstract the shape, and the other is more literal.
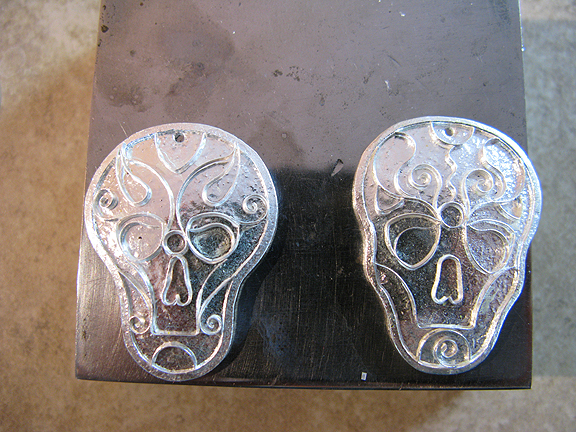
And fill in with some wire linework, to hold the color.
Filling with enamel and firing.
I love my new color palette strategy, it really works great.
I am not sure which shape I like best.
Macabre is always classic.
By the way, I have started to compile my notes from the blog on granulation in a more readable form here, if this is something you are interested in. |


Granulation with the Ultralite Kiln
Tuesday, May 1, 2012
| I am an enamelist, primarily. As offshoots of this passion I have also played with Jean Stark’s wonderful series of fused link chains, and lately, granulation.
These endeavors have in common the act of fusing fine silver. If it is chain, you are making circles to become links. If it is enamel, I am making fused borders (and soon, settings for small gypsy-set brilliants) and if it is granulation, I am just indulging my curiosity. Last Christmas I was granulating on a little butane burner, and made lots of earrings. (see previous posts) Reflecting on the matter, I resolved to try the little ultralite enameling kiln that I use for my enamels.
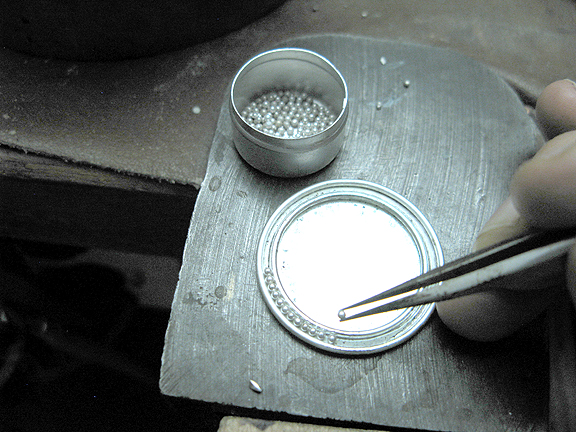
It is about 1500 degrees, and with a little butane torch on top, I should be able to get it to the eutectic threshold, which I am guessing is 1640 degrees, or the melting point of sterling silver. So beginning with a 2 inch disk, I use cable, wire and bosses to make a design, and some granules, too. Granules are the least fun aspect of granulation, so I try to find alternatives.
I use Bluefuse to attach the elements and heat it in the Ultralite kiln, and use a butane torch from above to bring up the temperature enough to fuse. It took several tries, but worked.
Now nex
|
To Capture Color
Monday, February 6, 2012
One thing about enameling, the color is marvelous. The Color is the point, mostly. But on a bad day, it can be is awful. Color in enamel depends on color combinations, and if you pick the right colors all is well. If not, then your piece goes into the box in the drawer.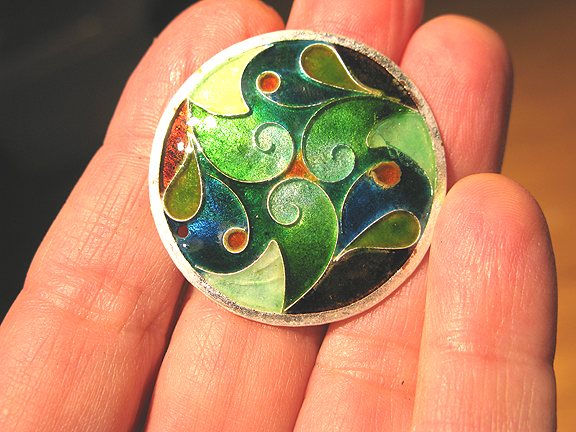
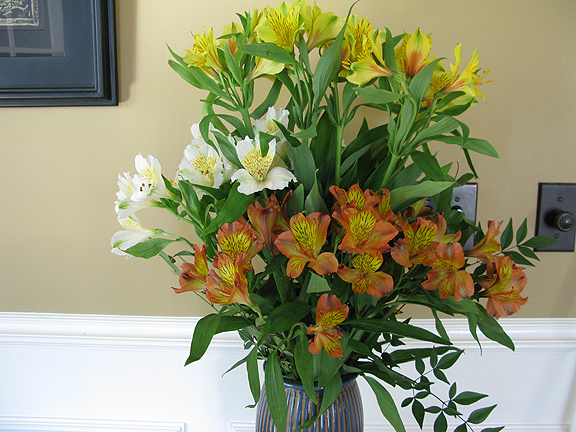
It is so frustrating to do all the wirework, and all the preparation, to have your colors go wrong. And if your colors are beautiful, that enamel sells right away, and you have lost the color palette. Obviously, I need a strategy to both create and retain color combinations. Knowing what enamels I used to get there would be helpful, too. As the morning sun lit an arrangement of freesias in the dining room, I had an idea. The colors were so lovely, I wondered if I could capture them in enamel. So I photographed them.
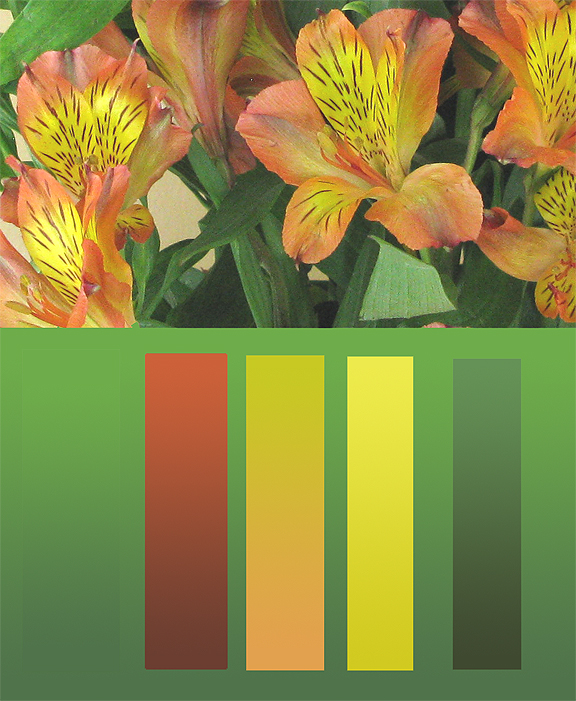
I used photoshop to pull likely colors from the photo, and made a digital palette of color. Enamel over silver has a lot the same brillance as color on a computer screen, and I thought I could come close to duplicating the colors on a small sample chip.
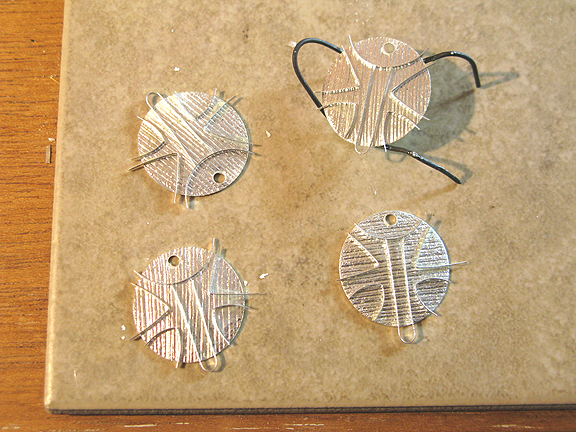
So I prepared some sample cloisonne bases, using quick and non-fussy wirework, just enough to hold the colors.
The final enamel ‘palettes’ are not beautiful, but they give me guidance for the actual work. I wrote down the enamels I used, so now I can design the piece with better confidence. Also I can show the palettes to customers who may want designs in custom colors. I have heard this referred to as ‘colorways’ in fabric printing.
Here is how the information retained in the palette is used. It looks a lot better in the final designs. |